
Using a new camera for the first time is exciting. Before you take your first photo, it's wise to get most of the basic menu settings correct. After that, your quest for perfect customization can begin. The steps I describe in this article can help in this process.
I receive a lot of cameras from different brands for reviews. This puts me in a unique situation because I learn a lot about the differences and similarities between brands. It can be frustrating at times as well since every camera needs to be set up for my kind of use. That means going through the menu every single time.
However, as frustrating as sorting out a menu may seem at first, I managed to find a way that works with every camera I've used. If you have bought a new camera, this may be a good way to learn the menu as well. Just remember, it's a process that can't be done in a single evening. These things evolve over time. The first settings can and will change as you become more familiar with your camera.
Get the Basics Right
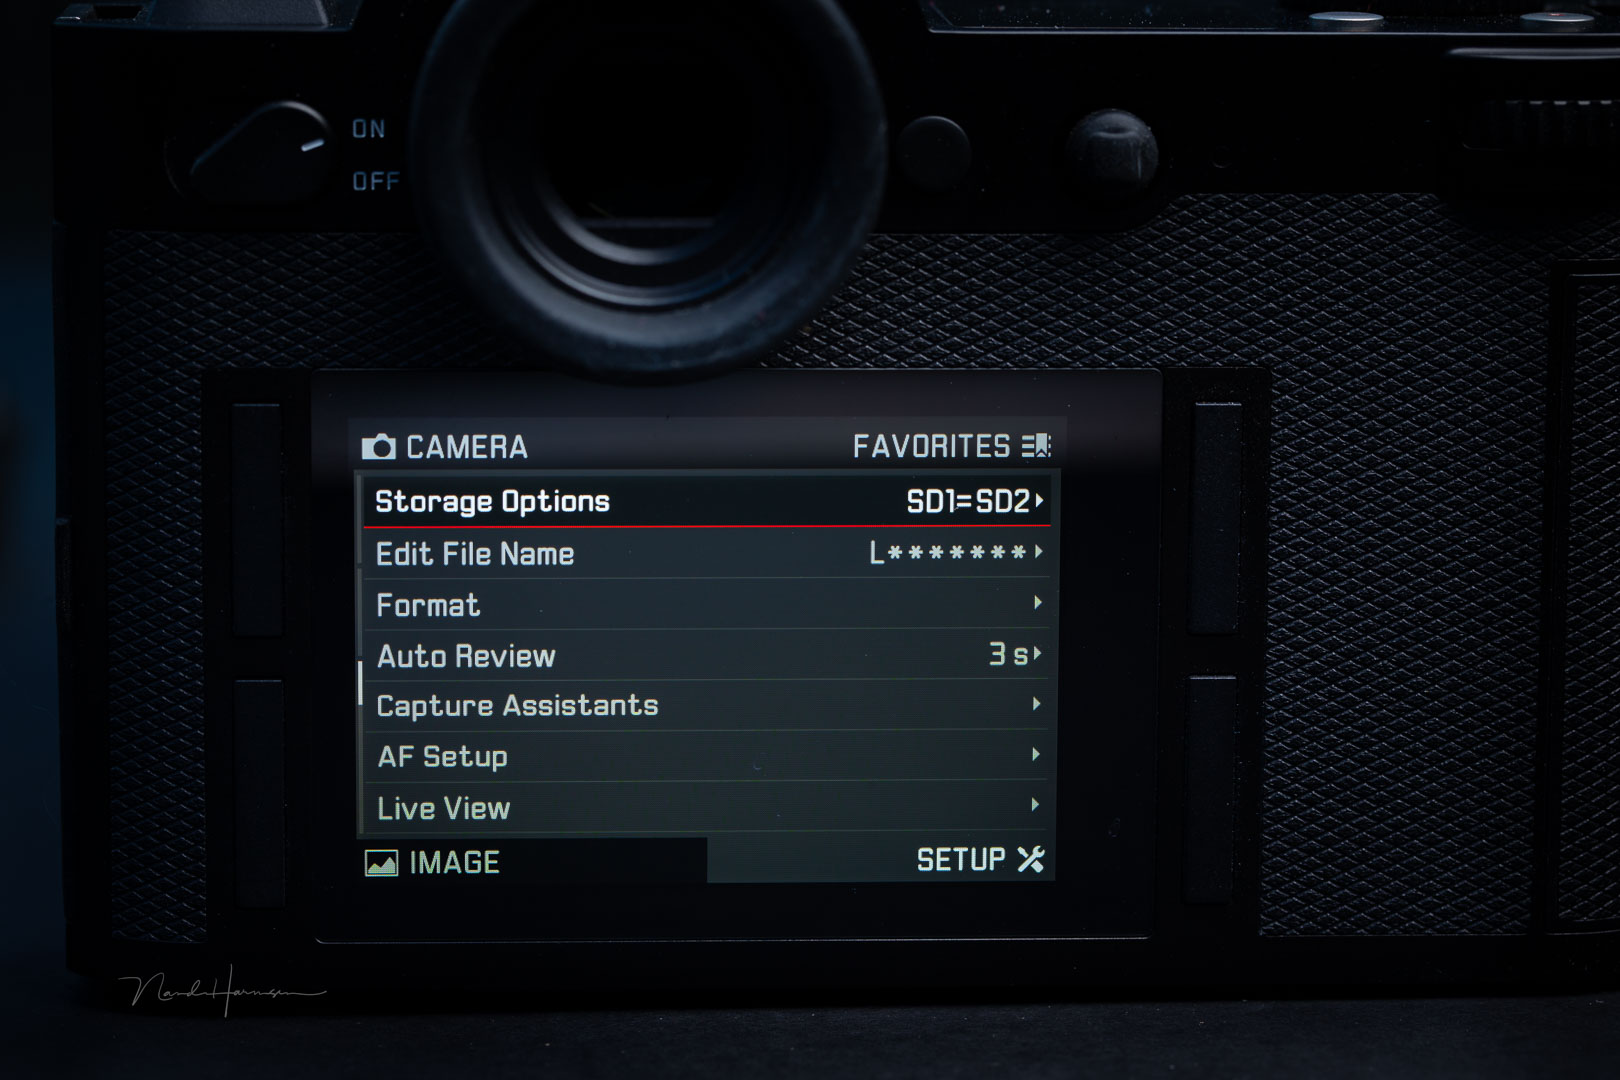
I advise going through the menu to see how it looks and how it's divided. Don't try to remember everything; just get a first impression. After that, start with the basic settings. This includes but is not limited to file format, white balance, picture style, date and time, and copyright information. Format the memory card and set how files are recorded onto the card or cards.
These settings enable you to start taking pictures right away. Using the camera will make you familiar with the control dials and buttons. Try things out, which will also teach you more about the things you want to change.
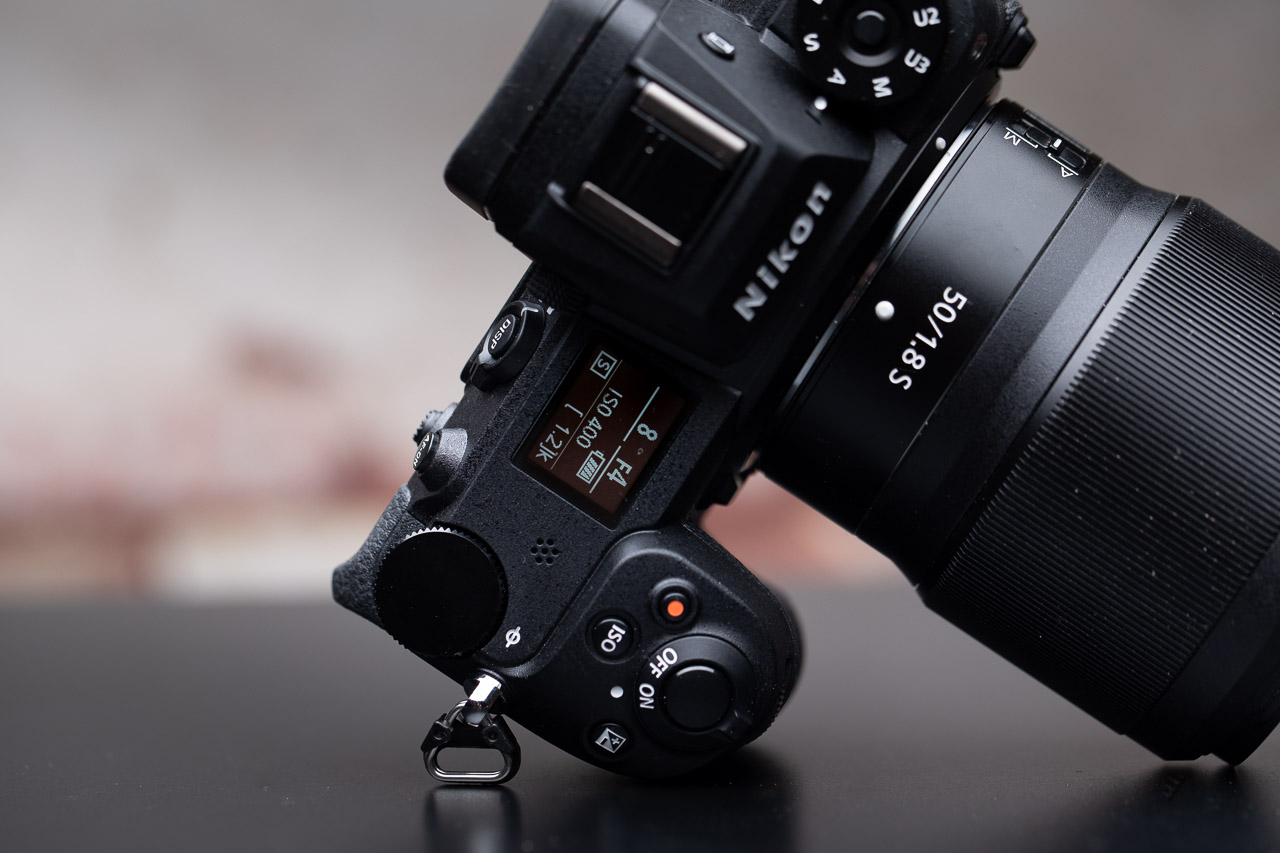
Set the Desired Display Information
The information available on the LCD screen and EVF screen can be changed to a certain degree. How much can be modified depends on the camera you have. Find the setup menu for the screens and customize it to your liking. Just like every other setting, these things don't have to be perfect at first.
It might also be wise to set how a photo is displayed when previewed. Get to know how to display the information and how to browse through the images. Learn how to enlarge the display and how to view the histogram in the most convenient way.
Get Familiar With the Autofocus Functions
Modern cameras offer sophisticated autofocus functions. There is often a large section of the menu dedicated to autofocus and autofocus tracking. By now, it's time to dive into the possibilities your camera offers.
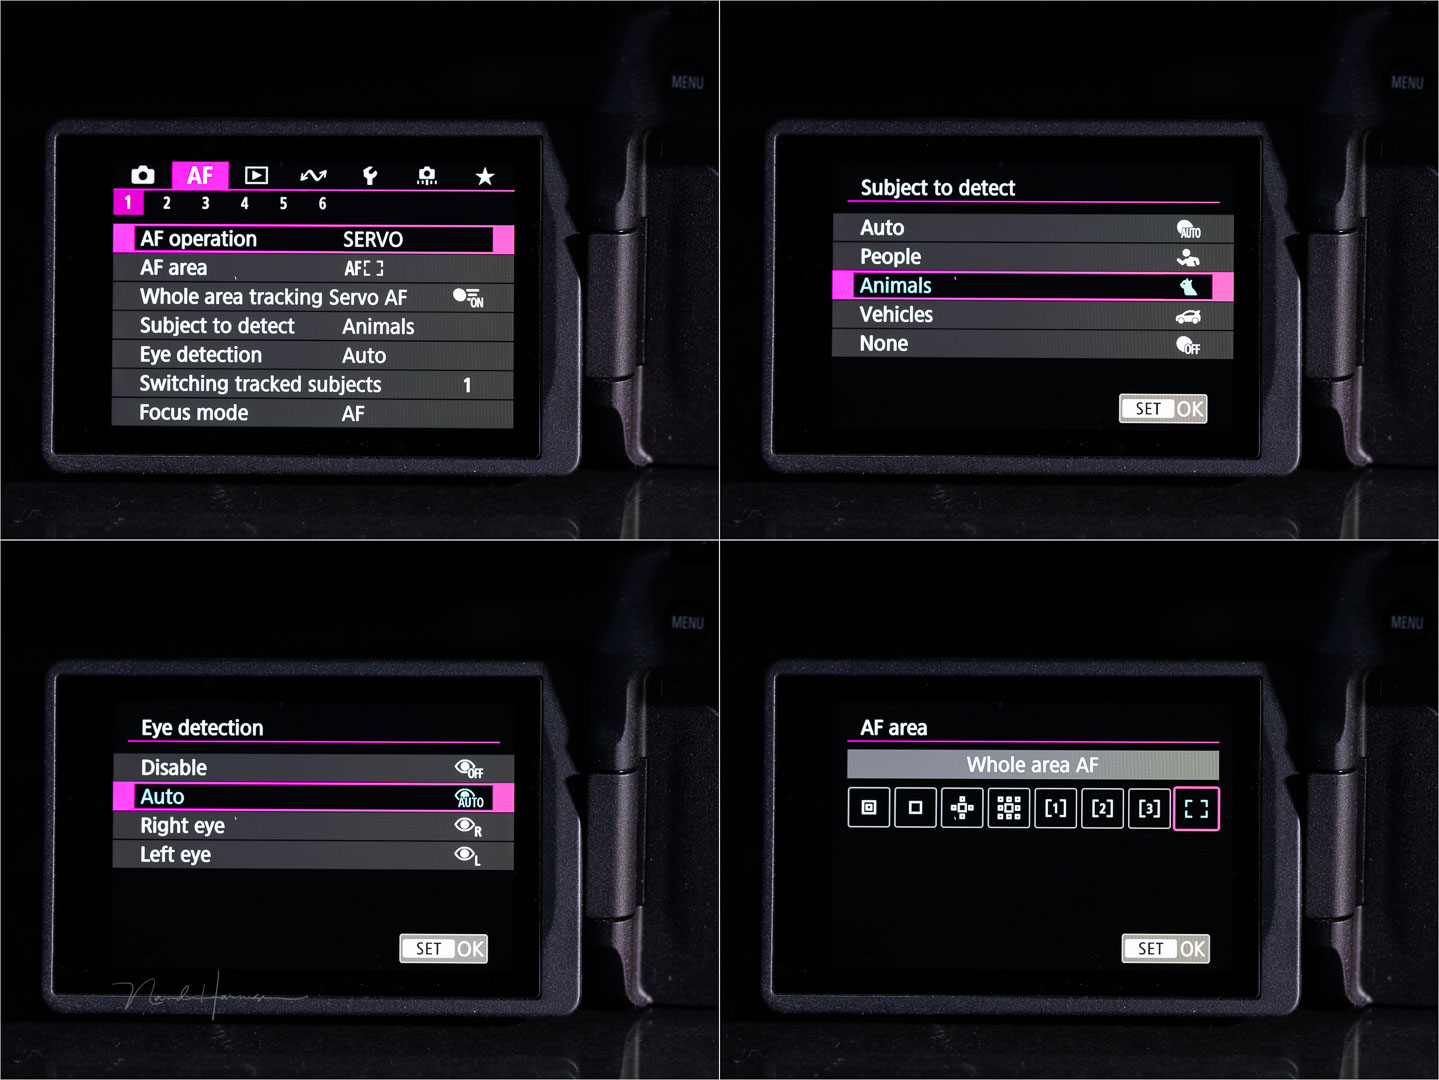
The various options depend on your camera. Get familiar with the basic autofocus settings and where to find them. This also applies to the tracking possibilities. Make the desired settings and customize the behavior as much as possible.
You need to discover the best autofocus settings along the way. It's often a trial-and-error process, so know where to find the different settings. Practice a lot and try things out. If there are more than one preferred settings, you can use custom functions and buttons to switch between these settings.
Custom Functions and Buttons
There are many customization options available on modern cameras. Decide what functions you want to use and how. Some buttons can be customized, a quick menu is often available, and a personal menu enables you to gather the most important menu options.
Remember, customization is never permanent. You can change things as you want, whenever you want. If you think the out-of-the-box functions are perfect for you, leave them as they are. Don't feel obligated to change anything.
Fill the Personal Menu
There are always much-needed functions that are hidden deep in the menu structure. This makes finding these functions time-consuming. The personal menu allows you to gather these most-used menu functions, making them accessible quickly.
Functions that first come to mind are card format and battery information. Other functions can be bulb-timer, interval, focus bracketing, exposure bracketing, and LCD screen brightness.
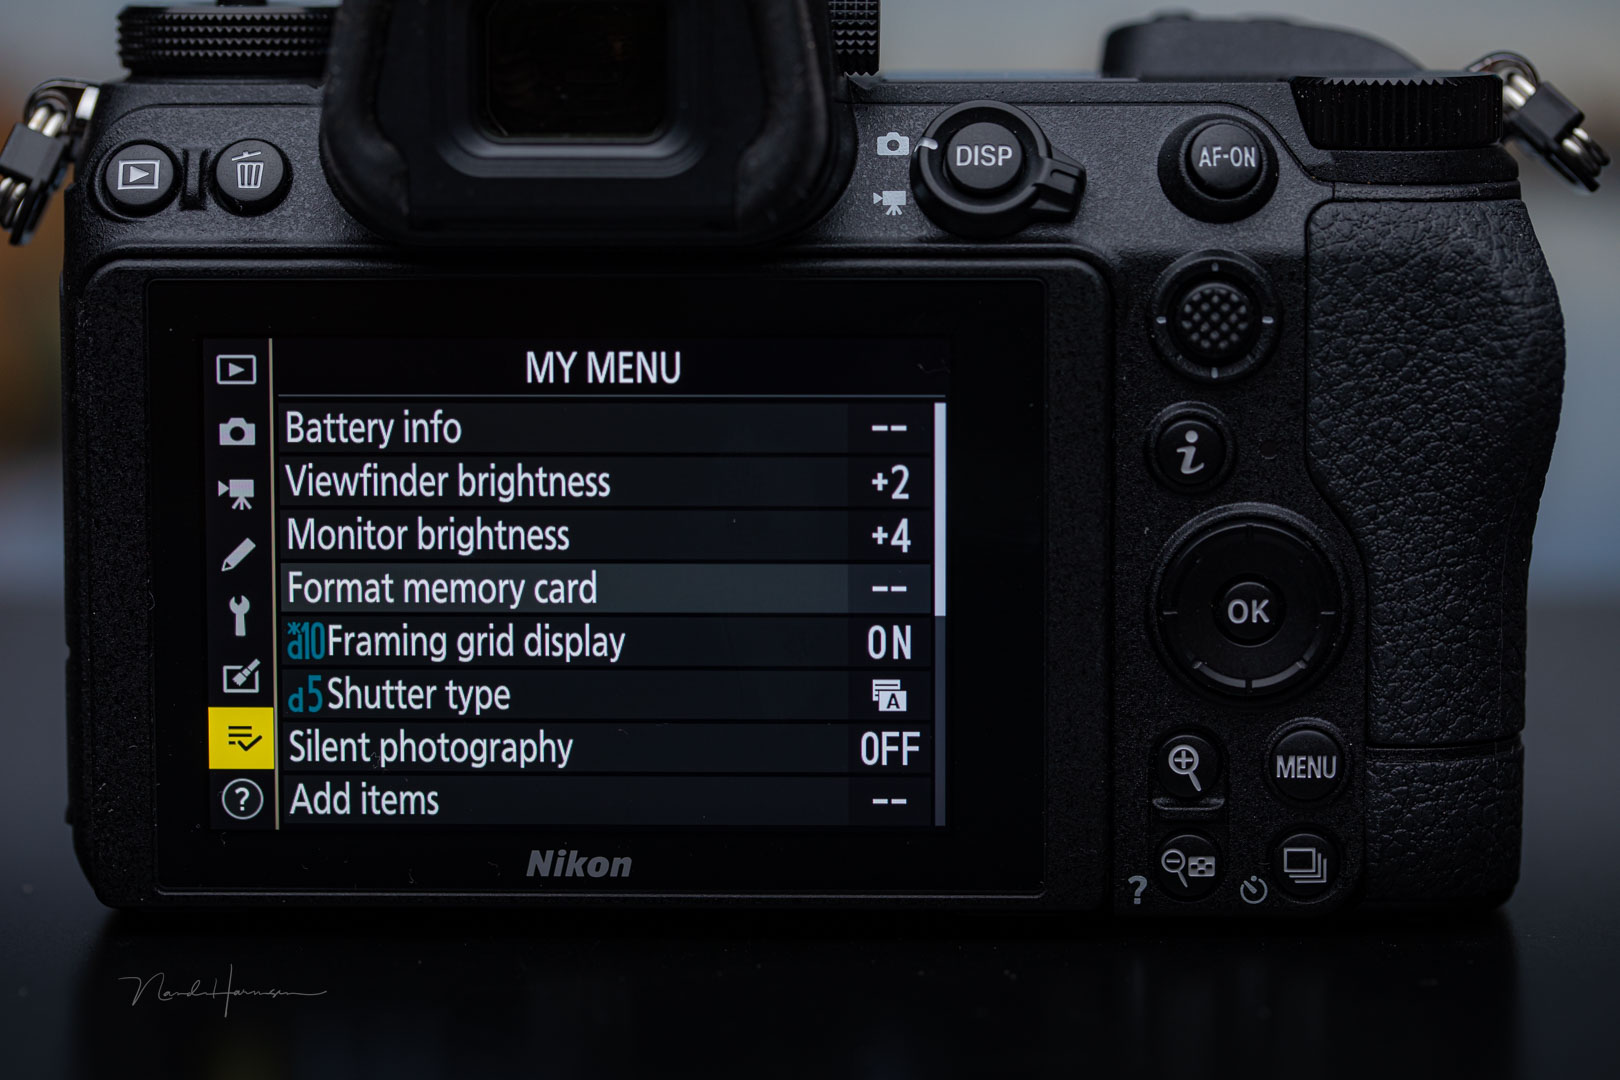
Go through the menu and select the functions you believe will be used a lot. Take your time finding and gathering these functions. Don't worry if you forget a function or when a function proves less important. The personal menu can be changed as often as needed.
Customize the Quick Menu
Most cameras offer a quick menu. With just one button, a select amount of functions are directly available. The quick menu offers a lot of standard functions that are not always the best available.
Choose the settings for the quick menu that are most important to you personally. Autofocus settings, object recognition, white balance, picture style, and transport and self-timer are just a few that would fit a quick menu well.
Change Button Functions
If you like the functions that different buttons are assigned to, keep them that way. If you prefer other options, change them. It may be wise to keep the basic options at first and change these along the way.
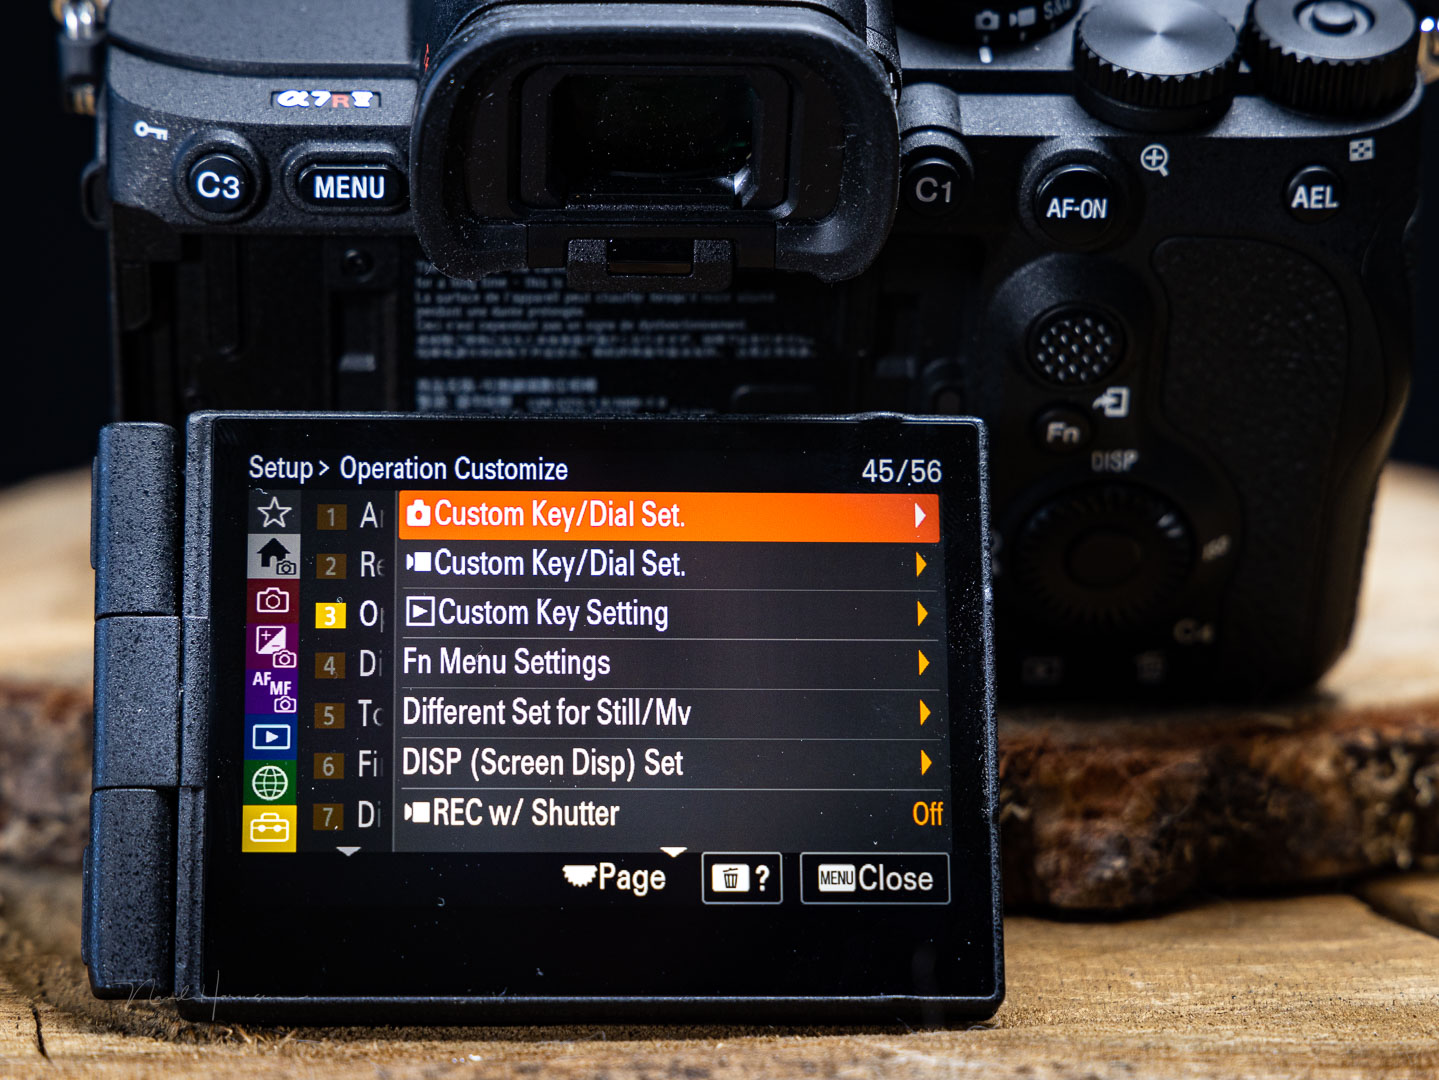
Most of the time, you need to discover which changes work best for you. One of the most changed settings is probably removing the autofocus activation from the shutter release button. After that, the back button focus is the only way to activate the autofocus.
Be Prepared With Custom Functions
If you perform different kinds of photography, it is wise to use the custom functions. Set the camera to the optimum settings for one kind of photography and save these settings to one of the available custom functions.
To give an example, I have set the C1 setting on my Canon to action photography. The C2 setting is reserved for exposure bracketing, and the C3 setting for long exposure photography. This way, I can change a lot of different settings just by turning the dial to C1, C2, or C3.
Learn By Using Your Camera
At this time, you know your camera quite well. Still, there are lots of things to discover. Take your time to try things out and refer to the manual to learn about functions that aren't clear right away. Whatever you do, don't try to learn a manual by heart. It's best to get familiar with different possibilities by using it.
As time progresses, you will discover that some custom settings need to be changed again. That's normal because it means you learn to use the camera more efficiently. This is not something that can be learned from a book or a manual. You need to find these things out yourself.
Learning to use a camera in the most efficient way is an ongoing process, and a personal process as well. Finally, I advise you to make a list of the settings you changed and buttons you've customized. This way, you have a nice overview and backup in case you need it.


Join the Fstoppers community for free
-
Post comments and join in the discussions
-
Browse the site ad-free
-
Share your work and get featured in the community
-
Compete in the photo contests for fun and prizes
2 Comments
One thing I learned from using a menu-driven camera was to make a spreadsheet that details every custom mode setting stack in intimate detail, right down to which menu and which page each option appears on. Once I've tested each custom setting stack to be sure it does what I want, I back up the entire configuration to 1) a spare SD card, and 2) to specific locations on my laptops, just in case I need to reload after a (rare) reset. I also print the spreadsheet and keep a copy in a portfolio cover in the camera bag for easy reference. Works for me; YMMV...
That's a good idea, making a spreadsheet.
My Canon camera offers the ability to safe setting onto a SD card. But it's removed when formatting the card again. A small spare SD card as a settings-backup is a good idea.
Thanks