
When it comes to landscape photography, there is always some room for improvement, but without new approaches, you may feel as though you've plateaued. These five tips can help you approach your landscape photography in new ways.
To begin, let me just say that while I try to follow most of these tips when I am out and about shooting, they are far from "rules" and while there can be about as much overlap as you like between the tips, they can be taken independently.
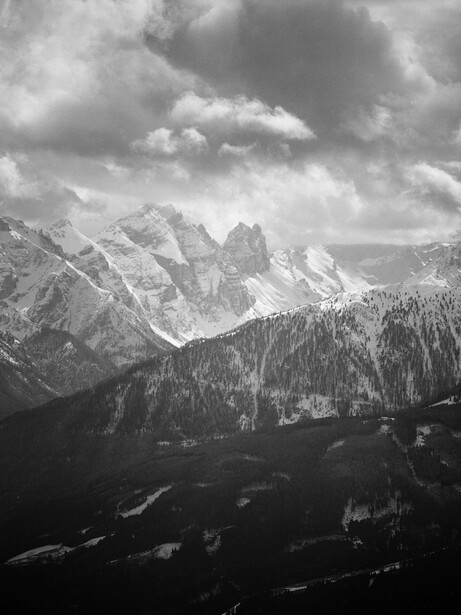
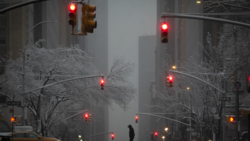
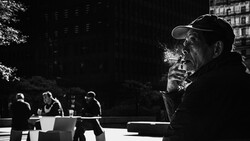
Tip 1: Shoot in Black and White
Please note that this is tip is not trying to say that all of your photos should end up monochromatic. Rather, I am suggesting that the camera profile be set to black and white while you are shooting, and edit the photos as you normally would once you import them. Keep in mind, this assumes you are shooting in raw where the camera profile should not matter.
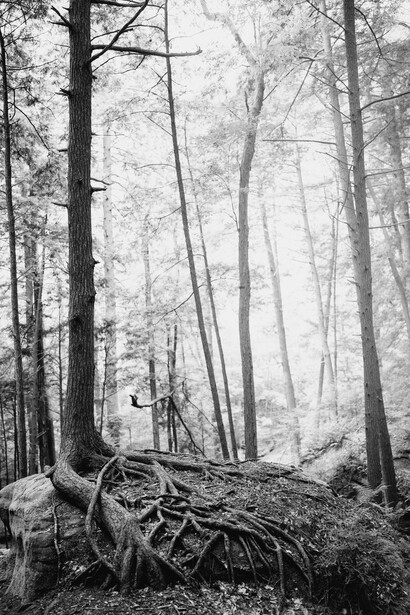
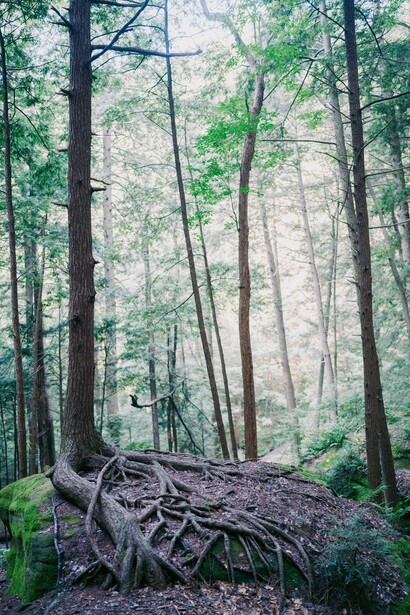
So, why shoot in black and white you ask? It’s simple – so that you can focus on the luminosity values instead of clouding your perspective with colors. Though this may not be an approach that you are familiar with, it is far from new. Indeed, Ansel Adams coined this approach the "Zone System" and two writers here at Fstoppers have written articles about the subject. The first time I had heard of the zone system was in an article by Daniel Laan more than 5 years. The second article was written by the talented Nando Harmsen a couple of years ago (found here). If you want to go way back, to the original source, you can check out "The Negative" by the man himself, Ansel Adams. This book is an academic approach to this method and describes it in great detail while providing many examples.
Before I move on to the next tip, I would like to circle back around to what I said at the beginning of the above paragraph. That is, shooting in black and white allows you to focus on luminosity and removes the inherent bias and clouded judgment from including colors. I suspect that this may be somewhat of a controversial statement but I stand by it primarily for one reason: the specific colors you see through the viewfinder are irrelevant. There is tutorial after tutorial demonstrating how to change the color of any subject to any color you want. So why then would I care about a flower being pink or yellow or any other color when it can be changed after the fact? Exactly. I do not care, nor should you.
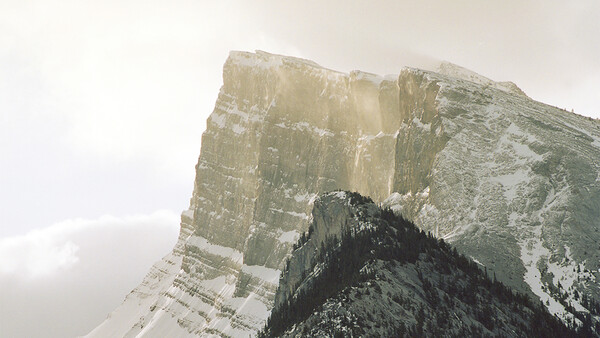
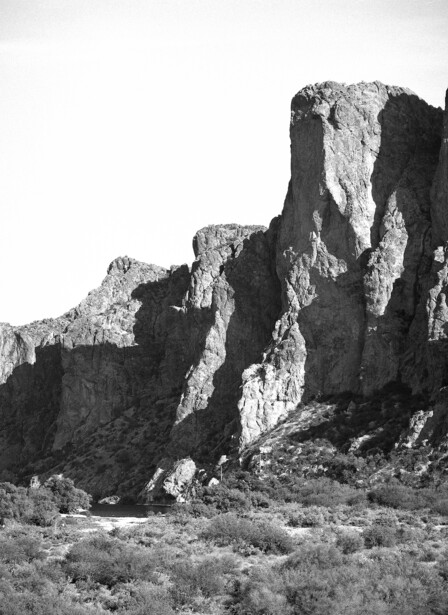
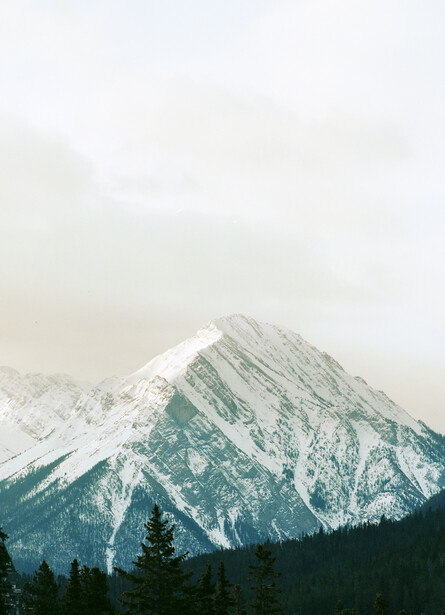
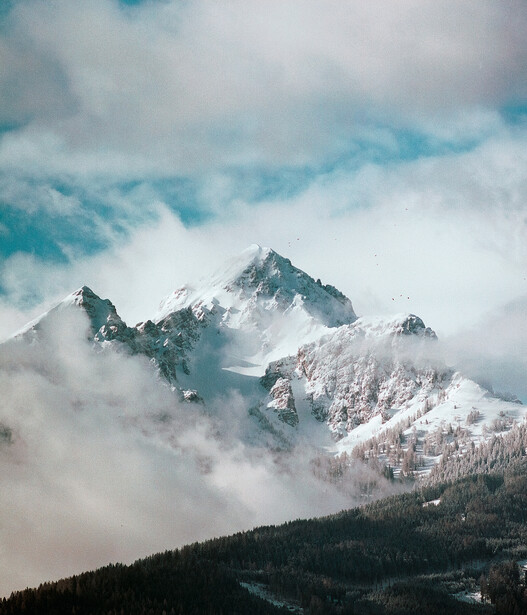
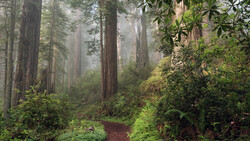
Tip 2: Get a Long Lens
I am a firm believer that there is a time and a place for a wide lens. Similarly, there is a time and a place for a longer, telephoto lens. It seems to me that too many photographers think of only their wide-angle lenses when they are out and about making landscape photographs. As a result, the longer lenses are altogether forgotten about. So with this said, the question becomes that of why should you use a telephoto lens to which I would say there are multiple reasons.
Starting off with the one that most often leads me to grab my longer lenses: composition. When it comes to landscape photography, few things are more important than composition and few things are more challenging to improve than composition. When you are using a wide-angle lens, it is all too easy to get a cluttered photograph. While it may be possible to declutter your photograph in post when you crop, it is not guaranteed and your photograph may still never quite be as good as it would have been had you been shooting with a tighter viewing angle lens in the first place. That is, if you use a different lens on your camera with a tighter viewing angle, you may well have chosen a different place to stand or a different framing that would have benefited your photograph more so than simply cropping the photograph after the fact. Lastly, it is still possible to get a relatively wide-angle look with a telephoto lens by taking a series of overlapping photos and then merging them together to create one (potentially very) large resolution photograph. For further thoughts on this topic my co-writer, Alex Armitage, provided several tips for improving your landscape images using a telephoto lens (found here).
In addition, another great reason to use a telephoto lens is for the shallow depth of field. When you come across an interesting subject, you can frame the subject in such a way as to control how much or how little you want the background to contribute to the image. In these cases, should a wide lens be all that you have, you will almost certainly get some visual clutter from the background.
Tip 3: Use a Tripod
For as simple as this tip is, I often feel like it is very rarely followed. I can understand why too – it takes way more time to set up and it adds more gear when you are out for a hike or camping or whatever. Given that so many cameras have internal stabilization and so many telephoto lenses have built-in stabilization, it can almost seem redundant. It is important to note, though, that a tripod is never redundant or wasted weight or space in your pack. The likelihood of a tripod going completely unused and remaining completely unnecessary for an entire outing is very unlikely. At the very least, it is less likely than the chances of never needing it.
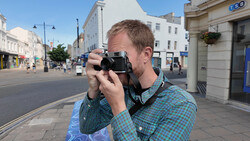
Tip 4: Get to Really Know Your Camera and Lens(es)
While this may not seem like the most novel piece of advice, I have never met a fellow photographer who could properly know and take full advantage of their gear without getting a substantial amount of experience with it. Getting a lot of practice with one camera and/or one lens, using it over and over again, helps you identify the strengths and weaknesses of each piece of gear you have. Once you identify the strengths of your gear, you can lean on those strengths and make better photographs. I would argue that at least 12-24 outings would be required to properly know your gear. While this may not matter in many circumstances, putting in the work upfront means that when you are in front of a particularly spectacular scene, you will already know the ends and outs of your gear and can thus spend all of your energy focusing on making the best photograph.
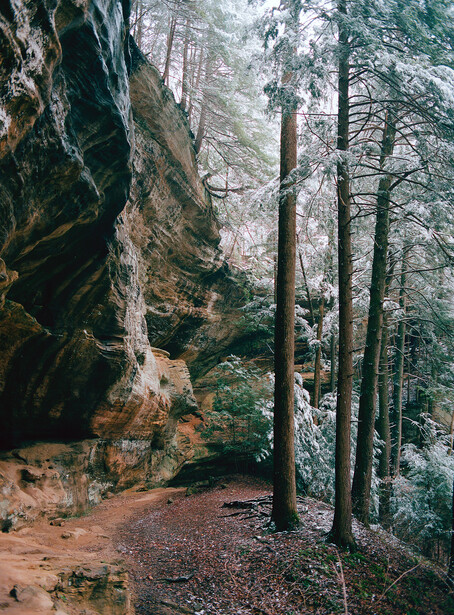
Tip 5: Use Tilt-Shift Lenses
In saving the best (or perhaps strangest?) tip for last, I suggest using tilt-shift lenses. For me, nearly all of my experiences using front tilt and shift come from my experiences in large format film photography. In large format, front swing, tilt, and shift are standard (standard – get it? Pun not intended but happily accepted) and it makes a huge difference. Do you ever find yourself wanting to exclude some of the foreground and focus on a more grand landscape or cityscape? Shifting the lens is here to help. Do you wish that you could manipulate the plane of focus? Tilting the lens can help you there. I recently picked up a tilt-shift adapter for review and it has thus far been a lot of fun and very helpful. Keep an eye out for this review.


6 Comments
THANK YOU for not making this a video.
I only can second that. Too many hints and tips are videos only todays. Which is painful. So yes, thanks!
I can third that. I don't have time to pick someone's "five tips" out of 15 or 20 minutes of self-promotion - especially not when every fourth or fifth article here is "Something something landscape tips something." (And every tenth is "Something something guess what you can actually telephoto for landscapes! something.")
The first time I had heard of the zone system was in the user manual of my Hasselblad (about 25 years ago)
Re: tip 2. What's the mountain?
Banff and Alps.