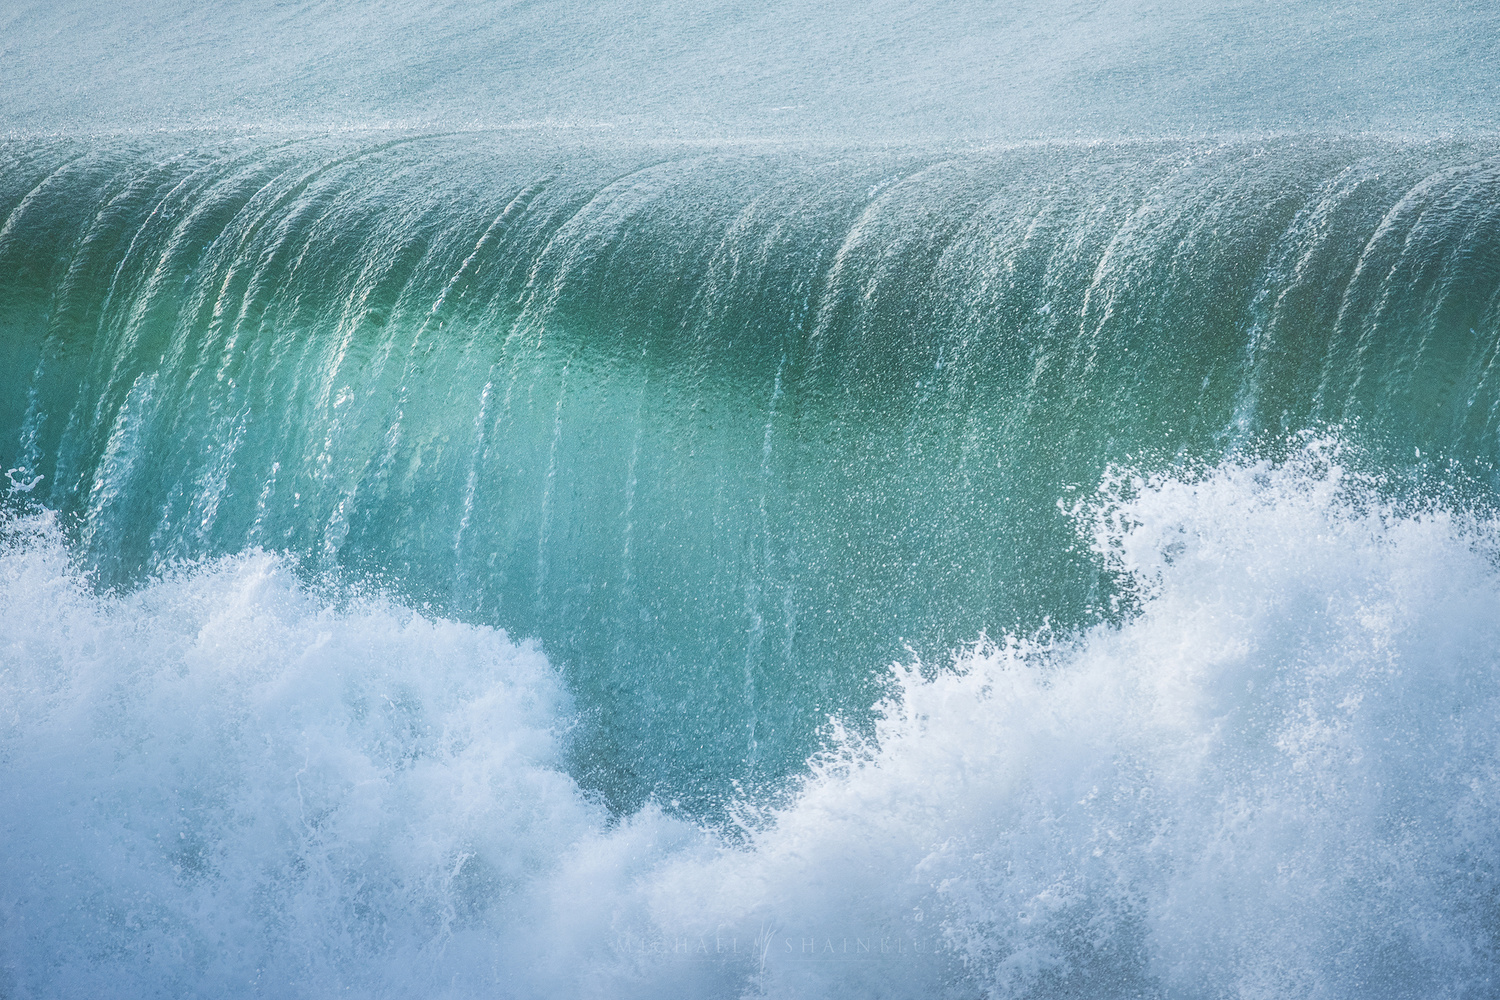
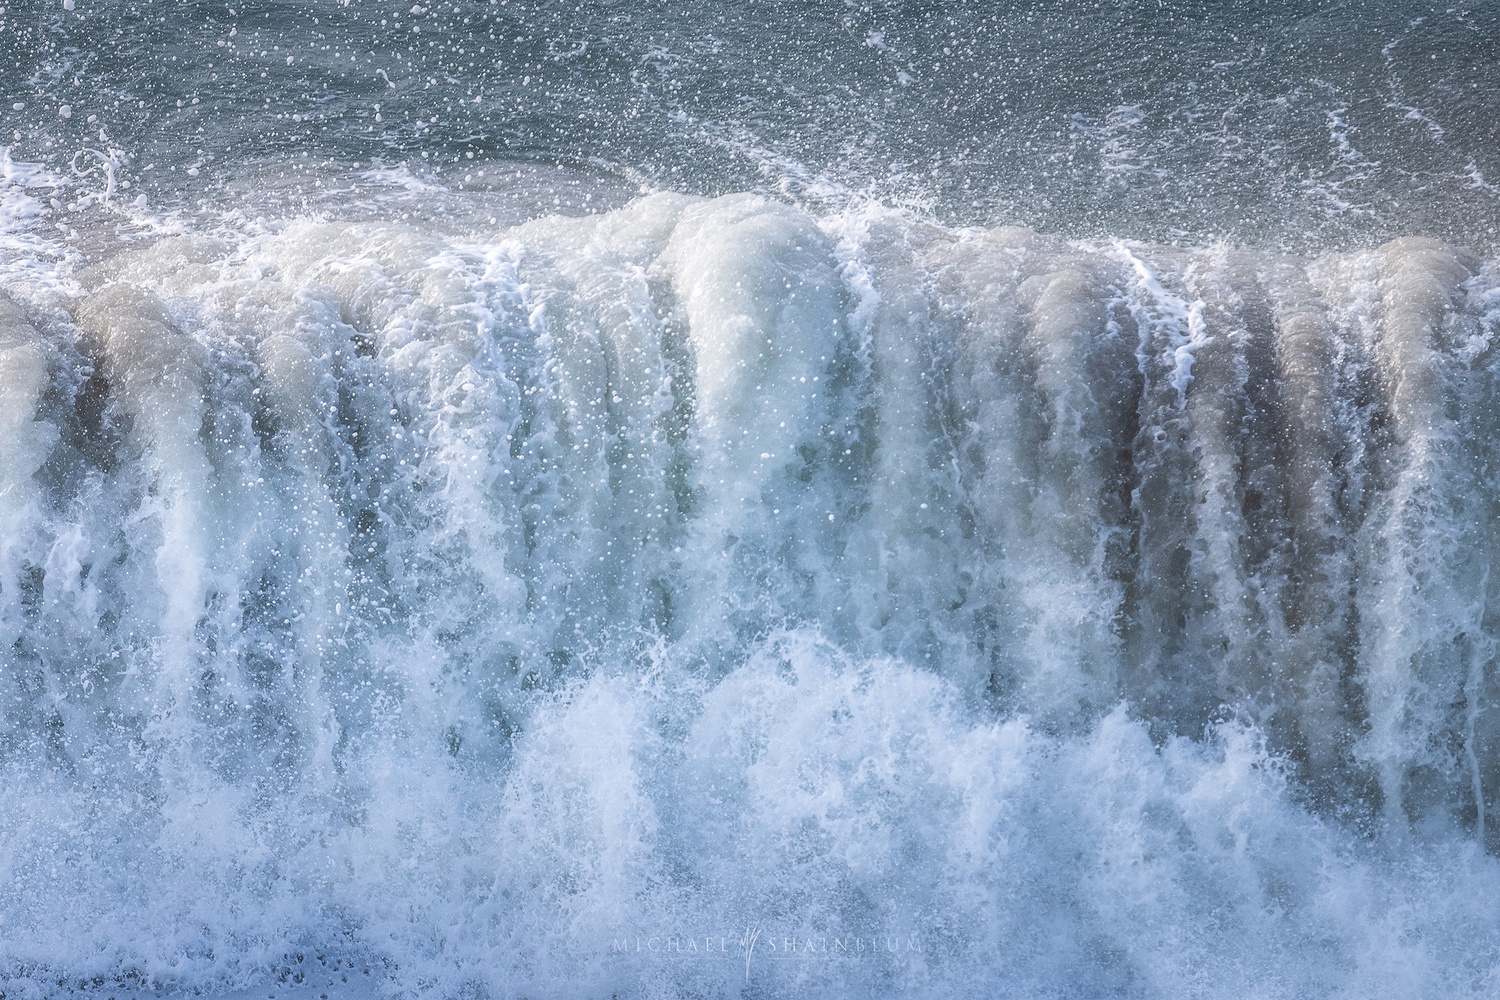
The ocean has long been a muse for artists of every sort. For photographers, coastal waves, in particular, provide a pleasant combination of color and motion which presents many creative opportunities. Using a telephoto lens, it is possible to capture incredible detail from a safe (not to mention dry) location.

Always Carry Your Telephoto Lens
In this video, Michael Shainblum visits a beach in the San Franciso Bay Area with the intention of shooting wide-angle seascapes, however, he ends up taking a detour to capture the large waves breaking below with his telephoto lens. An important takeaway here is that even though he planned on shooting wide-angle, he had his 100-400mm lens in his bag. As landscape photographers, most of our shoots are planned around wide-angle shooting opportunities. I'd say that the majority of my wide-angle images were planned well in advance, and the majority of my telephoto images were captured spontaneously. This means that there is often the temptation to leave the telephoto lens at home, especially when embarking on a hike or backpacking to reach a location. This decision has always been met with regret, which has resulted in a hard rule that my telephoto lens always has a place in my bag.

Shoot Handheld
Capturing waves can be tricky, so some trial and error may be required. The point at which they are curling and crashing is where you can typically capture the best images. It can be helpful to shoot handheld, which allows you to track the waves to where they are breaking. Watch for patterns to determine where the waves are breaking most often, and keep in mind that the biggest waves will typically crash a bit further out. Bigger waves usually result in better images, so be sure to check the swell forecast using websites such as Surfline or Magic Seaweed. Keep in mind that swell forecasts are regional, so even if your specific beach isn't listed, you can still get an idea of what the waves will be like. The wind forecast is also important. Winds above 10 mph (16 kph) will mess with the shape of the waves and generally make things more choppy and less photogenic, unless the winds are blowing "offshore" i.e. towards the ocean, in which case the winds can actually help form better waves.

High-Speed Burst Mode
Taking advantage of your camera's high-speed burst mode (if you have it) is critical. Memory is cheap, and the more you release the shutter, the more likely you are to capture something special. Not to mention, this spray and pray method of photography brings back some of the old excitement from the days of film photography, in that you don't quite know what you've captured until you get home and start processing. One downside to this technique is that you will quickly find out if your camera has poor buffer depth or if your memory card is slow. Add that to the list of things to consider next time you are looking to upgrade!

Experiment With Shutter Speeds
Playing around with your shutter speed can be rewarding and exciting. In general, for pin-sharp water droplets and frozen motion, shoot at 1/800th s. For a softer look, such as in the image below, shoot at 1/8 or 1/4 s. These shutter speeds are only a starting point and can change depending on the size of the waves. Keep in mind that you may have issues using slower shutter speeds if the ambient lighting is wrong. Generally speaking, you shouldn't have any issues while shooting closer to sunrise and sunset or in overcast condition, and if you are lucky you may get some reflected sunset/sunrise color in white portions of the waves.
Check out Michael's YouTube channel for more great videos on landscape photography or visit his website for tutorials or print purchases. For further inspiration in wave photography, check out artists like Rachael Talibart and Phil Thurston.
All images used with permission and courtesy of Michael Shainblum


