
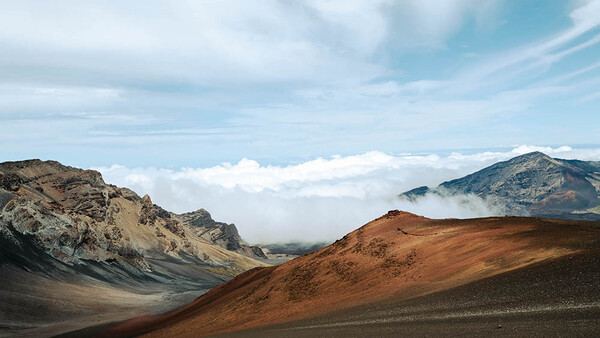
I am so inspired by a beautiful landscape. I think that’s why I was so drawn to California, not to mention the beautiful light here. When shooting a subject, I do feel like there should be some meaning behind it or a story of some sort. What do you want to say or want people to feel? Of course, everyone is going to have their own interpretation and feeling, but you should have some intention behind it. Set out to tell a story that will serve as motivation for you and hopefully evoke a feeling in the viewer.
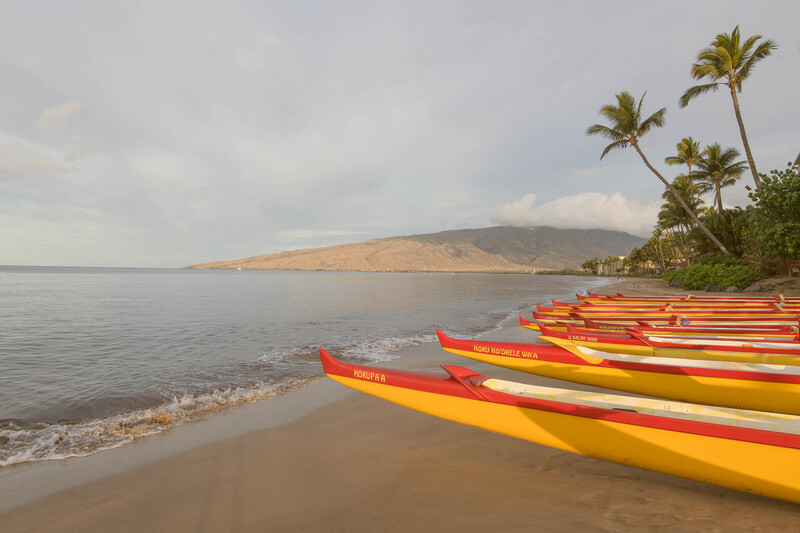
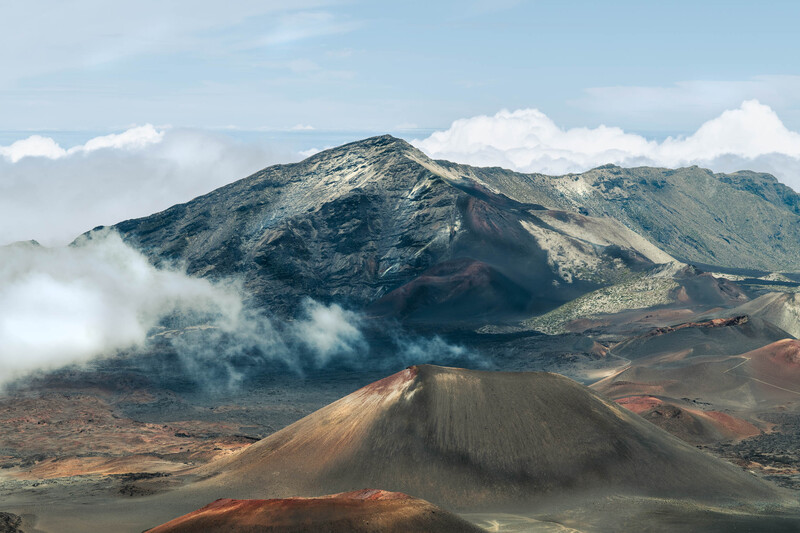
The below image was taken in Maui on a photography trip I took last year. I wanted to capture the vibe and culture of the Hawaiian people. Every morning from my balcony, I could see these canoes coasting by at top speed. It has been part of the Hawaiian culture dating back centuries, so this was inspiration that came to me while on location in Maui. I’m always exploring and trying to find something new and interesting and a way to tell a story.
Inspiration
What and where do you want to shoot? What inspires you, and what story do you want to tell? Yes, you can tell a story with landscape photography, and you should. What is the subject you want to photograph? A beach in Hawaii or a mountain in Japan?
Create a mood board, Pinterest board or just create a folder on your computer with images you like. Ask yourself why you like those images. What about them inspires you? Is it the colors, the mood, the time of day, is it black and white, is it the low angle from which the subject was photographed?
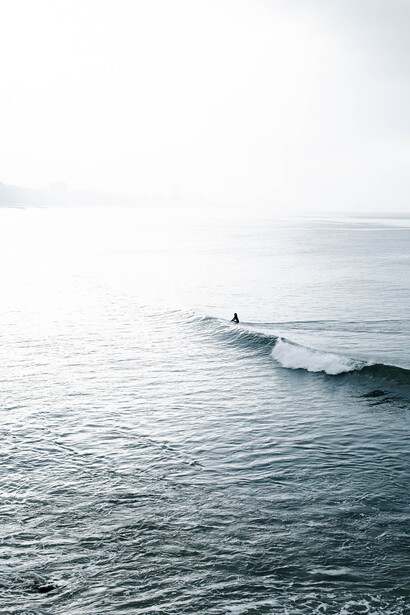
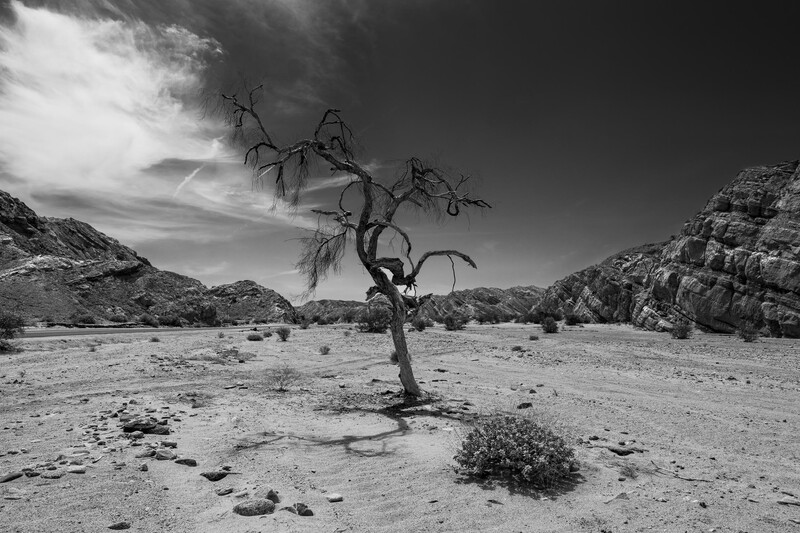
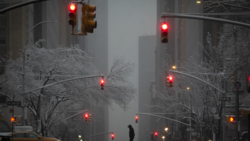
From there, you have to decide what time of day and what time of year you want to shoot; this all plays into the look of the photos. The time of year will change the light and seasons, so if you want bright, direct light coming from high above, then shoot during the summer. If you want a moodier, overcast, and cold vibe, then shoot during the fall and winter. I did a series of ocean landscapes in Malibu, all shot in early morning in the winter, so I could get a misty, cloudy, blown-out look; that’s the vibe I wanted for these photos. I also have plenty of photos taken on a bright summer day, giving the sky a beautiful, bright blue color, with the subject fully lit by the sun.
Equipment
There are some basic tools that you will need such as a wide angle lens, tripod and a good camera bag. But also, work with what you have; there's no need to break the bank in the beginning. I use a Nikon 16-35mm lens, and you will also want a lens to get closer to the subject. I use my Nikon 50mm, and I usually have my 85mm just in case I want to get even closer to a subject. But typically, you use a wide angle lens to capture the vastness of a landscape.
A tripod is important so that you can get a straight horizon line and to avoid camera shake if you’re taking long exposure shots. I am very guilty of shooting without a tripod on a lot of my landscape photos, but I turn the shutter speed up to help with camera shake. With that said, I suggest using a tripod and probably a travel tripod; they are more compact and lighter.
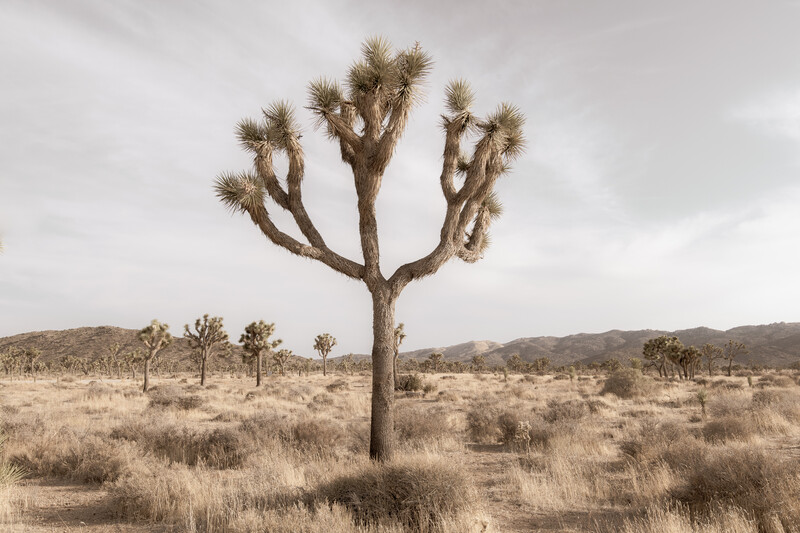
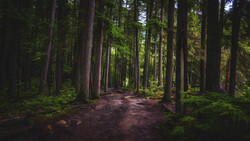
A good camera bag is important as well, preferably water-repellent, like this one I purchased. I had learned this lesson on my trip to Maui. I was using a great backpack, but it was most effective for street photography or quick jobs that don’t involve hiking or wet climates, like the bamboo forest I was hiking though. I suggest a backpack to save the pain of a shoulder bag. I learned this a long time ago, and my back is still out of alignment from using a shoulder bag for years. You want enough room for all your lenses, and a tripod holder is key, so you don’t have to hold it. I bring a small flashlight, so when it gets dark, I can find my way back to my car, like the lesson I learned in Joshua Tree, which is a desert, and if you don’t know, you can get lost in the desert really easily as there are no land markers and everything looks the same, especially in the dark. So, have pockets for a small flashlight, your phone, and a water bottle holder. This is important: bring water.
Location
Where do you want to go? Is the location in your own city, your own state, or out of the country? You need to create a detailed plan.
Traveling is a great way to capture landscapes that most people can’t get to or have only dreamed of. It’s also a great way to challenge yourself and grow as a photographer. As I mentioned, I recently traveled to Maui, a place I have never been, so I didn’t know the island. I did research online before I went, so I knew the places I wanted to go. There is plenty of information on the internet that will tell you the best places to shoot. I use this information as guides, then from there, I find what inspires me. I will also walk or drive around, exploring new places that I find interesting enough to shoot. It’s important to get outside of your comfort zone and explore!
I create a shot list in a Word document before each trip that I print. It’s just easier for me to have a hard copy on me, especially if I’m doing a lot of driving. The shot list has a day-to-day list so that I can keep on track and make sure I shoot everything I had planned. I list the day, time I want to shoot the location, and address, as well as what the significant landmark is, a tree or rock formation, etc. I will also note how I want to shoot it: sunrise, bright daylight, overcast for a moody look. or sunset to create interesting shadows. You can’t control the weather conditions, but you can get an idea of what it may be like depending on the time of year and time of day.
Post-Production
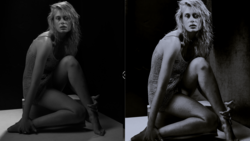
Retouching is a very important part of any landscape photo and can transform the image from good to incredible. I always shoot in raw so that I have total control of the image. Retouching is a personal choice; some people like an HDR look or an oversaturated, deep color palette, and some people leave the image pretty close to the way it was shot.
There are plenty of presets out there that you can purchase or use directly in Lightroom. Post-production is all part of the creative process, so play around and create your own style. There are so many variables, but it comes down to the look and feeling you want to evoke.
Once you have your images retouched, it’s time to share them with the world! Get a professional website like Squarespace, or if you plan on selling them, I would suggest Shopify. I use both, but for selling, Shopify is the best. Share your images on social media; this will help you gauge what people like and maybe what they don’t like as much. It’s really just for learning. Don’t read too much into social media and people's opinions. You should always shoot for you and the things that inspire you.
Join the Fstoppers community for free
-
Post comments and join in the discussions
-
Browse the site ad-free
-
Share your work and get featured in the community
-
Compete in the photo contests for fun and prizes
No comments yet