
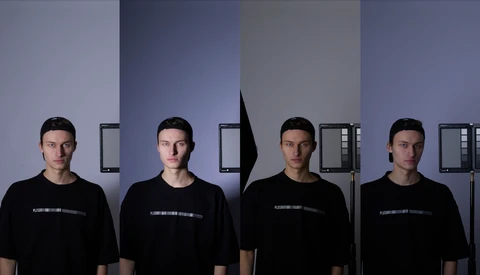
Not long ago, I had the pleasure of participating in a creative photo weekend and showing a very green photographer some basics of lighting. While she was a darling and seemed to grasp every concept I explained, there were still quite a few misunderstandings that I had to clear up. In this article, I will explain the basic properties of light every photographer must know.
There is a lot of bad information out there, everything from poorly informed lighting tutorials to marketing lies of various companies. I don’t want to list the brands that equate soft light with diffused light, but you know who you are, and it’s shameful. Often, photographers mix up the properties of light as a result of all this bad information. There are four basic qualities of light you can get: soft, hard, diffused, and specular. Moreover, you can’t have soft and hard light, as well as diffused and specular. Those are opposites on one scale. Seeing photographers use diffusion paper to make the light softer is also quite upsetting. No matter how much diffusion you put on a hard light, you will not make it softer. The understanding of distance, falloff, and gradient is missing in a lot of cases. Not to worry though, the properties are very simple to understand indeed if you practice and know what makes the light soft, hard, diffused, or specular. Let’s go one by one.
Soft Versus Hard light
A softbox can be a hard light source. But a hard reflector can be a soft light source. How is this possible? Well, the softness or hardness of your light is not controlled by the modifier you use per se; it is controlled by how large the modifier is in relation to your subject. Let’s dissect this further.
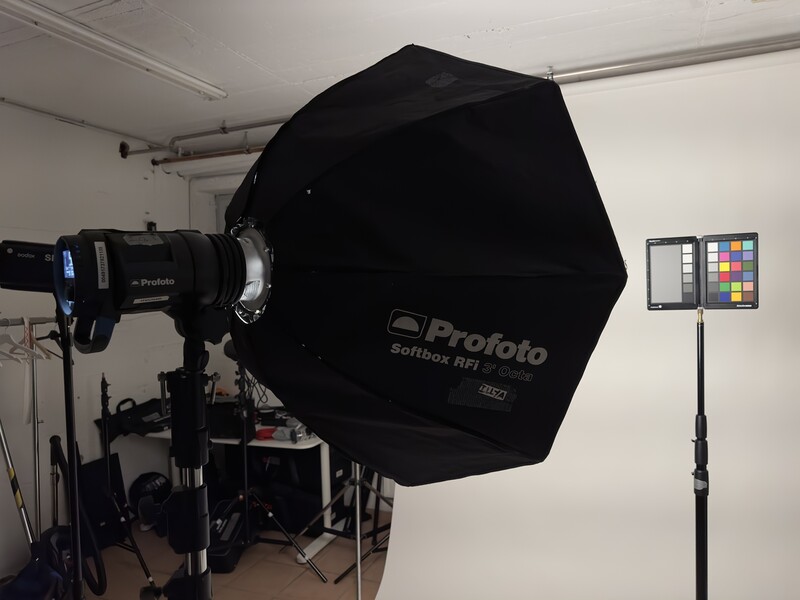
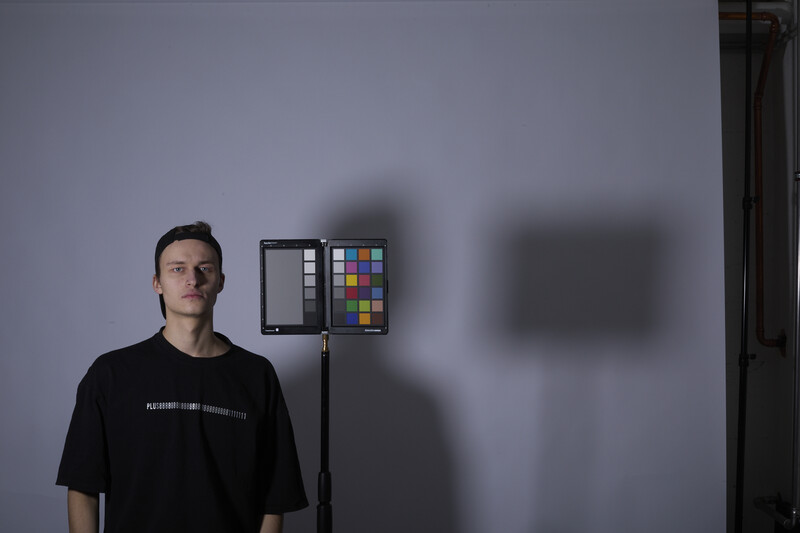
A softbox is generally a soft light source. It is in the name of the modifier, after all. However, the devil is in the details because while it may be called a softbox, it will only give soft light if it is placed relatively close to the subject. As such, you can create hard light even from a huge softbox, assuming it’s placed at a distance where its relative size will be that of a bare head. Mind you, you’d need a pretty huge distance to do that exactly. A simpler example would be if you look at the shadows that your softbox makes when it is close to the subject, as opposed to when it is far away. The reason we need large and small softboxes is exactly that. In order to make the light slightly harder or slightly softer, in finite studio spaces. If you don’t change the distance to the subject and swap out a 3’ octa for a 5’ octa, the light will get softer. At the same time, it is worth pointing out that the light spread won’t change a bit. However, this is best saved for another article.
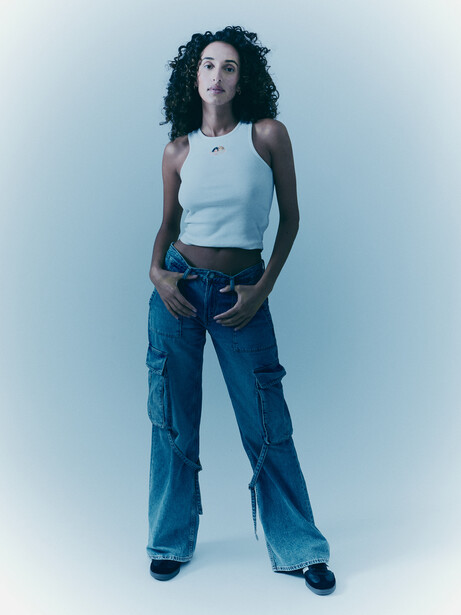
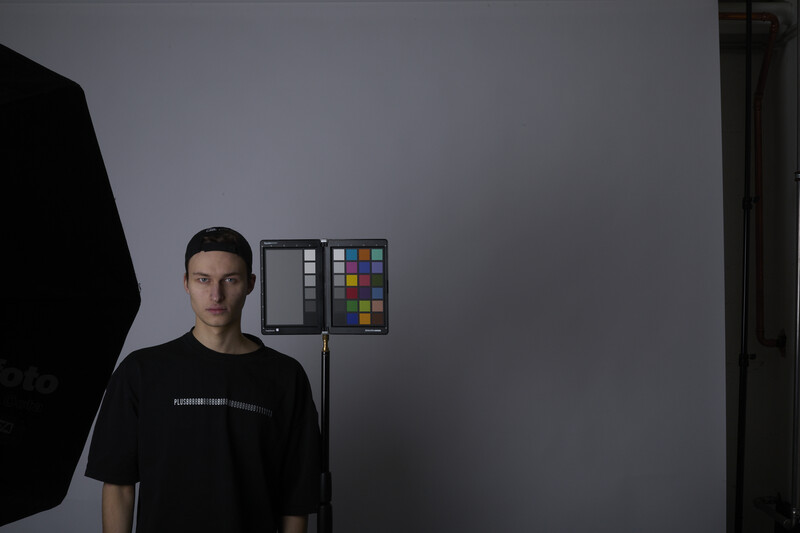
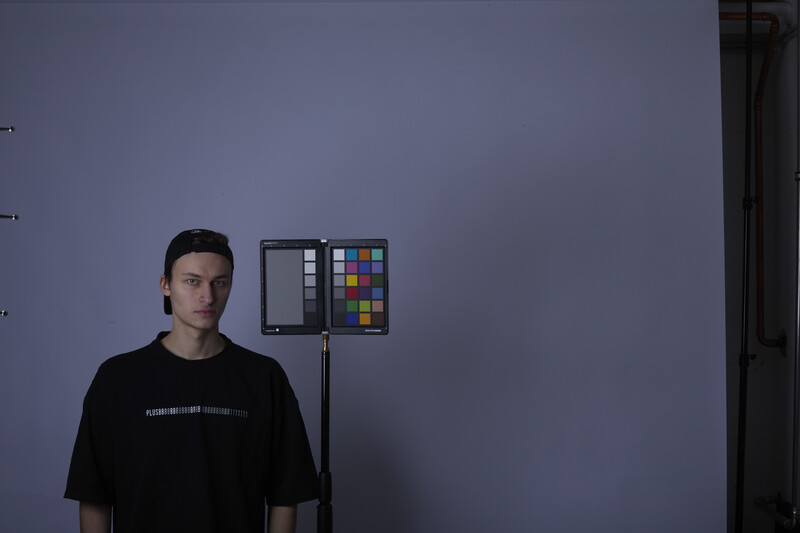
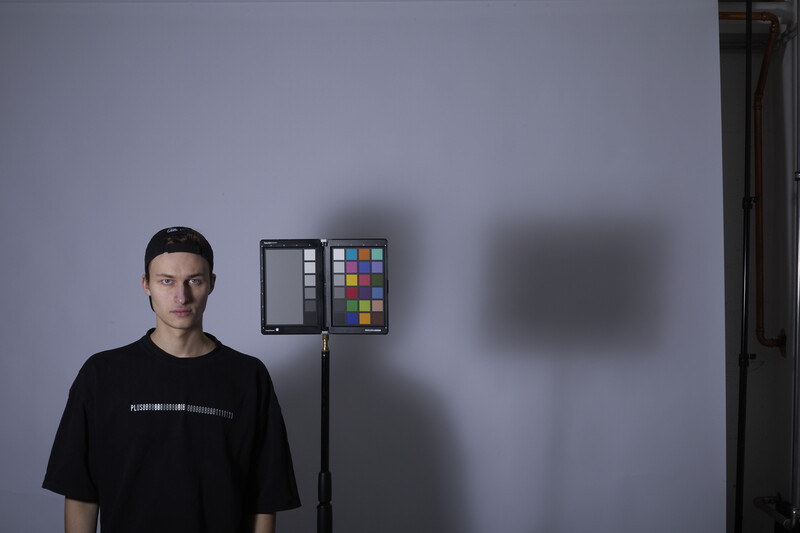
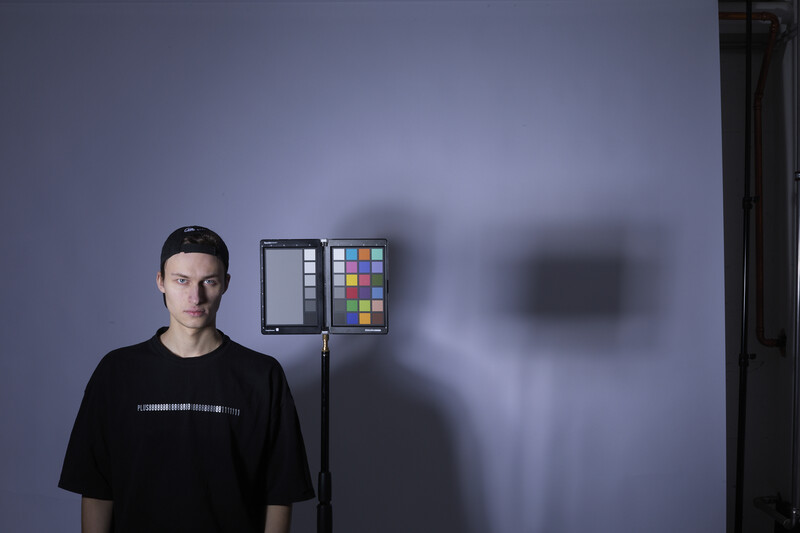
Soft light will be characterized by wide shadow edges and generally low contrast. Hard light will have sharp shadow edges and possibly more contrast.
The hardest light you can get is from the smallest light source possible. Such a source can be a hard reflector or better so, a hard-box. A snoot will give off a harder light as well. Contrary to popular belief, it does not have a dramatic effect on the light spread.
Specular Versus Diffused light
This one is a little harder to explain as it is more nuanced. In short, if the material the subject sees is white, the light is diffused; if it is silver, the light is specular.
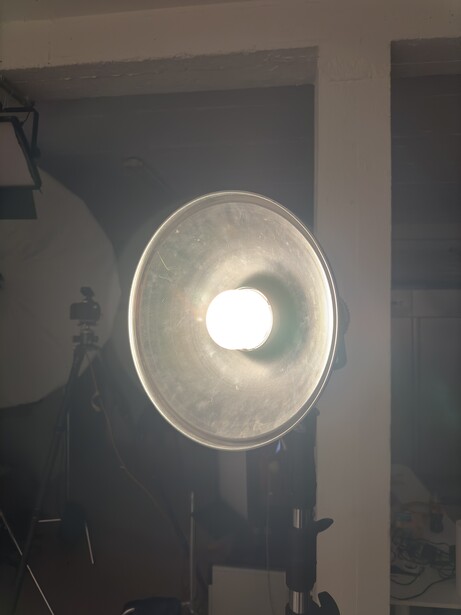
Specular lighting will be less even. If you want to get a lighting pattern out of your hard reflector, make sure to use it without a diffuser. At the same time, if you diffuse a hard reflector, you will get a much more even lighting pattern, which will remain hard.
If we want to dive deeper, we need to understand the concept of specular and diffuse reflection.
Specular reflection is produced by specular materials, such as metal, or some other smooth surfaces. Specular reflection will be mirror-like. Importantly, mirror reflections are not classified as specular; they are optical reflections. Back to my point, because specular reflections are mirror-like and hence direct reflections, the light produced will travel in one direction. This light will be perfect for bringing out details in your subject.
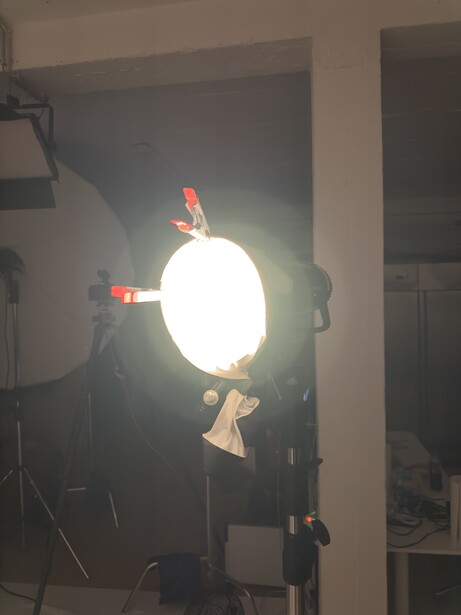
Diffuse reflection is the opposite of specular. Diffuse reflections are produced by rough, dull surfaces. A diffuser will be a perfect example of that. Although it lets light through, it acts as the ultimate rough surface. Colored white to maximize light transmission, a diffuser bounces and kicks the light around to make it omnidirectional. As the concentrated light beam loses direction, it will become even and won’t travel in such a straight line. As such, diffused light is characterized by less contrast, as well as a wider spread. To keep the light diffused but also narrow, a grid can be used. Crucially, if you want to have diffused gridded light, you need to place the diffusion behind the grid. If you place the diffusion in front of the grid, the effect will be negated.
Combining These
Having discussed soft/hard and diffused/specular, let’s see how to make combinations of these lighting qualities. Before going further, it is worth mentioning that these are on a sliding scale.
Soft Diffused
The easiest one to begin with. Simply pick a large modifier with a white surface, or a silver interior, and throw a diffuser on it.
Soft Specular
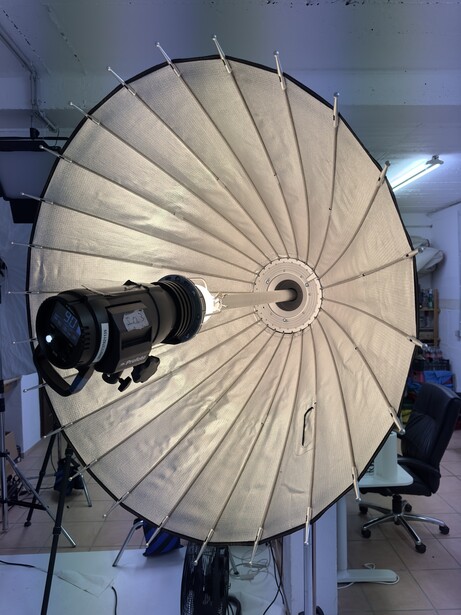
The hardest of the four combinations. It is only possible to make such light with large silver modifiers that accept indirectly mounted lights. Such would be the Profoto giants, true parabolic modifiers, or silver umbrellas. The ultimate soft specular light comes from a Giant 300.
Hard Diffused
Simply take a relatively small light source such as a hard reflector and put some diffusion paper over it. Works great as a key light as it brings out enough detail while also being very even.
Hard Specular
Grab a shiny silver reflector and you're done!
Closing Thoughts
This is it. Now you know the four basic lighting types and can use this knowledge to create images with intention rather than by using lighting setups from YouTube. With this knowledge, you can be in charge of how much detail your image shows and how you light various surfaces. Don't forget, everything that you are lighting is just a surface in one way or another. Nothing less, nothing more.


2 Comments
No matter how much diffusion you put on a hard light, you will not make it softer. - Yes, but… :)
In a room with reasonably low ceilings and bright walls (kind of a place where most people live) you’ll get soft(er) light via diffusion and bounce of all this light from all around.
I'm really interested in an explanation of the colour in the backdrop. Only the first one appears grey like the colour card, the others all have a purple hue. This is something I've been frustrated with in volume portrait work (using a grey backdrop). I have edited in post. I would love to discover a lighting explanation/solution if anyone can offer this? Thank you.