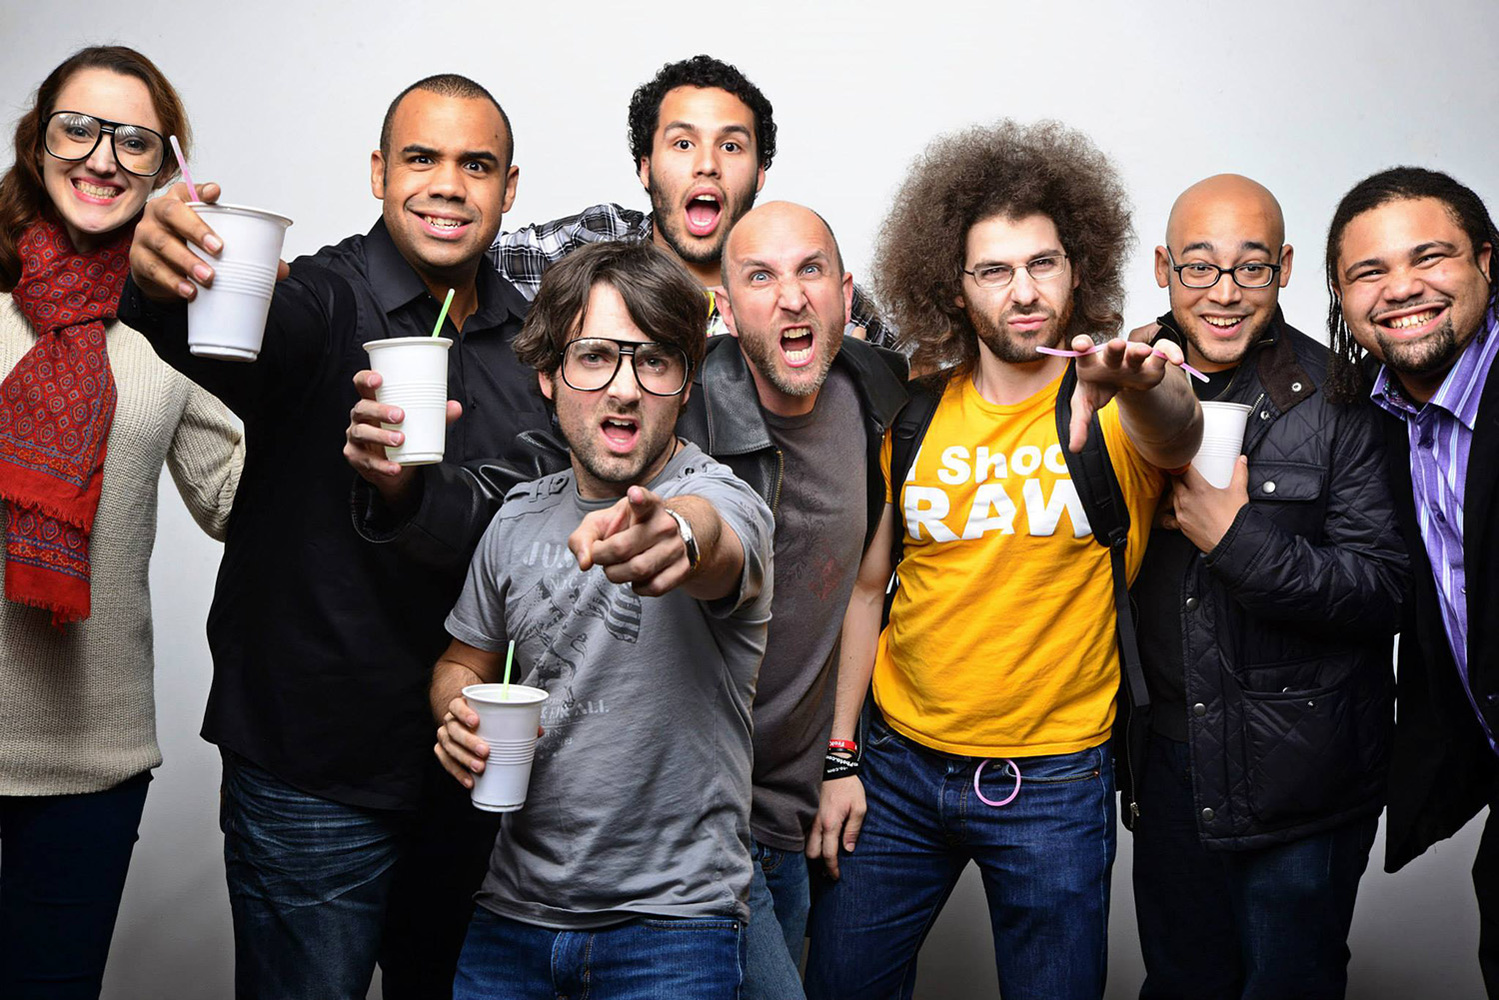
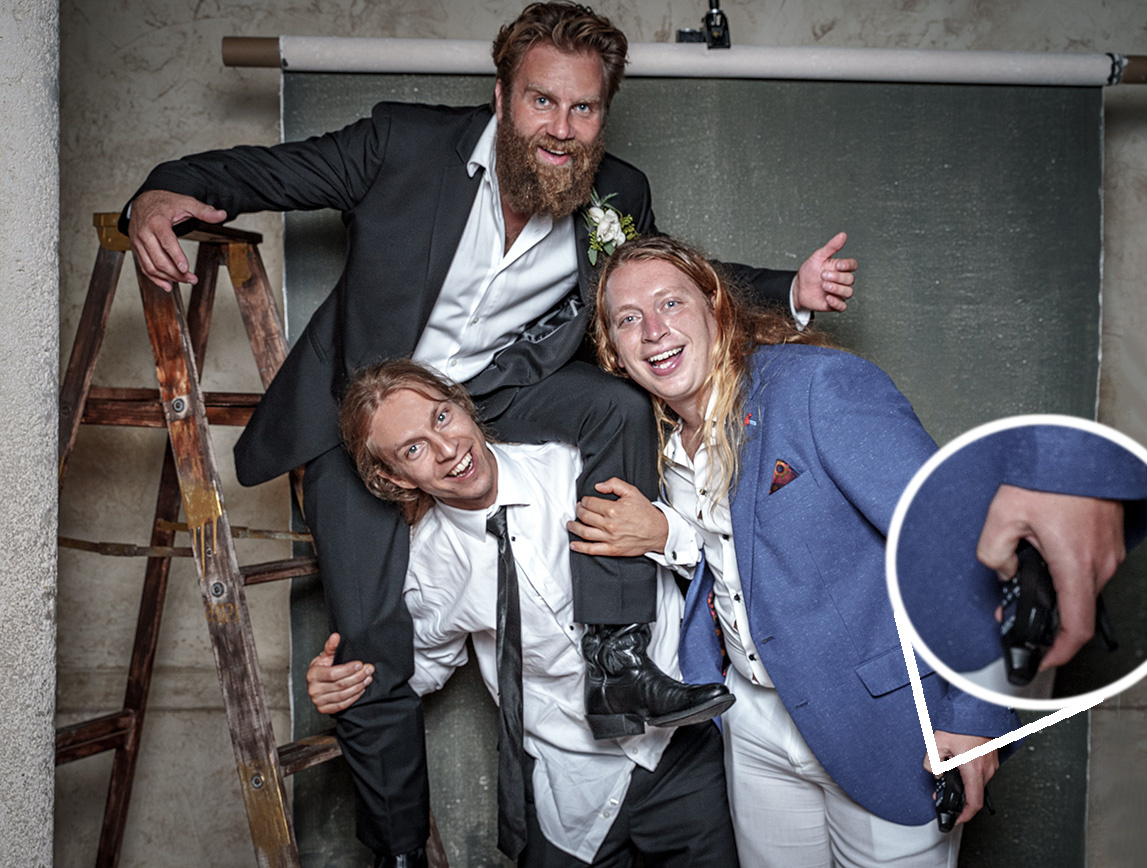
A wedding photo booth can be one of the most entertaining and memorable activities at your wedding. They can also be a total dud and waste of money. In this video, I share my top tips for building a successful photo booth for my wedding!
When I first started shooting weddings, photobooths weren't even a thing. There was a single company in my town who had a trailer and could set up a private photo booth like you'd see at the arcade, but it wasn't something that screamed "wedding service." As digital cameras became more popular and technology made it cheaper and easier to build custom photo booths, more and more wedding photographers and DJs started offering this service as an add-on to their existing wedding business packages. Over the course of my wedding photography career, I made tens of thousands of dollars extra every year just by building a self-sustaining wedding photo booth in the corner of the reception hall.
What I learned from building a few different versions of my photo booth was that there are a few critical design elements that can either make your photo booth a huge hit and life of the party or turn it into a disaster that no one uses, often leaving the bride and groom wondering: "why did we pay so much more for 100 awful photos?"
Add a Printer!
Okay, let's first talk about the sponsor for this article because I think it might be the most important tip of all! Like many couples getting married during this pandemic, Cristin and I had to change our wedding date from January to October. This whole time, I knew I wanted to create my custom photo booth for our wedding, but when DNP Photo reached out to Fstoppers and offered to have us review one of their new DP-QW410 printers (and their WCM2 wireless printer module to connect everything wirelessly), I started reworking my photo booth design immediately. Throughout my career as a wedding photographer, I never once offered onsite printing because at the time, printers were super unreliable, required a ton of maintenance, couldn't print fast enough for the demands of an event, and the cost per print was high enough that it would severely eat away from my bottom line. Needless to say, I was both excited and a little skeptical to add a printer to this new photo booth design especially since, well, I was the groom and would have zero time to attend to any printer problems during the big day. 
As you will see in the video, the DP-QW410 worked out perfectly and was a huge hit. Because it uses dye sublimation instead of ink, the prints look much more vibrant, they don't smudge, and it takes all of 20 seconds to spit out each print. It's also pretty compact at around 8 cubic inches and weighs just 13 pounds. Each roll of 4x6 media and paper prints out 300 photos which equates to about $.21 per print.
The best thing about adding a printer to your photo booth setup is it gives you something physical to send home with the wedding guests. I've shot over 200 weddings in my career, and I've probably handed out a business card 30 times or less. Marketing and branding your wedding business is unbelievably important if you want to find a steady stream of clients in this field of photography, but unfortunately, the actual day of the wedding is one of the most difficult and hectic times to try to connect with a potential customer. Having a photo booth that prints physical prints might be the absolute best marketing tool because, unlike business cards that will probably get thrown away 90% of the time, a photo featuring your best friends will almost always make it to Facebook or a refrigerator door, where it can be seen over and over again.
Create Professional Lighting
If you are going to send guests home from a wedding with an image from your photo booth, your image quality and lighting better be amazing. After all, you are a professional photographer! When it comes to crafting beautiful lighting, you can land anywhere on the spectrum from a simple one-light setup to a full-blown studio set with five lights.

My suggestion is to go with something simple and clean and save a few of your lights as backups in case something goes wrong (which eventually will happen). My rule for my own wedding business was to have at least one spare of every single thing I needed at a wedding. This meant at least two cameras, two lenses, two speedlights, two studio strobes, two tripods, and two of every cable (if not more). So, if you design something with a key light, hair light, and background light, I'd advise you to have three extra lights as backup or be prepared to quickly simplify your lighting if one light decides to stop working.

For this setup, I wanted to keep it as simple as possible and rely on just one Profoto B10 light boomed up from above with one of my favorite light stands, the Manfrotto 420 boom stand. For the modifier, I used a very basic 43" Westcott Deep Diffusion Umbrella that I aimed down to control the spill on the background and give my subjects a little more mood. As the night went on, my friend Peter Hurley decided to change the lighting angle to decrease the mood and make it a little more normal, so if you notice the lighting changing throughout my photos, that is what happened (the joys of having 30 photographers at your wedding).
Open Up the Space
As I mentioned in the video above, I was never a fan of the private little photobooths that only accommodate 3-5 people at a time. It is kind of a bummer that the phrase "photobooth" immediately makes people envision a booth or small room when that is the complete opposite idea of what I wanted for this photo area. Traditional photo booths are rarely exciting and are never the life of the party. Instead, I wanted to create a highly visible area that everyone at the dinner tables to the dance floor could watch and find entertaining.
In the past, I used to travel to all my weddings with a 7-foot by 8-foot Lastolite HiLight backdrop. What's cool about this backdrop is you can either use it as a grayish background or you can fire a light or two inside the cavity to easily create a pure white, high-key, background. It also collapses easily much like a reflector or scrim so you can fit it in the trunk of a smaller car.

For my wedding, I wanted something different than what I built for my entire wedding career. Playing off the whole Annie Leibovitz, Vanity Fair concept, I decided to hang a hand-painted backdrop by Gravity Backdrops against the already interesting stucco wall found in the reception hall. I spent a good bit of time scouring through their website looking for the perfect color backdrop with just the right amount of distressing to fit a wedding vibe. I didn't want any light stands in the setup, so instead of using a traditional background stand setup, I bought a heavy umbrella base off Amazon and hung the backdrop from the middle with a few super clamps. This worked great and allowed the edges of the painted background to show, unobstructed by ugly light stands.

Release the Power
The next trick to having a successful photo booth is giving your guests the power to fire the camera remotely. I am not a fan of photo booths that use a screen to count down before the photo is taken because the latency between the final countdown and the moment everyone expects the camera to fire is pretty substantial. Instead of relying on the camera or photo booth software to fire the camera, I prefer giving my guests something like a PocketWizard or radio remote control so that they are in complete control over the camera.

This seems like such a trivial concept, but it makes a huge difference in the resulting photographs. When your guests can trigger the camera and all your professional lighting, they will be able to freeze action at the pinnacle moment. This will allow them to come up with the craziest ideas and create images that look much more dynamic. Now, some manufacturers and specific camera models are easier to fire remotely than others, so you want to research which camera system would be best for your photo booth. In the past, I used Nikon cameras that required the 10-pin cable, but this time I used a Sony a7S III, which uses a Micro USB cable.
Put It All Together
The final thing in making your photo booth a success is putting everything together and finding what works and what doesn't. When you start offering a photo booth in with your services, things are going to change here and there, and you will probably streamline the setup with every wedding you book. The most important thing is consistency and automation. If anything gives you trouble, put in the extra work afterward to find a way to make it work even more smoothly the next time. A good photo booth should run completely on its own with very little input from you. Photographing a wedding can be stressful at times, and the last thing you want is to be distracted from capturing the events of the reception because your photo booth is acting up (trust me, I've been there).
Once you create a specific look and lighting setup, I think it's important to maintain that overall design at all your weddings. You want something that looks clean and recognizable. If you give your clients too many custom options, you might lose the reliability you worked so hard to create, and a ton of new problems might occur. Having a unique-looking photo booth is super important, but once it's dialed in, I'd recommend filling your portfolio only with images from that one setup.
Finally, when you meet with your potential clients for the first time, you need to figure out how you want to market the photo booth to them during that meeting. Most of my potential clients had a preconceived notion of what a "photo booth" was because they saw something cheesy or super private at their friends' weddings. I would often open up the photo booth conversation by saying my photo booth wasn't a photo booth at all, and it was unlike anything they've probably seen at a wedding. From there, you can tell them how fun and active the photo booth will be at the wedding and how it often pulls people who might not otherwise dance and gets them out of their seats. If you can persuade your clients how much fun your photo booth will add to their reception and show them how it gives their guests the power to take group photos and crazy photos all on their own, I have no doubt you can add a ton of income to your business while also providing fun and exciting photos to your clients.


Dude this is epic! Awesome vid and images.
That's pretty rad!
Thanks for the update on your now-classic original photo booth description, Patrick. The printer idea with custom overlay seems brilliant. A lot of software connections here but the results seem worth it and the process in action seems insanely fun. I'm boggled by the VIP list of photographers you've got in the video ... hopefully they were not all offering advice at the same time! And congratulations on your wedding!
You won’t see a photo booth at a high-end wedding.