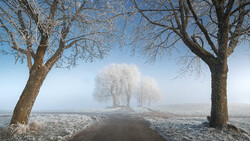
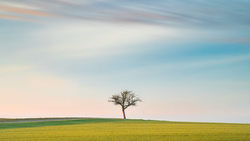
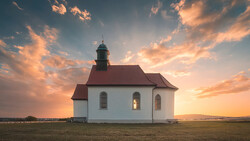
Complex lighting in outdoor scenes often hides important details in both the brightest and darkest areas. Knowing how to bring out those hidden elements through careful editing can elevate your photos to the next level.
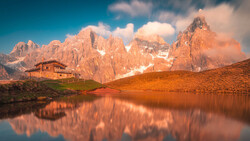
Coming to you from Christian Möhrle - The Phlog Photography, this detailed video focuses on advanced Lightroom methods for working with HDR landscapes. The process begins by merging multiple exposures to create an HDR base file, essential for handling challenging lighting scenarios with bright skies and deep shadows. Once the merge is complete, Möhrle adjusts the Adobe color profile to Adobe Landscape for a more vibrant look. This step alone boosts saturation right from the start, creating a solid foundation. To ensure details are visible in the darkest areas, he raises the exposure and shadow levels. The result is a brighter image, but controlling blown-out highlights remains key.
The next part emphasizes how Möhrle fine-tunes contrast and color using local masking tools. Through these adjustments, you see how separating areas like the sky and foreground helps keep colors under control while enhancing specific parts of the image. For instance, a linear gradient mask applied to the sky adds depth by reducing exposure in the blue areas, making clouds stand out. Another mask enhances the reflection in water by boosting clarity, giving the scene a polished yet realistic touch. These small but precise moves give the image a unique feel without overdoing it, keeping the look natural yet stylized.
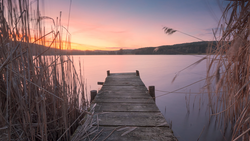
The color correction process stands out as particularly valuable, especially when dealing with varied tones. Möhrle demonstrates how to use the color mixer to shift hues and ensure consistency across the image. For example, he tweaks the green hues to make them more yellow, harmonizing the tones between the sky and foreground. The subtle shifts bring balance to the photo, making it visually cohesive. He also uses split toning to introduce warmth to highlights and cooler tones to shadows, creating a pleasing color contrast. These steps are crucial for anyone aiming to achieve a professional and intentional look in their edits.
Möhrle’s use of the calibration tool at the end is a nice touch, further enhancing the reds and blues without overwhelming the composition. He wraps things up with sharpening adjustments, ensuring fine details stand out. This final stage helps keep the image crisp and refined, setting it apart from an unprocessed photo. Throughout, he keeps the process manageable, showing that even complex edits can be approached in an intuitive way. Check out the video above for the full rundown from Möhrle.
And if you really want to dive into landscape photography, check out our latest tutorial, "Photographing the World: Japan II - Discovering Hidden Gems with Elia Locardi!”

Join the Fstoppers community for free
-
Post comments and join in the discussions
-
Browse the site ad-free
-
Share your work and get featured in the community
-
Compete in the photo contests for fun and prizes
No comments yet