
When autumn arrives, it's time to photograph mushrooms. Creating something unique can be challenging, but you don't need to use the most expensive or elaborate equipment, nor do you need a macro lens. I have some nice ideas for you when you go out photographing mushrooms.
A macro lens enables you to capture small subjects at a 1:1 size ratio. This means the subject appears the same size on the sensor. If a mushroom is 2.4 cm in height, it will also be 2.4 cm on the sensor. For example, with a full frame sensor measuring 36 x 24 mm, the mushroom fits perfectly within the frame. However, with a mushroom that's 3 cm in height, it won't fit with a 1:1 magnification anymore.
It's wonderful to have a lens that allows you to get up close to mushrooms and achieve this impressive 1:1 magnification. However, for mushrooms, you don't have to use a lens that offers such a magnification. Even a lens that is limited to 1:2 or even a 1:4 magnification can be used for photographing mushrooms in a wide variety of ways.
About Perspective and Gardening
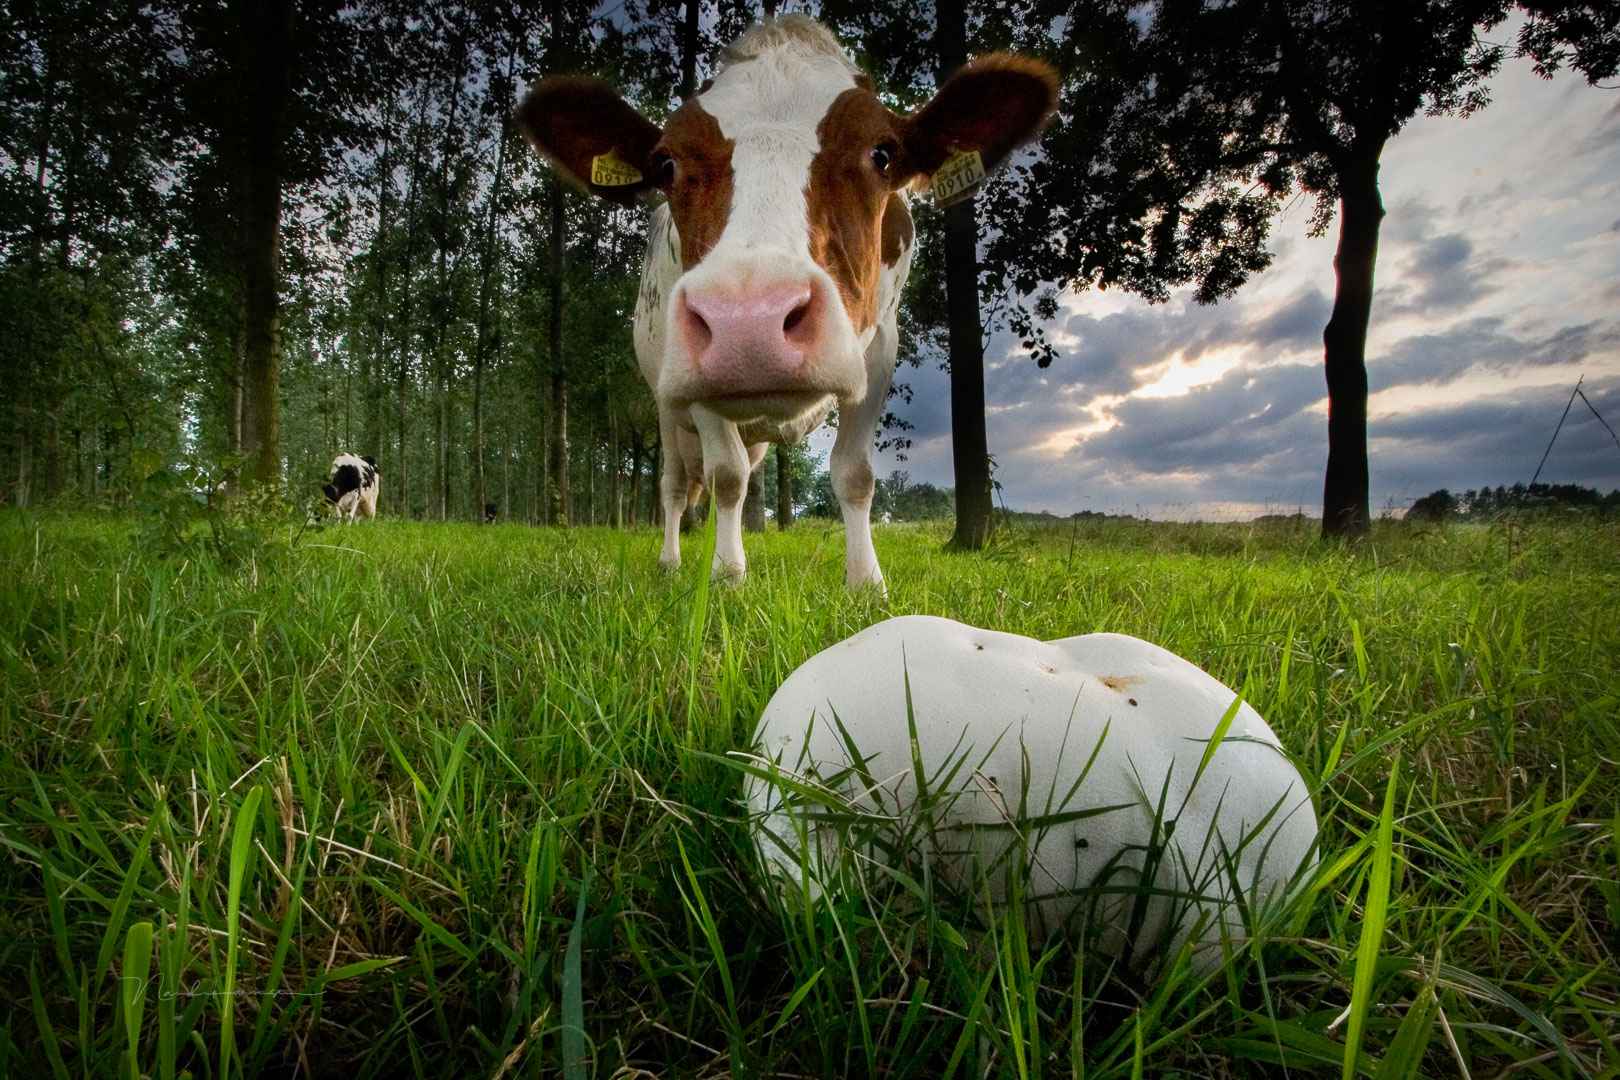
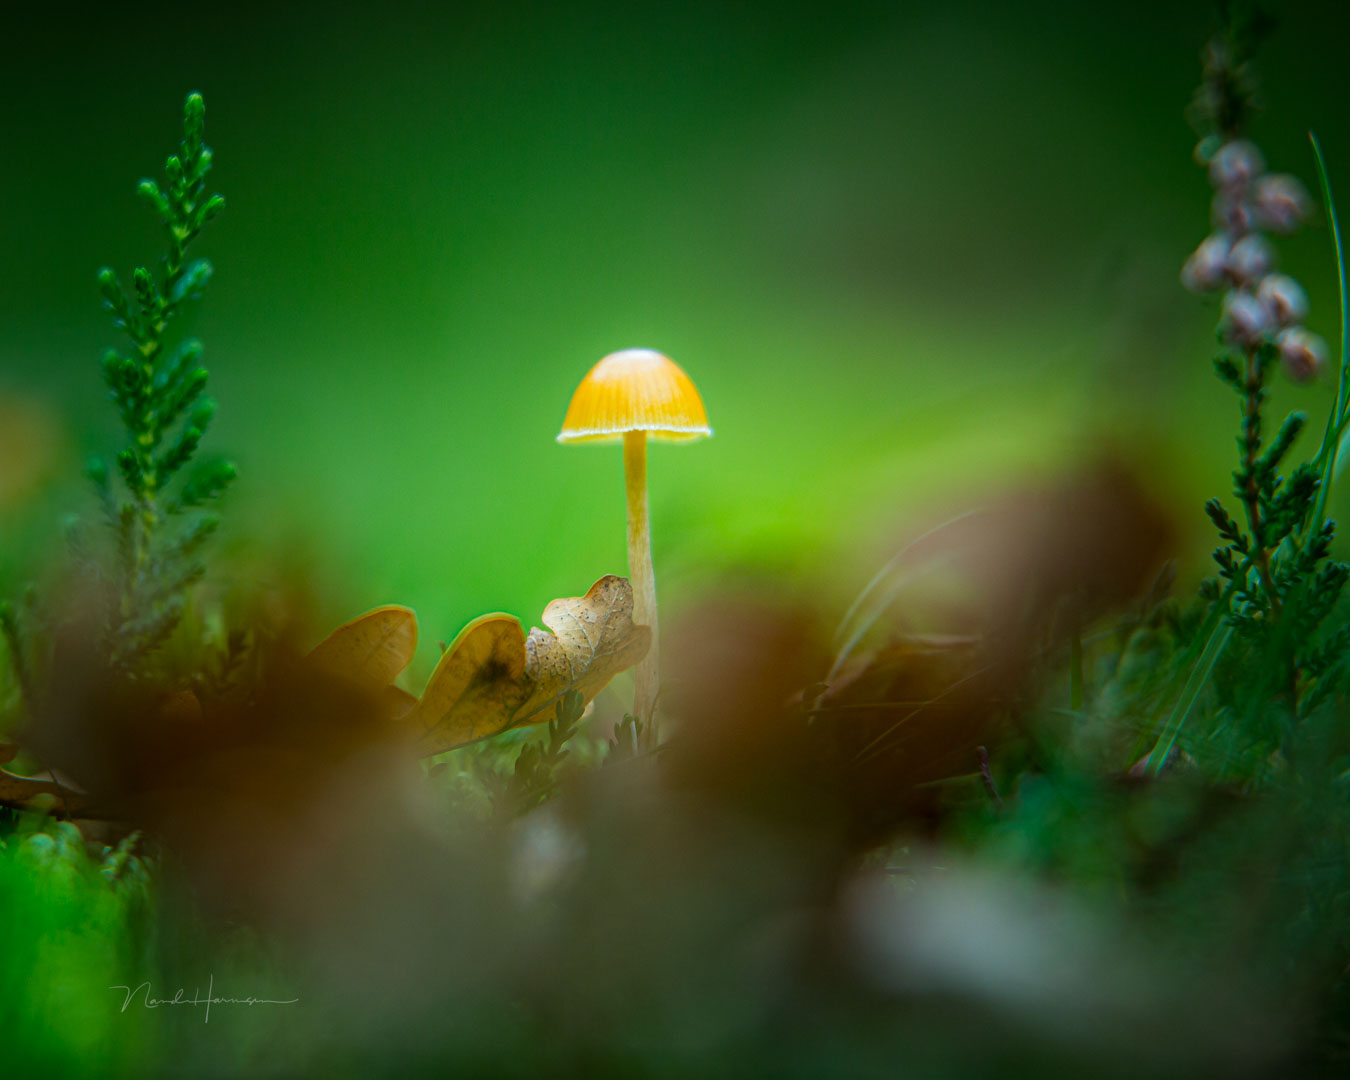
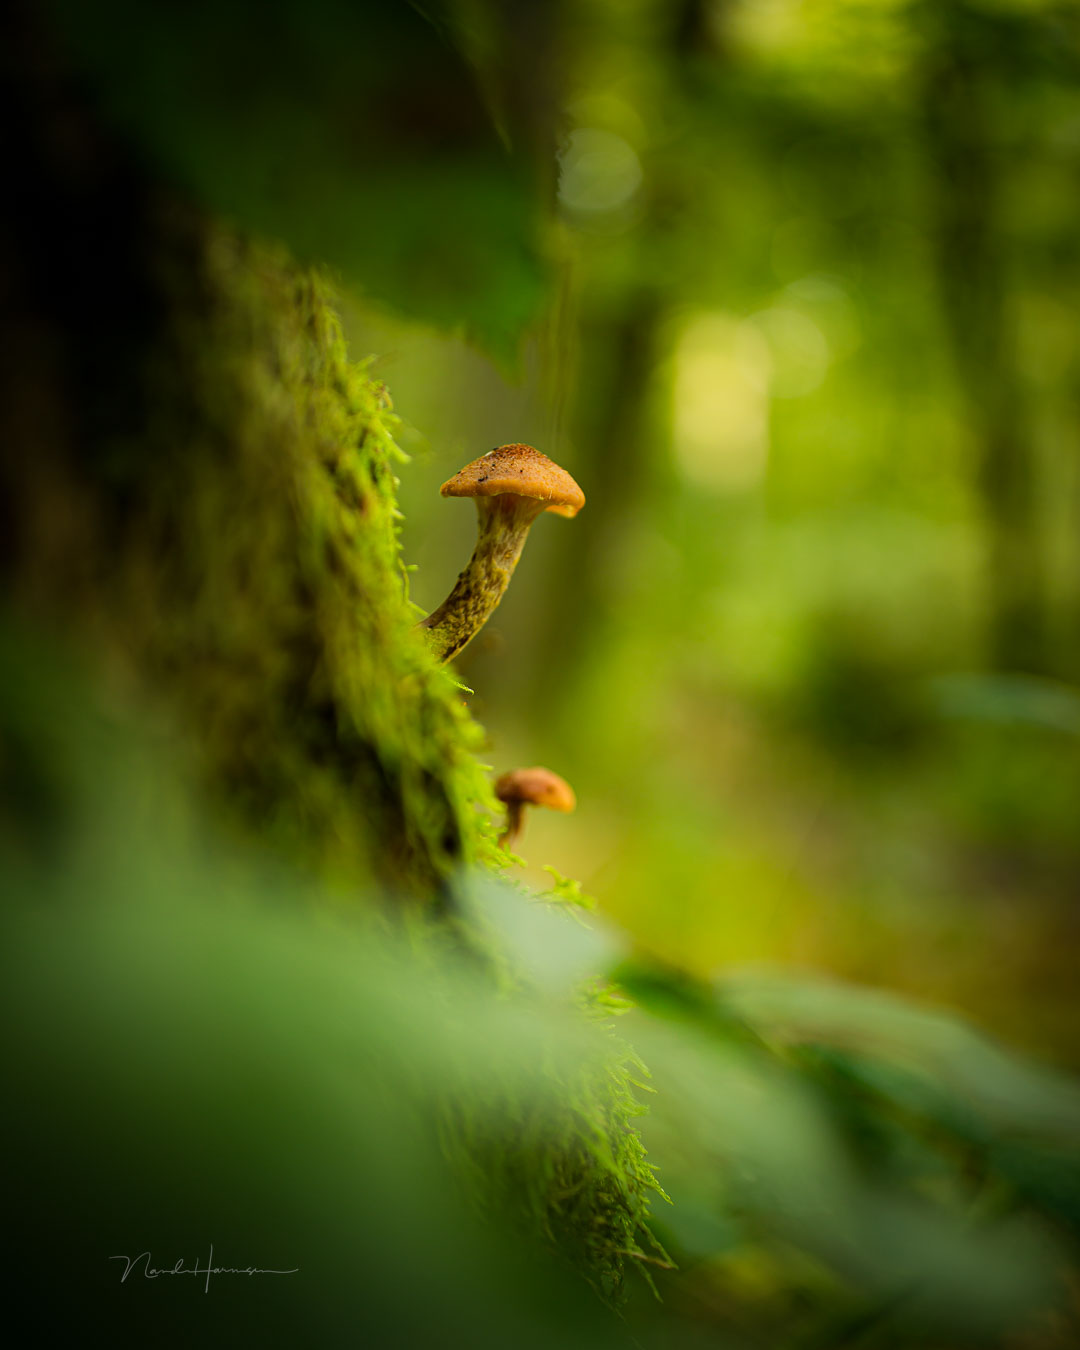
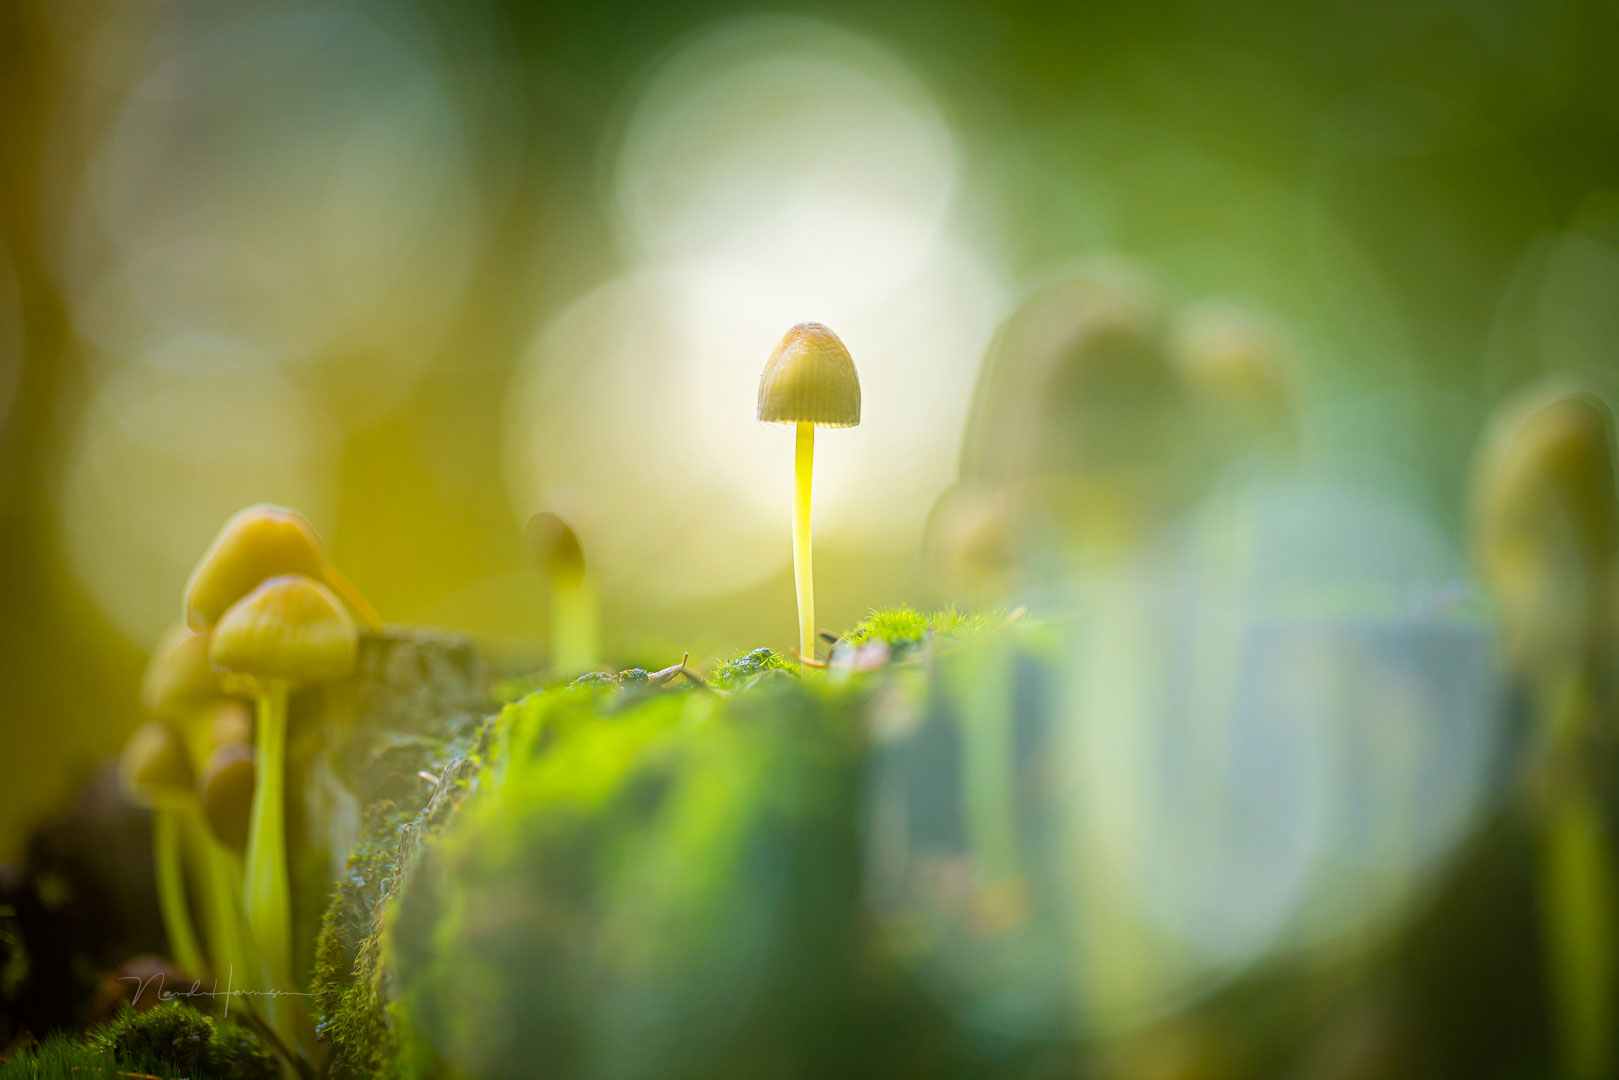
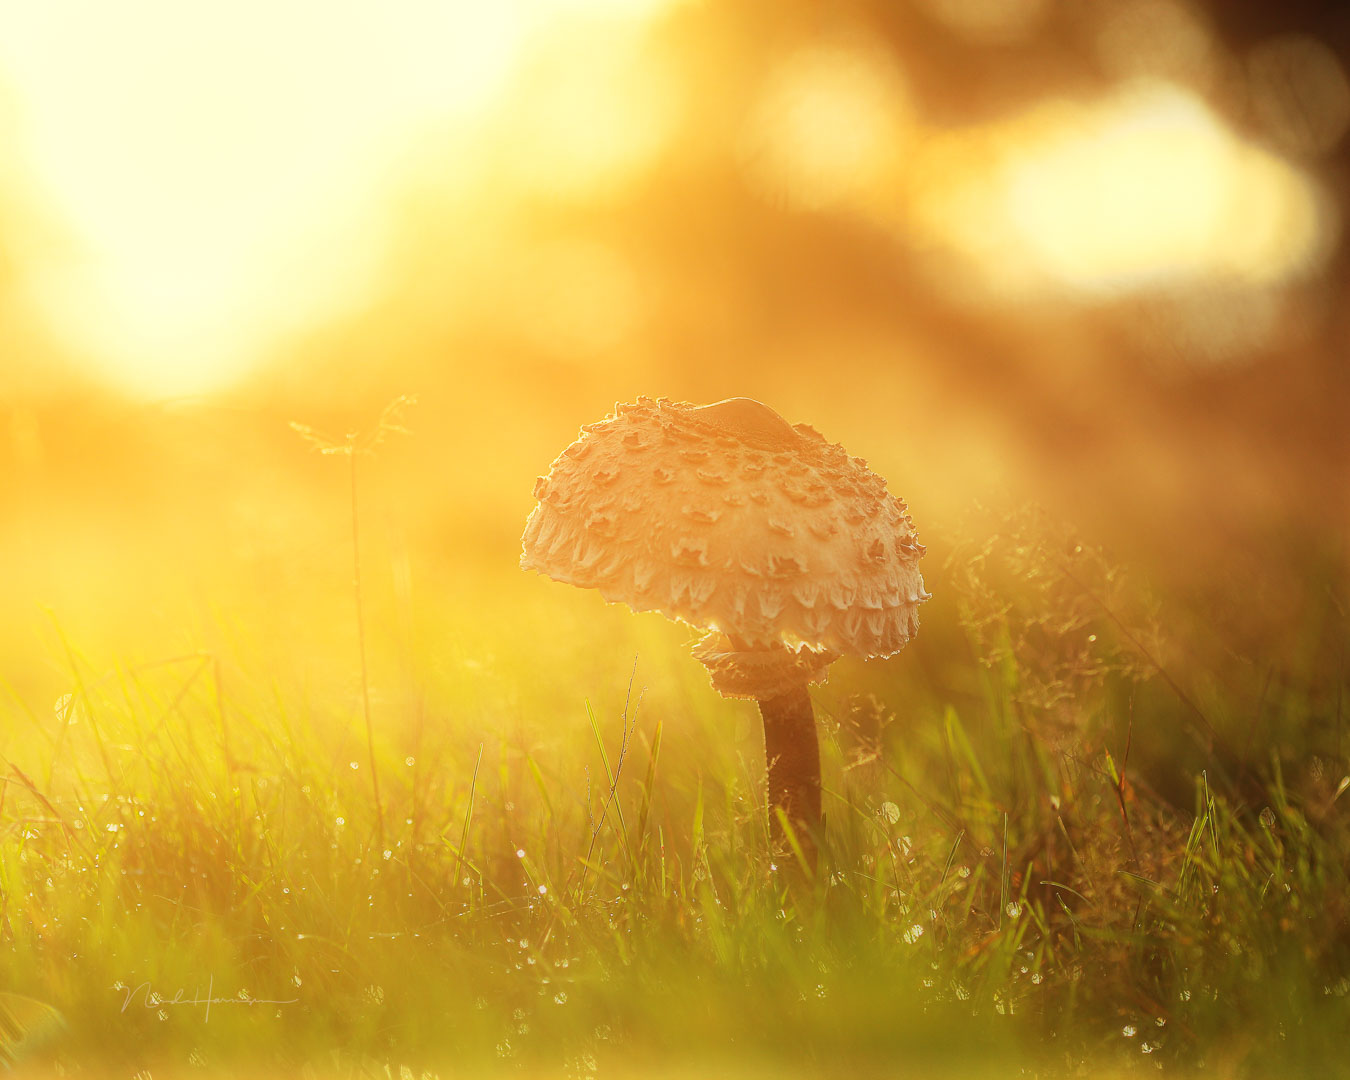
Since we're discussing mushrooms, use the perspective of a gnome. In other words, get low, down to the forest floor. This perspective opens up various possibilities, such as incorporating the surrounding environment into the background. Capture the light filtering through the leaves as a backdrop. If you have a lens with a wide maximum aperture, you can attempt to include bokeh circles in the background. You can also experiment with shooting through grass or leaves in the foreground.
Use a wide angle lens to show a lot of surroundings, or choose a telephoto lens to isolate the mushroom from the background. Remember, it’s not necessary to fill the frame with the mushroom. Make it a part of a creative composition.
Be cautious, though, as the low perspective can introduce clutter into the frame. It's advisable to do some "gardening" by removing pine needles, leaves, and other distractions. Some photographers even use a small brush to clean dirt from the mushroom caps.
This gardening is also recommended if you're using a bird's-eye perspective (or should I say, the perspective of a large troll?). While this perspective is not always the best choice, it can be suitable at times, particularly when a group of mushrooms grows in an interesting pattern or a "witch circle." Just strive to eliminate most distractions without harming the environment. That's essential.
The Alternative To a Macro Lens
If your lens doesn't allow you to get close enough, cropping can be a solution. Alternatively, you can use extension tubes. Keep in mind that extension tubes have their downsides, such as reducing the available focus range. However, since you don't need to focus to infinity when photographing mushrooms, this limitation isn't much of an issue.
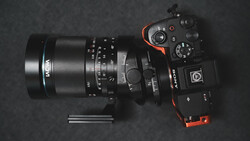
Combining an extension tube with a zoom lens provides flexibility in focusing and magnification. I typically use a 12mm or 25mm extension tube with a 135mm or 70-200mm lens. The advantage of a long focal length is the ability to maintain a comfortable distance, allowing for unique composition possibilities.
You can also use a standard lens or even a wide angle lens with extension tubes, although the latter can be challenging due to the extremely close focus distance. However, this approach can produce some unique results.

Using Additional Lighting
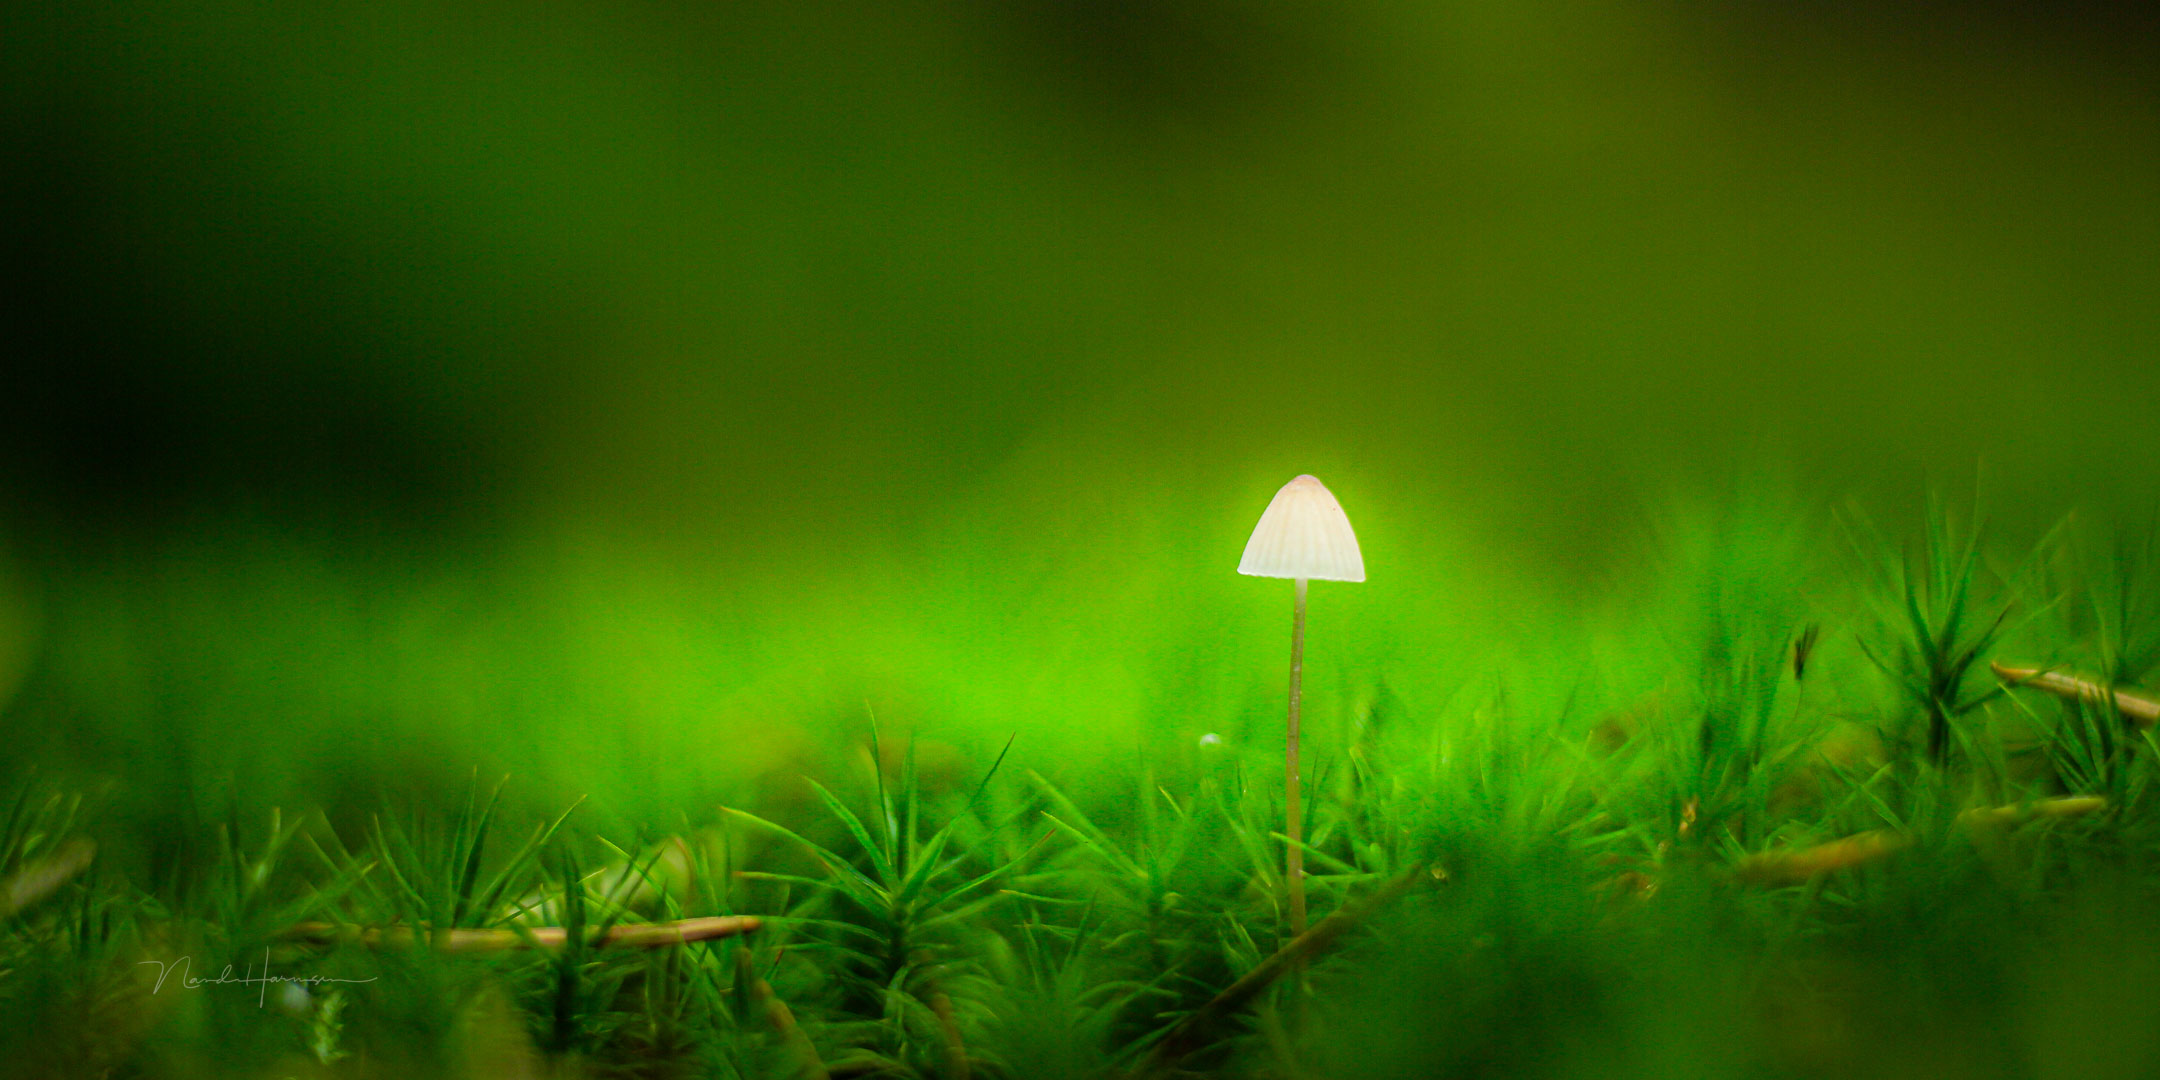
While natural light can be enchanting, you can enhance your options with an additional light source. You don't need a powerful flashlight; even a small torch can be effective at times. However, a flash can be used to overpower sunlight at these close distances or to illuminate a mushroom while keeping the surroundings dark. Experiment with different colors of light by using color gels for your flash. Using multiple light sources and different color gels can create fairytale-like scenes.
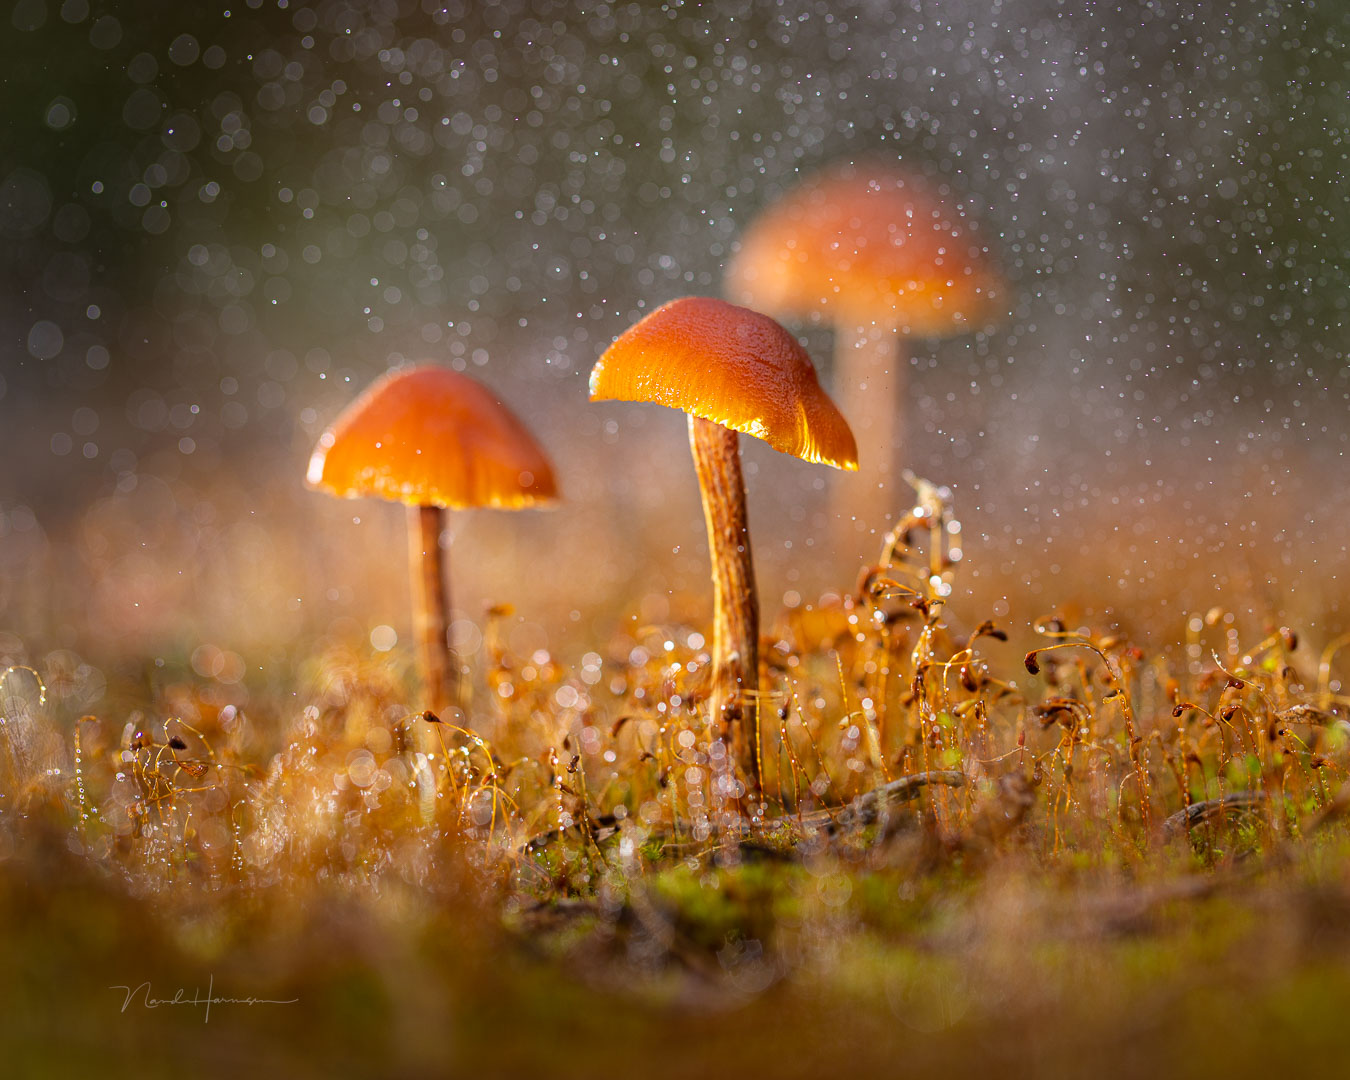
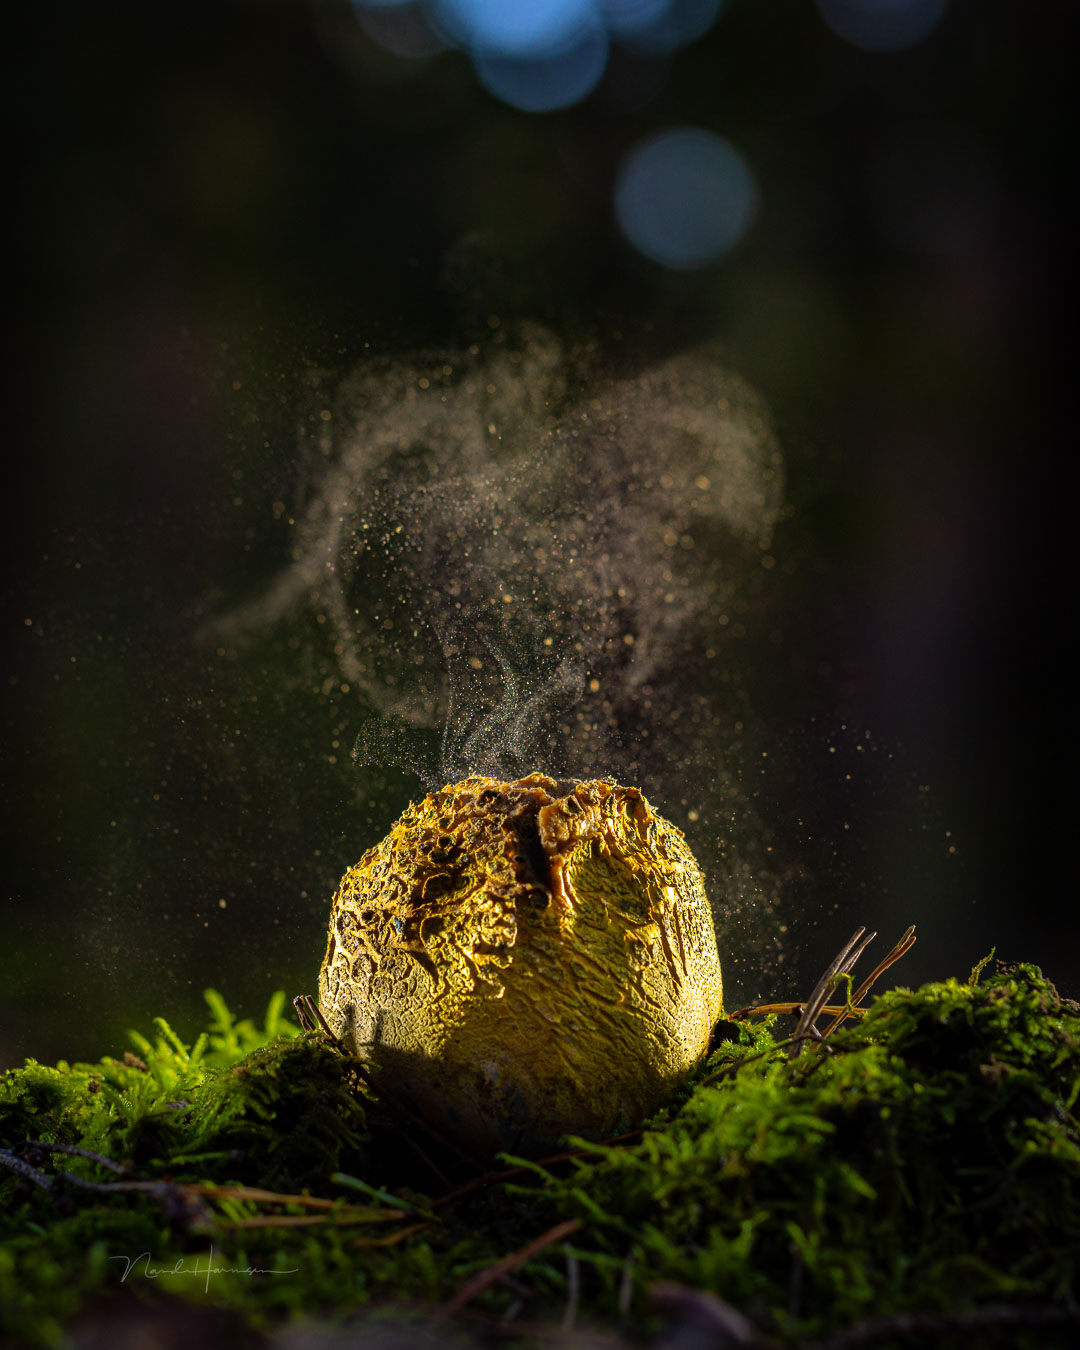
A flashlight also opens up other creative possibilities. You can make mushroom spores visible when lit from the right angle or simulate rain with backlight and water spray. Use a mirror or reflective aluminum foil as a backdrop. Use your imagination and you will find even more creative possibilities.
Another Creative Approach
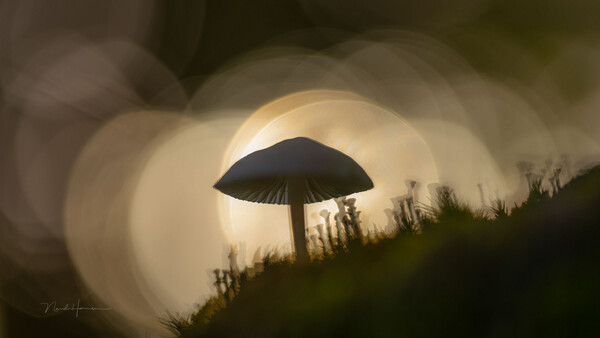
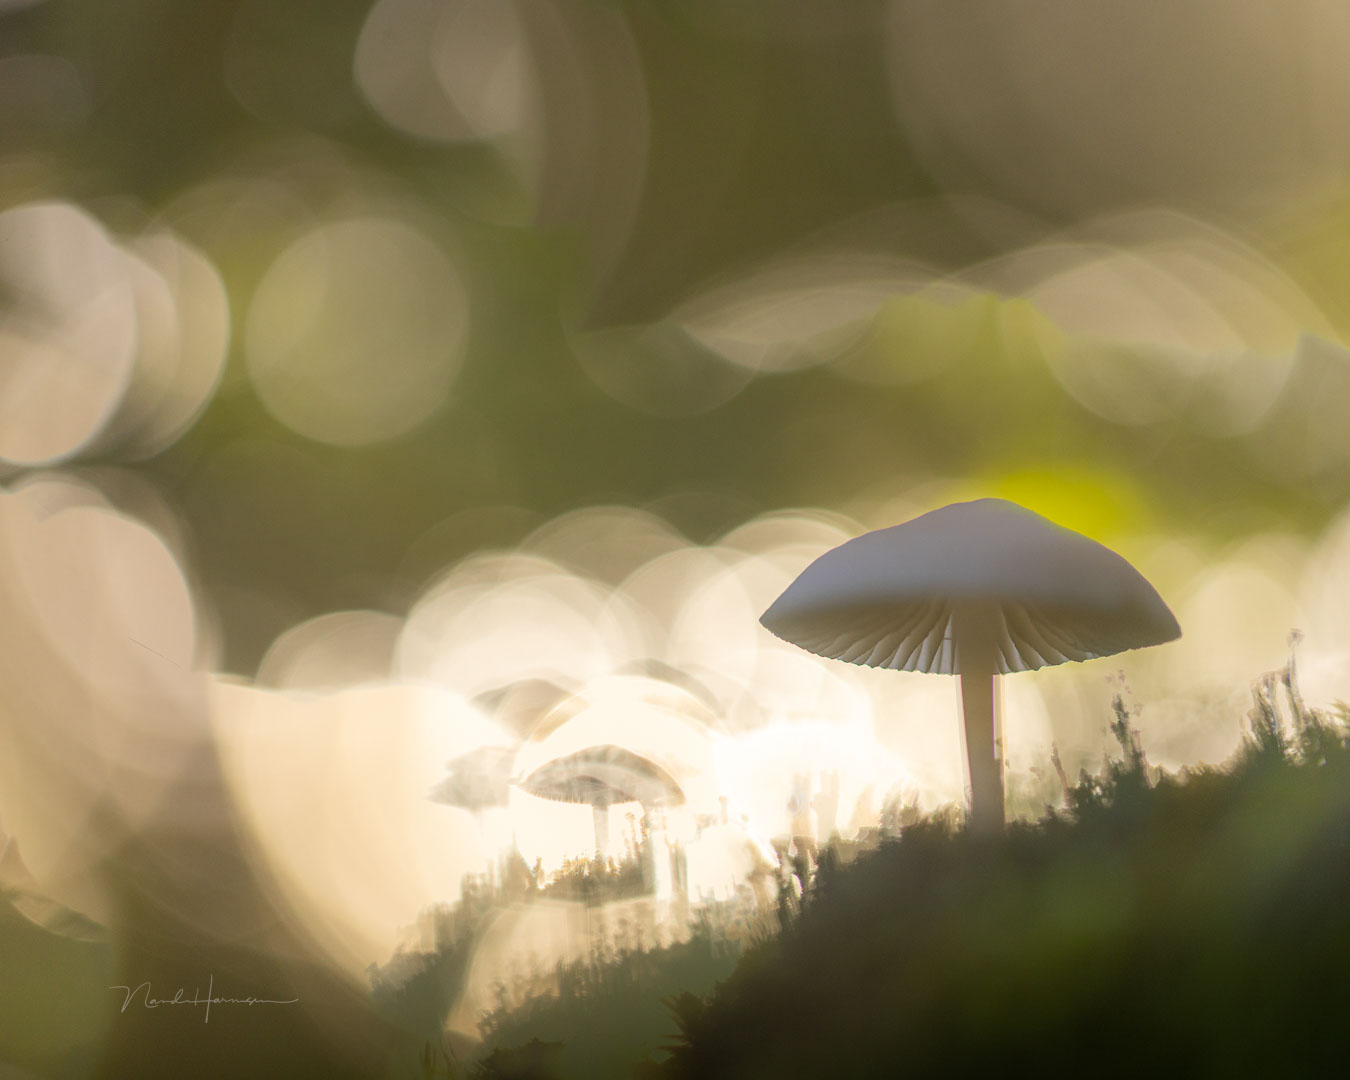
For even more creative mushroom photography, explore shadows, silhouettes, and bokeh circles. Combine this with the use of flash if necessary.
A shallow depth of field produces bokeh circles when there are light spots in the background. Placing a single mushroom in the foreground, outside the depth of field, can result in a sharply defined silhouette within the bokeh circles.
This technique may require practice and may not work in every situation. However, if your camera supports multiple exposures, silhouettes of mushrooms in bokeh circles can be achieved with double exposures. You can also experiment with the so-called Orton effect by combining a sharp and an out-of-focus photo.
You Don't Have To Find and Photograph Rare Mushroom Species To Make It Special
While discovering rare or special mushroom species can be exciting, a simple photo of a rare species alone doesn't make it a special photo. In such cases, it's merely a photo of a unique species, not a special photo of a rare mushroom.
In fact, capturing amazing mushroom photos doesn't require a rare species. Photograph the ones you come across, no matter how common they may be. The advantage of common species is that they're abundant, allowing you to find them in the most ideal and photogenic locations.


Join the Fstoppers community for free
-
Post comments and join in the discussions
-
Browse the site ad-free
-
Share your work and get featured in the community
-
Compete in the photo contests for fun and prizes
1 Comment
Regarding extension tubes, I have a full set of Kenko tubes for my Nikon lenses and really like the electronic connection, but had to buy a fully manual 8mm tube for my wider lanses ... not fun but what can you do!? I don't do it enough to justify a specialty WA macro lens.