

Want to easily create a 3D model from a set of photos? Find out how to do it in this tutorial.
In the first article of this series on Creating 3D Models Using Computational Photography I outlined the concept of 3D vision and how photographers have exploited stereoscopy for over 150 years to produce stunningly immersive views of a landscape that once was. One step on from stereoscopy is photogrammetry - not only can you view in 3D but also create accurate 3D models. Photogrammetry has been around for the best part of 100 years, but it was the advent of digital photography, fast PCs and new "Structure from Motion" (or SfM) software that has led to a revolution in its use. We are now seeing applications across the full breadth of the sciences and arts, but what is more impressive is the egalitarian nature of the software. It is low-cost or free and allows anyone to produce 3D models of high quality. So, how do you actually go about doing it?
Shooting Photos
The general rule of thumb is that you want sharp, well-exposed photos, however, the software will automatically reject images that aren't good enough. This means that photos from any camera will work and, indeed, the proof-of-concept for SfM was crowdsourcing photos from the internet. However, the quality of your 3D model will depend upon the quality of your imagery. As they say, GarbageIn = GarbageOut. There are three key aspects to delivering good imagery:
- Texture: texture drives the reconstruction of 3D. Your images should be in focus with a wide depth of field, so all the caveats that relate to landscape photography apply here. Low ISO settings to minimize noise and maintain good dynamic range - if you find your shutter speeds dropping (and your object is stationary!) then using a tripod is essential. The Expose to the Right method will allow you to maximize the amount of information the sensor collections. One key element is reducing the amount of contrast through even lighting - you want to avoid shadows which kill texture. If you are shooting outside, then overcast skies will give diffuse lighting and so much better contrast.
- Overlap: SfM works by identifying the same features across a large number of photos. The photos, therefore, need to overlap and by large amounts. In general, this should be in excess of 80%.
- Convergent imagery: imagine a point in the center of your feature. Aim your camera at this point when shooting. For an object (e.g. car) that you can walk around this is easy - you just point your camera at the center of it, slowly moving around it, taking a photo every few meters. For a flat feature (e.g. building front) this is less easy as you can only walk parallel to it - in this situation stop every few meters and shoot a panorama (as if you were going to stitch it) of the entire feature. Remember that in both these situations you need lots of overlap!
For this tutorial, I visited the Albert Memorial in London's Hyde Park. Shooting with a Fuji M1, using a Fuji 27mm f2/8 pancake lens. I worked in aperture priority at f5/6 using spot focus. I moved around the memorial and every few meters shot three photos as a panorama (270Mb download for those that want to use these). Retrospectively I should have used spot metering on the memorial itself. Once you've collected the photos you need to convert them to JPEG or TIFF for use in the SfM workflow.
3D Model Creation
There are a number of SfM software products on the market, both open source and commercial. One of the more popular commercial products is Agisoft's Photoscan - the Standard edition is fine for most 3D model work (and is a steal with an educational license), but those wanting the extra features that will often be used in complex model creation will want to jump up to the Pro version. There are open-source alternatives such as Visual SfM although many are not as well supported or developed, however, there is a range of online tutorials which provide an easy way of using them. This online article provides a review of some of the main free products (and compares them to Photoscan) which is worth reviewing if you are considering using alternatives.
Using the photos I shot in the previous section, the next steps show how to get to a working 3D model.
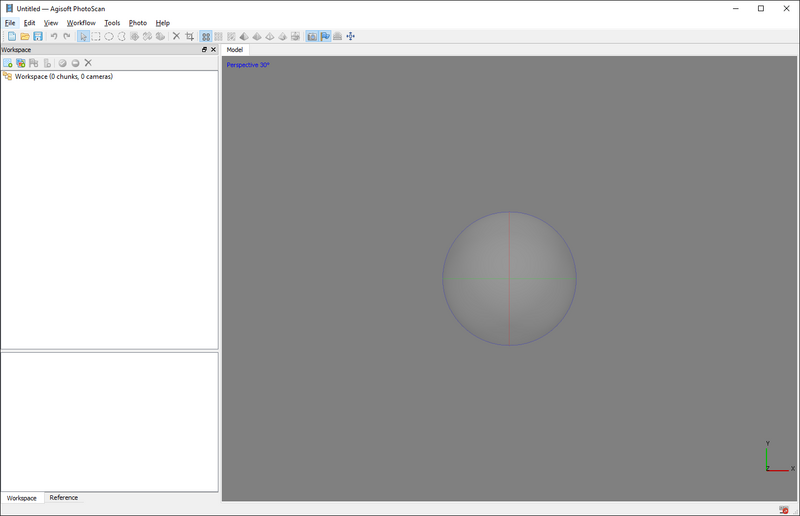
1. Install Agisoft Photoscan and run the application.
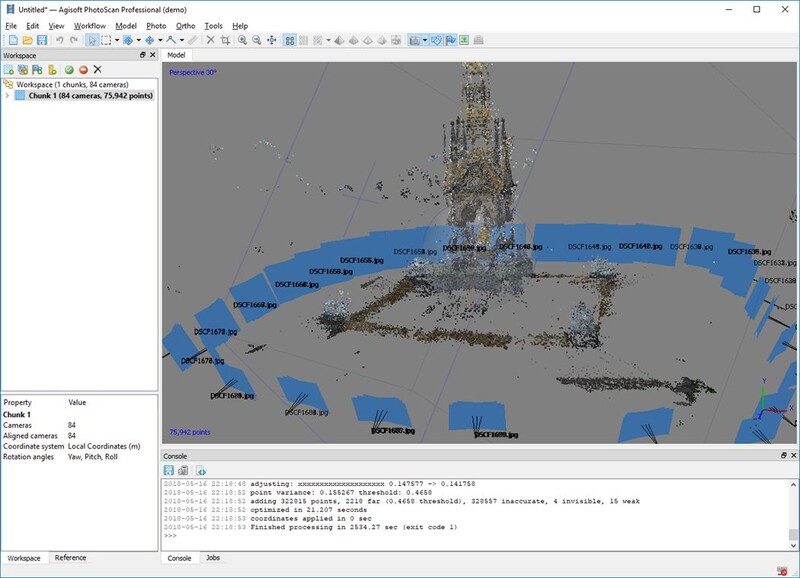
2. From the Workflow menu, click Add Photos to import the JPGs (or TIFFs) you shot earlier. The screenshot shows 84 images of the Albert Memorial in London. You can double-click a photo to load it or go to View->Panes->Photos to show thumbnails of them all.
3. From the Workflow menu, click Align Photos to start the first stage. Set Accuracy to Highest and Generic Preselection to Disabled. Under Advanced set the Key point limit to 100,000 and Tie point limit to 40,000. Depending on your computer, how many photos you have and their resolution, this should take 10-20 minutes to complete and will detail in the left pane how many cameras have been positioned (or aligned) - in this case, all 84, generating 75,952 points in the process.

4. From the Workflow menu, click Build Dense Cloud. Leave the Quality at Medium and, under Advanced, set Depth filtering to Aggressive. This will likely take (much) longer to complete.
5. To view the model you need to click on Model->View Mode->Dense Cloud. You should be able to move around and zoom in and out using the mouse.

For some earlier work, I produced this 3D model of Rushton Triangular Lodge. It's worth noting that it most cases Photoscan works fine and aligns the photos without any problems. However both the models presented here are good examples where that doesn't always happen - for the memorial and building, each side is similar to others and Photoscan can get them confused, placing photos incorrectly. In instances such as this, you will want to experiment with Generic Preselection and the Key point and Tie point limits.
Drop a comment below for any models you've created and post links if you've got them online. SfM is a niche, but very active, community! The final installment on using SfM to create 3D models will look at how to present them on the web.


Join the Fstoppers community for free
-
Post comments and join in the discussions
-
Browse the site ad-free
-
Share your work and get featured in the community
-
Compete in the photo contests for fun and prizes
3 Comments
I've done somthing similar with my drone and Pix4D
https://www.instagram.com/p/BZzIM5HHOqE/?taken-by=new_caledronia
If you use some of the gradual selections you could greatly reduce the noise you are getting in your models.
I use that method and program all the time to produce high resolution models of praying mantises which are then 3D printed. Some example models can be found here: https://sketchfab.com/reagandpufall
The finished 3D prints can be found here: http://www.reagandpufall.com/remnants/
The 3D prints are also currently on display at the Kaneko in Omaha NE through late September.
Hi
I enjoyed reading your article about 3D modeling from photos.
I've recently written an article about converting face image to 3d model that you can read it at http://www.selfix.me/blog/convert-2d-image-to-3d-model-software.html
I hope you enjoy it!
Know more about selfix and its services at http://www.selfix.me/
selfix service of 3d modeling: http://www.selfix.me/face-image-to-3d-model-for-3d-printing.html