
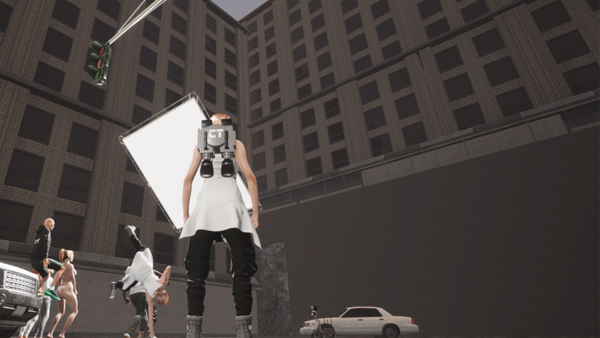
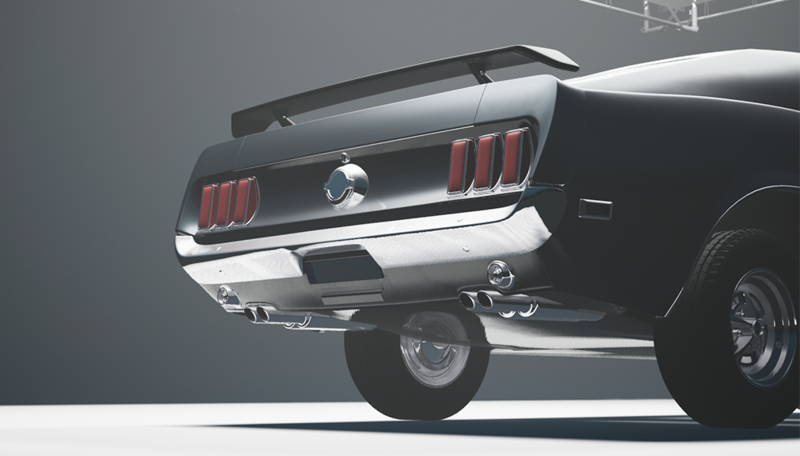
Envision flying around with a jet pack creating massive film sets like you are a cinematography superhero. Cinetracer is a realistic cinematography simulator where you play a Director, and your quest is to make an epic movie. The real purpose of this program is to create beautiful storyboards for pitching.
You should know Matt Workman from his YouTube channel Cinematography Database. His channel is a wealth of information about high-end cinematography. In the past, he has posted twitch style YouTube content breaking down blockbuster movies and music videos. But all of his newest material is focused around his new creation Cinetracer.
The concept was initially called Cine Designer and started out as a plug-in for Cinema 4D and Maya. But for non-3D designers, these programs have a steep learning curve. In September 2018, I reached out to Matt, asking him about system requirements for Cine Designer. He suggested I check out the new gaming version of Cine Designer instead. This new game is being built on the game design platform, Unreal Engine. At this point, the game was not available on a mac, so I was unable to try into out. But in January they released the game for Mac on the popular gaming distribution platform Steam.
My Experience
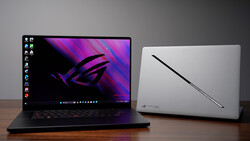
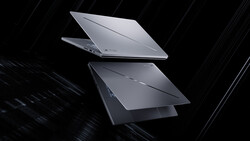
The game is currently in early release. I started by watching tutorials and playing in 30 minutes increments. I am 20 hours into the game and playing with purpose. It can be buggy at times, but this is because I am working off a Mac Book Pro, with an inferior graphics card. If you plan on using Cinetracer as a tool, I would recommend getting a gaming laptop. I will cover why later.
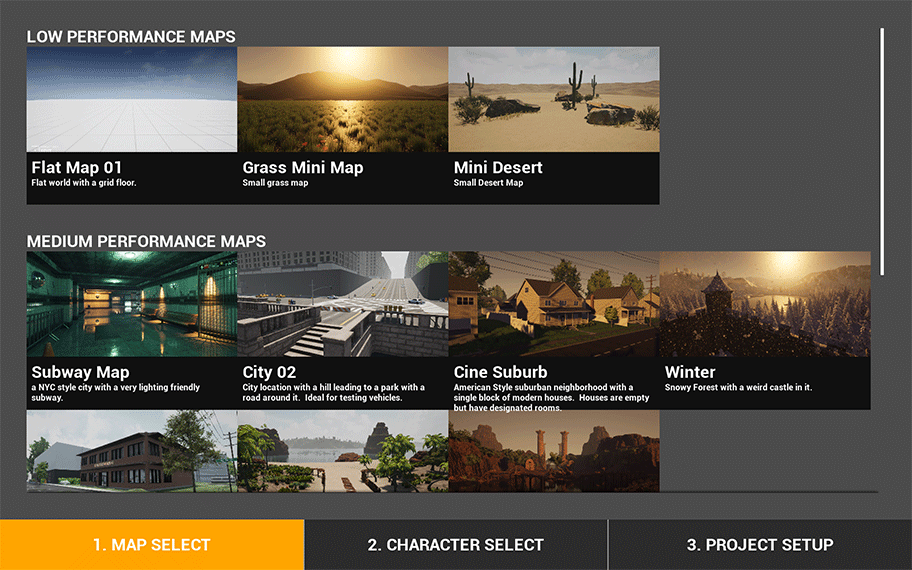
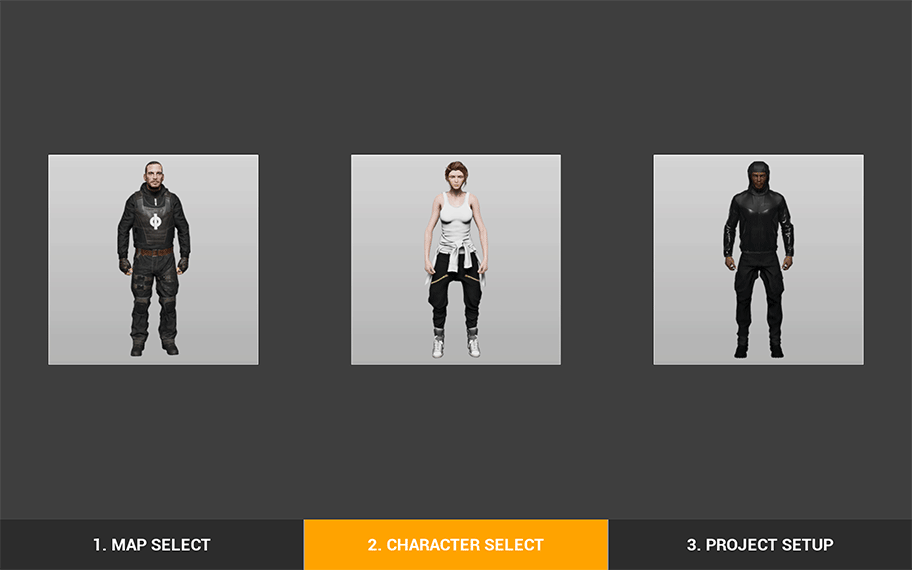
You start by picking your Map from the following three categories; Low-Performance, Medium-Performance, and High-Performance. Each Map has different properties, like the ability to change the environment's lighting or not. The next page is Characters. The three characters you get to choose from looking like that come straight out of Blade Runner. The last step before you play is creating your project name and selecting a save folder. Make sure you save to a location you have access to.
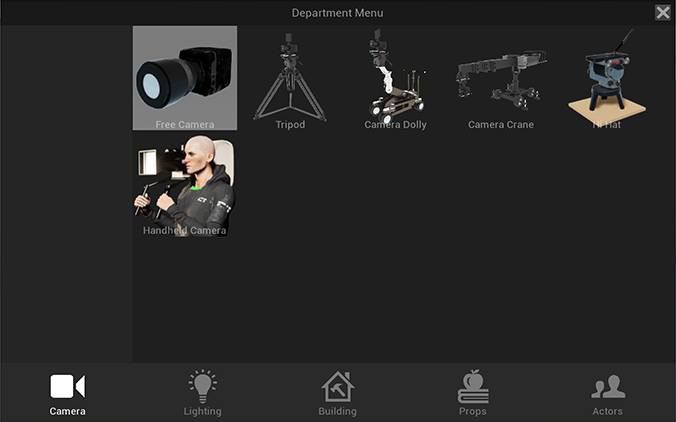
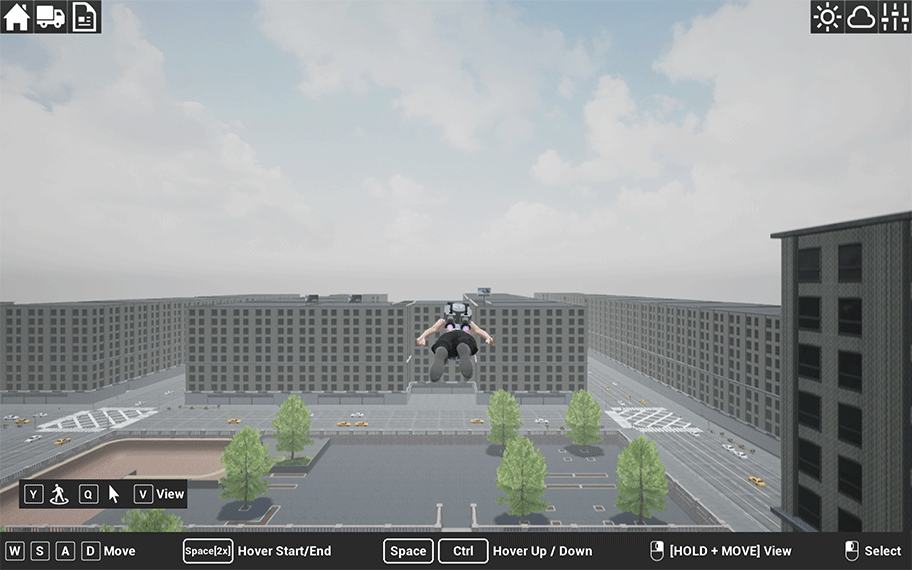
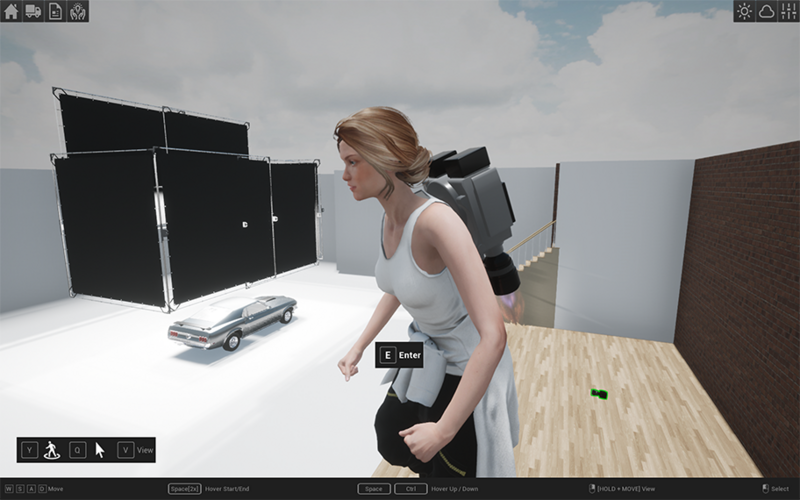
The game is a single player "Open World / Sandbox" experience. The first thing you need to do is to find your location. When scouting, I prefer to fly around in "jet pack" mode, which allows me to view the game from a birds-eye and move quickly to where I want to go. Once I find my location, I start by building, placing props, cameras, effects, and actors.The "Department Menu" is essentially your backpack and is how you import items into the world.
Camera
This department consists of a Techno Crane, Fisher Dolly, Shoulder-Mounted camera, and a Tripod-Mounted camera. But my favorite is the free-floating camera which allows you to place the camera anywhere in your world. Each rig has constraints that force you to mimic actual cinema shots.
Lighting
Similar to the camera department, the lights mimic commonly used film fixtures like Arri Skypanle S60s. Lighting is broken up into the following sub-departments; Film Lights, Event Lights, Practicals, Grip, and Electric. Currently, their perimeters don't accurately translate to actual real-world light output. From what I can tell they are laying the ground work for these metrics.
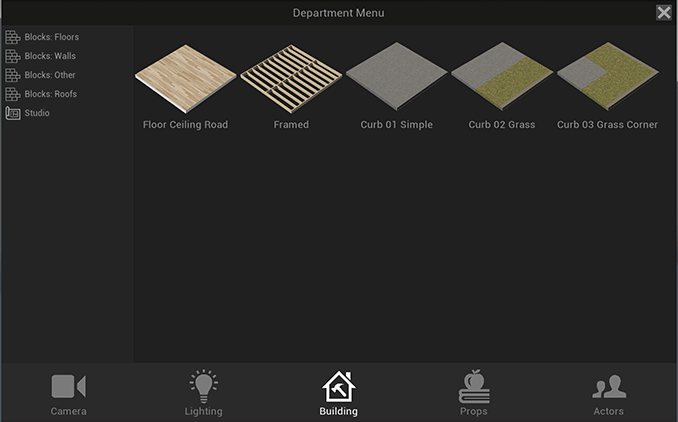
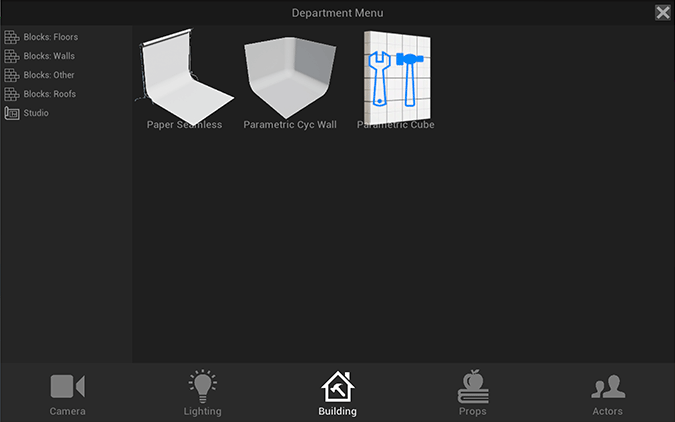
Building
If you are a gamer, you may recognize this department. They borrowed the Building component of the game directly from Fortnite. There is a quick and easy way to make a custom cyc wall, paper rolls, and blocks that can be turned into set walls or built into a house.
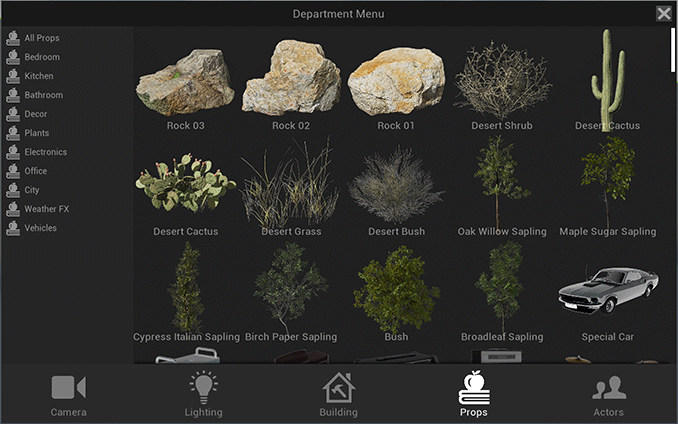
Props
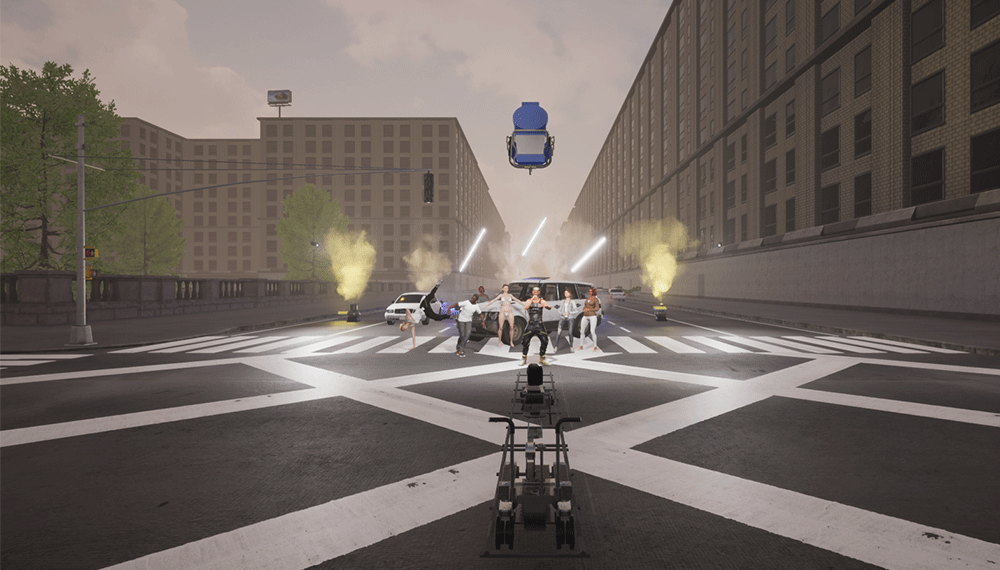
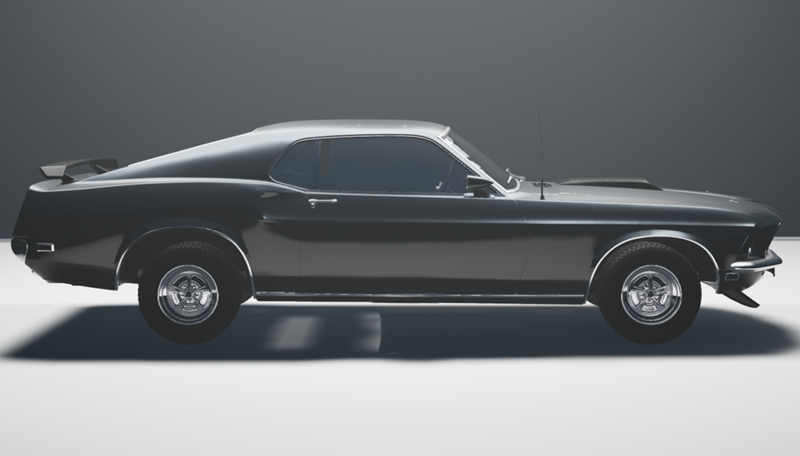
You can find a lot of commonly used film props in this department, including home decor and a few cars. But this is also where you can find one of my favorite items, the particulate emitters Snow, Smoke, and rain. These effects are essential for creating a unique visual look.
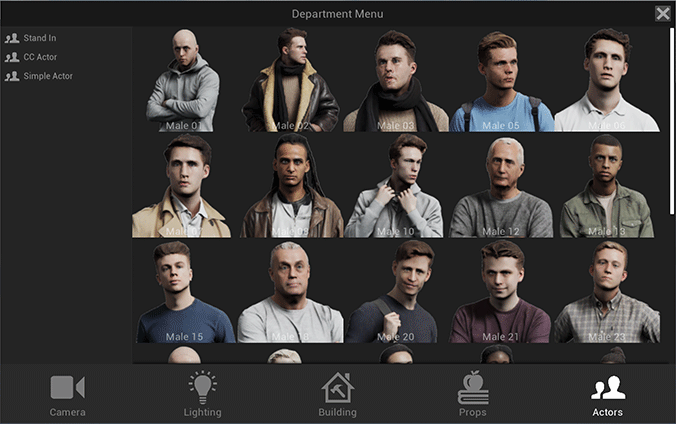
Actors
Currently, the actor menu is broken into three sections. Stand-ins are the best-looking actors with the most realistic features. CC actors and simple actors have motion capture settings that give the characters actions, like breakdance or talk.

Shooting
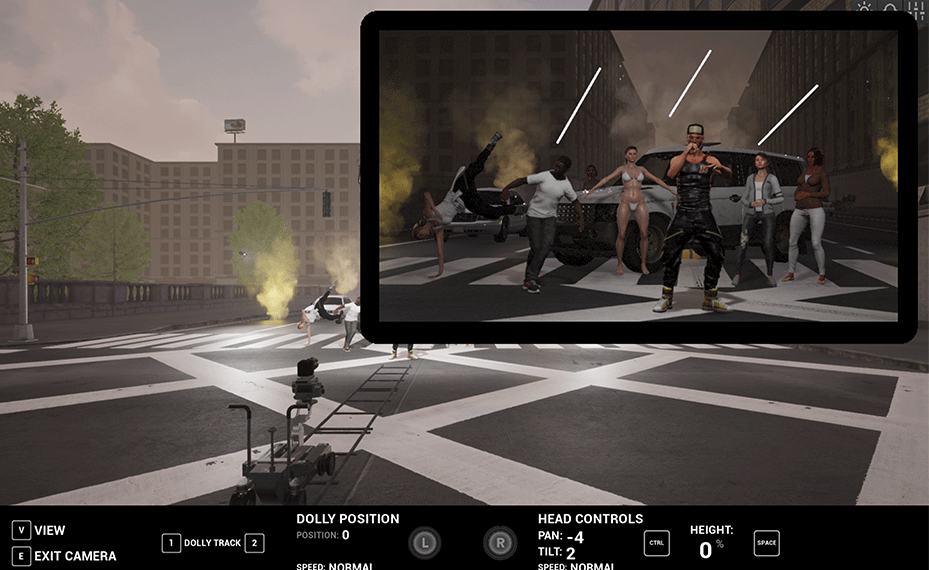
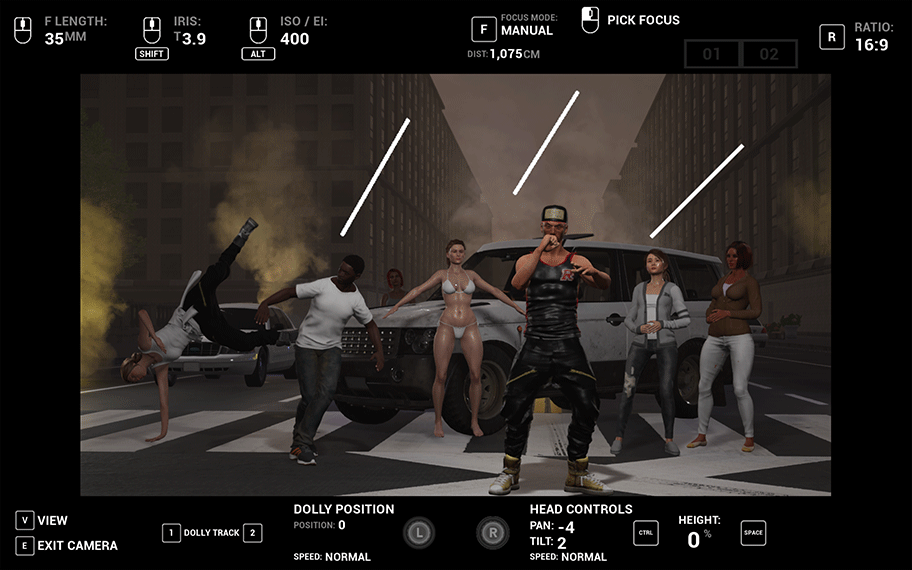
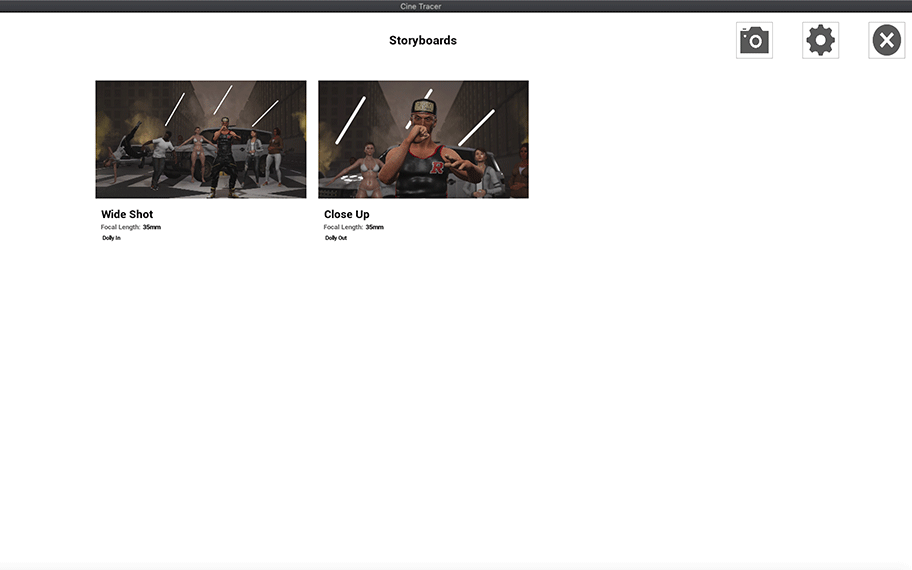
After the set is created, I enter the camera to view my image. There are three different camera modes. The first mode locks you into the camera and allows you to move it like a character. Press V to toggle between the shooting modes. In the second mode, you can view the set and a monitor with the camera's point of view. The third mode is a full-screen mode that displays your camera settings. You can change the aperture, ISO, and focal length, and aspect ratio allowing you to create your cinematic look. By pressing enter/return, you can take screenshots. The B key will take you to a storyboard screen where you can organize your boards. Images are also saved out as raw screenshots that are full raster and do not have your chosen aspect ratio.

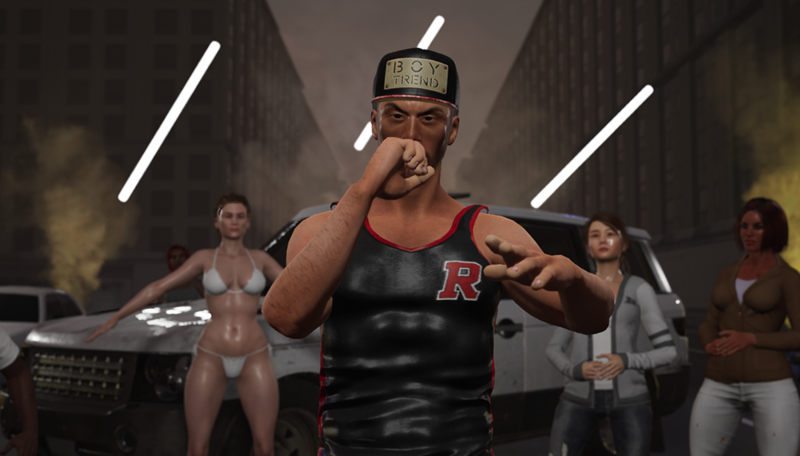
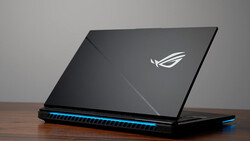
To my eye, the quality of the screen capture is outstanding, or at least good enough. But as the game develops this part, will get better and better. In the last update, they introduced Ray Trace Lighting, a feature that takes the game's lighting and reflections and makes them ultra-realistic, giving you the ability to see ambient, bounced light and more realistic shadows. But this feature comes with a hefty price, your computer must have an RTX graphics card currently produced by Nvidia. These GPUs are not available on any Apple computers. If your goal is to use Cinetracer for professional previsualization, I would recommend purchasing a gaming laptop like the Razor Blade or an equivalent system so you can take advantage of the newest update.
What I Like
- The gameplay is easy to learn.
- Updates come regularly and bring rich new features.
- The graphics look beautiful, even without RTX.
- Matt Workman is crowd sourcing player feedback and has set up lines of communication via email, direct message, and the steam community forum to answer questions and take suggestions.
- The game is based around tools the film and video industry actually use.
- There is no rendering.
What Needs Work
- The actors are limited. I would like to see more variety in age, height, and weight. Or the ability to change these attributes.
- I would also like to see more locations. It's great that you can essentially build a house, but a lot of common shoot locations have yet to make it into the game.
- Like locations, I feel the props are still limited. We have bedroom, kitchen, bathroom, and office props but very limited living room props. I would like to see some more vehicles. For professional use, the ability to add your own 3D objects would be amazing.
- The lighting controls don't translate real-world metrics.
- Maneuvering from your camera view to the lighting controls can be a long process. It would be great to be able to change the lighting parameters like you are talking to a gaffer on set.
- There is no back button or Command Z.
- The game crashes a lot. Make sure you save regularly.
Final Thoughts
If you are still wondering why I would write about a cinematography computer game on a photography blog, you have to understand this is all about building your fundamental photography skills. For a novice filmmaker/photographer, this is similar to a flight simulator, but you are on a film set. If your skill level is intermediate, this game can push you to try bigger and bolder visual concepts with no risk or cost. If you are a practicing professional, it will give you the tools you need to sell your ideas at a high level. That is why I will continue to play for a long time.
Matt has been teasing actor blocking features on his Instagram, so the next update is highly anticipated. Cinetracer is available for $89.99 on Steam.

Join the Fstoppers community for free
-
Post comments and join in the discussions
-
Browse the site ad-free
-
Share your work and get featured in the community
-
Compete in the photo contests for fun and prizes
2 Comments
Very cool! Being able to see accurate lighting including the effects of bounced light was high on my wish list. Will duvetyne and negative fill be realistically simulated as well? Know if the new Mac Pro will support that card?
It is my understanding that you can see negative fill. The Mac Pro does not have the RTX graphics card so it won't be able to handle ray trace lighting at this point. I think dropping the ball. But my hope is they figure out a way to allow RTX cards, because they are going down in price and would be a great thing to put in a Mac Pro aftermarket.
Its funny you mention Duvetyne, they have Tbones and 12x12 solids on frames. But that's it. I'd love to see 4x4 floppy's, smaller flags and just some kind of free unlimited Duvetyne tool that allowed you black out anything you want.