
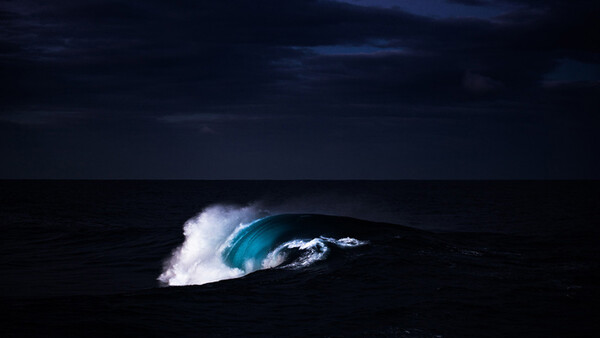
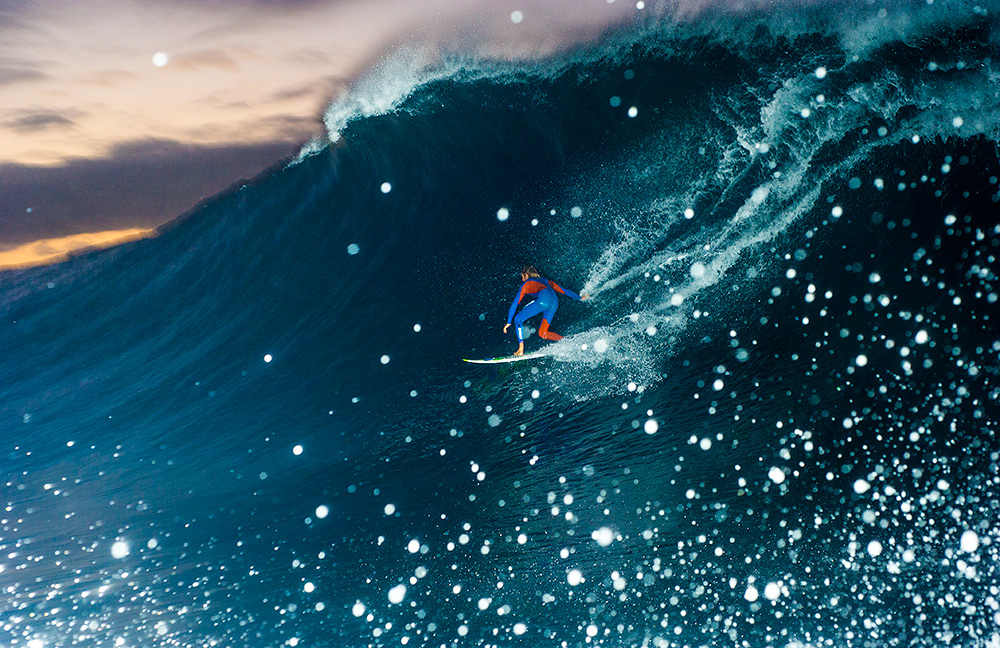
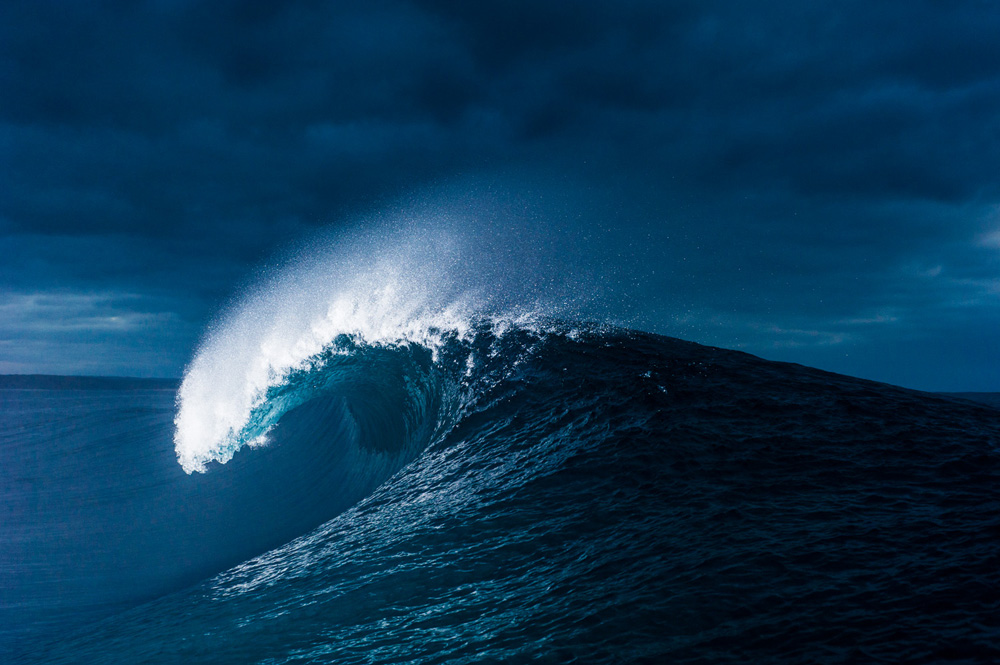
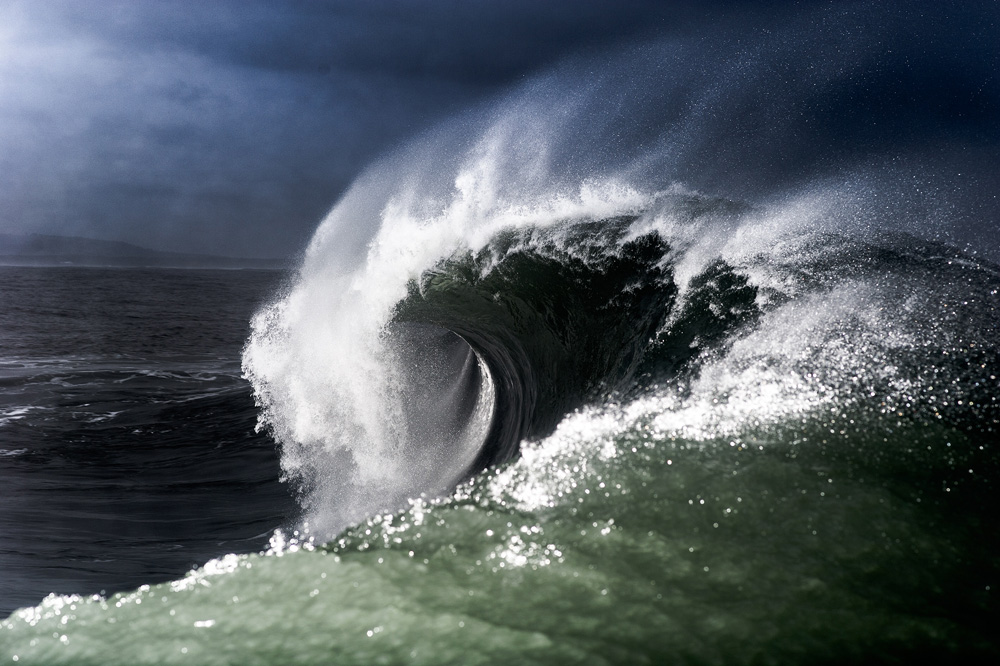
About two years ago, in the spirit of adventure and creativity, I decided I was going to try and photograph the ocean with artificial lighting. I had an image in my head of all the things I’ve seen in daylight hours, with the stark contrast of an illuminated wave against a dark backdrop. A run-of-the-mill day down at the beach certainly wasn’t going to do either. We were going to go straight to the top and shoot the biggest and meanest waves we could find.
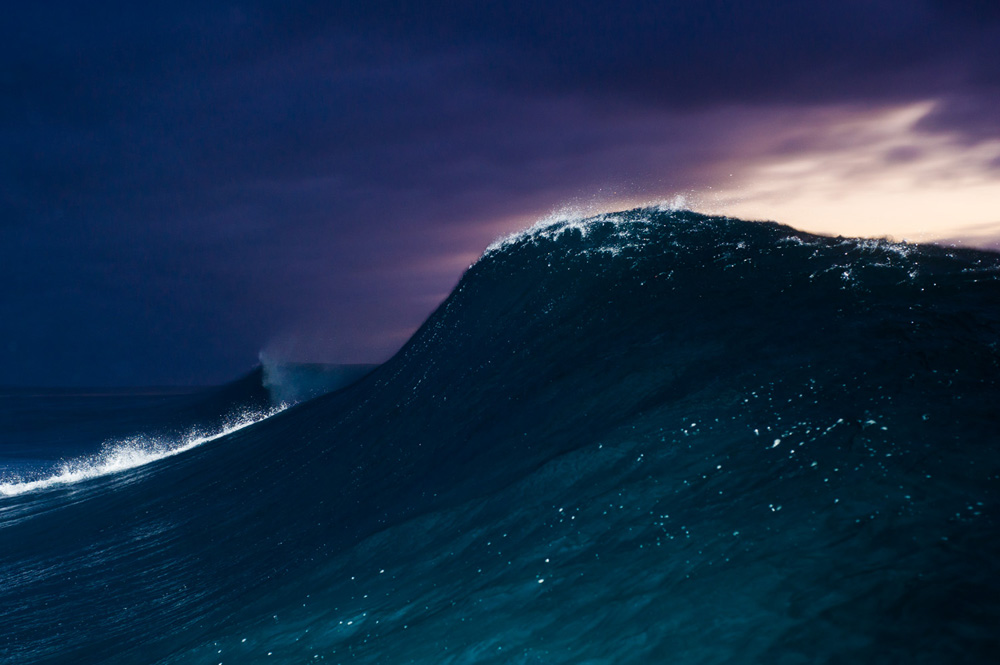
In order to make this vision a reality, I needed to overcome a few obstacles. First of all, I had to figure out a way to safely carry and position a bunch of battery-powered studio lighting kit onboard a jet-ski, in the biggest surf conditions. Major focus being on "safely," as that kind of power and the salt water certainly wouldn't mix too well if they were to come together. I solved this problem with a range of custom built cables and watertight cases retrofitted to fit the equipment. From the outset, I was looking forward to shooting surfers and bodyboarders alike, but also empty waves. All the beautiful photographs of riderless waves you've seen certainly don't disappear when the sun does.
Next port of call, was to find someone that was crazy enough to join me onboard for the pre-dawn adventures. Luckily, my friend Dom Dixon, a great photographer in his own right, believed in the idea and assisted me on a number of different occasions to make it happen. The first time we ever took the equipment out, Dixon jumped overboard in pitch darkness five miles out to sea to free some seaweed that had got tangled around the propeller. It is certainly a different set of challenges that requires a certain type of person.
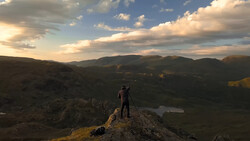
Behind-the-scenes photo by Tyge Landa.
When waterproofing the lighting equipment it was important to weigh up all the different options available for location strobes. There are many options for location lighting, however in the end the Elinchrom Ranger RX Speed AS was the logical choice and fit my requirements best. It provided equal or more power output than the competing products, with the option to use different kind of flash heads to vary the duration. With the faster duration A (Action) heads, the fast flash duration freezes the motion, and with the S head it’s possible to shoot using the Skyport HS remote in order to achieve faster than 1/250s sync speeds without losing significant power as per most systems that allow you to do this.
When researching other systems that offer amazing fast-flash duration, I was often disappointed to find that you have to compromise either power or flash duration. Another thing important to take into consideration is the difference between t0.5 times and t0.1 times. Typically flash duration will be listed at t0.5, a general rule of thumb is to divide this figure by three and you have the t0.1 time which better reflects any given strobes ability to freeze motion. I find that if you’re not starting with a t0.5 figure of at least 1/1,500 it can be hard to achieve critical sharpness, especially with the strobe as your primary light source. If you were shooting this kind of thing in daylight you would need to be shooting above 1/500s otherwise motion blur would be a concern.
On the camera side of things, we first shot with a Nikon D3S before recently upgrading to the D810 for its incredible resolution and file latitude. These shots really push the dynamic range of any camera to the max, and the full-frame Nikons provide the right blend of speed and image quality. All of our cameras are housed in Aquatech underwater housings so we have full control over all functionality. With the connectivity of the Elite series housings it is possible to shoot tethered directly to the lights with a sync cable, or to shoot with full TTL and hyper-sync possibilities by using an add-on housing for the Skyport trigger.
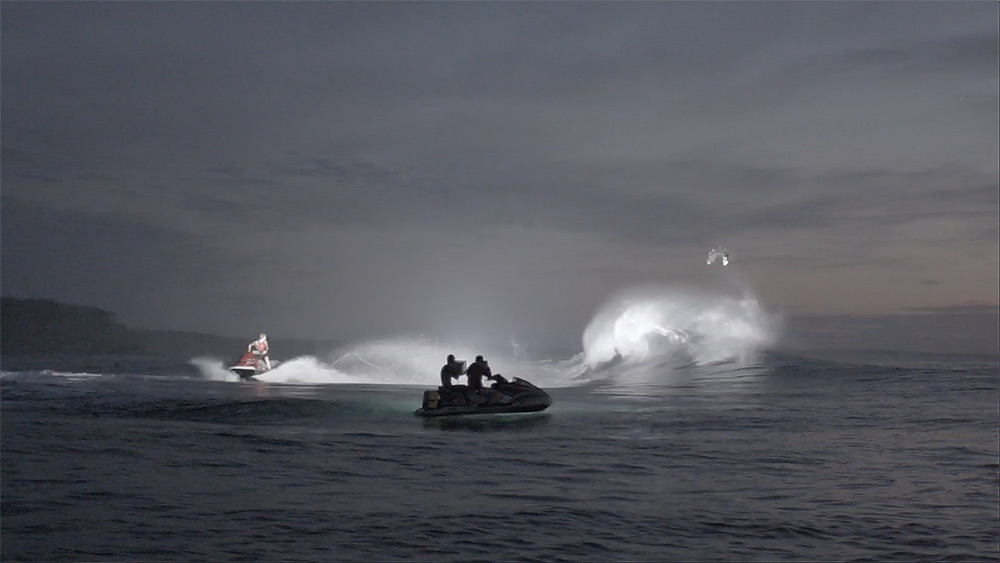
Ultimately, while the technical considerations for this project were significant, the ultimate goal was to build a complete system that I could depend on time and time again to fire, and let me get on with the creative side of things without needing to worry about the complex arrangement of cables and components going wrong. When the lighting rig was attached to our jet-ski, we would often drive 10 kilometers through huge swell and chop. With everything not tied down going flying (including us occasionally), it’s a testament to the quality of the equipment we used that it has survived such a tremendous beating and continues to work flawlessly.
Putting the lighting on the jet-ski allows us significant creative freedom to put the strobe wherever we want in relation to the wave or subject matter. While the ocean is certainly no studio and as far from a controlled environment as possible, having the 200 horsepower machine with lighting gives us the best possible chances of getting the shot. Using the Elinchrom Skyport system, I can swim in the water and trigger the lights remotely allowing for off-camera lighting possibilities, which is where this concept is ultimately going to come into its own.
When we evaluate the weather forecasts and everything lines up — swell size, direction, tides, wind, weather — we travel to the location the night before. Our morning begins with a big bowl of Weetbix and maybe even a few slices of toast (big breakfast, fast! it is 4 a.m. after all), and around an hour before first light we arrive at the chosen spot. When it’s freezing cold and dark it’s easy for things to go wrong and troubleshooting can take time. Acting preemptively is the key to success here, you need to be ready to roll well before you can even actually see what’s going on. This presents its own set of challenges when it comes to getting out to the waves themselves, especially when the swell is really up. This is where experience comes into it, and if we hadn’t done this under daylight for years, trying it at night would be fairly ambitious to say the least.
Join the Fstoppers community for free
-
Post comments and join in the discussions
-
Browse the site ad-free
-
Share your work and get featured in the community
-
Compete in the photo contests for fun and prizes
9 Comments
This is nothing but awesomeness! The amount of prep beforehand demands respect. A couple weeks back there was news of some big swells here in LA, so I was checking the tide predictions and almost all the heavy hitters were well before sunrise. Mugu (Malibu and 45 minute drive) was the best opportunity to paddle out, but still had to wait for sunrise. The thought of taking a camera crossed my mind briefly, but after seeing this, I'm a more inspired. wow...
Your site is awesome also; the shape area is excellent. Even with the best off shore conditions we never see shapes as those, wow! And shooting 14 footers with a 50mm!? very cool, man!
As a bodyboarder myself, I loved these photos (and can appreciate the sheer level of difficulty involved!). I'm trying to figure out that wave, kinda looks like Teahupoo?
Judging by the photos on his website. If he did this project near where most of his photos are from. It would be Australia, NSW.
great images
Spectacular shots! Never seen this before. Great job at putting all this effort into waterproofing the gear, etc.
This is someone really trying to innovate!
Very cool!
Nice job. I did something similar, on a smaller scale with kayakers. Much less of a challenge
Beautiful work! Hey, I used one of these photos in a non-commercial blog post and gave your credit plus a link to this site. After reading your terms, I thought this was OK, but it it's not, please let me know and I'll take your picture down immediately. Thanks and peace. (My blog is www.storiform.com if you want to verify that Iive linked and credited you for this incredible work.)