

Cleaning up the haloing when creating selections can take some time, and even when your image is complete and you can still see some remaining it can be quite annoying. In this tutorial, I'm going to show you a seldom-used but effective way of cleaning the masks.
To start with, this is not a composite exercise and can be applied to any style of imagery when masks are used. I've just chosen to demonstrate it on the last composite I completed as there is a little trick in here as well.
Minimum: How it Works
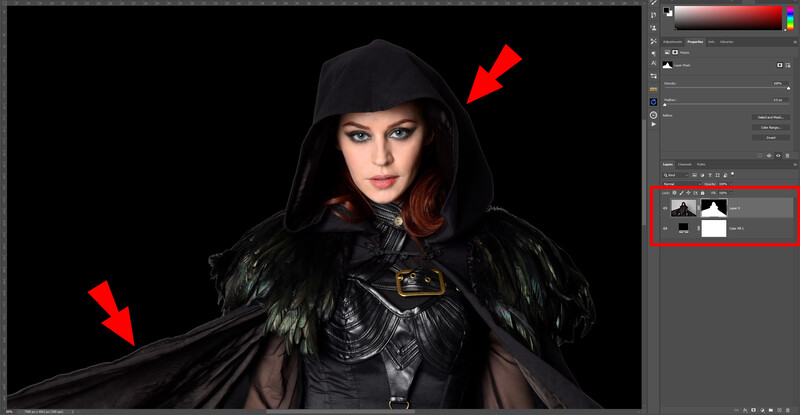
To best understand how it works I'm going to show you both examples of the minimum and maximum at work. For this example, I've already replaced the background and added a solid color layer to show you them in action.
Layer 0 as you can see originally had a white background and now that I have masked this and created below it a color fill layer the haloing is clearly visible.
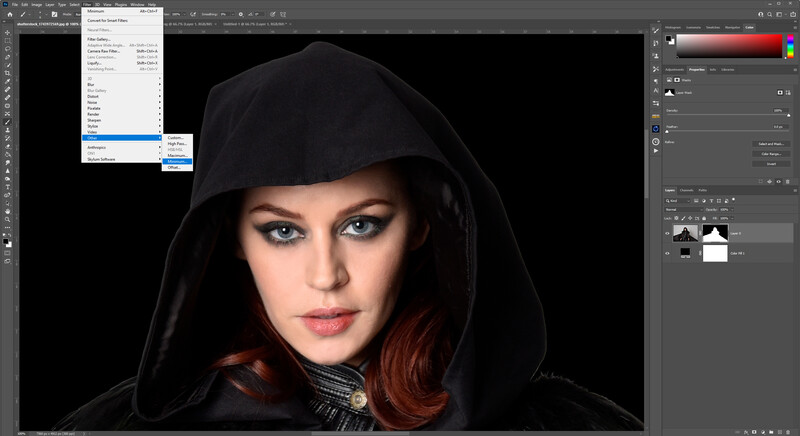
With the masked layer selected goto Filter > Other > Minimum and a new pop-up window appears.
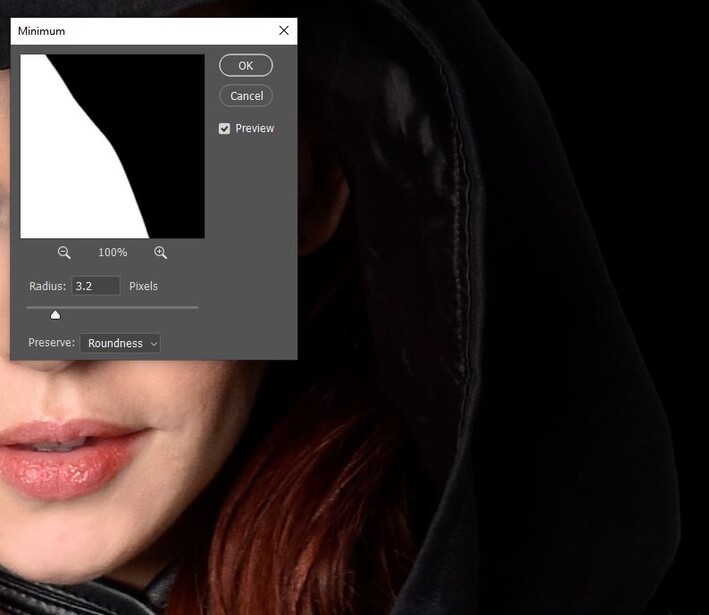
In this new pop-up window, you have a couple of options: the radius of the pixels affected and Preserve. The Preserve drop-down window has two selections: Roundness and Squareness. The roundness selection is great for organic materials and images with curves, whereas the Squareness option works best with architecture and straighter edges. Adjust the radius until the white edge has disappeared. At this point don't worry if there are any small artifacts still in your image as I'll cover that later on.
Maximum: How it Works
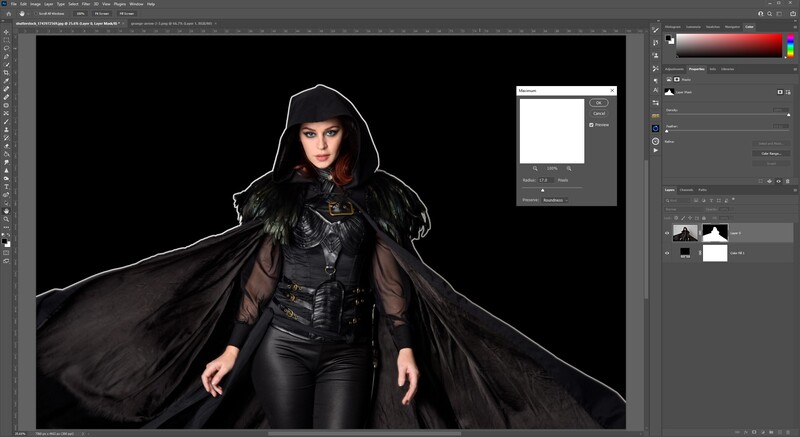
Should you want to increase the size of the mask, in this case, bring back some of the white background, make sure you have the mask layer selected, and then go to Filter > Other > Maximum and increase the pixel radius to whatever you want. You can see the result below at a 17% increase in pixel radius. This can be used to reintroduce some of the masked areas should you require this for any reason.
That's it, minimum and maximum at a glance.
In Practice
So now that you know the basics behind it where can you use it in practice?
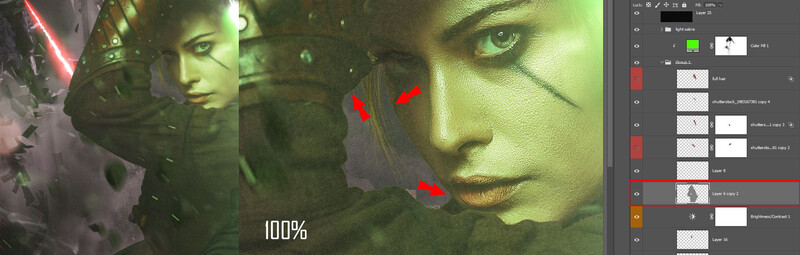
This image contains a total of 75 layers consisting of a mix of different images, adjustment layers, effects, and added noise to achieve the final effect. Although I took my time when creating the image I did expect a few anomalies and inconsistencies, so here is how I went about fixing them. As I've mentioned this technique can be applied to any mask in Photoshop, so I hope you get something out of it.
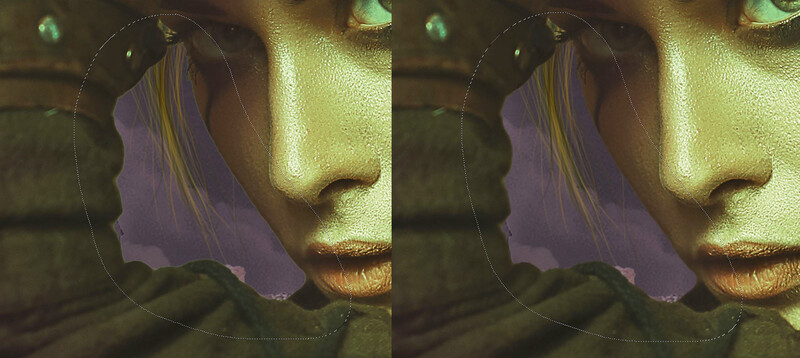
First, find the area of haloing in your image you want to clean up. In this case, it's caused by a noise overlay area that has no mask and is only affecting the area of the face highlighted. I've also zoomed to 100% to let you see the haloing better.
From here I am going to create a mask to clean up that area. Yes, I could simply erase or feather around but I may see something later when I look at the full image. That's the simple trick. If it's a basic cutout on a transparent layer create a mask to enable detailed cleanups like this.
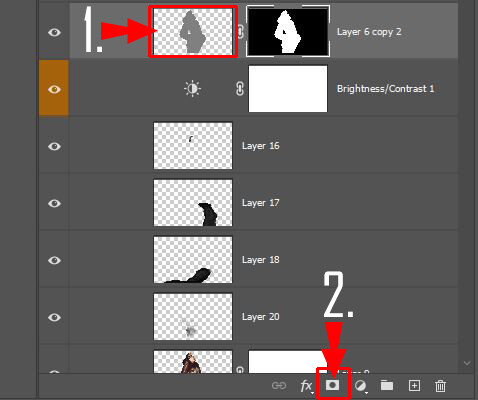
Select the shape by holding down ctrl and clicking inside the layer image; this will make a selection. Then simply click the mask tool to create a mask.
Next, with the new mask selected, go to the lasso tool and draw around the area you want to refine.
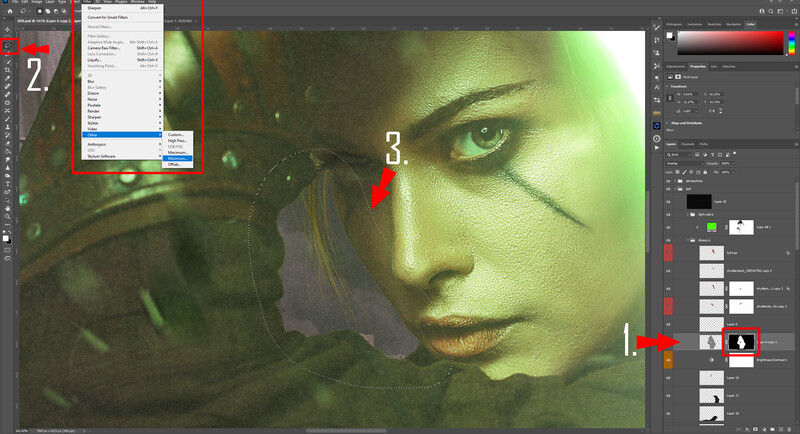
From here go to Filter > Other > Minimum. A new pop-up window will appear.
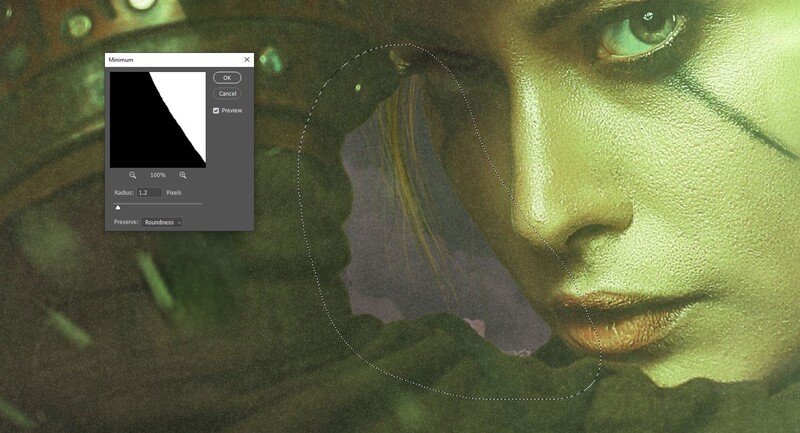
The pop-up window controls the number of pixels adjusted via the Radius slider, and I eventually settled for 3 with this selection.
Below is the before and after. Now you may not see much of a difference here but I can assure you that if left unchecked you would definitely see it in print. For this example, I've turned off a few of the noise and atmosphere layers to help you see it clearer.
The same principle can be applied using maximum, should you need to add back in small areas of the mask. I have to admit, however, I really only use the minimum to clean masks.
Conclusion
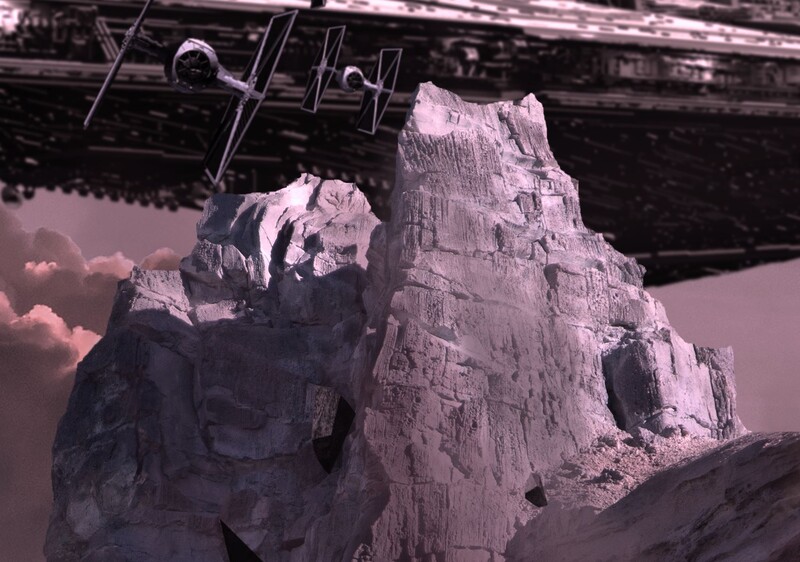
Hopefully, this short tutorial opens up an underused feature (in my opinion) of Photoshop and a very useful one for cleaning up those pesky little areas that have been missed when creating the mask. If using this type of clean-up on mountains, architecture, or straight edges I would definitely use the Preserve > Squareness selection as the results will be better. Keep the roundness for organic image selections and curves.
The image below shows the Preserve Squareness in action at a 7-pixel count. You shouldn't see too much of a difference but as you can see it does preserve the roughness of most of the edges.

Photoshop has so many features and so many ways to achieve the same result so it's a good idea to know a few and add the ones that fit your workflow.


2 Comments
WOW! Very helpful. I also love that you didn't make this as a video. Thanks for the tip I will probably use this every day in the studio.
Thanks for reading Donald. Glad you found it helpful.