Inalbeo Color grading puts the finishing touches on an image and can transform a plain photo into a striking one. The Inalbeo Filmic and Inalbeo Grade Photoshop extensions offer two options for photographers to grade images.
The final color grade on a photograph affects the mood of the viewer, directs the eye, and can create a sense of harmony; it's often the difference between an image that looks polished and one that looks unfinished, but learning to grade images in Photoshop involves mastering various adjustment layers including curves, color balance, and selective color, and learning how they behave together. Inalbeo Filmic and Inalbeo Grade condense color grading into a single process, making it faster and more accessible.
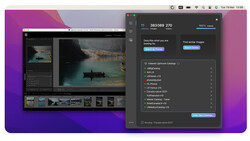
Once the extensions are installed, they appear on the toolbar and grading can begin with just a few clicks. Filmic, a set of LUTS, and Grade, a complete color grading system, can be used either together or separately.
Filmic
Inalbeo Filmic is a total of 18 presets that can be used either singly or stacked to create different looks. The tool appears as 18 buttons in a panel, each named to remember easily. My favorite thing about this tool is that you can hover over each button with your mouse and see a preview of the effect on the photo. This has let me preview several different looks quickly which not only gives me an idea for which color combinations I like for a particular photo, but also makes me aware options for grading the image I hadn't considered before.
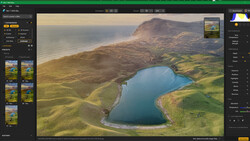
The image below was planned with a very specific color palette in mind, so the grading was very subtle and done by layering two Filmic presets and then adjusting the opacity of each until I had an effect I liked. Since each preset will have it's own white mask, it's easy to control where the preset will be applied, either globally, by hiding the mask and brushing the effect on, or using an apply image command on the mask and making adjustments from there.

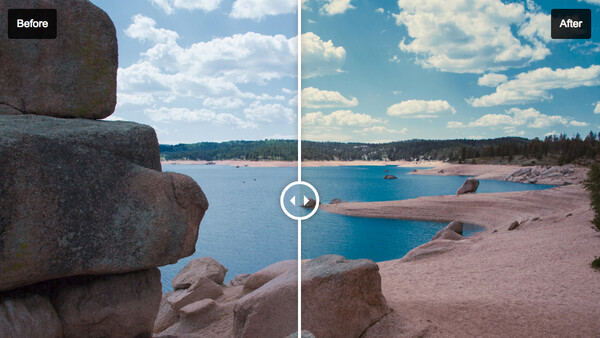
Grade is also handy for landscape photos, where a simple look can be applied with one preset, or more complex grading can be achieved with multiple presets.
Grade
Inalbeo Grade is a full color grading system that allows the photographer to have complete control over grading a photo by adding color to the low, middle, or high values with luminance masks for control, and has three additional luminosity adjustments layers so that brightness and contrast can be controlled on each.
Color is added by selecting which value you'd like to work in (low, middle or high) and then choosing which hues to apply from a color wheel with neutral gray in the center and high saturation around the outside. On the left side of the color wheel is a bar to adjust the opacity of the color, and on the right side a bar to adjust the tone of the color.
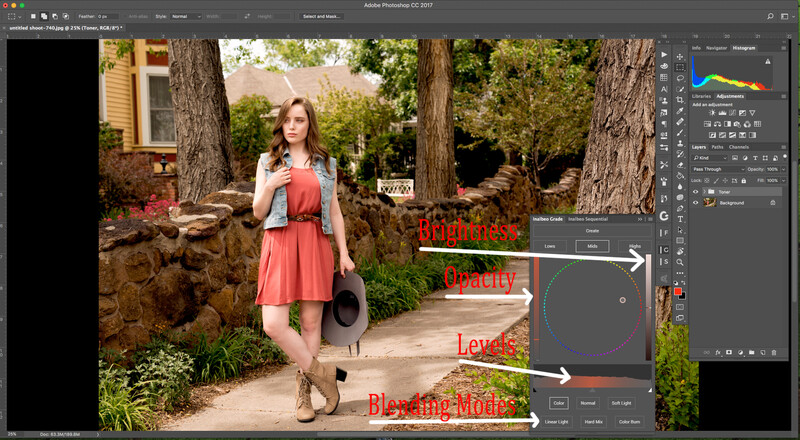
Beneath the color selection wheel is a levels adjustment very similar to the levels adjustment layer in Photoshop. You can control the darks, mid-tones, and highlights in each color range by sliding the corresponding arrows along the bottom. Even more handy is that by clicking on the histogram itself, the user can control where along the tonal range the color effect is applied.
Grade also provides the user with the ability to change blending modes by clicking on a list of blending modes beneath the levels adjustments.
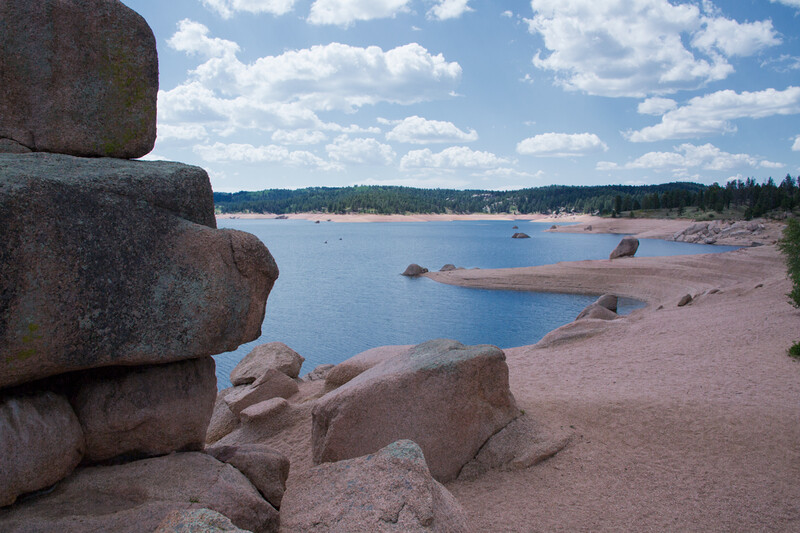
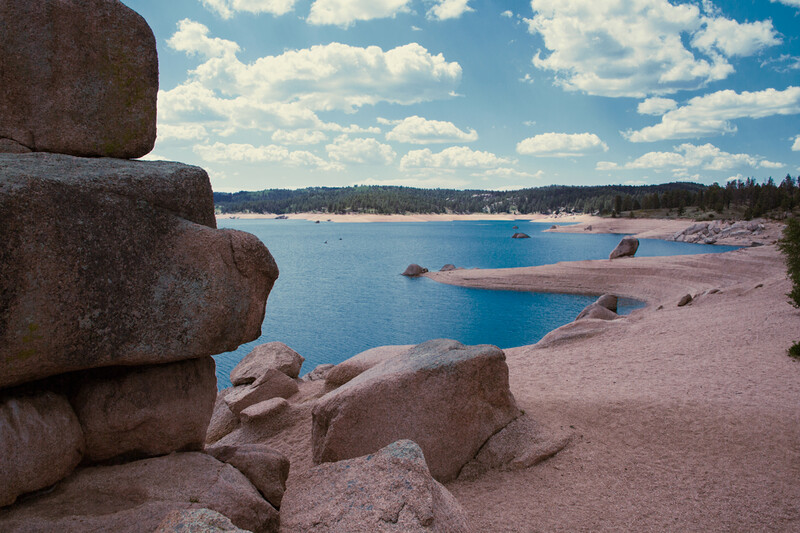
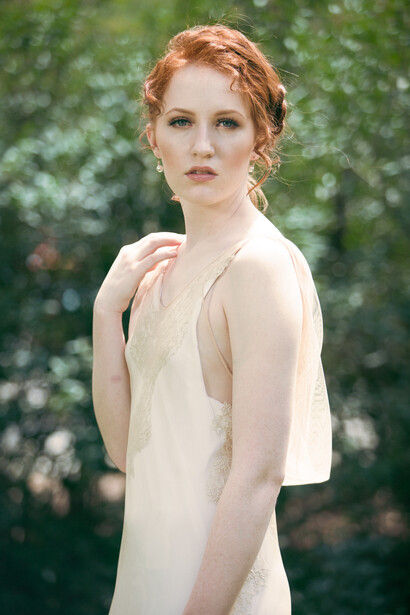
The image below was graded entirely with Inalbeo Grade. The before and after are adjustments from a raw file saved for jpg, and then graded with the plug-in. The only other editing done to the image was to address a bulge in the gown.
As you can see, the model has incredibly fair skin that took on much of the green cast from the foliage around her. Grade allowed me to compensate for that and give the image the warmth I was after.

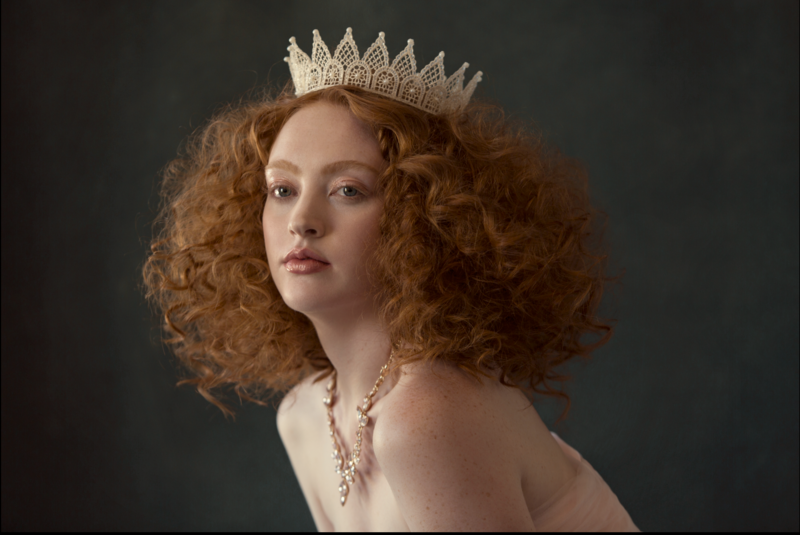
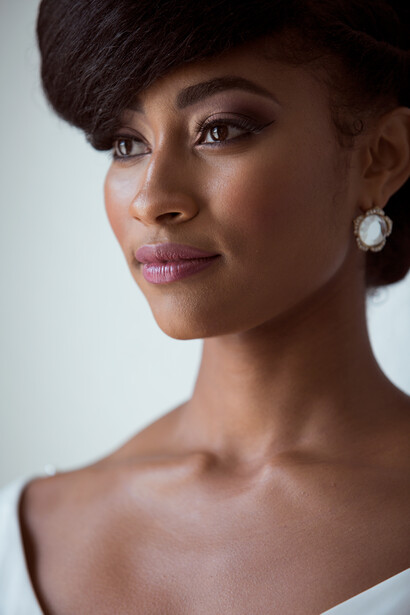
Grade also works for close up portraits where skin color and tone are crucial. In this image, I wanted to capture the richness of the model's skin while keeping the portrait feeling very natural, and because Grade allows me to add color to each luminosity range specifically, I could add red to the shadows where her skin had gone a bit gray.

The only problems I ran into with Grade was when I worked with a photo that was either high or low key. Because the mid-tones are dependent on the tonal range of the image as a whole, the automatic luminosity masks would sometimes include too much or too little mid-tone in the mask. I got around this by Option/Alt clicking on the mask and going to Image>Apply Image. This brings up a layers adjustment for the mask itself, which let me alter the mask to suit the image.

What I Liked
- The program is fast and easy to use
- Seeing previews of the effect before committing to a look
- Ability to layer different looks
- Highly customizable color grading
- Any Grade color layer can be adjusted easily at any time, so the user isn't locked into a color once it's chosen
- Additional luminosity masks
What I Didn't Like
- High and low-key image luminosity masks don't always match the tonality as closely as I would like
What Would Make This a Home Run
- If I could save color grading layers (including Filmic and Grade layers) and reapply to several images with luminosity masks that auto-populate instead of having to re-apply masks
Final Thoughts
All in all, I was impressed with the suite's range of capabilities. I could get a finished image graded quickly, I could see each effect as I worked and use several methods to adjust it, and I could stack multiple effects to have very granular control over the image as a whole. I particularly appreciate that Inalbeo Filmic and Grade condense my usual workflow so that color grading takes significantly less time.
I will definitely continue using these plug-ins.
If you want to try the Inalbeo suite of color grading plug-ins, head over to their website
Extra note: Inalbeo Filmic is compatible with Photoshop CC 2015 and above, and Grade is compatible with Photoshop CC 2017 and above. All updates will come free of charge, so that's a major bonus.


Join the Fstoppers community for free
-
Post comments and join in the discussions
-
Browse the site ad-free
-
Share your work and get featured in the community
-
Compete in the photo contests for fun and prizes
5 Comments
If you're going to do an AB comparison on a color preset, do body sculpting edits before doing the preset so when the colors change the girl's stomach doesn't shrink at the same time.
Well, IMO it wasn't the stomach but the fabric. Also, it's not rellevant to the comparison a detail like this. But you've got your point, good observation skills ;p
Anyone use these? They look like interesting plugins
Hey Rob,
I’m the developer for these extensions. I only recently released them so there isn’t a major user base yet. However, one of our extensions (Sequential) that wasn’t reviewed here is free at the moment. You could try that out and see if you like it as a bit of a trial. Otherwise if you have any questions just let me know!
Oh I already downloaded Sequential!