
Luminosity mask is not anything new, a quick search on this site allow will yield several articles. Luminosity masks are helpful in many different ways in post-processing your images. What if I told you there’s a new way to create and control them?
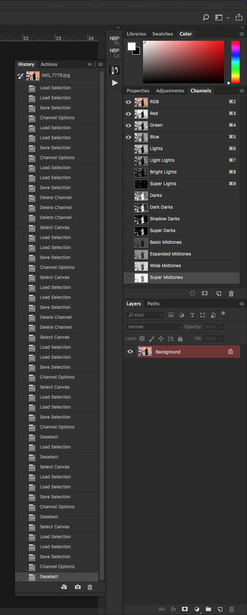
In the past, I have used an action that I had step up to create several different channels based on different luminosity values. What I didn’t like with most actions is the fact that it would create several additional channels when I only needed a few. Before I go any further, let me very briefly explain a bit what a luminosity mask is. Luminosity mask, also known as luminance mask, is pretty much a selection tool based on the luminosity values or brightness in the image.
Previously I was using an action that would create twelve different channels so I could target different luminosity values. Yes, it’s set up to create a bit more than some other actions but I wanted to target specific and multiple values depending on what I wanted to achieve. Only having four basic channels setup didn’t quite do that as I wanted the values between those, and I am aware of some actions providing even more channel selection. What I didn’t like was having these extra channels created when I would only need two or so depending on the photo. Also, I didn't want the file size to grow exponentially with the additional channels that I would use. Enter NBP Lumizone plugin.
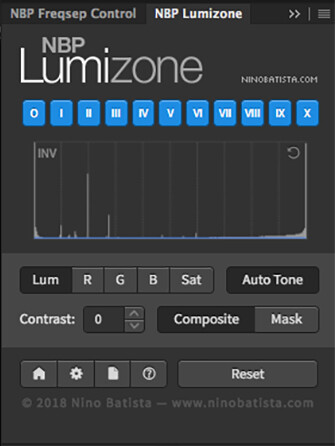
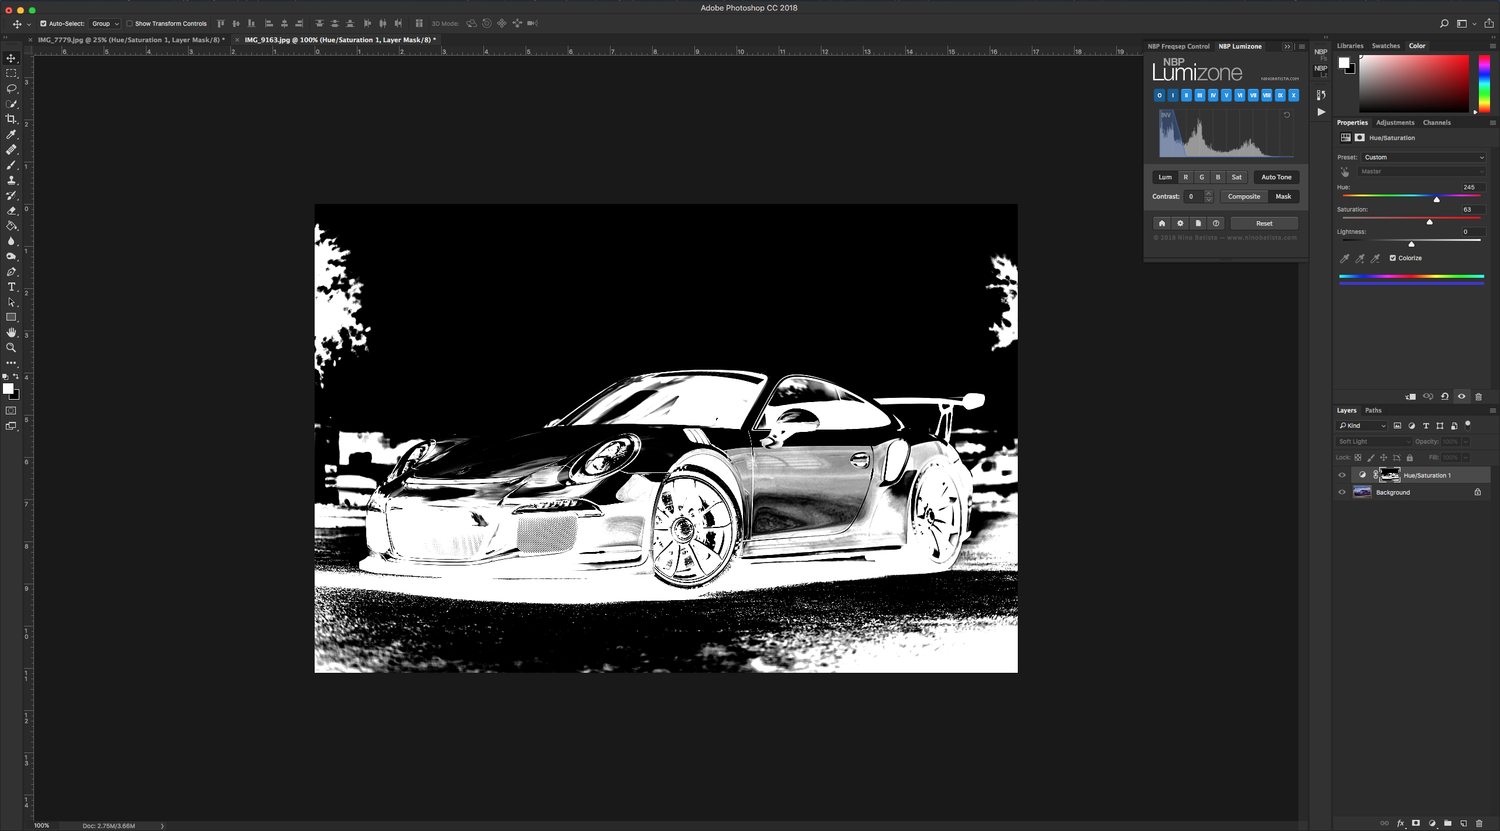
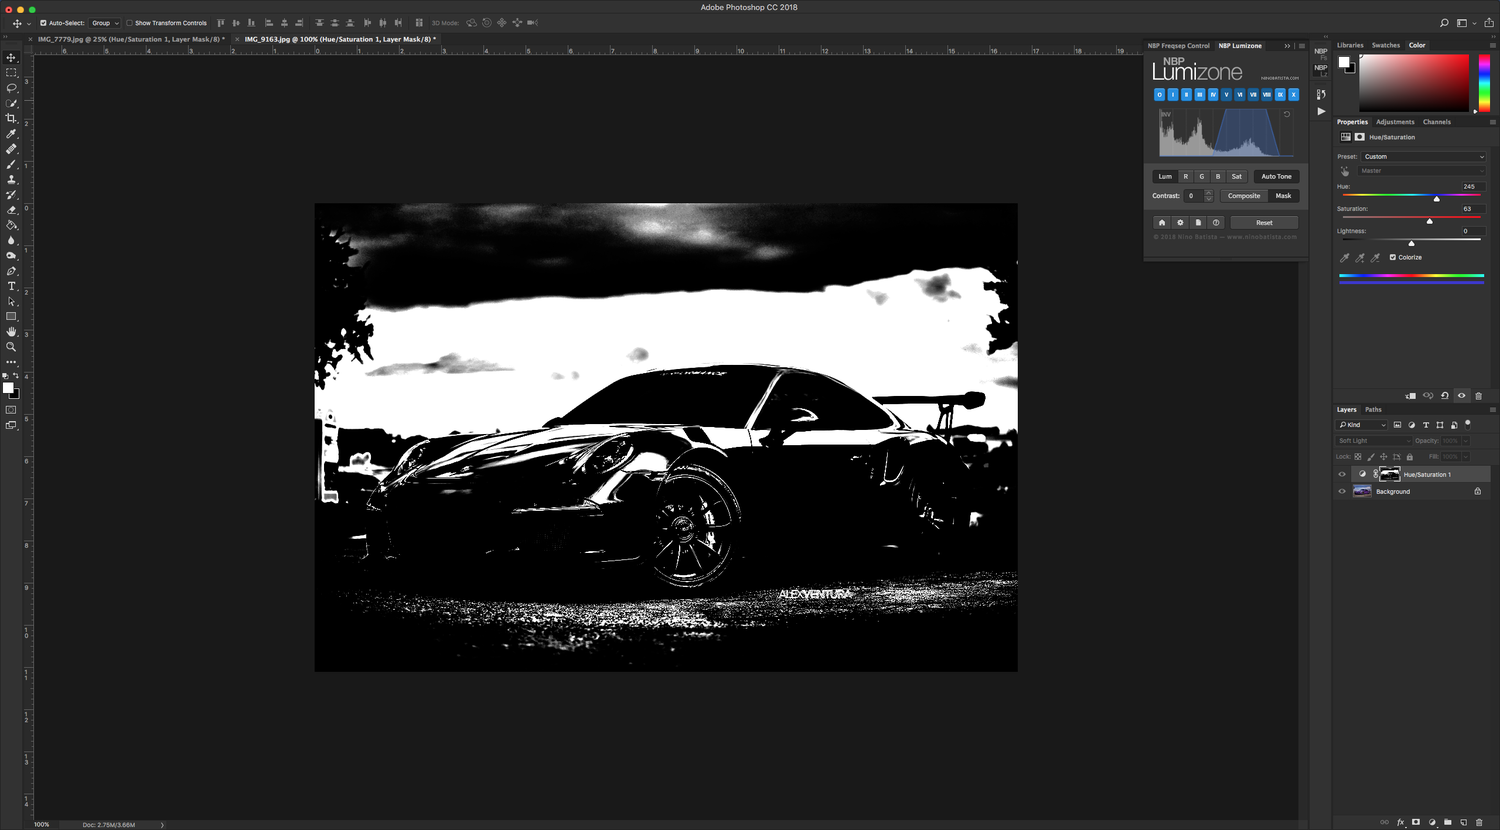
Fellow Fstoppers writer and photographer, Nino Batista, along with his team has been working on a different solution to creating luminosity mask. I was lucky enough to be an early beta tester for this new plugin panel for Adobe Photoshop. After a few test runs, I switched from using the action and started using the new panel. Lumizone is able to create luminosity masks from three options; the first option is creating a mask from the image's overall luminosity, the second option is to use the R, G, or B channels, and the third option is unitizing the image's overall saturation map.
Who's It For
Really... any photographer that uses Photoshop in their post-processing regardless of what genre of photography you do. While I mostly use it in my portraits for color grading, the uses are not limited to just that and can be used to blend multiple exposures together or even for saturation masking. On the plugin’s page, Batista shows in one of his videos how to use Lumizone for saturation masking if you are interested. There’s also this article with a video that shows how to use luminosity mask for landscape photography, which shows a better way to blend multiple exposures together for a true HDR image (not the crazy overdone HDR photos that most of you are probably thinking of when everyone was trying to do it).
Using Lumizone
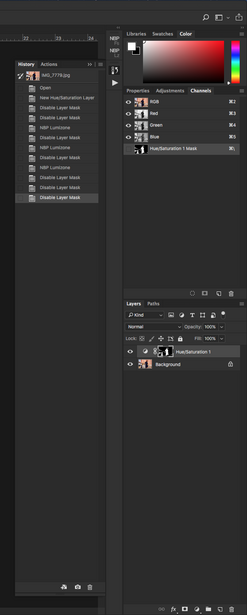
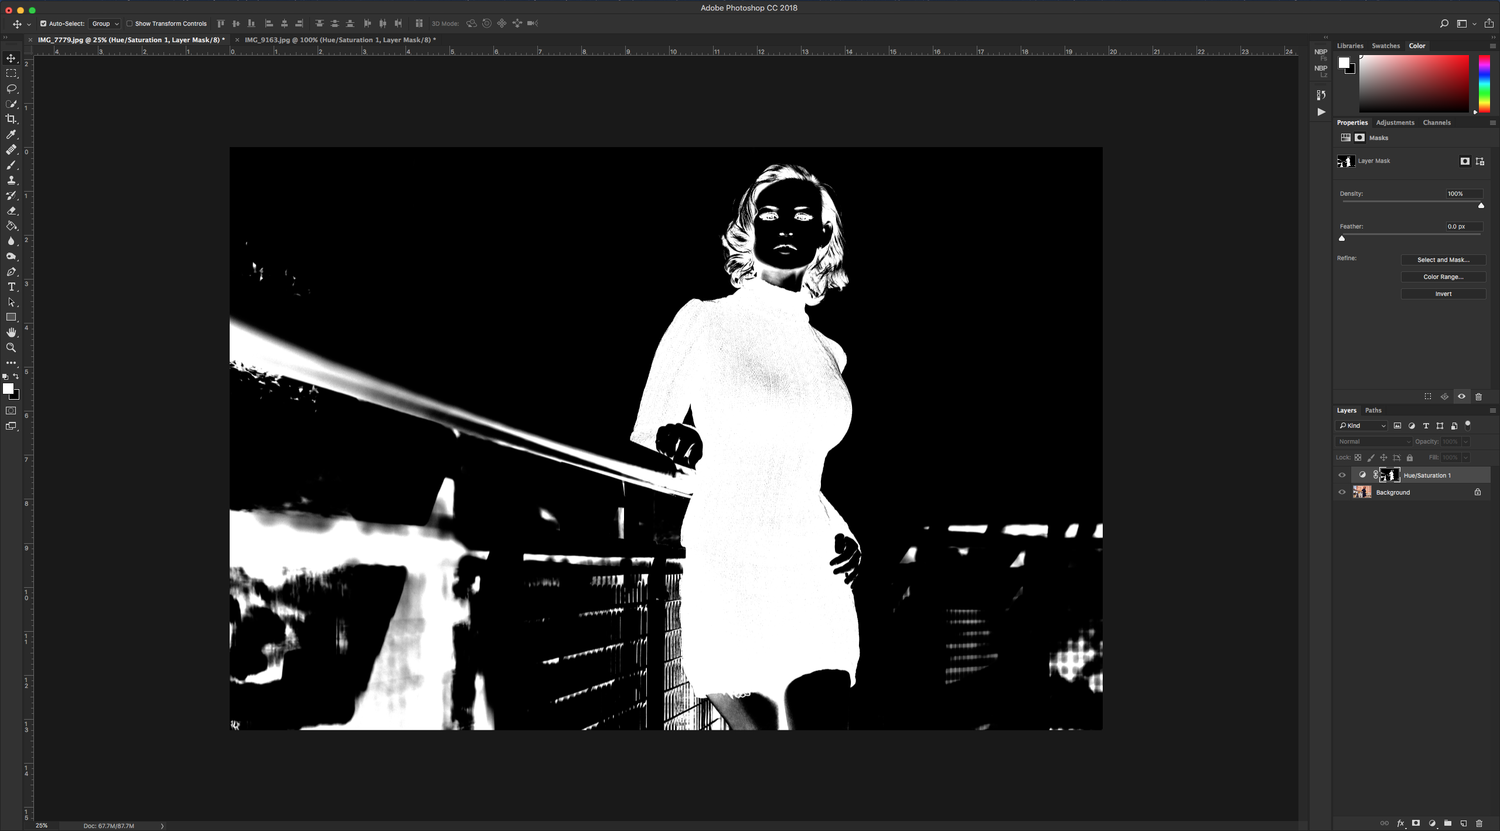
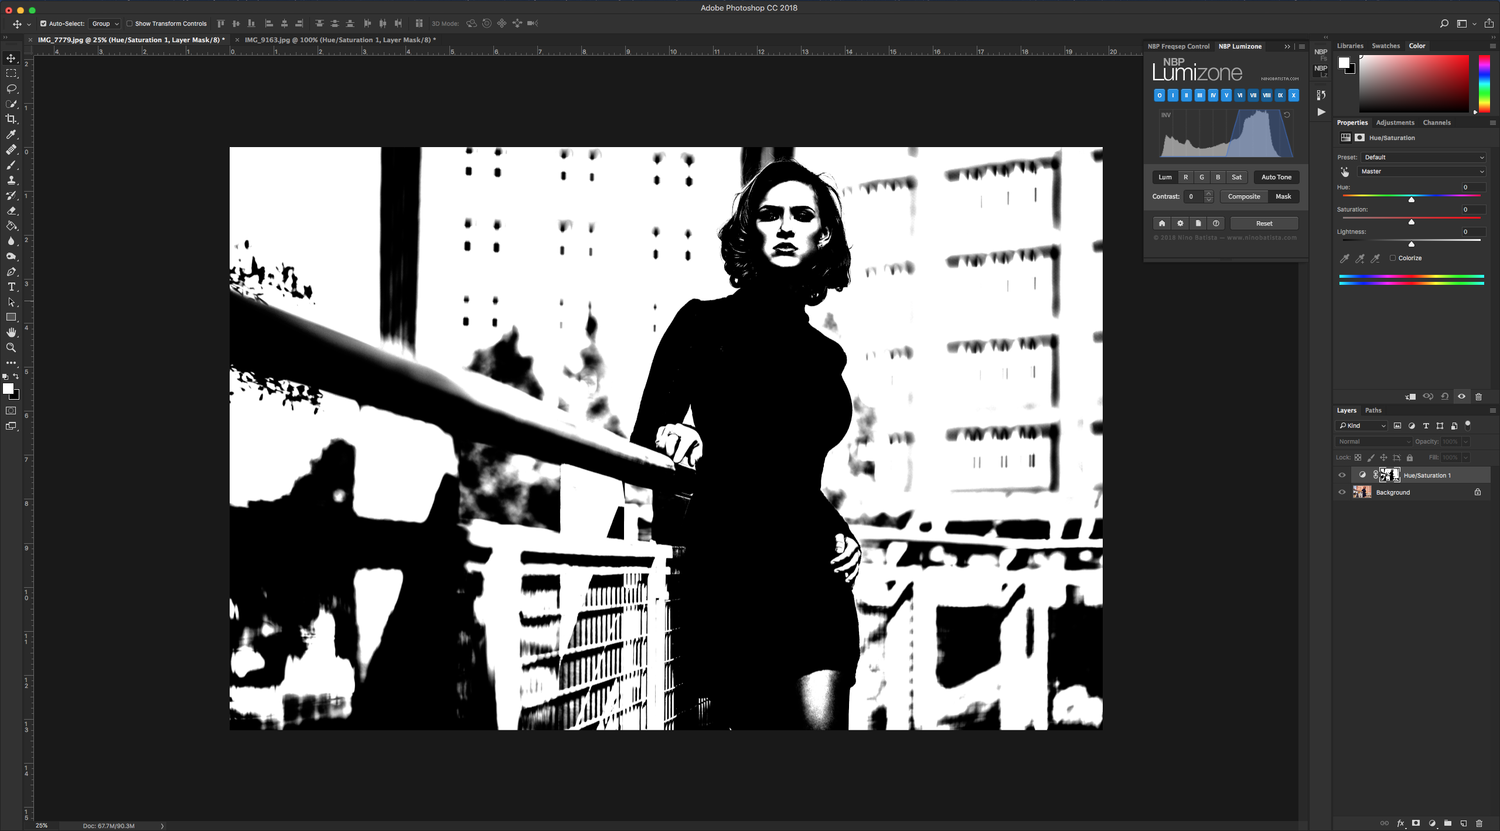
I typically use only actions in my workflow and haven’t really used plugins before, so this is one of the only two plugins I have actually started using. If you are curious, the other is also an NBP plugin which I will review in another article. I never had a use for many of the other available plugins before, some of the other plugin panels I have looked into before just actually run actions behind the panel's interface. I already have many actions that perform the same functions so those plugin panels were not needed. This panel doesn’t run an action in the background and actually changes the mask values while in use. The interface isn’t just a series of buttons with values listed on them but features a histogram showing you the luminosity values so you can select accordingly. To get a better idea of what you are selecting based on the luminosity values, you can switch between Mask and Composite mode to see the actual mask as you make your selections. For myself, this is better than checking the channel mask selection with the marching ants or even by selecting that channel by itself. I just change the mode and adjust the values as needed. Another thing I like is the fact that Lumizone doesn’t create a new channel mask, Lumizone actually creates a mask on the layer you are currently working on.
What I Liked
- The panel's interface.
- Active preview, the ability to see what you are selecting live.
- Creates the luminosity mask on-the-fly without multiple extra channels.
- Being able to go back and edit the mask when need.
- Selecting multiple values to combine into one mask.
- Multiple channel masks are not created which keeps the file size down to a minimum.
What Could Be Improved
- The option of selecting a target layer for the source.
-
Maybe a slider option to select the ranges instead of buttons, as long as it doesn't affect any performance.
-
Possibly more selection points for users that are accustomed to 11+ luminosity mask actions that are currently available.
Conclusion
Since I was a beta user for the NBP Lumizone, I have been able to play with plugin panel for some time and it has become part of my workflow for many of my photos. I don’t use it for every image, but when I need to create a luminosity mask, I’ve been happy with the control I have gained from the panel versus the action process which I have been accustomed to. This plugin might not before everyone, but if you are using luminosity mask in your workflow, I think this will benefit you greatly. The plugin's process has been substantially improved from the first version I was able to test, and I have informed them of my suggestions for further improvement... so I cannot want to see the next version.
The plugin is currently available to work with Adobe Photo versions CC14 to the latest version, unfortunately, if you are not a Creative Cloud subscriber, this plugin isn't supported. You can purchase your copy of the plugin via Batista's plugin page here for $30 which I think is well worth it. Do you use luminosity mask in your workflow? How do you use them and do you think this plugin panel will benefit you? Let me know what you think in the comments below.


Join the Fstoppers community for free
-
Post comments and join in the discussions
-
Browse the site ad-free
-
Share your work and get featured in the community
-
Compete in the photo contests for fun and prizes
10 Comments
Good stuff!
Lumenzia has been my go to for masking but I'm looking at giving ADP Pro a shot. Its insane how precise I can get with those when it comes to masking.
I use luminosity masks so much! I've been using Lumenzia for a while, but this one looks fantastic as well! Nino has done a great work!
Thanks for your mention of Lumenzia on that article a while back, it's definitely my favorite plugin and really improved my editing workflow. :)
Create the adj. layer you need, go to layer options and work with the "blend if" option, by holding the "ALT" key you can split the arrows to have some kind of threshold. With this method, you are also able to adjust afterwarts and it is also quicker and of course precise enough.
If you use this method also set your "curves adj. layer" to luminosity to affect only the luminance and not the color.
I’m sure it’s a great review but I couldn’t understand most of what you said either poor mic or not clearly spoken. The picture of the car was nice!
Thanks
I use Tony Kuyper's TKActions, which seems to be much more fully featured.
Lumenzia definitely is the Rolls Royce of luminosity plugins.I have Nino's as well, but i keep going back to Lumenzia, which is definitely a powerhouse. Plus the author has a large amount of video tutorials on his page to get you up to speed with it, whereas i wish Nino had in depth tutorials on his plugins, the primary reason why i still have yet to use both his plugins.
This plug in seems simple but effective for someone starting with LM and It makes it very easy. I currently use TK Actions V6 which has many options and is an endeavor to tame it.
Hi Alex, if you're interested in trying out ADP Pro v3, let me know. You can find all the details about our Luminosity Mask Panel here: https://www.adppro.com/