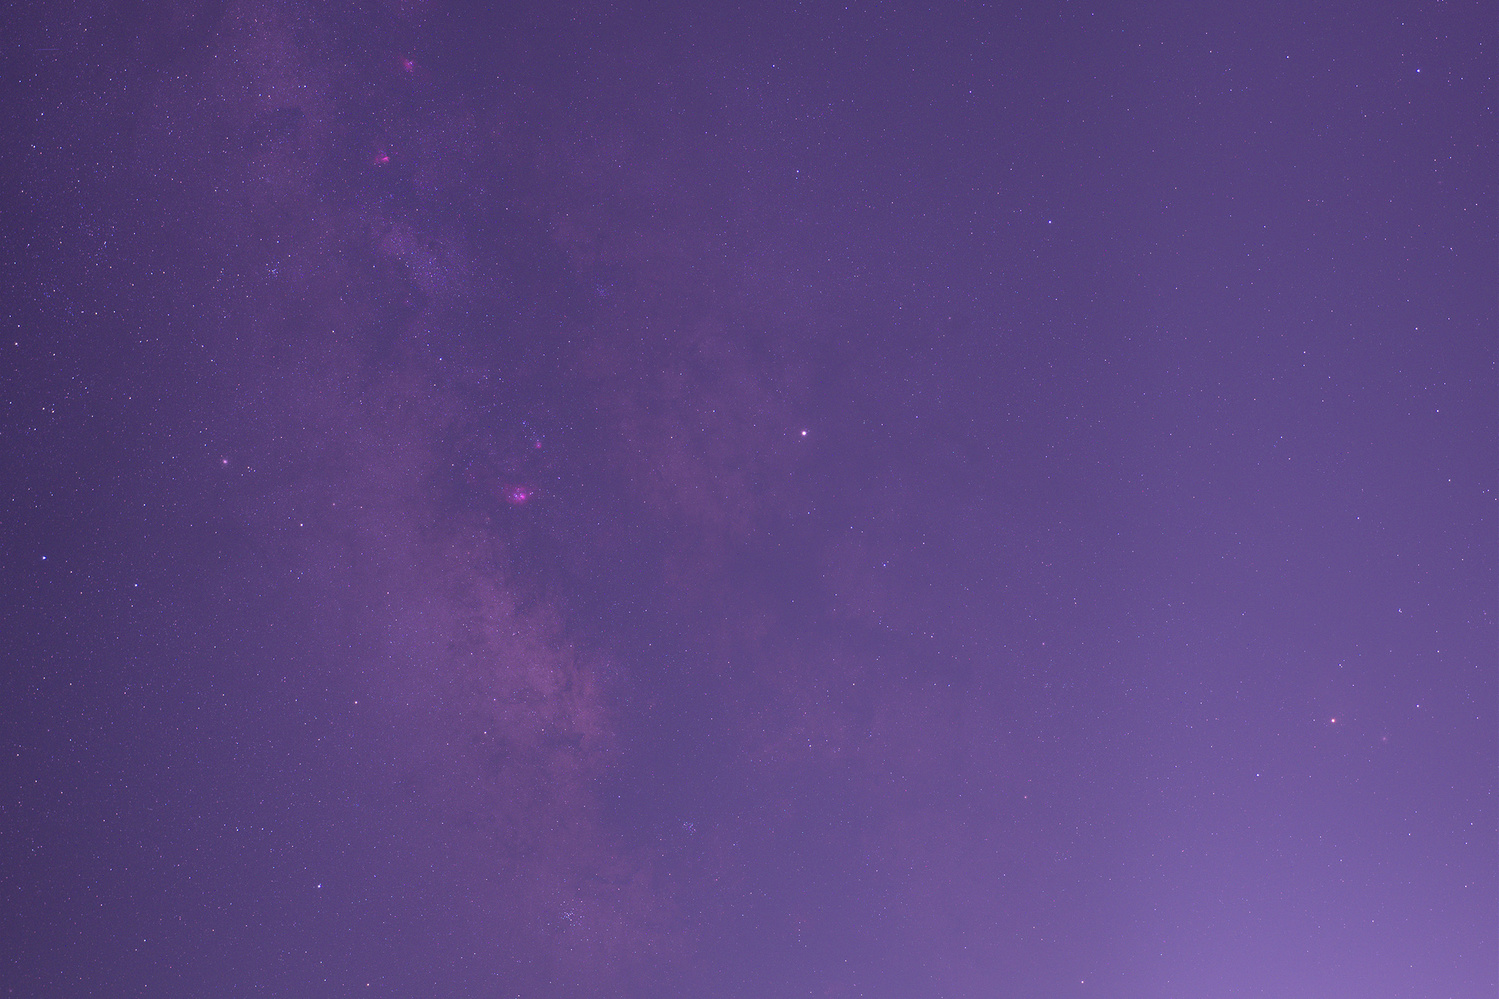
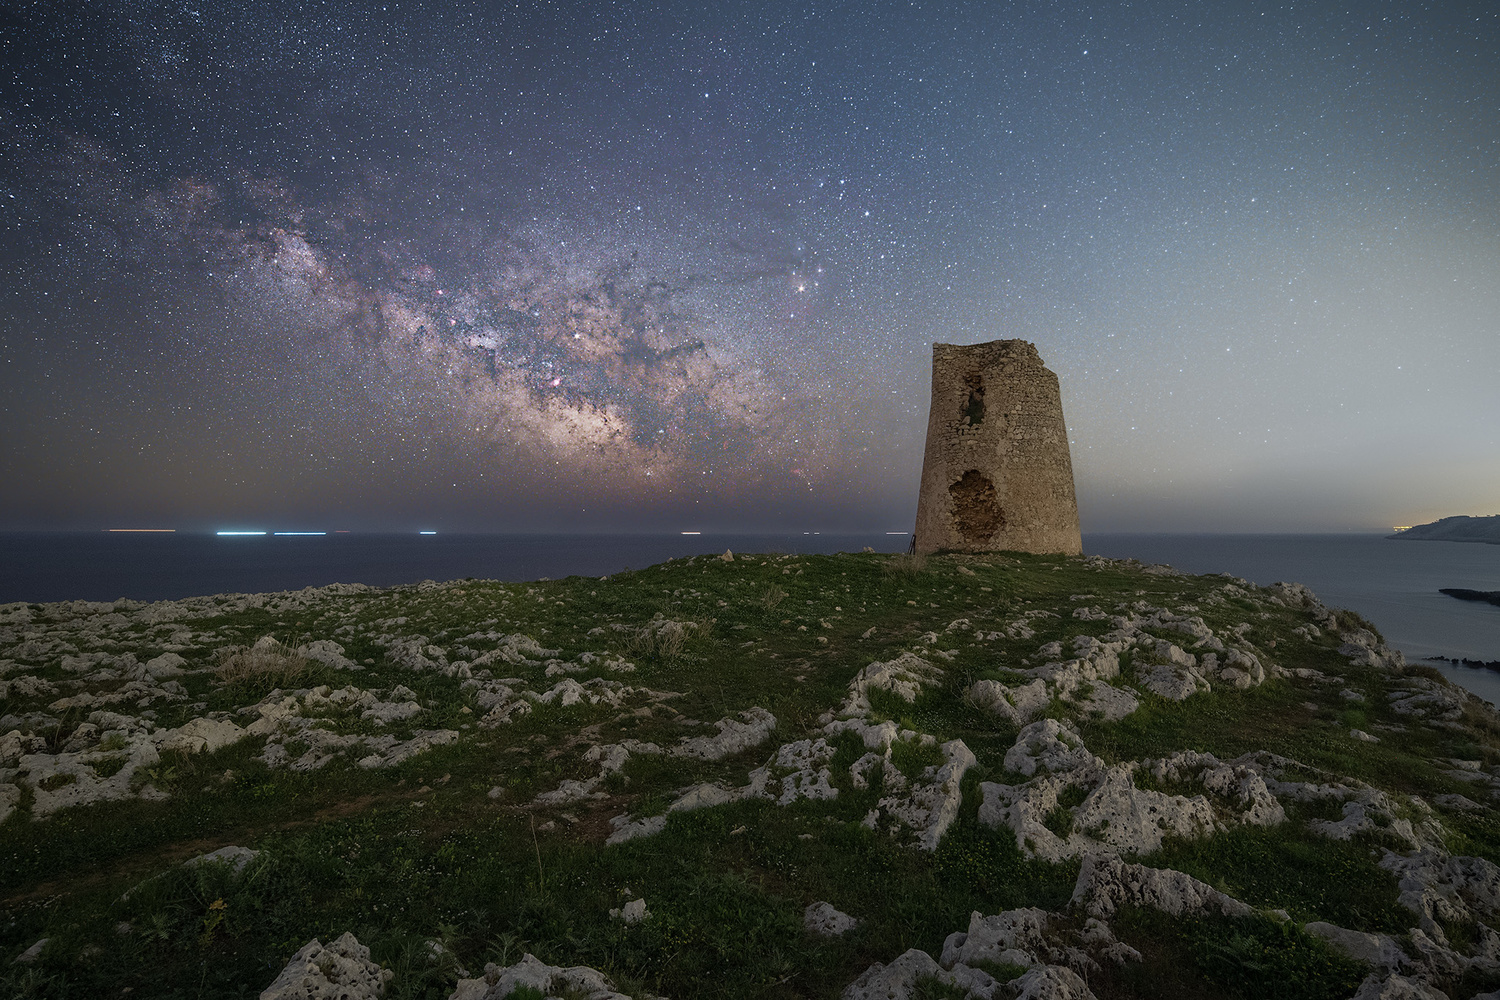
Editing Milky Way, star trail, and deep-sky astrophotography images can be a daunting task. With dozens of layers and adjustments, we can feel overcome with getting the most out of our nightscape photography. With the new and improved version of OrionH, those days may well lie behind us because this plugin panel for Adobe Photoshop aims to lower the amount you sit at the computer. OrionH comes with three different panels that each have their nightly specialty and in this review, we will discuss version 2.0’s new and improved algorithms and features for each of those panels.
Deep-Sky Panel
After a couple of hours of processing deep-sky images, I usually start to lose the desire to visually separate noise from signal. Let me be clear that OrionH is meant for post-processing. But to get maximum results for your efforts, we need to be very considerate of our steps in shooting and pre-processing too.
DSLR astrophotography pre-processing is essentially about combining many (dozens to hundreds) images into one flat, gray image. The point at this stage is to increase the signal to noise ratio. To be very simplistic about this: exposing for longer increases signal strength. So does opening up your aperture. You can also shoot multiple frames to integrate exposure time. So imagine you have shot a hundred images of the Milky Way core and want to take an average of that. This way, the random noise patterns decrease, while the signal stays the same. Now you are decreasing noise and increasing signal to noise ratio. While pre-processing is usually done in dedicated software like PixInsight, MaxIm DL, or rudimentary software like Deep Sky Stacker, stacking can also be done in Photoshop.

Which leads us back to OrionH. The Deep-Sky Panel is meant for those who love to capture galaxies and nebulae. A new feature that has been introduced in version 2 is “manual stacking,” which helps to speed up background and sky stacking. The “filter stars” action will darken the smallest stars a bit, so there will be more pop in your image.
“Gradient kill” eliminates gradients in your shot in the color channels, while “light pollution” effectively gets rid of that pesky orange sodium glow when you’ve shot form within a town or city. The “noise kill” tab holds a couple of actions that target specific noise types. “Background noise” lowers general noise, while “deep noise” targets noise in the black background. “Horizontal banding,” “vertical banding,” and “noise flat” will equalize the noise across the image for you. “Color spot” removes saturation caused by the camera sensor, while “blue halos” and “remove green” target specific colors around stars and background noise respectively.
With OrionH, it’s relatively easy to increase saturation and contrast with included dedicated actions. But we haven’t talked much about the “simulation” feature in the review of version one. “H-alpha” will increase the red signal to strengthen the saturation of hydrogen-alpha emitting nebulae. “OIII” targets the colors in the cyan part of the spectrum to increase the saturation of the pale blue glow found in oxygen-rich nebulae. We’re left with “starspikes,” which adds a nice effect of simulated diffraction spikes. This way, the spiky stars look like the image was captured through a reflecting telescope where a secondary mirror is held in place by thin wires. You can adjust the intensity of the spikes through various presets, although I prefer not to introduce artifacts to an otherwise higher quality image.
Milky Way Panel
To me, Milky Way editing is about selectively adding contrast to either specific areas, or by targeting specific luminosities. OrionH does a very good job in getting detail-rich results from faint Milky Ways along the horizon in nightscape images. “Boost contrast” accentuates the contrast, brightness, and clarity of the Milky Way, but you’d have to create a soft mask to target only the Milky Way while protecting the foreground from these and other adjustments. Well, it turns out that this panel does that for you. Just paint with a white brush once to add the desired effect to any spot on the image.

This is a big deal. Previously, Milky Way editing was a tedious task that included dozens of layers, masks, luminosity selections, and adjustment layers. Swathes of your precious time can now be freed up to start planning your next shoot.
“Dodge and burn” creates two new layers that, with the right selections, target luminosity and warm or cold tones. This allows you to add to the highlights or subtract from shadows to create a more dynamic image.
There’s a whole host of features left to be discussed, but without getting into any of them in full, these all contribute to make the Milky Way stand out more from the background, noise, or light pollution. There’s a “light pollution” filter for the ability to add star effects and decease noise in the darkest parts of the sky, while increasing contrast in the nebulosity of the Milky Way core and nebulae. Selectively adding or decreasing saturation is pretty straightforward with the “saturation” and “color stop” actions. Just select a specific color to target and watch the magic happen.
A new “hot pixel” remover quickly finishes off tiny blobs of color as a result of stuck and hot pixels on the sensor. And if you really don’t have the time or energy to dive into all of these features, there’s always the new “auto” feature for automatic processing of the Milky Way.
Star Trail Panel
A panel that’s dedicated to the beauty of the starry night isn’t complete without at least some dedicated tools geared toward star trail photography. After you’ve finished merging your layers that contain the star trail, you’re often left with tiny gaps inside the actual trails. These gaps lead to all sorts of artifacts like moiré, which is tough to reduce by hand.

With OrionH, it’s now easy as pie to get rid of those artifacts and get your photography looking like you had imagined. The “fluid startrails” feature contains four settings for ironing out the gaps in between your stars, while “flat lights” and “minimum stars” increase the contrast between thinner and fatter lines and reduce the moiré effect. “Polaris center collapse” retains the contrast around the North Star so you won’t end up with a muddy looking center of the star trail. Here too we find a “noise reduction” section that contains actions for reducing specific types of noise.
Is OrionH Version 2 for You?
To be honest, I dislike any formulaic approach to photography. However, I do enjoy spending less time at the computer and more time stargazing as the camera fires away hundreds of frames for capturing star trails, deep sky objects, or a noise-less Milky Way galactic core. I think this is where OrionH comes into its own.
Version two doesn't feel like a complete overhaul of version one, though. As we've established in the review of the first version, most of the features were already timesaving. Instead, the team at Milkywayhunters have improved upon their feature-rich panel and restructured it to be more user-friendly, and they've done a proper job at this.
You can get OrionH 2 for €29.99 at Milkywayhunters.
Images used with permission from Milkywayhunters.


very well put and well done
Oh god... that UI... Looks like it works well, but I couldn't ever use it just because of the UI
I was about to say something along those lines. WTF were they thinking? That is utterly obnoxious.
You can also switch to the dark UI
That´s the first what I was thinking about. It´s so confusing. Looks like a panel for Windows 95.
1