
Most photographers are taught early on that soft light is the go-to for portraits, and hard light should be avoided whenever possible. But the truth is, the “best” lighting for a photo always depends on what the photographer wants to create.
This principle applies to every genre of photography, including wedding and portrait photography, commercial work, fashion, or food photography. Hard light can be a powerful tool when you know how and when to use it. After exploring these hard light photography tips along with 30+ inspiring photos, you'll see why mastering hard light can elevate your portrait work.
All of the images in this article are provided by the photographers at Wedding Maps and used with their permission.
What Is Hard Light?
Simply put, hard light refers to any light source (natural or flash) that creates crisp shadows and high contrast between light and dark areas.

Here are some common characteristics of hard light that you’ll want to know when using it for portraits:
-
Directional shadows
-
High contrast between light and dark areas
-
More pronounced textures and facial details
-
A staple for dramatic looks
Portrait photographers often avoid hard light in portrait photography because it can highlight skin imperfections and create harsh lines. When used with intention, however, it can add drama and depth to your portraits.
Now that we’re clear on understanding hard light, let’s jump into some tips for using it.
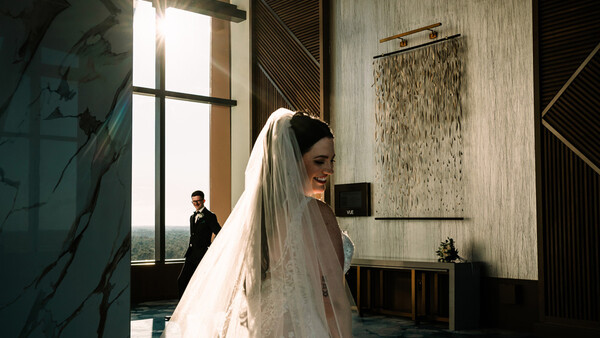
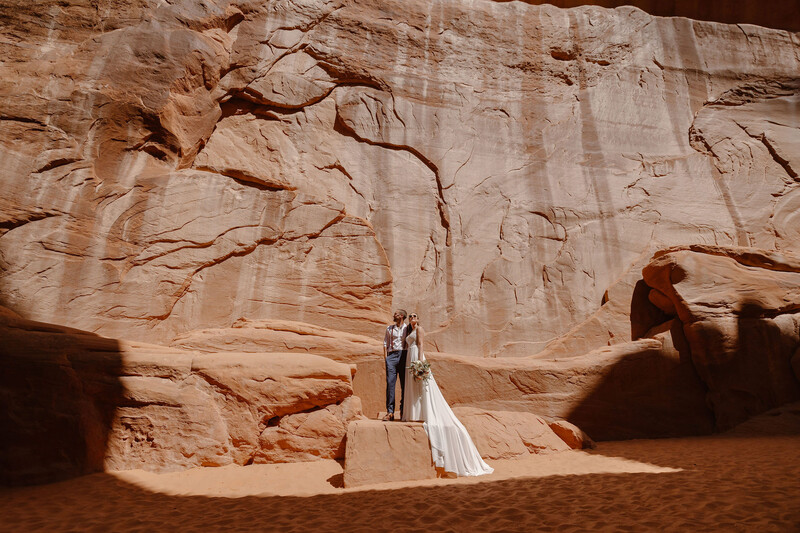
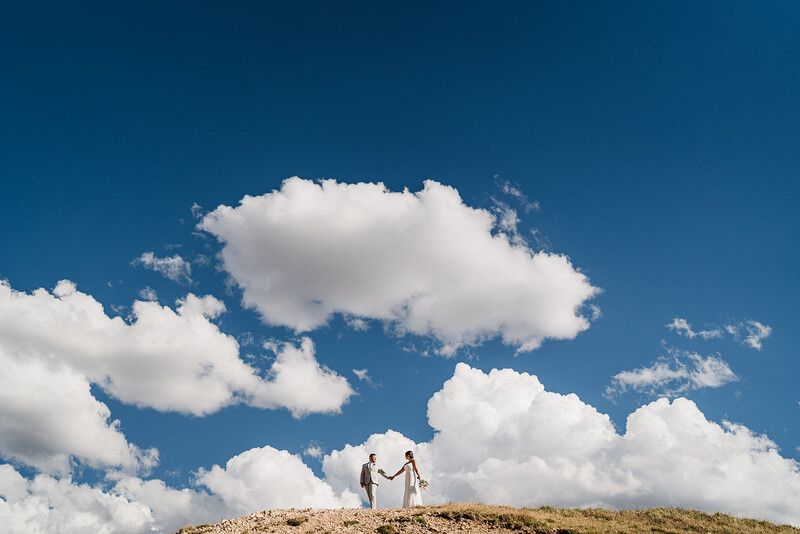
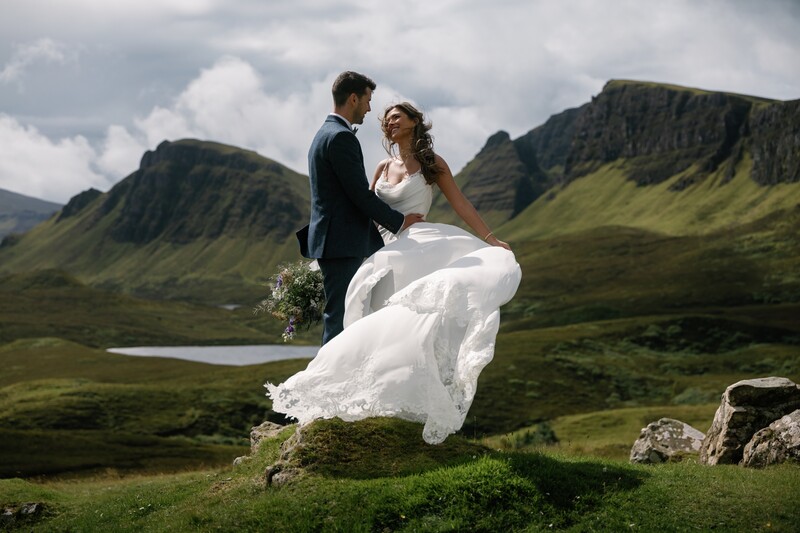
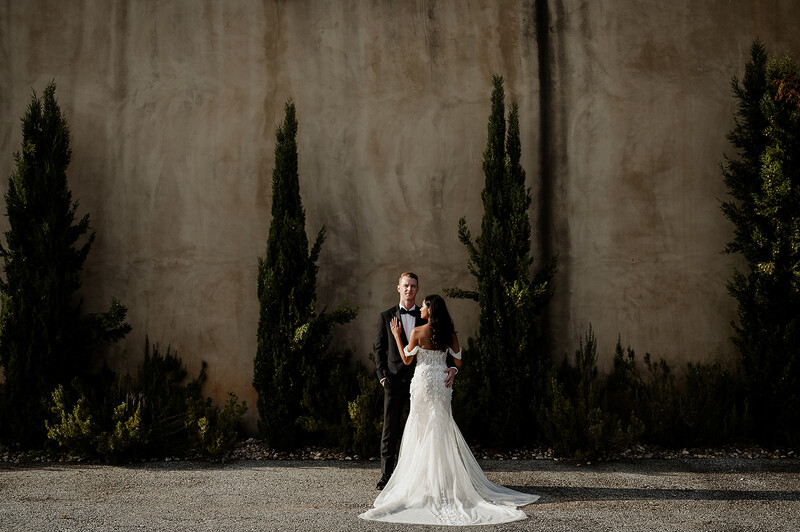
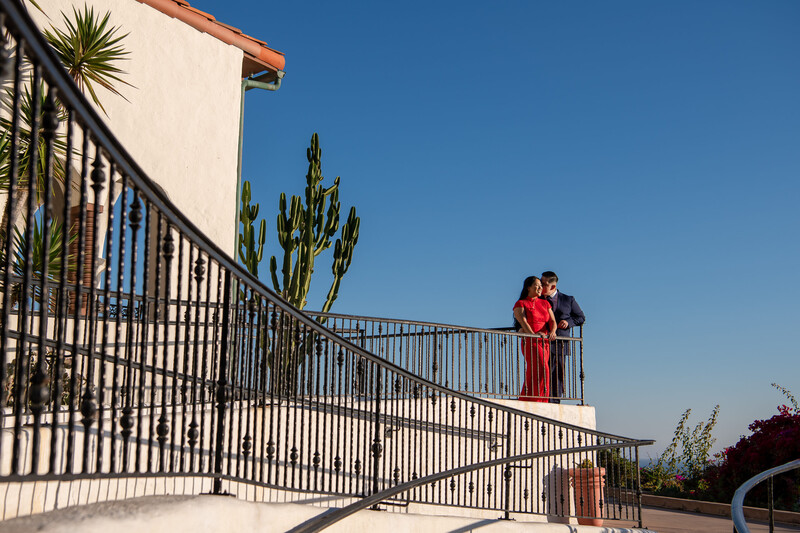
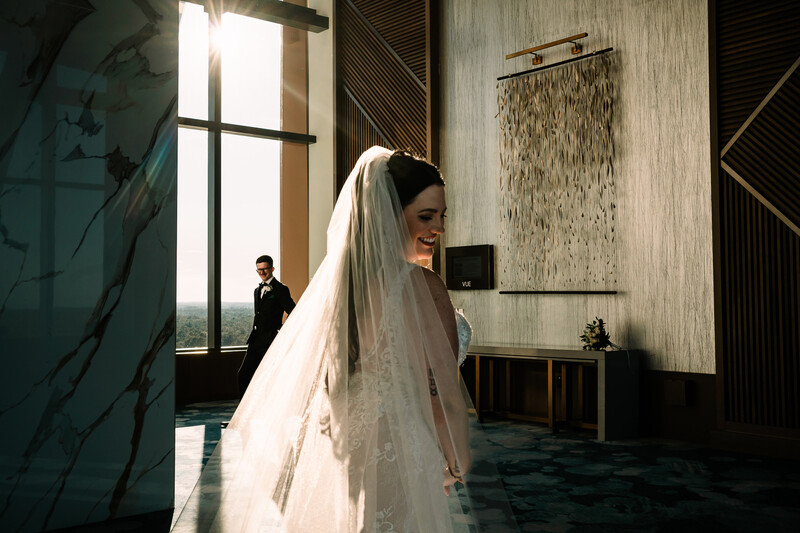
1. Shooting in Midday Hard Light

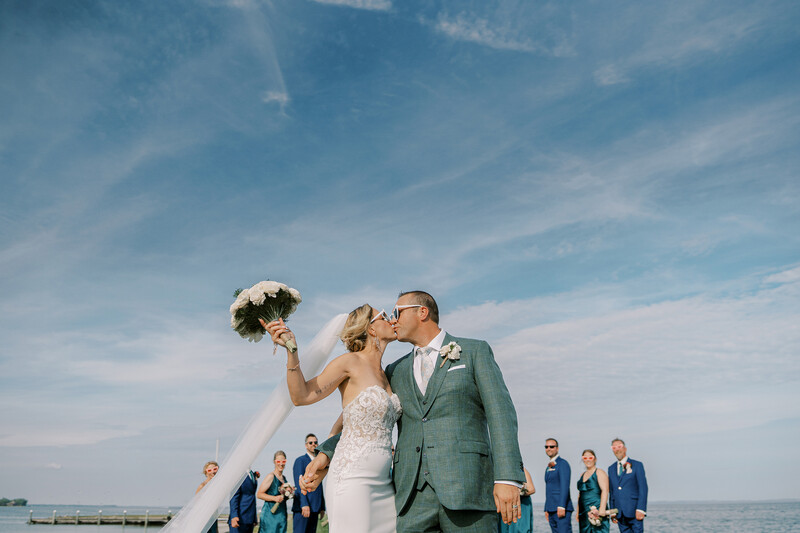
If you find yourself capturing portraits midday in the great outdoors, it can help to allow the environment to occupy more space in the frame. A lot of the “epic” portraits we see that highlight grand landscapes are probably divided equally between midday and golden hour. As we move in closer to our subjects, we typically start incorporating tips you’ll find in the section below on capturing candid and action portraits.
Of course, your location can play a big role in determining which shots you can get using midday sun. Not every backdrop lends itself to wide angle, epic portraits. Here are some general tips you can refer to that will cover different scenarios.
Hard Light Photography Tips for Shooting Midday
-
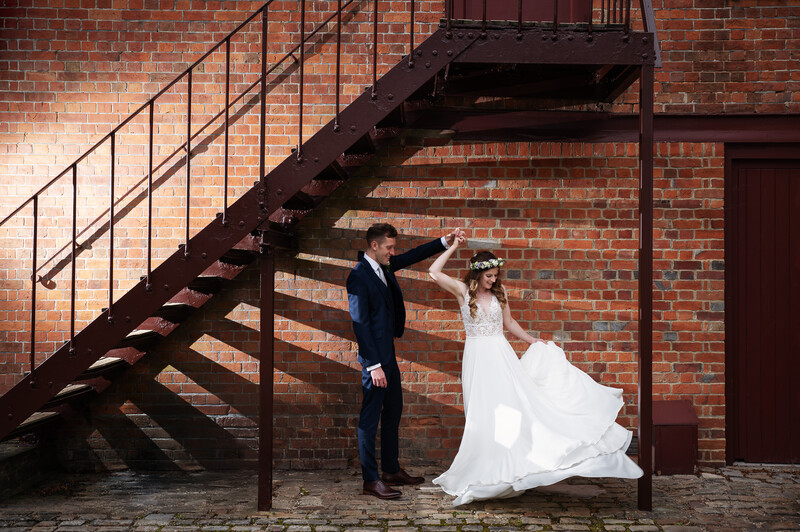
Use natural reflectors — Light bouncing off walls, concrete, or nearby buildings can help soften the intensity of the hard light. This works well for both wide and close-up shots. It really has more to do with placing your subjects within an adequate distance from the natural reflectors.
-
Position your subject strategically — Have them face toward or away from the sun to control where the shadows fall.
-
Experiment with angles — Try shooting from the side or back to create more dynamic shadows and contrast.
-
Use architectural elements — Arches, columns, or tree canopies can create interesting light and shadow patterns.
-
Protect the highlights — Underexpose slightly to keep detail in the highlights and prevent overexposure.
Mastering midday sun takes practice and relies heavily on “natural” posing and camera position, but once you get it down, you can use hard light to produce incredibly bold and dynamic portraits.
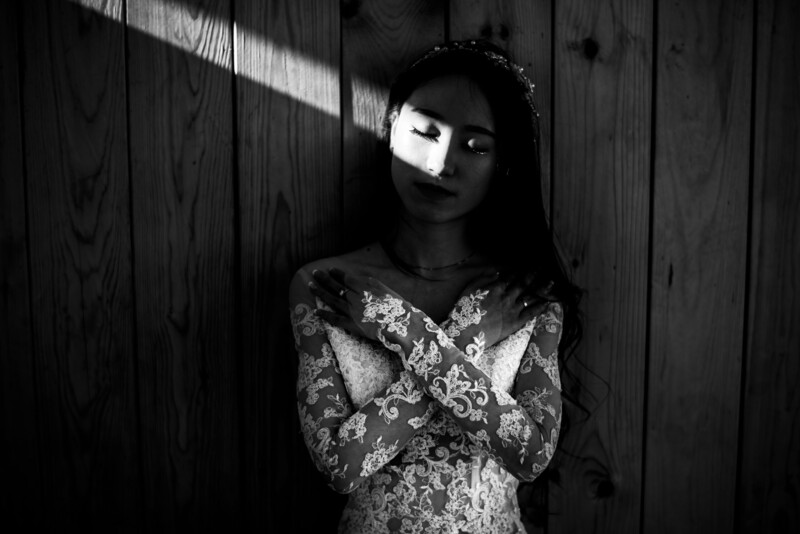
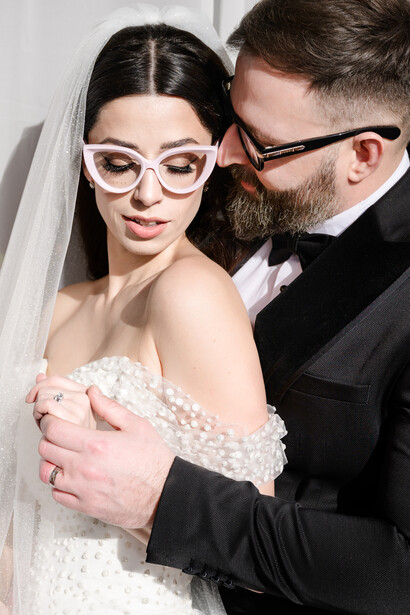
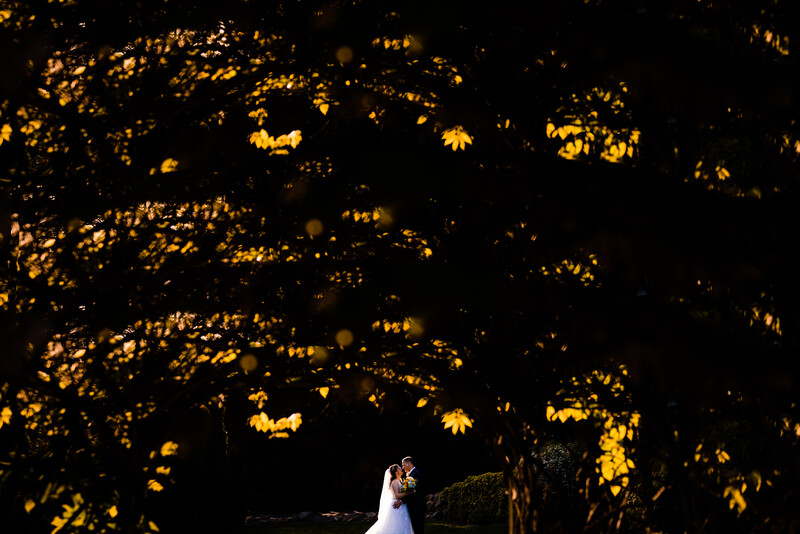
2. Playing With Shadows in Hard Light
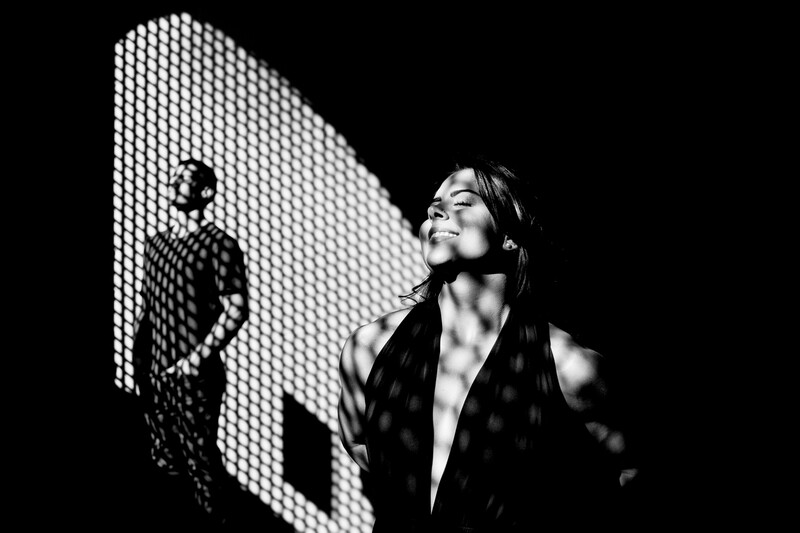
Hard Light Photography Tips: How to Master Shadow Play
-
Use gobos — A gobo (short for "go-between") is an object that shapes or blocks light. Try tree leaves, window blinds, or custom cutouts to create patterns.
-
Experiment with natural patterns — Light filtering through windows or tree branches can create unique designs or patterns.
-
Try man-made gobos — Lace fabric, a colander, or even your fingers can create creative patterns on the subject's face or body.
-
Adjust angle and distance — The closer the gobo is to the light source, the sharper the shadows. Adjust the angle of the light to change the shadow's shape.
-
Frame with shadows — Use shadows to frame the subject’s face and draw attention to expressions.
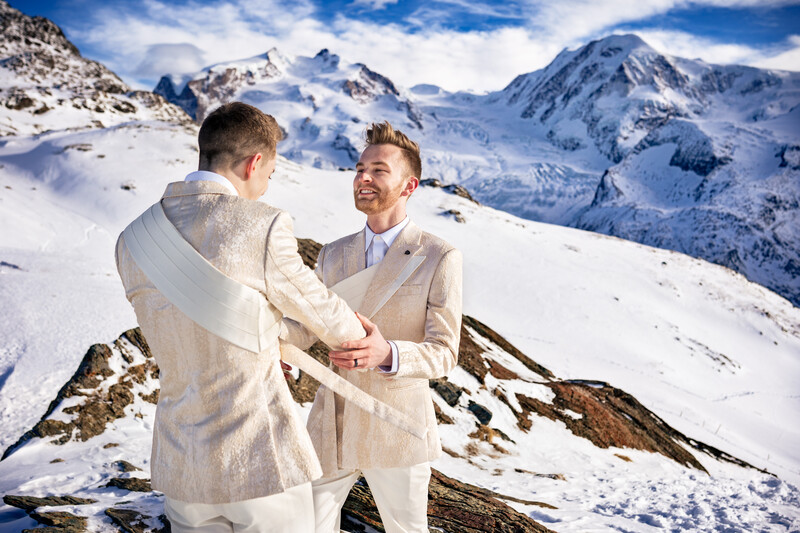
3. Capturing Candid or Action Shots in Hard Light

Hard Light Photography Tips for Candid and Action Shots
-
Avoid eye contact—Cue your subjects to look at one another or off in another direction, just like they would if they weren’t standing in front of a camera. The focus should be on the action and not necessarily on the subjects’ expressions.
- Embrace motion blur—Slow down your shutter speed to create intentional blur and convey movement.
- Focus on natural highlights—Hard light creates bright spots and deep shadows. Look for locations where the light naturally enhances the subjects’ gestures.
- Expose for highlights—Let shadows fall into darkness while keeping the highlights crisp and defined.
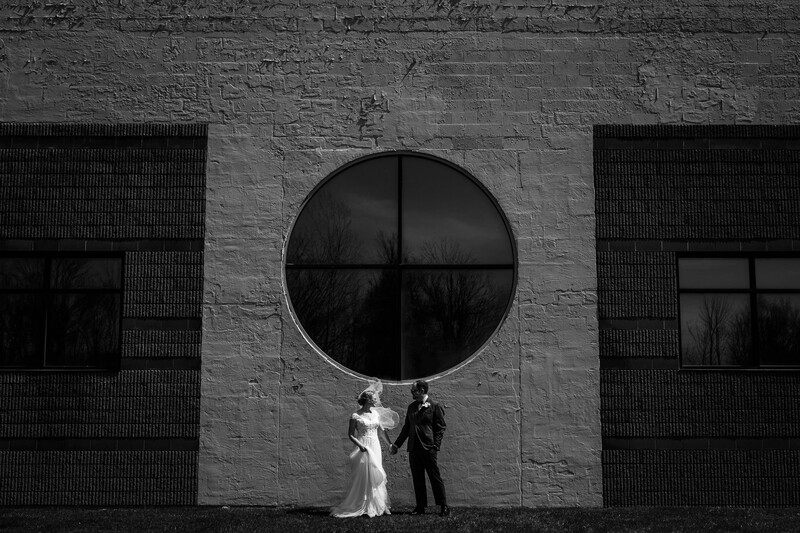
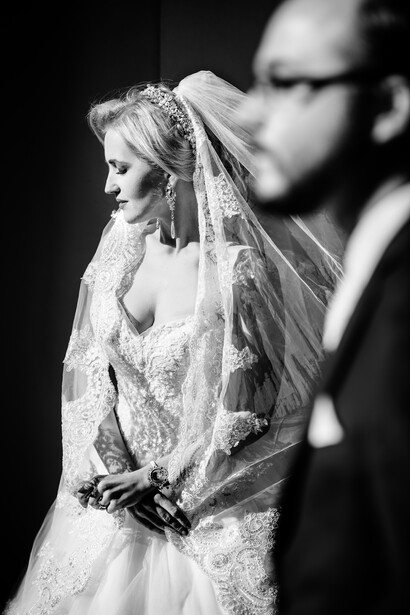
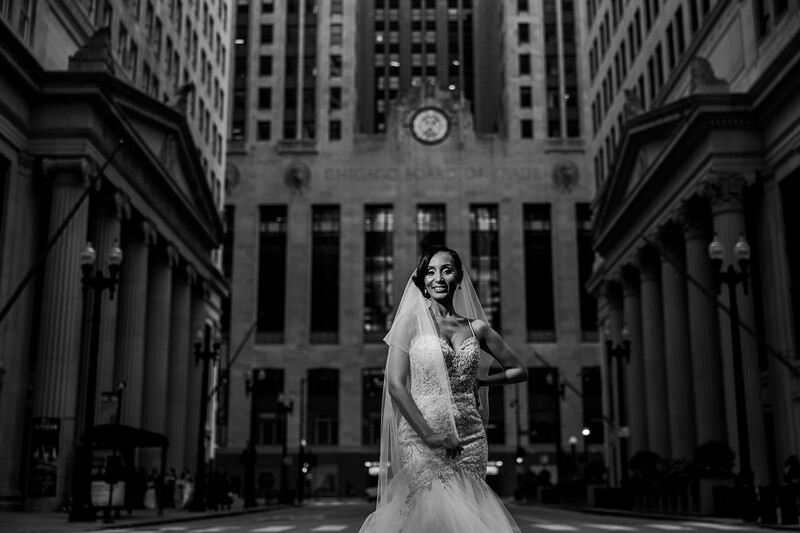
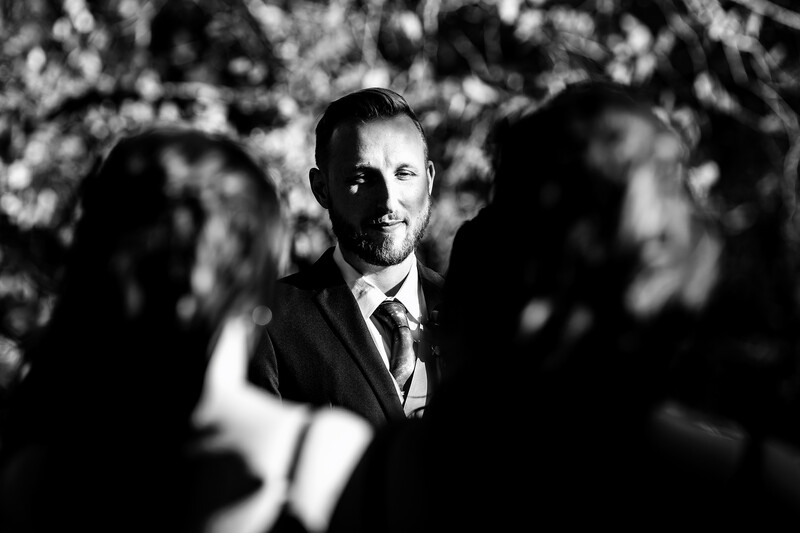
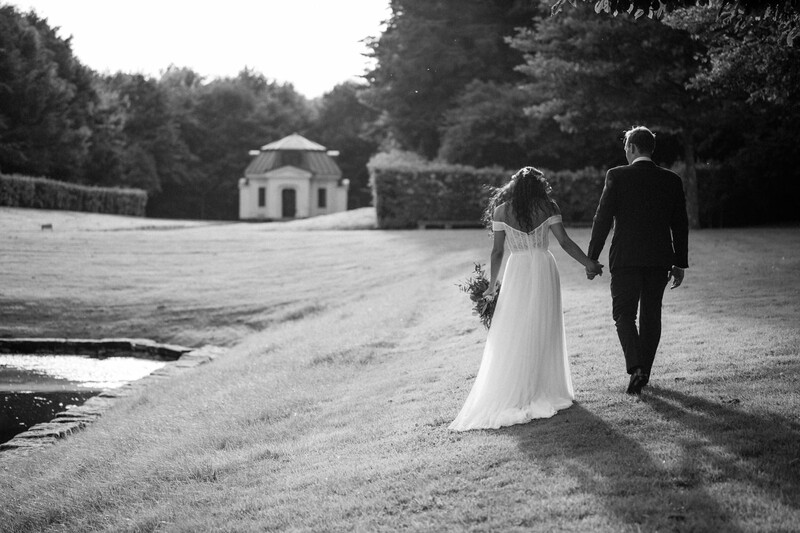
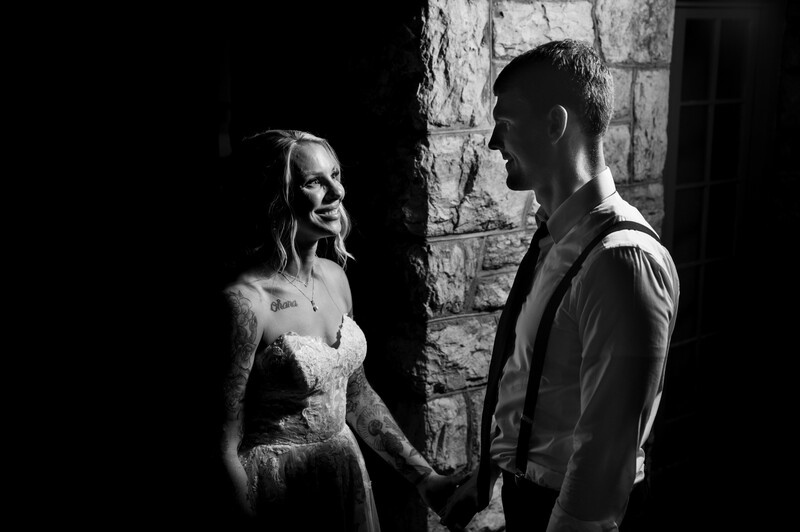
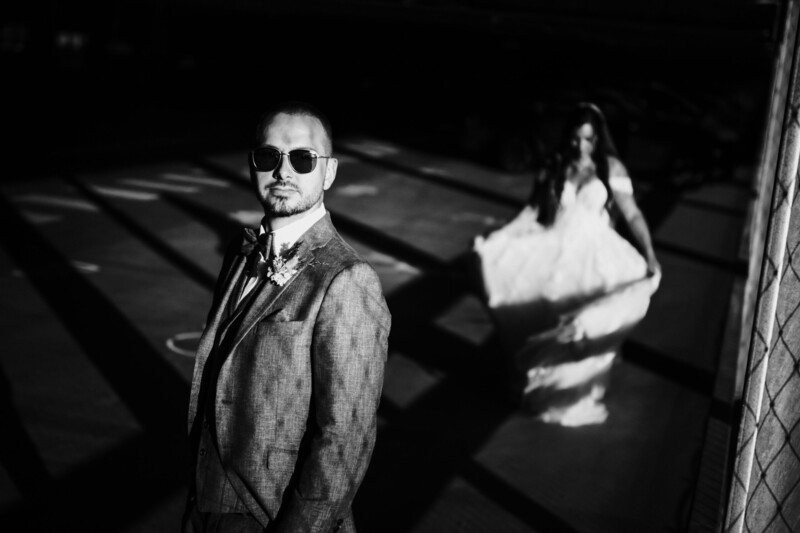
4. Striking Black and White Hard Light Portraits
Tips for Black and White Hard Light:
- Look for high-contrast scenes—Sunlight cutting through an alley or window blinds creates dramatic lines and shapes.
- Expose for the highlights—Let shadows fall into darkness to maintain crisp highlights and deep blacks.
- Focus on texture—Hard light enhances skin texture, hair details, and clothing patterns in black and white.
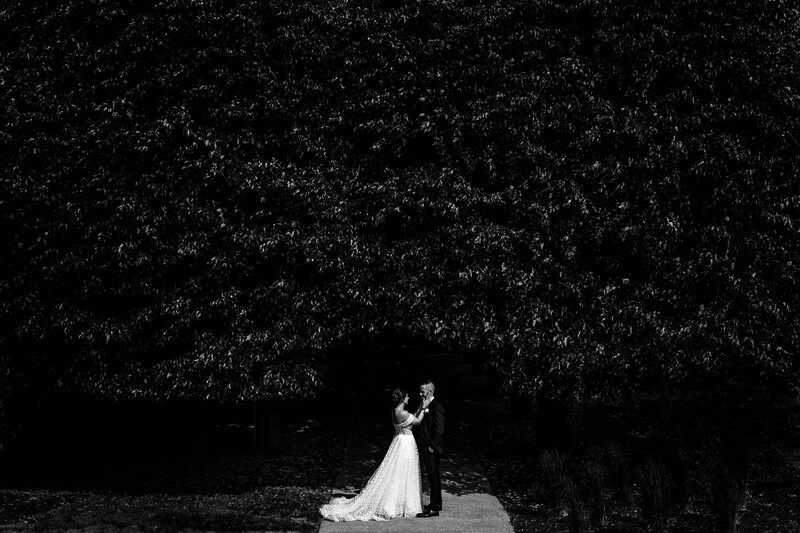
- Use negative space—Allow dark shadows to frame the subject or lead the viewer’s eye.
- Keep it natural—Let the natural contrast of hard light do the work rather than over-processing the photo.
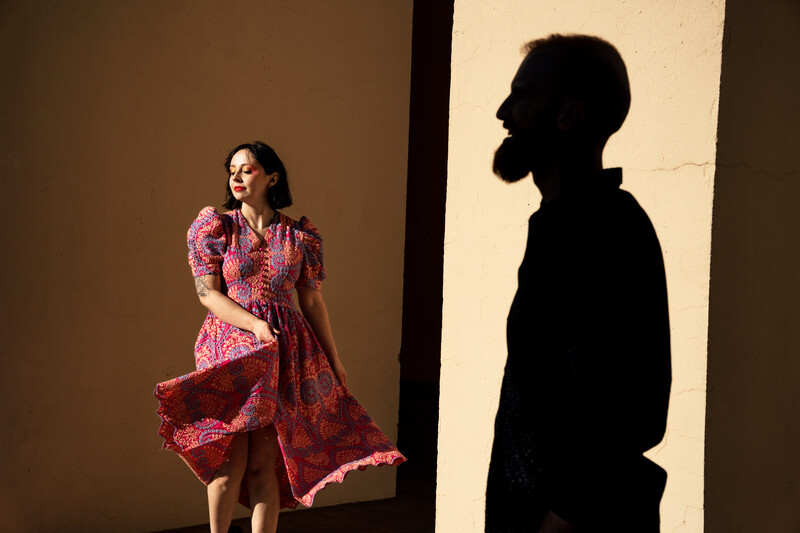
5. Creating a Fashion Editorial Look with Hard Light
How to Achieve a Fashion Editorial Look:
- Use direct flash or bare bulb lighting—Fashion photographers often use direct flash to create crisp shadows and high contrast.
- Go bold with styling—Hard light works best with structured outfits, dramatic makeup, and strong poses.
- Try harsh side lighting—Side lighting creates more contrast and defines the subject’s features.
- Keep the background simple—Hard light portraits in fashion are most effective with clean, minimalist backgrounds. This varies by location, of course.
It’s difficult to argue against hard light’s ability to create a confident, editorial vibe that feels stylish and professional.
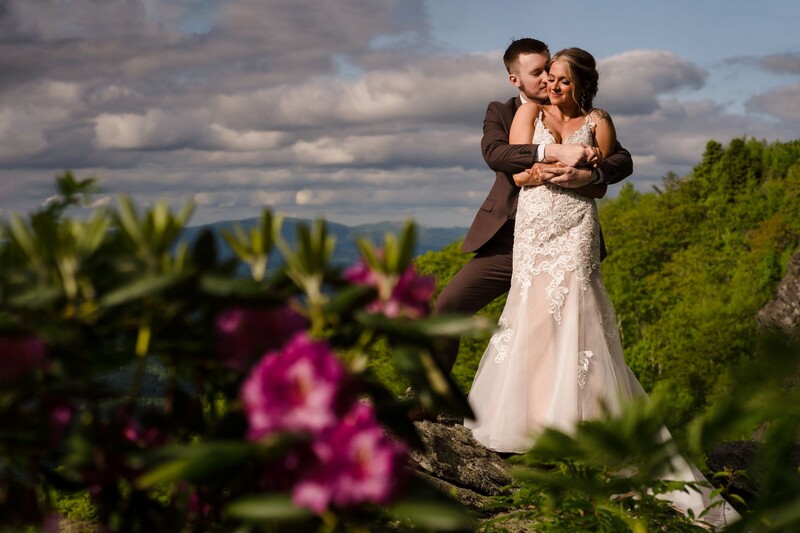
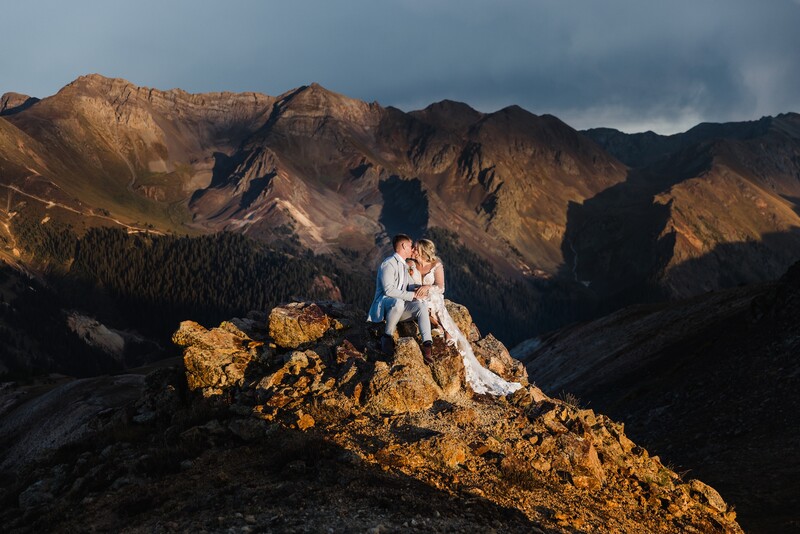
Hard Light Photography Tips | Conclusion + More Inspirational Photos
Hard light can feel intimidating at first, but once you learn how to control and shape it, it becomes a powerful creative tool. From striking black-and-white portraits to high-fashion editorial-styled shots, hard light provides a number of creative possibilities for wedding and portrait photographers. The best thing to do is practice using hard light on your own time and then take it into your paid sessions. Your clients will love it! Either way, don’t shy away from hard light—embrace it, experiment with it, and watch your portraits transform.
Here are some additional examples of hard light portrait photography to further inspire your own portrait sessions.


Whether you’re shooting a high-energy wedding, a quiet candid moment, or a stylized editorial portrait, hard light offers far more than just contrast—it offers character. It forces you to be intentional, to see shadows not as flaws but as creative tools, and to approach each scene with purpose. By understanding how to shape and apply it, you’ll unlock new layers of storytelling and add a distinctive edge to your portfolio. So next time the sun is high or the shadows are deep, don’t reach for your diffuser right away—lean into the challenge. Hard light might just be the secret ingredient your work has been missing.


Join the Fstoppers community for free
-
Post comments and join in the discussions
-
Browse the site ad-free
-
Share your work and get featured in the community
-
Compete in the photo contests for fun and prizes
No comments yet