
Look, I think we've all been there, none of us want to have to bring extra stands, tripods/monopods, or even extra cameras just to get behind-the-scenes images (BTS for short from here on out) or video for our websites or social media, even though we'd all love to have that content. After some trial and error, I think I've landed on a fun and flexible solution by using a 360 action camera but there are some things to know before you get started so let’s get into it.
So What Were My Criteria for a Solo Operator BTS Camera Setup?
- I want the camera to mount to my main rig so that I don’t have to bring extra tripods or stands and I don’t have to leave gear out of eyesight while I’m concentrating on my primary job (making photos).
- I would like as much flexibility with the BTS footage as possible
- I need the camera to be able to handle vertical shooting so that when I switch between horizontal and vertical the video stays in the correct orientation.
- I would like any footage/image to be able to be used for both standard 16:9 video and vertically for social media
- I need to be able to work easily with the video/stills so that it doesn’t take up too much time to edit/post
Why a 360 Camera?
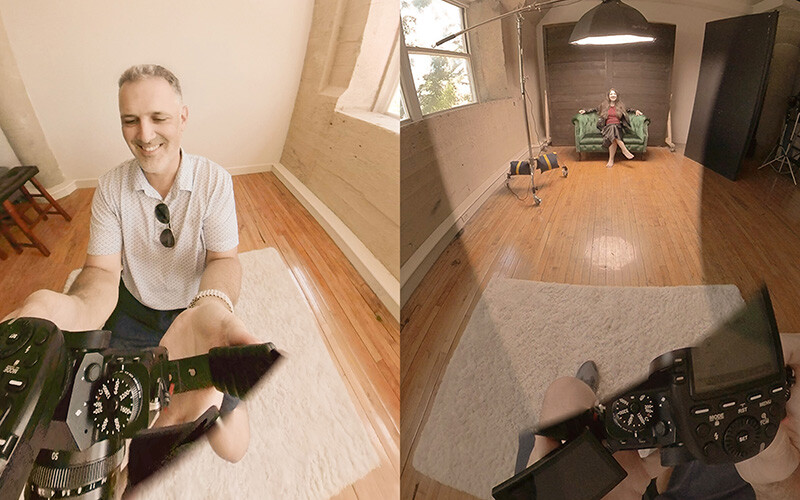
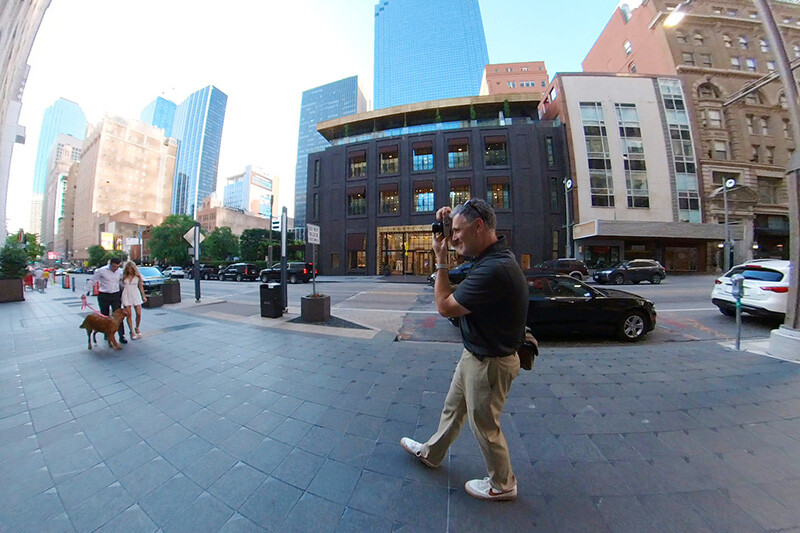
The principal reason to use a 360 camera is to be able to reframe after the fact and follow yourself working around your gear. Being able to see yourself while behind the main camera makes the variety of footage possible from a BTS camera so much better than a standard GoPro or DJI Osmo.
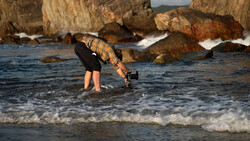
Here are a couple of examples of different views you can achieve but with creative mounting, you can do a lot. Of course, you can also just have your assistant (in my case, wife) hold the camera during parts of the shoot for a more traditional BTS angle.

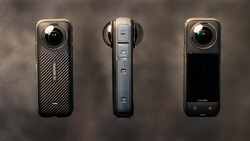
The model I chose is the Insta360 One R with the 360 camera module which I like because it’s smaller then the Insta360 X series 360 cameras and can use a lot of the standard action camera accessories I have; although, the new Insta360 One RS 1-inch Edition is something I’d love to try for better low light performance at wedding receptions and the like. The other reason I’d highly recommend Insta360 is because the app both for your phone and my Mac work really well and greatly reduce the friction in creating content.
Mounting to Your Main Rig and Getting the Most Flexible Footage
OK let’s assume you’ve chosen something similar to what I have in the Insta360 One R to use for BTS footage — you’re going to need a couple of other accessories to make everything work.
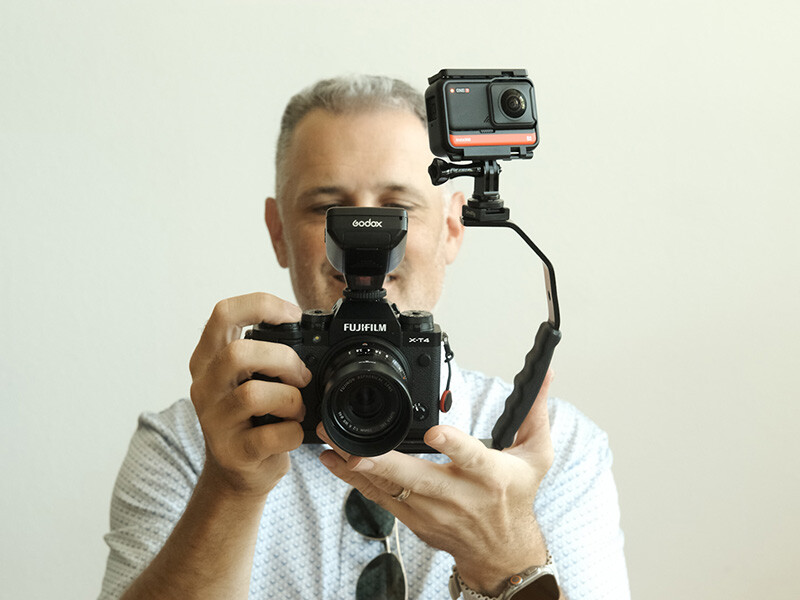
- I love this all-metal cold shoe adapter from Smatree that allows you to mount your camera to your hot shoe or anything else that has one of those types of receivers. 100% must-have for me for any action camera.
- If you need to use your hot shoe for a flash or transmitter you can get one of these simple flash brackets that will put the 360 cam a couple of inches away from the main camera and off the hot shoe. There are lots of options for these handles or you could use a video cage etc. Just pick something that works for you ergonomically.
- SmallRig cold shoe — These are kinda self-explanatory but they’re very useful for any kind of rigging.
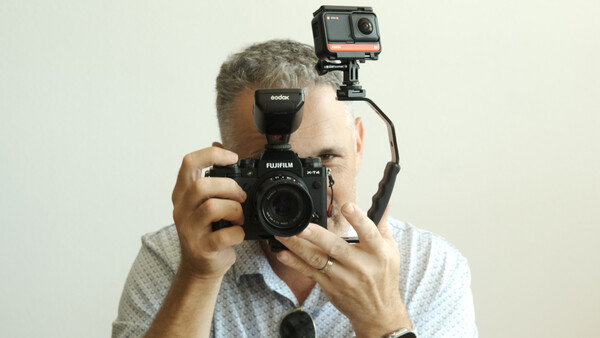
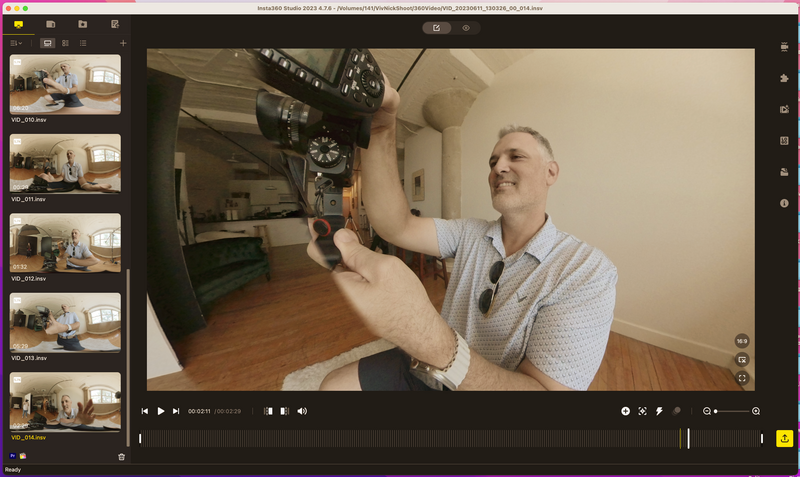
Once you have the gear there is one more thing to really think about and this is key to using the 360, where do you want the stitch line to be? If you’ve never played with a 360 camera before, you’ll see there are two lenses on these action-size cameras which means that what’s really going on is that two 180(ish) degree fisheye lenses are being stitched together along the axis of the camera body which creates a dead zone in the video files only in that one spot. If you place the 360 camera on your rig in the hot shoe you’ll have one lens facing forward and the other facing directly back at you with the stitch line running right down the top plate of your main camera. I would highly recommend using the accessory arm to move the 360 camera away and tipping it so that the stitch line is running at an angle so that the camera can see you, the top of the main camera, and your hands (even your screen) if it’s tipped out while you work.
Here’s how mine looks:
Horizon Lock and Vertical Footage
One of the things I hated about mounting regular action cams to my main camera is that every time I made the switch to shooting vertically, I had to cut the video. Now with horizon lock found on a number of action cameras (and by default the Insta360 One R) we are able to keep the image steady even if you flip the camera. This is perfect for photographers and makes the flow of the footage easier and more fun to work with.

Editing for Both Horizontal and Vertical Video
Here is where a 360 camera is really helpful. Because the image is shot in 360 you can crop to any aspect ratio you want after the fact. This is great because you might need footage for your website in 16:9(H) and/or also want visuals for Instagram stories or TikTok 9:16. You can always go back and export whatever you like.
To export the video for usage, Insta360 has a great app where you can use your phone to choose and export the video; including being able to choose moment to moment where the camera is looking. If editing from your phone isn’t your favorite, you can import the files to your computer and edit them with an application like Premiere Pro. I tend to use the phone if I get something I want to share immediately and I’ll use the desktop app and Premiere if it’s a project with multiple clips and additional cameras.

Downsides
- The entire 360 image from the Insta360 One R is 5760 pixels by 2880 pixels or 16.5 megapixels so when you crop into that to get a standard video frame or still image you’re left with 4-5 (ish) megapixels max. Does anyone care? I’d argue that for BTS stuff it’s more than adequate but if you’re a stickler for video quality you might need to think about a higher-resolution camera.
- The lowlight performance on a small action camera isn’t great. If you’re at a wedding reception and you want to get some dancing footage you’ll need to make sure you're in a well-lit area like the lights of the band or you’ll see tons of grain. Even then it’s not great. This is where the new 1-inch Insta360 One RS should be much better.
- Every single clip and image file from 360 footage has to be edited and processed through the Insta360 apps or a plugin inside of Premiere. Worth it, in my opinion, but still something new to learn. Trust me when I say that using the phone app is pretty good and you might even find it fun to use.
You can find a lot more information about Insta360 cameras and software on their website here. I hope that helps, if you have another solution I’d love to hear what you’re doing to get some BTS as a solo shooter.
1 Comment
Thats a really clever set up! I loved this article