
All it takes is this simple composition tip to take your portraits to a new level. In this video and article, I'll be demonstrating this tip and how you can use it in post-production to completely transform your photographs.
Before we begin, be sure to download the exercise file here and follow along as I edit.
What Is the Tip?
The tip is quite simple. Look for the brightest part of your image and place your subjects there. I have two reasons for doing this. First, your eyes are naturally drawn to bright areas. Second, it opens up the ability to edit your lighting in post-production while still looking natural. Let's begin with applying this technique in camera.
The Technique in Camera
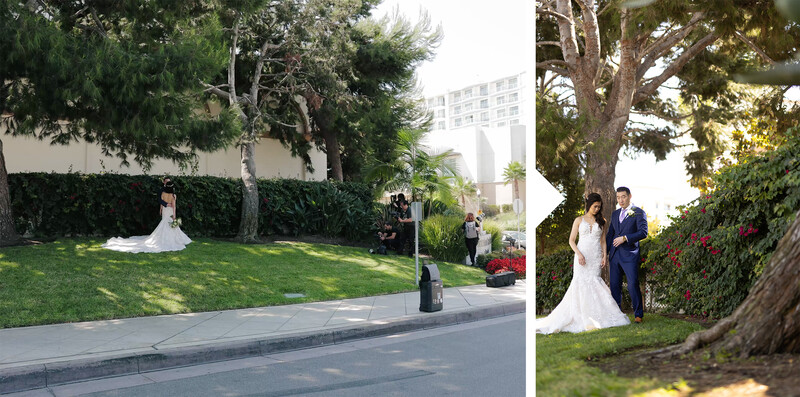
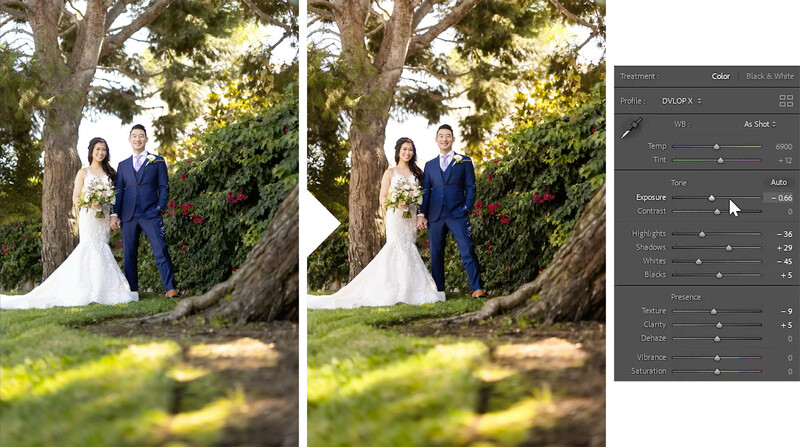
I began with a test shot of my couple underneath the trees in this beautiful scene. Upon taking the image, the first thing I noticed was the open sky right in the middle of the frame.
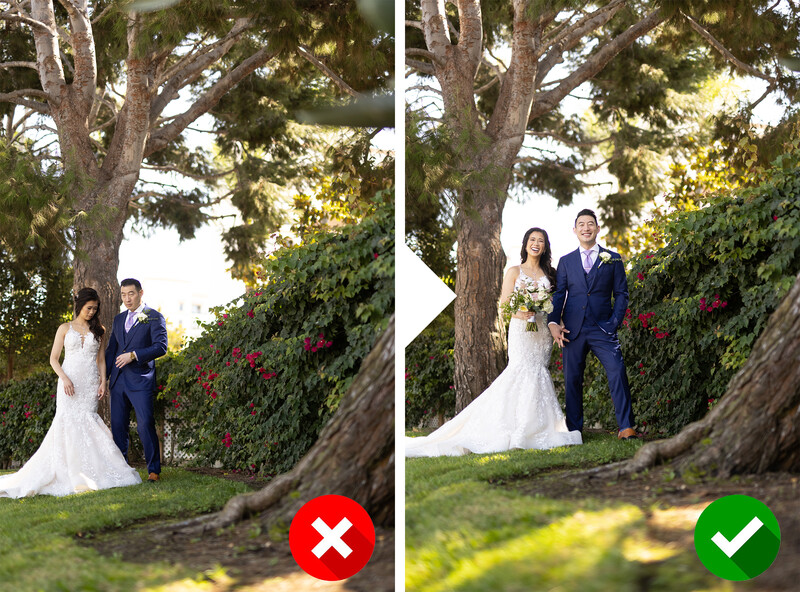
Our eyes are naturally drawn to the brightest spot in an image, and it can be a major distraction if our subjects are placed away from it. Our goal is to bring the attention to the couple, so instead, I placed them right over that patch of open sky. Notice in the second image, our attention is drawn right to the couple.

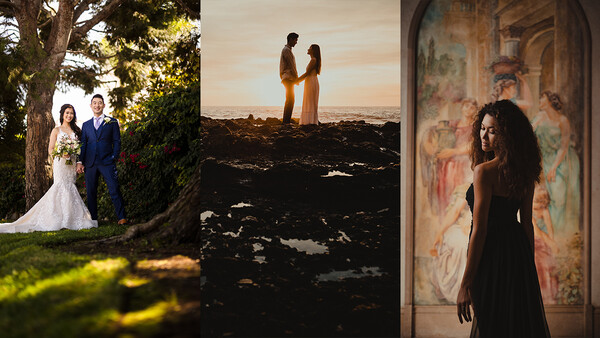
In this next example of this technique, I simply placed my couple right in front of the sun. The natural vignetting around the rest of the scene and the simplicity of the background draws the attention right to them.
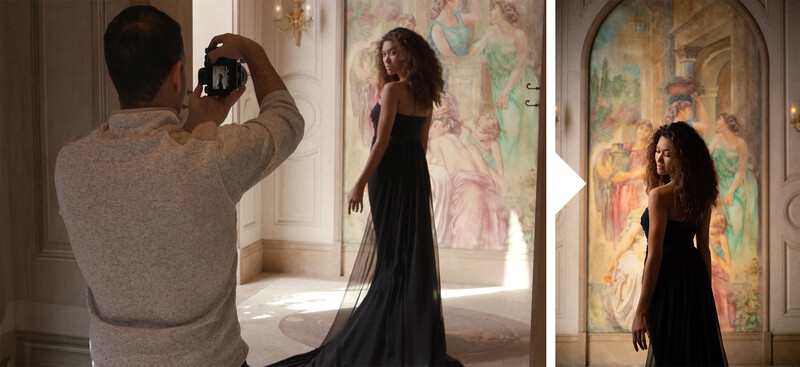
Here, my model is standing next to a large open doorway where a ton of natural light is pouring in. My assistant diffused the light with a large scrim, and the bright, soft light made the model pop from the darker background.
Emphasizing the Effect in Post
Here, you'll see just how powerful this simple tip can be. I began by applying the Modern > Soft Light preset from VF Presets.

Then, I simply added a radial filter to darken the image around the subject. This instantly pulls more focus to the couple. When we place our subjects in the brightest part of the frame, darkening the rest of the image essentially acts as a natural vignette. Notice that our adjustments look completely natural. It even creates an effect that our couple was lit by a soft-box rather than the natural daylight that we used.
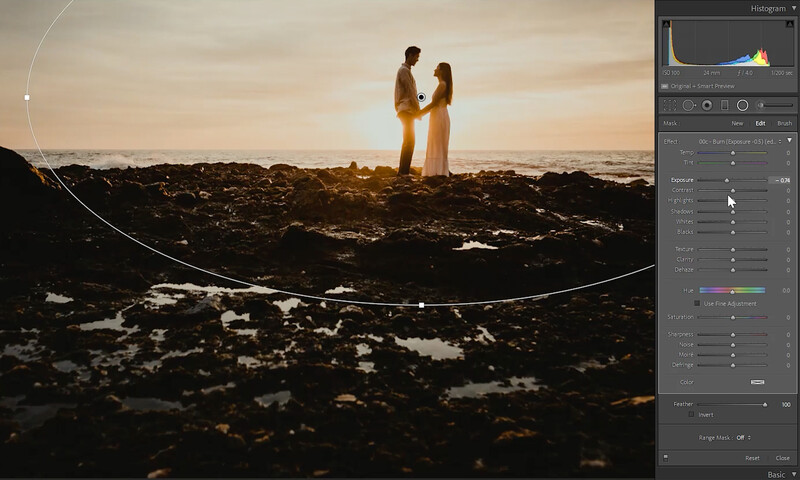
The same principle goes for our couple at the beach. A simple radial burn emphasizes the natural vignette and pulls more attention right where we want it.
For the portrait of our model, I used a different approach. Rather than a radial filter, I started by lowering the entire exposure. Then, I used "Dodge Highlights" from the Retouching Toolkit to brush light back on the model. This brush selectively lifts the highlights and leaves the shadows, keeping a very natural appearance as we brighten up our subject.
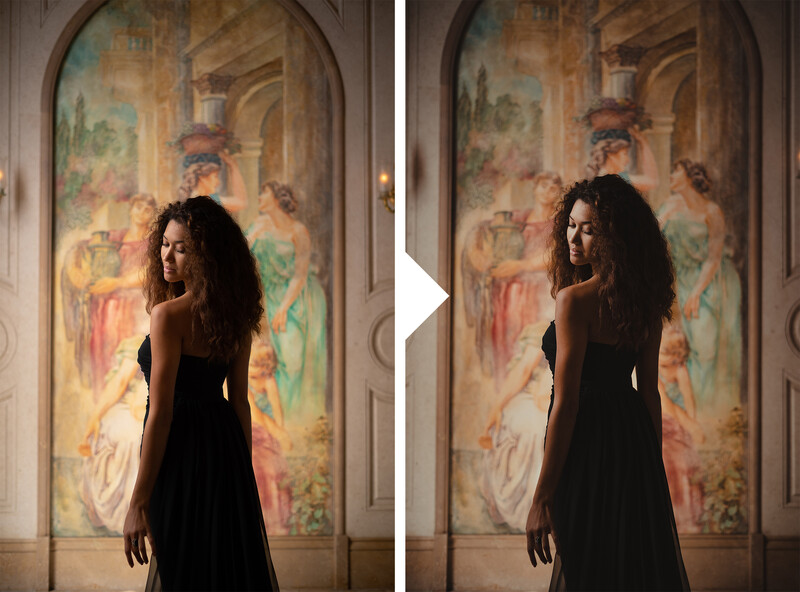
The last step is to add in the subtle radial burn and the image is complete. Check out the before and after.
Conclusion
I hope you enjoyed this article/video! Give this technique a try next time you're out on a portrait shoot and see how your image can be completely transformed. All you have to do is look out for the brightest place in your image and place your subject there. Then, enjoy the amazing flexibility to manipulate the lighting once you take your photos into post.
For a full course on editing, be sure to check out the Mastering Lightroom on SLR Lounge Premium. You can also find intuitive lighting-based presets like the Modern Pack as well as the Retouching Toolkit at Visual Flow.


Join the Fstoppers community for free
-
Post comments and join in the discussions
-
Browse the site ad-free
-
Share your work and get featured in the community
-
Compete in the photo contests for fun and prizes
10 Comments
"Level up", "to the next level". Why are folks always talking about photography as if it were a video game? You don't get to be a better photographer by collecting power-ups and donning better armor or finding a magic sword. You do it by slow, incremental advances in awareness, judgement, anticipation, problem-solving, and, yes, techniques and tools. And what that takes is lots and lots and lots of attentive practice, not adopting the same fads and tricks everyone else is glomming onto.
I've been a working pro for 20 years, and I still learn something new on every single job I do. I'll never reach Level 100, beat the Boss, and "win". But, I survive to do better work next time.
What's wrong with "improve"?
Yeah, I'm a language nerd. Sorry, not sorry.
It's dangerous to go alone. Here take this. *Hands this dude a grammar book and a pack of indica pre-rolls. It's called an analogy. But the difference between improving and leveling up is significant. Improving is a steady pace of increasing skill. On the other hand, leveling up or taking your skills to the next level means learning something a tip or trick that gives you a jump up. For example, you might improve over time with your color toning by just practicing different techniques. You might "level up" by learning the benefits of setting a gradient map to soft light blending mode in your color toning and now you are on a new level of skill. The phrases associated with going to a new level predate Legend of Zelda and go back to the Freemasons, the Pantera song "A New Level" (1992, but still, I doubt any of those guys ever played any Nintendo). So, there's one more new thing you learned. This article is like twofer. You're welcome. *fistbump emoji
So, what "level" are you at? 6? 13? 147?
Nothing about me is level.
I believe it.
Fortunately, us proper adults don't get so easily triggered over something so trivial.
"Level Up" or "to the next level" is akin to "kick it up a notch". Sure, one could use "improve", but, how boring is that.
Most definitely, not sorry.
Ps. Put the controller down.
Let me know when you defeat the boss.
No no, the boss needs to defeat me. :D
Next level vignette. :) I like it.
In the past, I think I've stayed away from placing subjects this way (that couple by the tree) due to fringing. That turned out really nice! I'll have to give it a go.
I agree that fringing in portraits can be a problem - as the effect is near universal in most classic mid-level telephoto lenses.
A super-achromatic lens corrects for four or more wavelengths and should eliminate all colour errors. Many of these corrections are achieved through use of lens glasses with low or anomalous dispersion, This can explain why a modern zoom lens can outperform a classic 85 or 135mm manual era prime lens in this role.
However, the real help is that anti-fringing (or Chromatic Aberration correction) is now built into many photo processing software.
If correction isn't optimal, remember that the effect will be worst at the edges of the image, so avoid high-contrast edges there --- another reason to have a moderate vignette then!
Keeping a watch on backgrounds as you compose with a moving subject is a skill to "level up" to - now that we can shoot AF at several frames a second our sujects often expect to be able to move a lot while we compose!