How many times have you come back from a photoshoot only to look at the images on your computer and see lines that aren't true, people or objects that are warped, or perspective problems? Architectural photographers are especially in tune with these problems, but they are present in all genres of photography. In this tutorial, you'll learn how to use every tool in ViewPoint, so no matter what kind of optical or geometric problem you encounter, you'll be able to overcome it with confidence.
Your Instructor
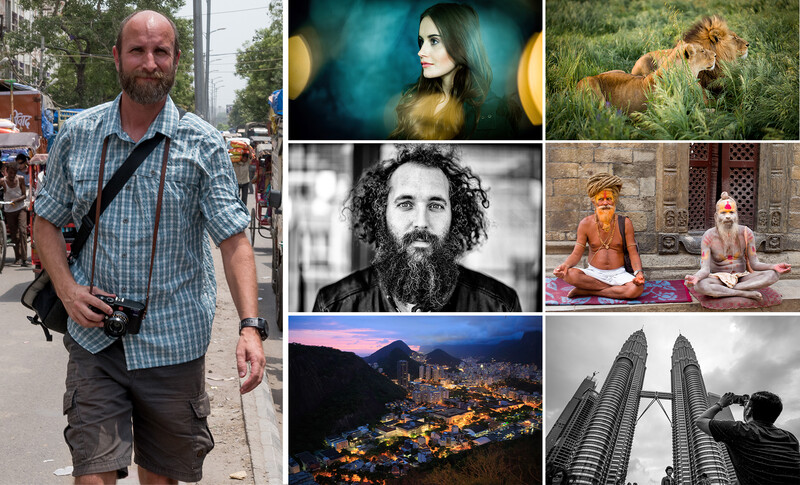
Mark Wallace is an incredible photographer and an even better educator with a long resume under his belt. He has been shooting street photography, portraiture, and travel photography for over 30 years. He created Adorama TV, has contributed regularly to Creative Live, and has created hundreds of educational videos on YouTube. Mark has been an avid user of DxO Software for most of his career and is the perfect person to show you, at whatever level you are, how to become an expert in DxO ViewPoint.
DxO ViewPoint
When you attach a lens to a camera body, the purpose of the lens is to guide a certain amount of light light to a specific point on your camera's sensor. Every combination of camera lens and body does this slightly differently, and an unfortunate side effect is that images don't always look true to reality. Optical issues arise, with straight lines being warped, perspectives skewed, and scenes tilted, while parts of the image become distorted or warped. DxO ViewPoint is a set of editing tools that helps you take control of the lines, angles, and shapes in your image to make every part of it straight and true.
What's Covered in the Tutorial
This course is a complete walkthrough of DxO Viewpoint. Mark first introduces the viewer to the interface and shows you how to access all the tools you'll need to correct the optical or geometric issues in your images.
Distortion Tools
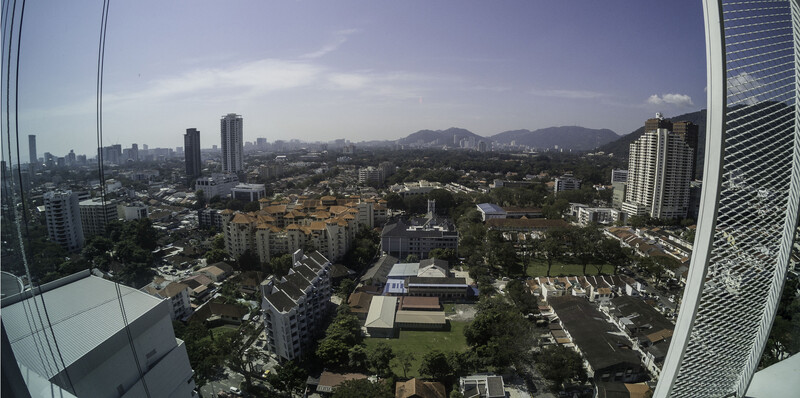
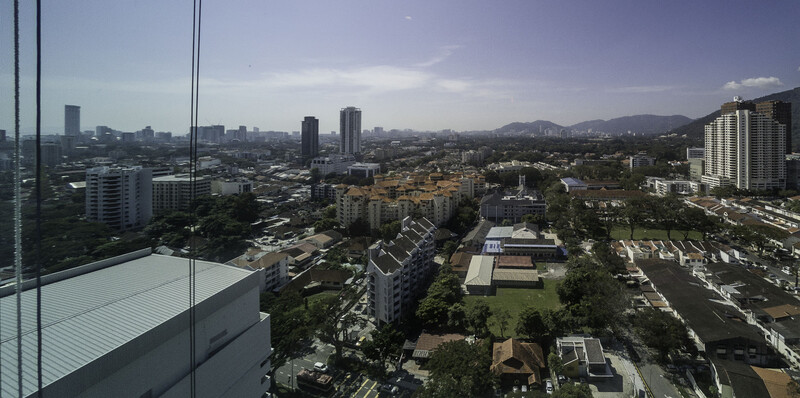
Distortion happens when light passes through a lens and hits the sensor at more or less concentrated areas, causing some areas of the photo to seem stretched or squished abnormally. The power of ViewPoint lies in the automatic correction of these problems when the software knows lens and camera body information. Mark will not only show you how to link missing information, he'll also demonstrate how to manually correct all types of distortion in the rare cases the automatic tools aren't available.
Volume Deformation
Have you ever noticed how images shot with wide angle lenses seem to unnaturally stretch out subjects that are near the edge of the frame? This can happen both vertically or horizontally and is another optical issue that Mark works through with ViewPoint. He will show you how to identify and correct subjects when they take up a disproportionate area in the frame.
Perspective Correction
One of the most challenging aspects of photographing big spaces, especially buildings, is keeping vertical and horizontal lines in their proper direction. If your camera is tilted up, down, or not aligned quite right, straight buildings start to look like they're falling over in your image. ViewPoint has some fantasitc automatic tools that can help correct these issues, but when those fail, Mark shows you how to make the proper corrections on your own.
ReShape Tool
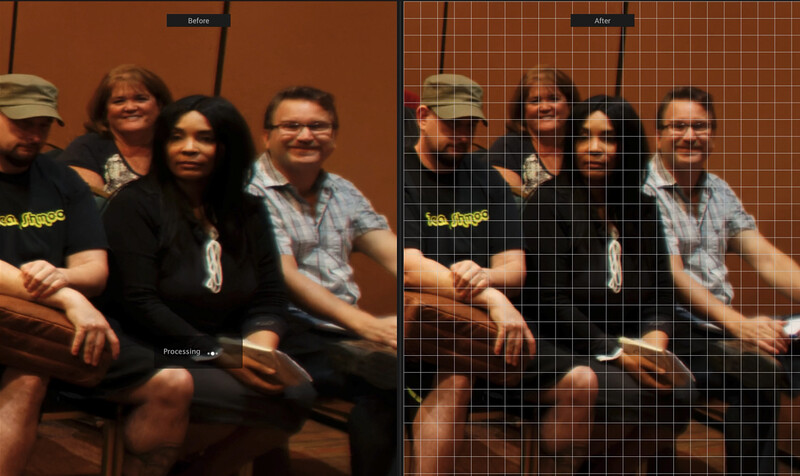
The ReShape Tool in ViewPoint has plenty of practical or creative applications, as it allows you pick a specific area to move around pixels. Mark walks through how to adjust a small part of an image that looks askew, but also demonstrates a non-destructive workflow by using ViewPoint within PhotoLab.
The Miniature Effect
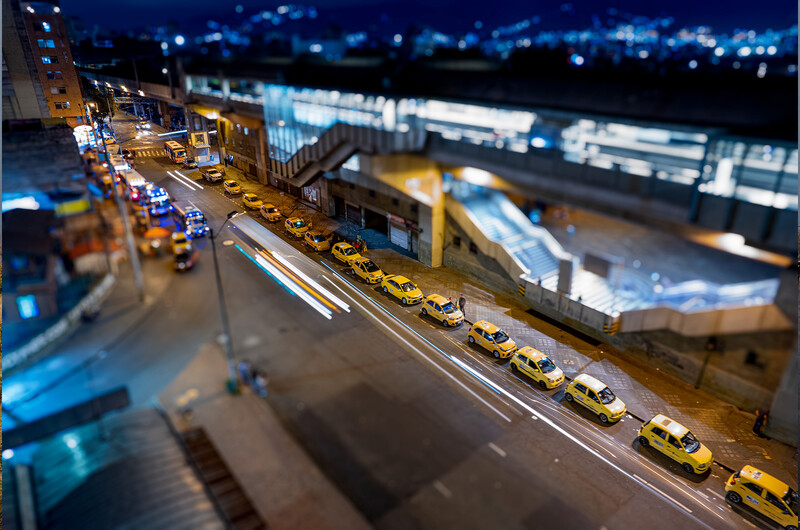
One of the funnest tools in ViewPoint is the Miniature Effect tool. This tool allows you to recreate the effects a tilt-shift lens might produce and draw attention to one area of the image by creating a more defined focal plane. Mark demonstrates how to use this tool effectively and creatively and explores some of options ViewPoint offers to create realistic-looking bokeh.
Follow Along With Mark
As part of the tutorial, we are including every file that Mark works on. Every time Mark opens an image on camera, you'll be able to access the same file and match his edits click for click. In addition, Mark has included a variety of presets that he uses in the tutorial.
Our goal with this tutorial was not only to teach you how to use DxO Viewpoint, but also to teach you how to become a better editor. If you're not completely satisfied with your purchase, we offer a full money-back guarantee.



1 Comment
Mark Wallace is an excellent instructor and this tutorial is comprehensive - well worth the investment given the time it will save you and the extra skills it will enable. I highly recommend it - 10/10.