Looking to add something to your portrait or commercial shots? Take a look at this review of MicroFogger 2, a compact smoke machine.
It's been a while since my previous review of MicroFogger, where I tested out this pocket-sized smoke gadget by either holding it myself during the shooting or asking my model to hold it just out of the shot. This time, Vosentech, the company behind this gadget, has upgraded it to MicroFogger 2, which comes with a few new useful features.
About
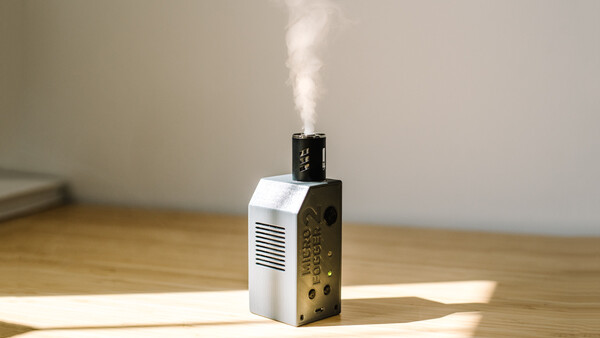
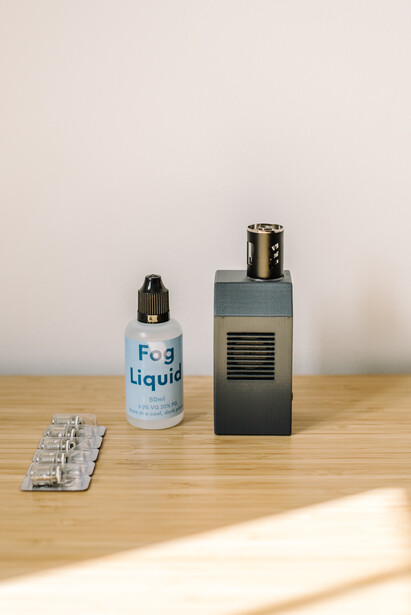
MicroFogger 2 is a small gadget that creates smoke and fog effect. The smoke is generated by using "fog liquid", which is a non-toxic combination of propylene glycol and vegetable glycerine. Retailing for either $140 or $160, depending on if you choose to include a remote control, your MicroFogger 2 kit will contain:
- MicroFogger 2
- USB charging cable
- Spare heating coil
- 50 ml fog liquid (with an inbuilt syringe)
- Remote control (optional for additional cost)
Setting It Up
As with the first version of MicroFogger, make sure you read the instruction manual to ensure that you set it up correctly and safely. For something like this, it's definitely not the best idea to "learn as you go" and instead make sure you set five minutes aside to read through the set up instructions. My first mistake was that I assumed I can charge it by simply plugging it in and leaving overnight. Turns out, to charge it, you must press the on button first and place MicroFogger 2 in a standby mode by rapidly clicking the main trigger button 5 times. If you don't do this, it will not begin charging.
Equally, make sure you follow the steps of correctly adding the fog liquid for the first time and plan at least 30 minutes before you can use it for the first time because it requires that amount of time for the liquid to seep into the dry heating coil for the first time. You will need to look after the device by ensuring the heating coil gets replaced with a new one when you notice a burning smell coming from the fog device.
Shooting with MicroFogger 2
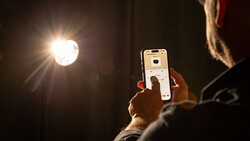
As I was fortunate to receive a remote control with my kit, I found it very easy to start using it and to modify the strength of the smoke to my liking. If you don't use a remote control, you will need to press the button directly on MicroFogger 2, which makes it more complicated because you will need to operate it with your hand. It is not a massive issue, as I found it in my last review, but after having used it with a remote control, I wouldn't want to go back to operating it manually myself!
The beauty of the remote is that you can put it at a distance, with the maximum tested range being approximately 25m according to the manual, and either shoot with one hand while the other operates the remote or ask either your model or an assistant / anyone else present at the shoot. This also makes it so much easier to set up still life or commercial shots where you can place MicroFogger 2 in the most optimal place and operate it while you're behind the camera.
As with the previous model, you will want to use it indoors. Outdoors, even with a light breeze, will quickly make the smoke disappear, whereas indoors you can really control the direction and the intensity of the smoke. I fully expected this to be the case simply because of its size; it is not built to replace a large smoke machine used for big scale productions or sets. But, if that's not what you are after, then the small size of this device could really be beneficial for those who are looking to add a small gadget, such as this, to their photography kit.
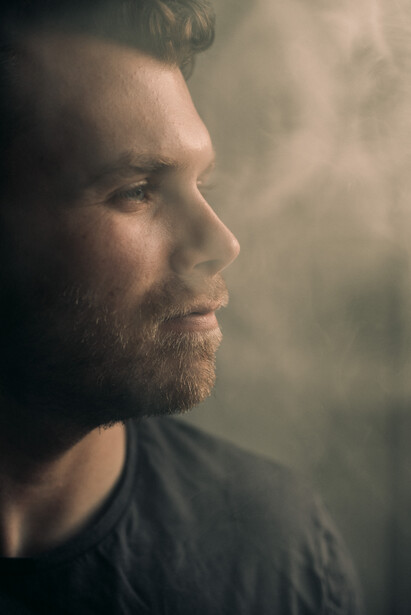
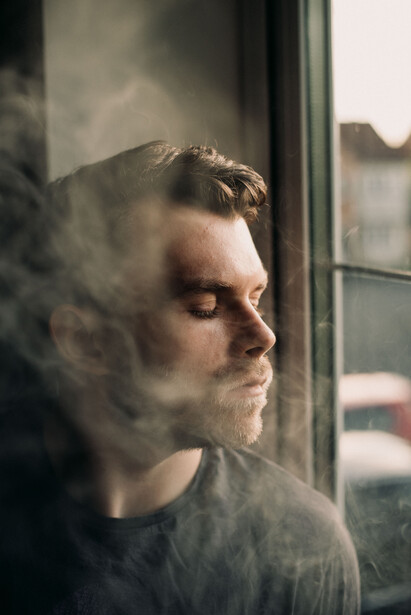
The smoke itself doesn't appear overly irritating for eyes or throat but as with smoke of any kind, you wouldn't feel comfortable being around it for long periods of time. During my test shots, I simply opened the window and it quickly disappeared without leaving any lingering smells in the room. It didn't seem to be an issue when photographing a model as he held it just below my framed shot.
I tested it out with natural light but Vosentech have featured a selection of fantasy themed studio portraits on their blog which showcase a variety of ways a photographer has used MicroFogger 2 to add an extra dimension to the images without overpowering them. One may argue that the smoke could be added in post-processing but depending on time constraints and photographer's skill level in editing, it can be a lot easier to create it during the shoot.
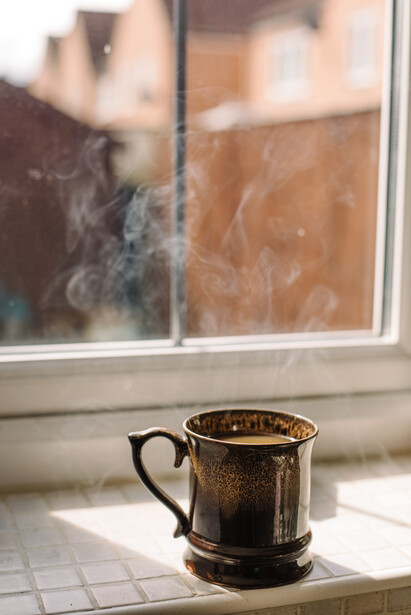
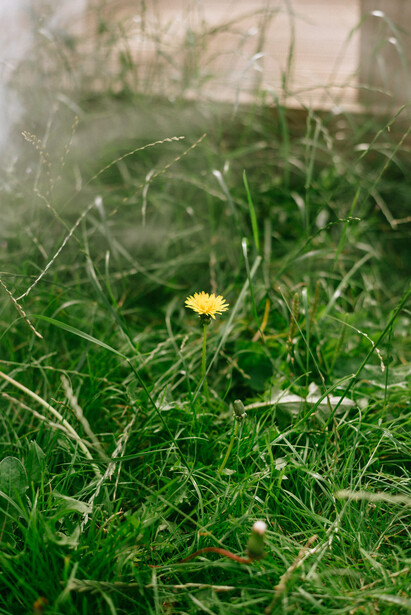
For my test shots, what I liked about the effect of this, is that you can achieve that smoky, almost retro look. With the right post-processing and styling you could achieve a vintage inspired feel of a club or perhaps a hotel room, which is full of cigarette or cigar smoke without actually needing to put yourself and your models through a real cloud of unhealthy smoke. This would also look great for a hazy morning light shot and you would simply need to generate less directional smoke in your shooting area to make it appear more natural. So as long as you don't open the window, it doesn't take long to create that effect in a regular sized room.
Although, I only used one MicroFogger 2, the manual suggests that multiple fog devices can be used simultaneously by using the same remote control. This means that you could have two or more of them set up in different parts of your scene to release smoke at the same time for a more dramatic effect. I can't comment on the results of this because I haven't been able to test it out myself. This could work well for certain shots but if you needed a more heavy duty smoke machine for your projects, you'd probably look into purchasing one that is powerful enough for your needs instead of purchasing several MicroFoggers. However, if you did have two of these, for example, it is still handy to know that you can utilize them together.
What I Liked
- Easy and portable solution to add smoke effect.
- Small enough to disguise it behind objects, such as, coffee mug, a bowl of food, and more.
- Doesn't leave a strong or lasting smell.
- Charged by a USB cable (and according to manual, can be even used while being charged).
- Remote control makes it very easy to use it, especially when you are shooting on your own.
- Can be used to add either a directional smoke or a more soft, dispersed one.
- Safety features which only allow release of the smoke for certain length of time before it stops automatically. On the other hand, one may see it as a limitation of not being able to keep releasing smoke for longer periods of time.
What Could Be Improved
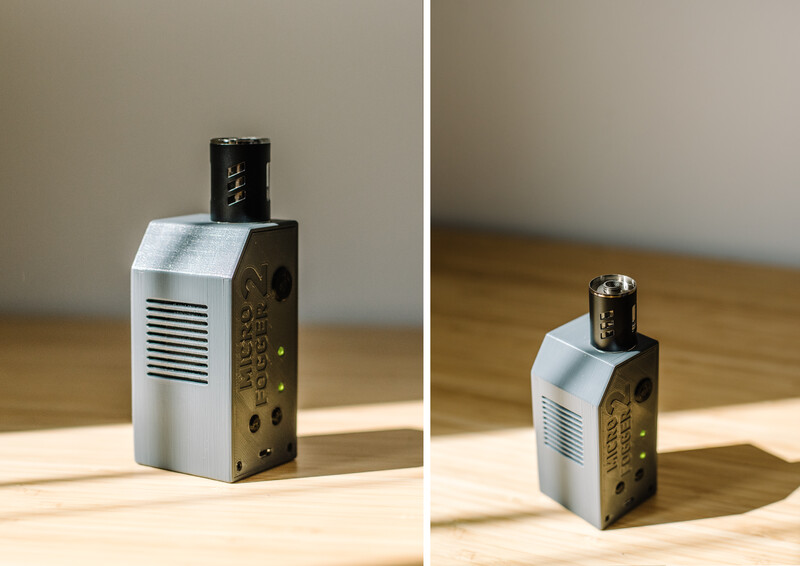
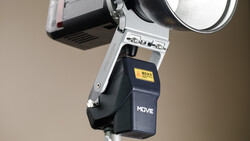
- The "+" and "-" buttons and their icons on the device could be more legible; it wasn't an issue for me because I used a remote control but for others it could be hard to understand which one is which and it only becomes clear when you read the manual.
- It takes a while to get a hang of different modes of releasing the smoke but, again, the remote makes it a lot easier than doing it manually.
- I think a remote could be included for every order to justify the higher price, especially in comparison with other portable smoke machines on the market.
- A longer / thinner pipette to make it easier when filling the device with the fog liquid. Previous version of MicroFogger came with a separate pipette whereas this time it's in-built within the fog liquid bottle.
Conclusion
As somebody who always tries to downsize their photography equipment to minimum, I actually really enjoyed using this because it takes up so little space and if you are a commercial or portrait shooter, you can throw this in the side pocket of your gear bag and you won't even notice it's there. I think the small size is where MicroFogger 2 shines because many of us don't have infinite amount of space to store all our equipment and, personally, I would not consider adding a larger, conventional smoke machine to my photography kit but I would definitely consider this. I see this working well for food, still life, and other commercial shots, smaller scale special effects during video production, as well as for a variety of portrait styles. For obvious reasons, if you are primarily an outdoors shooter, this accessory won't be beneficial for you. Also, if you are not as skilled in adding this kind of effect in post processing or simply don't want to spend time doing so, MicroFogger 2 will come in handy. Overall, I was really glad to see a remote control was developed for this version because it makes it so much easier, and I can see certain types of photographers and filmmakers adding this to their equipment kit!

3 Comments
Just one question: Does smog machine trigger household smoke alarm?
If you put the fogger directly underneath it probably does. If it is a optical smoke detector it will if the concentration of the fog is thick enough. An ionization smoke detector is less prone on fog.
But if you use the fogger normally and not very close to the detector you will be fine. You can easily try it out. Household alarms do not trigger a call to the fire department.
Incense is a lot cheaper, and works just as good.