The Really Right Stuff PG-01 Compact Pano-Gimbal Head allows you to shoot multi-row panoramas without parallax. I bought one a couple of years ago and it's time to share my findings of this compact solution for panoramas.
Do you love shooting panoramas? In that case, you know about parallax errors. Rotating the camera will cause stitch errors if the objects are too close. I wrote a beginner's guide about parallax and how to avoid it here on Fstoppers. I would suggest reading it if you are not familiar with this effect.

A normal nodal slide allows parallax free panorama shooting, but only a one row panorama with the horizon in the middle of the frame
To prevent parallax a nodal slide is advised. It allows you to rotate the camera at the nodal point. A nodal slide is just an extension rod to place the rotation point at the correct distance from the sensor. This way panorama shooting can be done without parallax errors.
The downside of a simple nodal slide is the obligation to shoot at a horizontal level. The horizon will always be in the middle of the frame, unless you shoot at locations with mountains, of course. There are solutions for this problem, like cropping the bottom or top of your panorama to relocate the horizon. Or you can use a tilt-shift lens to shift within the image circle.
A normal nodal slide will mostly be used for a horizontal single-row panorama shooting. But if you want multi-row panoramas, or perhaps a vertical panorama, a normal nodal slide can’t be used with enough precision. For that, you need something like the Really Right Stuff PG-01 Compact Pano-Gimbal Head.
Why I Chose the RRS Compact Pano-Gimbal Head
A few years ago I was looking for a way to shoot multi-row panoramas. At that time I considered the expensive Really Right Stuff PG-02 package. But it was large and heavy. Fortunately at that time Really Right Stuff announced the new PG-01 compact Pano-Gimbal Head. A small and lightweight version of the PG-02 seemed to be perfect for me. And with a much friendlier price also.
The Really Right Stuff PG-01 Compact Pano-Gimbal Head is available in two versions. One with a leveling base and one without the leveling base. Because it is a modular system, it is possible to choose which parts to buy. Since I already owned a nodal slide and my tripod had a good way of leveling the ball head, I could spare some money on the purchase.
How It Looks and Feels
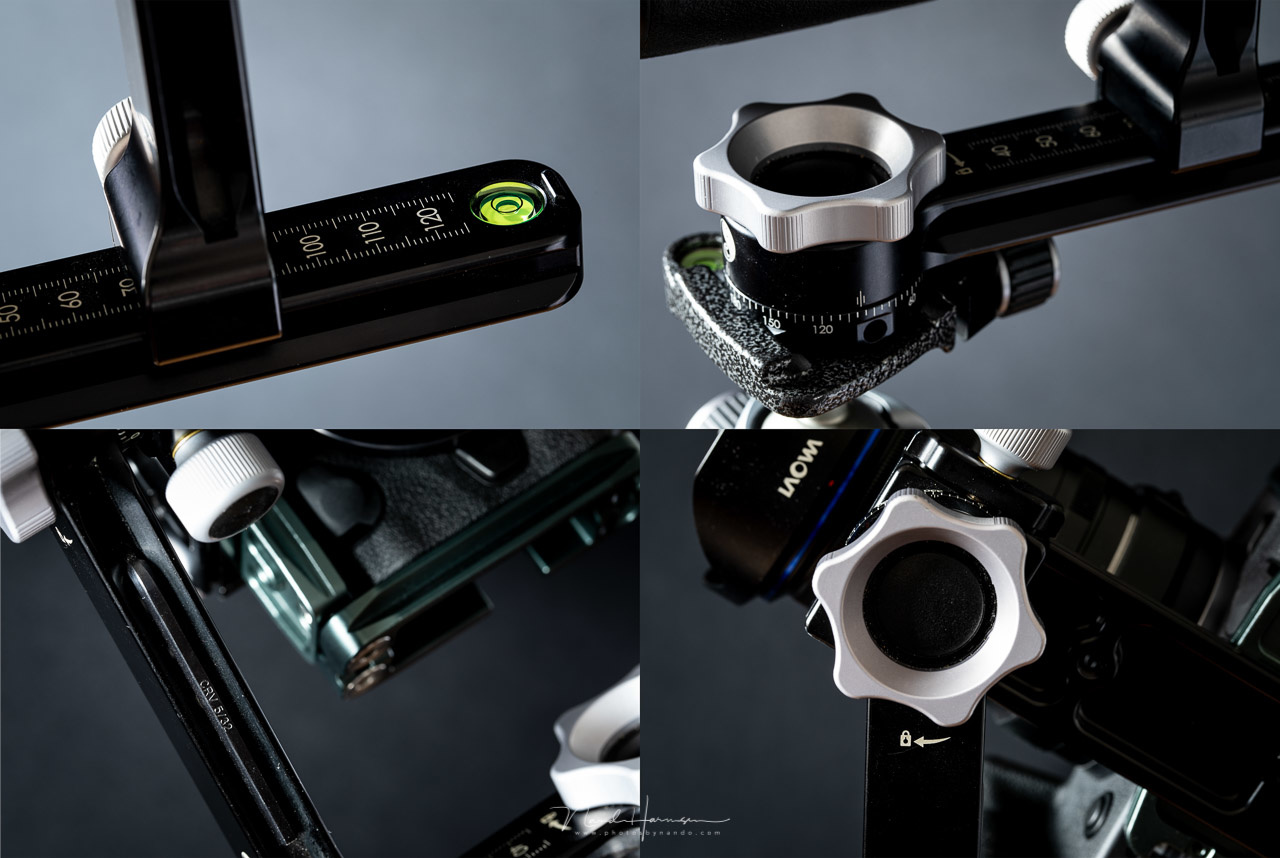
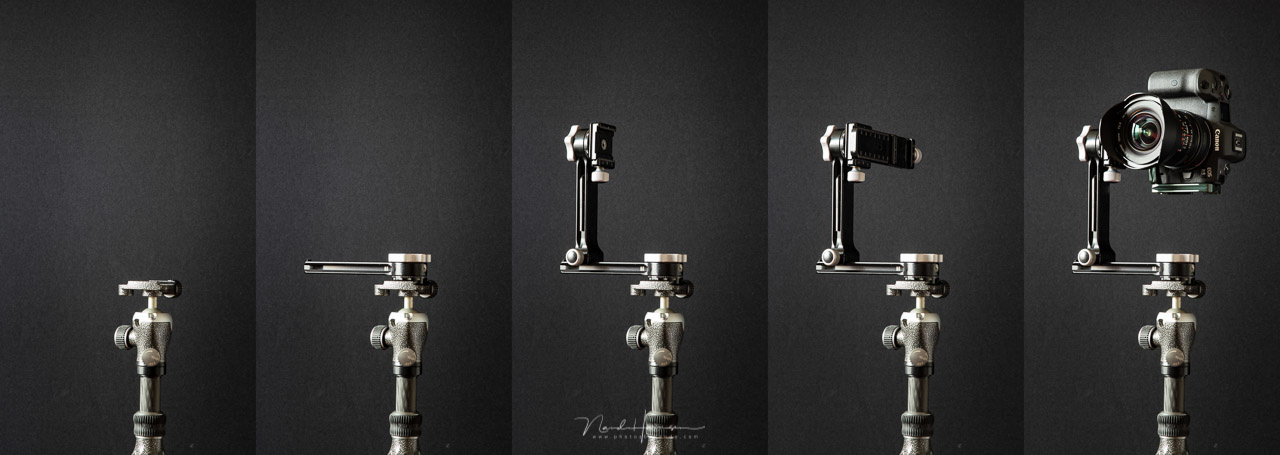
Really Right Stuff may be expensive, but the products are well made and durable. The RRS Compact Pano-Gimbal Head is no exception. It consists out of three parts. The horizontal base arm, a vertical arm, and the nodal slide. All are laser engraved with a millimeter scale. The two rotators for horizontal and vertical rotation are also laser engraved with a 360 degrees scale.
The solid aluminum components weigh just over 1.1 pounds (that is about 490 grams), including a hex key in a magnetic storage slot. The base rotator is fitted with a 3/8” tripod mount, but it also has an Arca-Swiss dovetail integrated.
The RRS PG-01 has a load capacity of 8 pounds (which is about 3.6 kilograms). It is built for small DSLRs and mirrorless cameras with lenses up to a 70-200mm f/2.8.
Preparing for a Panorama
You need a bit of preparation before you start using the RRS PG-01 Compact Pano-Gimbal Head. It is important to know the exact location of the nodal point of your lens. But it is also handy to know the exact distance for the vertical arm. If you prepare yourself, setting up the Pano-Gimbal Head will be very easy and quick.
Leveling the tripod head is the only difficult part of setting up the pano-gimbal head. The RRS PG-01 is fitted with a bubble level at the end of the horizontal base arm, but it can be tricky to get it perfect. You need to rotate the arm and adjust accordingly. But if you have it leveled, the system is ready withing a few seconds. As long as you know the right distances for the nodal point and vertical arm.
The camera is easy to rotate. You only need to unlock the rotator with a little twist. If you keep some traction, the camera will stay in the exact place which makes it easy to shoot the multi-row or 360/180 degrees panorama. This includes the zenith and nadir shots.
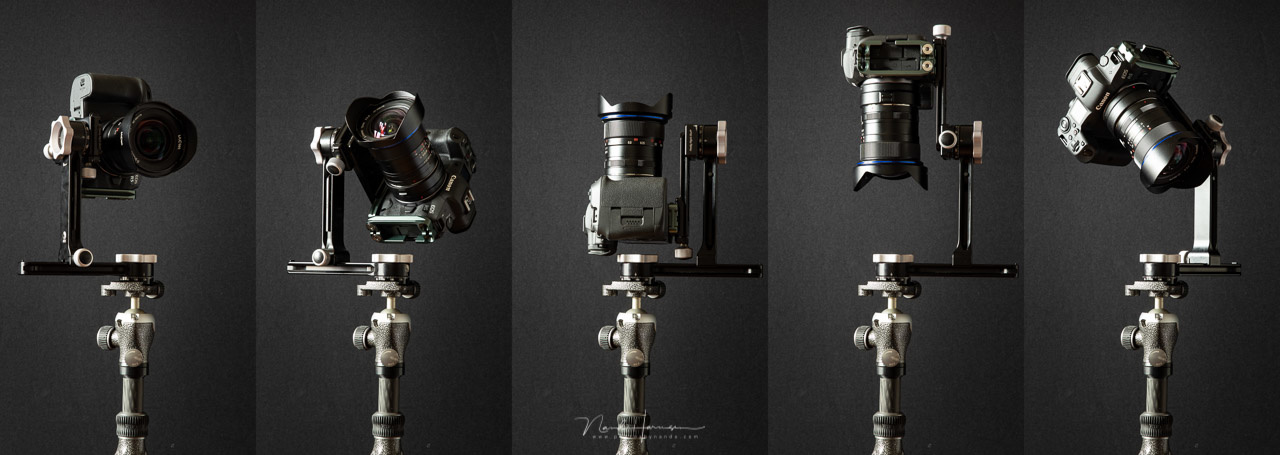
Rotate the RRS PG-01 Compact Pano-Gimbal Head in any direction, including zenith and nadir shooting.
Using the RSS PG-01 With a Large DSLR
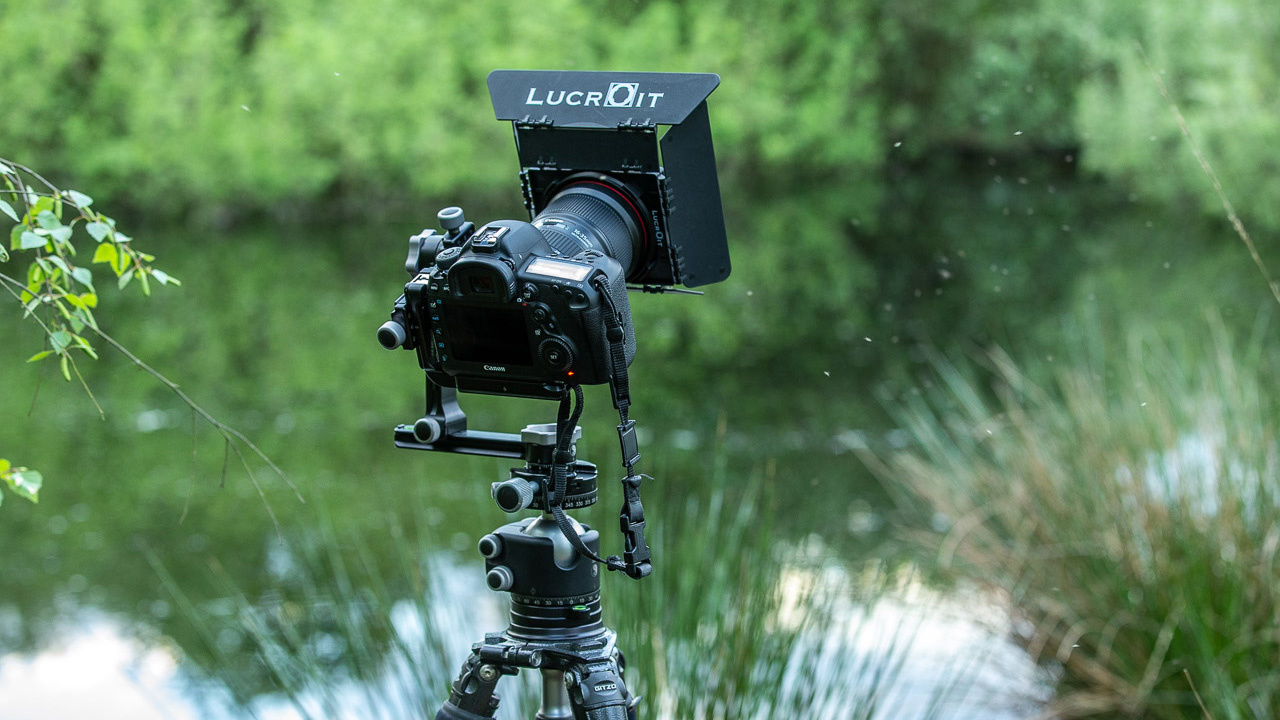
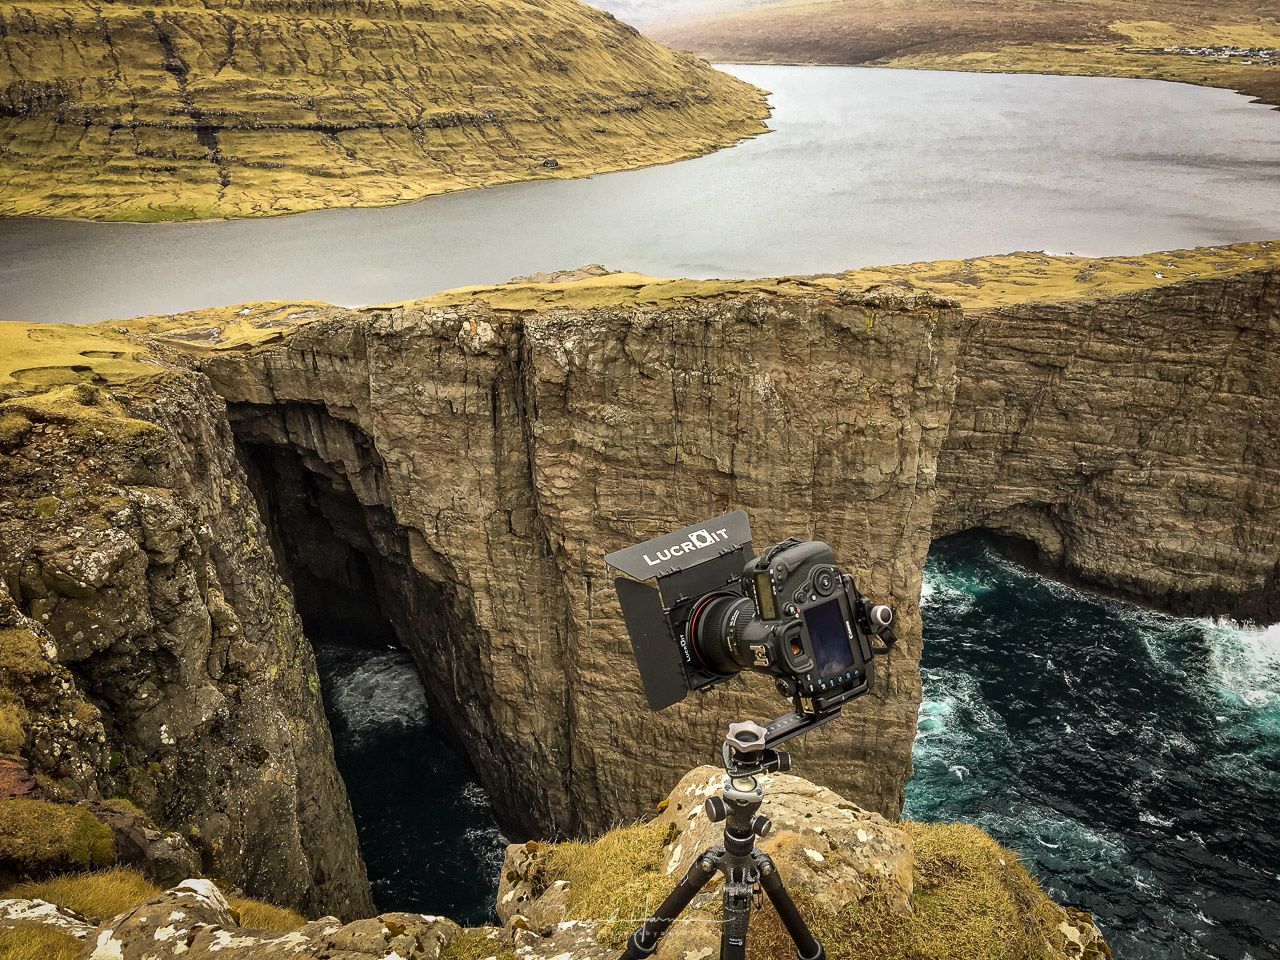
I have used the RRS PG-01 Compact Pano-Gimbal Head mostly with my Canon EOS 5D Mark III and Canon EOS 5D Mark IV in combination with a fish-eye lens or the heavy Canon EF 16-35mm f/2.8L III zoom lens. This lens is too large for the RRS PG-01, which makes it impossible to shoot a zenith image for a 360/180 degrees panorama. Using a smaller, compact ultra wide-angle lens is a better choice. Lately, I have been using a Laowa 12mm f/2.8 Zero-D for this purpose.
The RRS PG-01 can be used with a 70-200mm f/2.8 lens. This allows you to shoot multi-row panoramas with huge resolutions. Imagine how large that resolution will become when using a 200mm lens in combination with a 45mp Canon EOS R5. Although I never tried this, I believe it will be possible to shoot a real gigapixel image if you have the patience. Remember, the rotation of the lens has to be done manually.
Using the RRS PG-01 as a Gimbal Head
It is also possible to use the RRS PG-01 to balance the 70-200mm f/2.8 lens just like a normal gimbal head. I personally don't see the need for a lens of this size and a 200mm focal length. I haven’t used the RRS PG-01 never in this way, except for a rare occasion. But I am sure it won’t be a substitute for a real gimbal head.
Perhaps it is possible to use the RRS PG-01 with a 100-400mm or 150-600mm lens also. As long as the weight doesn’t exceed the maximum load capacity it would be fine.
My Conclusion
At first, I had my doubts about this small and lightweight RRS PG-01 Compact Pano-Gimbal Head. Especially when using lenses that are very large. It limits the rotation possibilities, making a 360/180 degrees panorama impossible.
But after a few months, I learned there are three ways to use the RRS Pano-Gimbal Head. Each way asks for a different type of lens. If you are shooting 360/180 degrees panoramas, it requires zenith and nadir photos. Thus a fish-eye or small ultra wide-angle lens is the best choice. It also limits the number of images that have to be taken in order to cover the complete 360/180 degrees.
If you are shooting vertical panoramas, a normal wide-angle lens can be used. Since a 180 degrees rotation will not be needed, you don’t have to worry about the length of the nodal slide or space you need to rotate.
For shooting multi-row panoramas it is possible to use any lens up to a 70-200mm f/2.8. I doubt a full 180 degrees rotation will be needed for these kinds of panoramas. If you do, a larger setup like the RRS PG-02 package would be advisable. Otherwise, the RRS PG-01 will do fine.
I liked the vertical panorama possibilities of the RRS PG-01 the most. It is something that I miss when using a simple nodal slide. The ability to tilt the camera upward, in order to prevent a horizon in the middle of the photo, is another benefit of this pano-gimbal head. It makes shooting panoramas so much more flexible. I can recommend the Really Right Stuff PG-01 Compact Pano-Gimbal Head for everyone that loves shooting panoramas.
What I Like
- Very robust
- Compact and lightweight
- Modular system
- Available with or without leveling base
- Easy to take with you
- Built-in bubble level
- Hex-key in a magnetic storage slot
- Easy to set up once you have leveled the horizontal arm
- Perfect for vertical panoramas
- Suitable for mid-sized DSLRs and mirrorless cameras
- Can be used up to a 70-200mm f/2.8
- Good price for its built and quality
- Can be used as a normal gimbal head
What Could Be Improved
- Less suitable for large cameras
- Height is not enough to facilitate large lenses for 180 degrees rotation
- Horizontal leveling can be difficult and time-consuming
- No pouch is supplied
Do you shoot panoramas a lot? If you do, what kind of nodal slide or pano-gimbal head do you use. Please share your experience in the comments below. I am very curious about the other possibilities.







Thanks for the detailed review!
You're welcome :)
Hi Nando, thank you very much for this great review of the RRS PG-01.
I really enjoy shooting panoramas. When I started shooting panoramas in 2012, I was on a tight budget. I got the Sunwayfoto PANO-1 because it was the most affordable kit that I was able to find.
The Sunwayfoto kit is quite good for the price. What I like about the kit is that it came with an indexing rotator, which I find very useful. What I dislike about the kit is the rigidity of the rails. Other than the rigidity, the kit is well made. I've been using it (or abusing it) since 2012, and haven't had any quality issue so far.
A few of my panoramas can be seen here: https://fstoppers.com/profile/benchan
They were all shot with the Sunwayfoto kit.
Cheers, and thanks again for the great review!!
Thank you for your comment. You panoramas are wonderful. Especially the one from Hong Kond from the Peak.
Thank you for both this article and the previous one. I've been trying to build up courage to start shooting hires 360° HDRI (5-7 brackets) for use in architectural rendering software, but it is intimidating! Thanks for the informative detail and general approach to your workflow, I really appreciate it.
You're welcome.
That makes me think. Perhaps it's also interesting to talk about a dedicated 360 degrees camera like the Ricoh Theta. Perhaps with a comparison in work, time, and quality differences with somethinkg like the RRS PG-01. Thanks for the inspiration you gave me