
Photographing star trails is more than just taking pictures. It takes time to shoot on location, and it takes even more time to edit the images afterward. I have ten tips that can help you get amazing star trails.
Shooting images for star trails is relatively easy. Just shoot a lot of images one after the other, and use one of the software packages available to get an end result. Grab a wide-angle lens, a tripod, a remote, find a dark location, and that’s it. Search for the north star, or the point directly over the south pole, and after half an hour of shooting, you have enough for some nice star trails.
After a while, your photos may become a lot alike. If that happens, you need to change the way you're capturing the rotation of the stars. With these ten tips, you can take your star trails to the next level. It doesn't require new equipment or other expensive things. You just need a change of location and a few different settings.
Tip 1: Choose a Nice Location
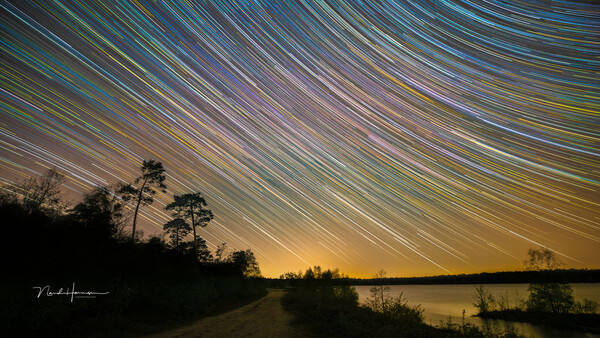
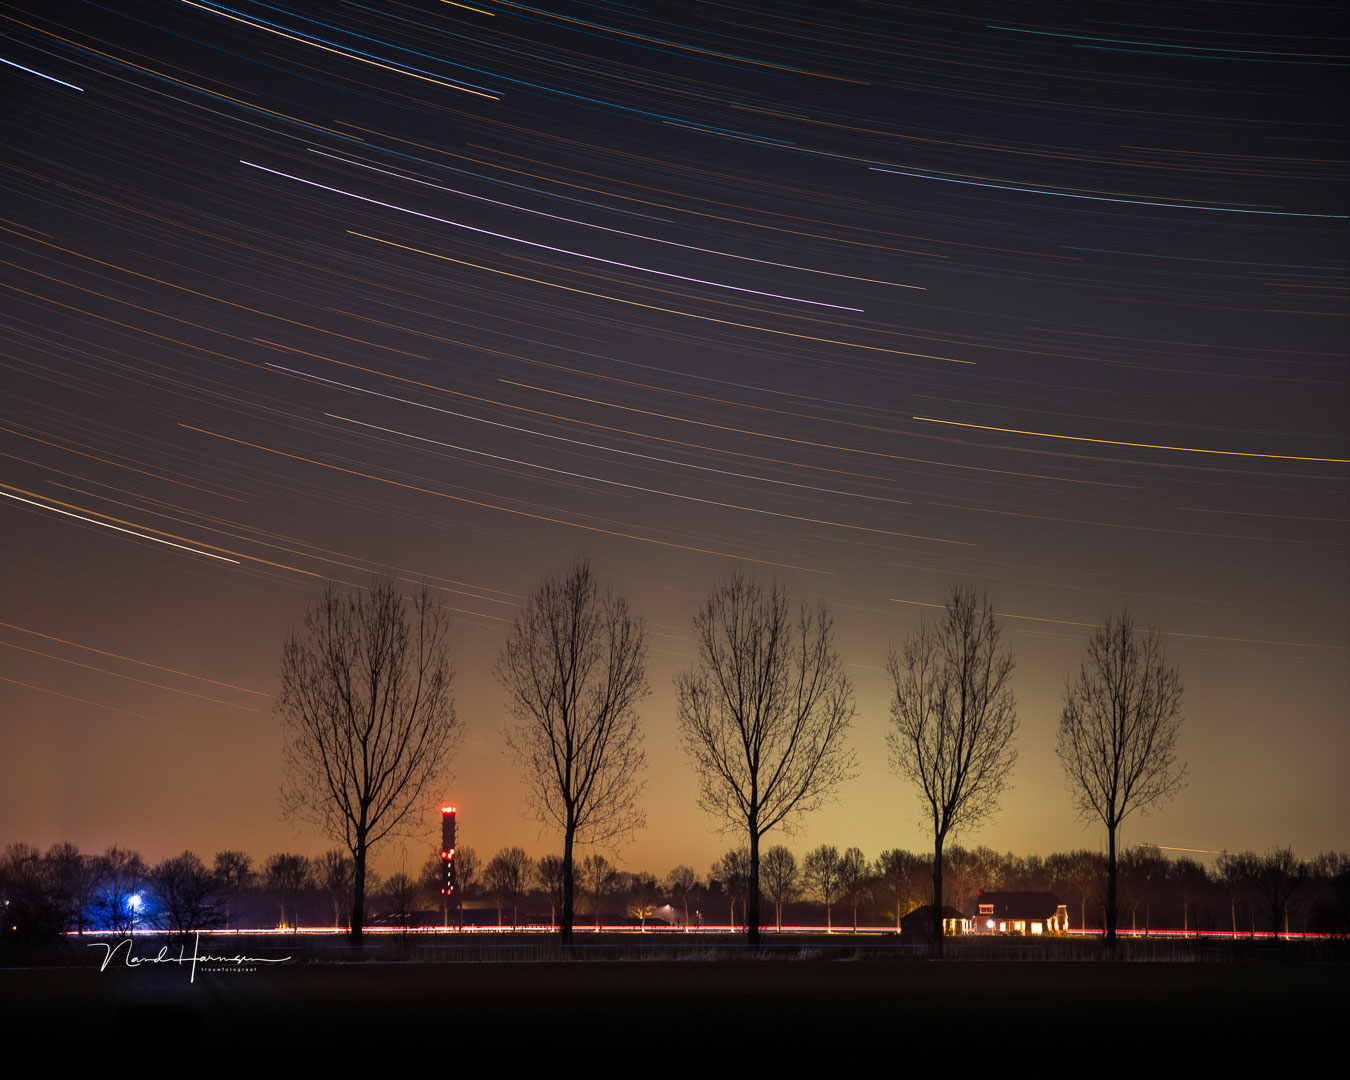
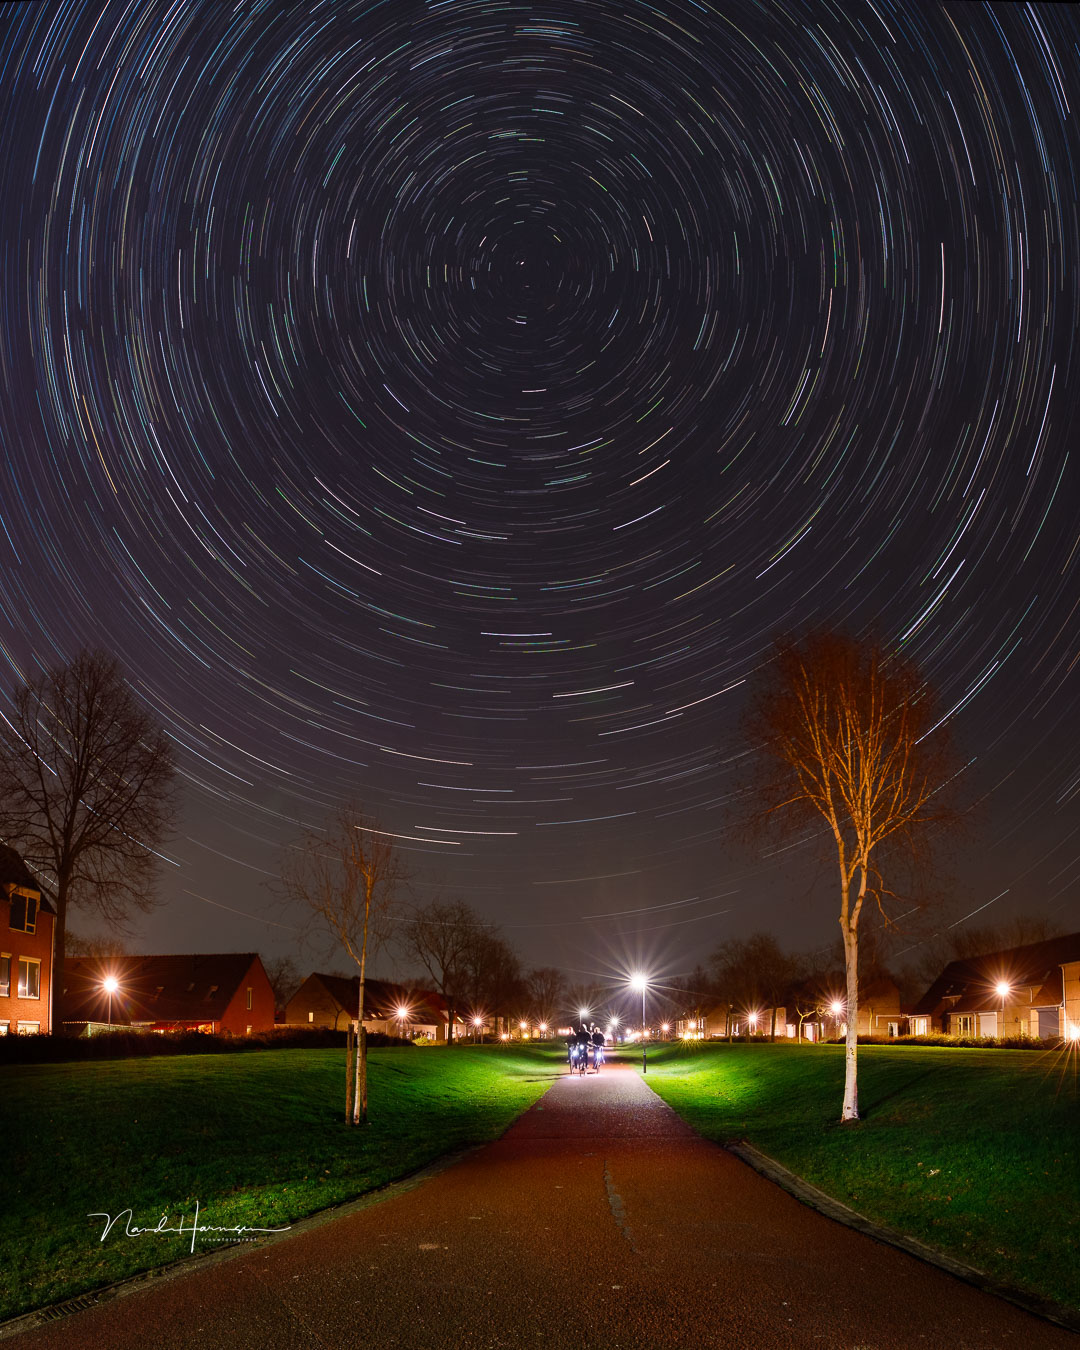
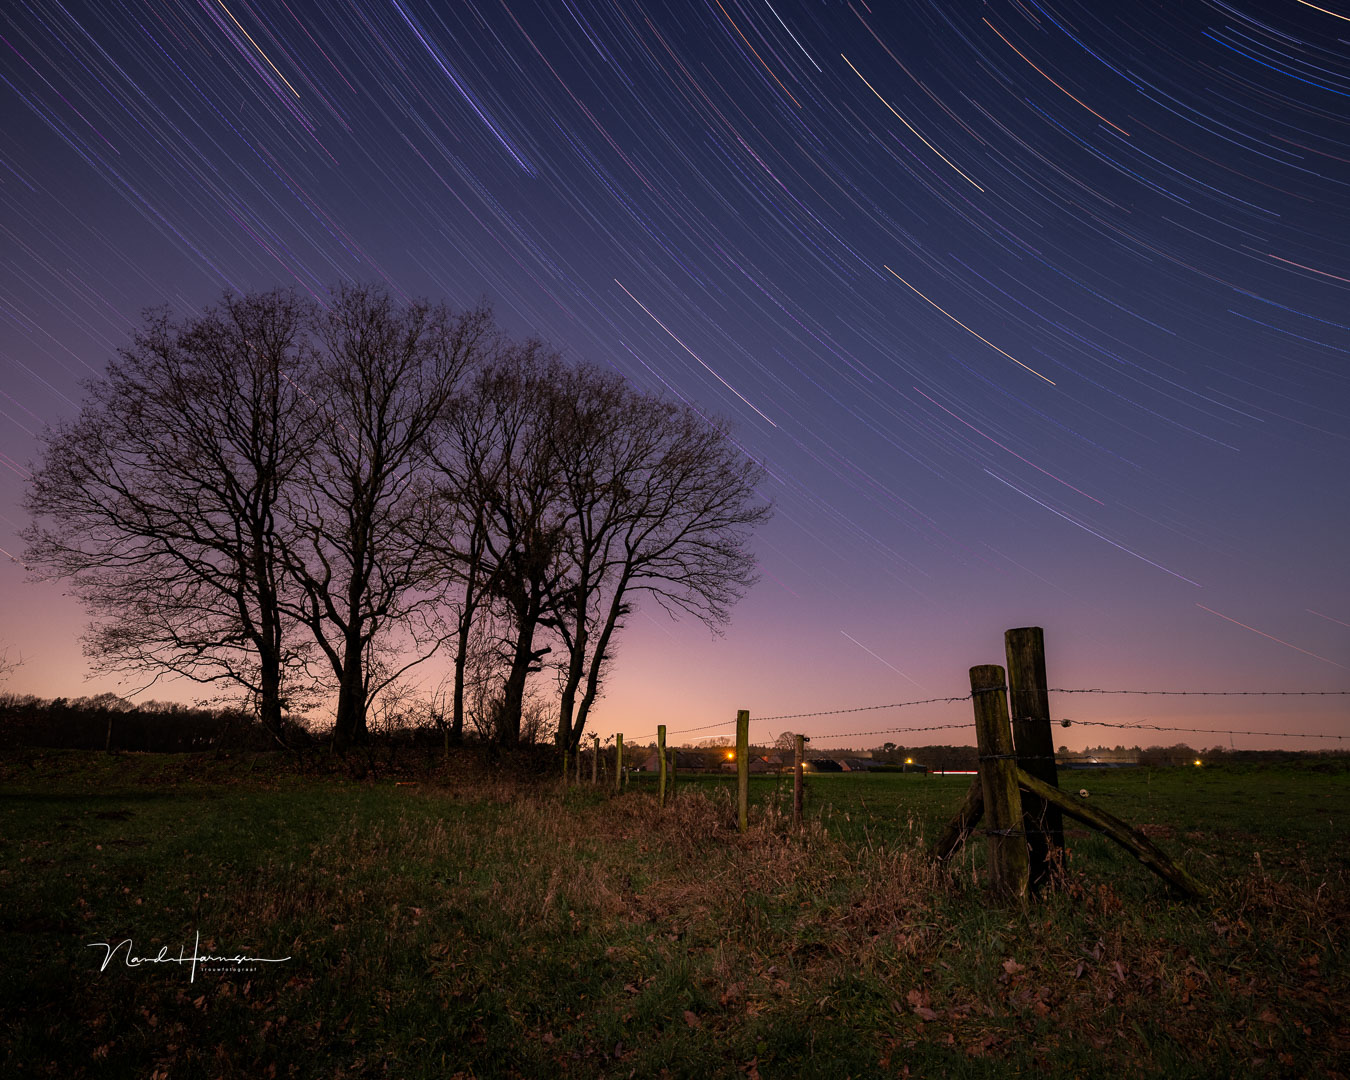
It’s easy to find a dark location, or at least one with not too much artificial light sources. Choose a nice silhouette as a foreground and start capturing the images. In this case, settings are pretty straightforward forward and you get a nice-looking result without a lot of difficulties. After a while, these kinds of star trails may become a bit boring.
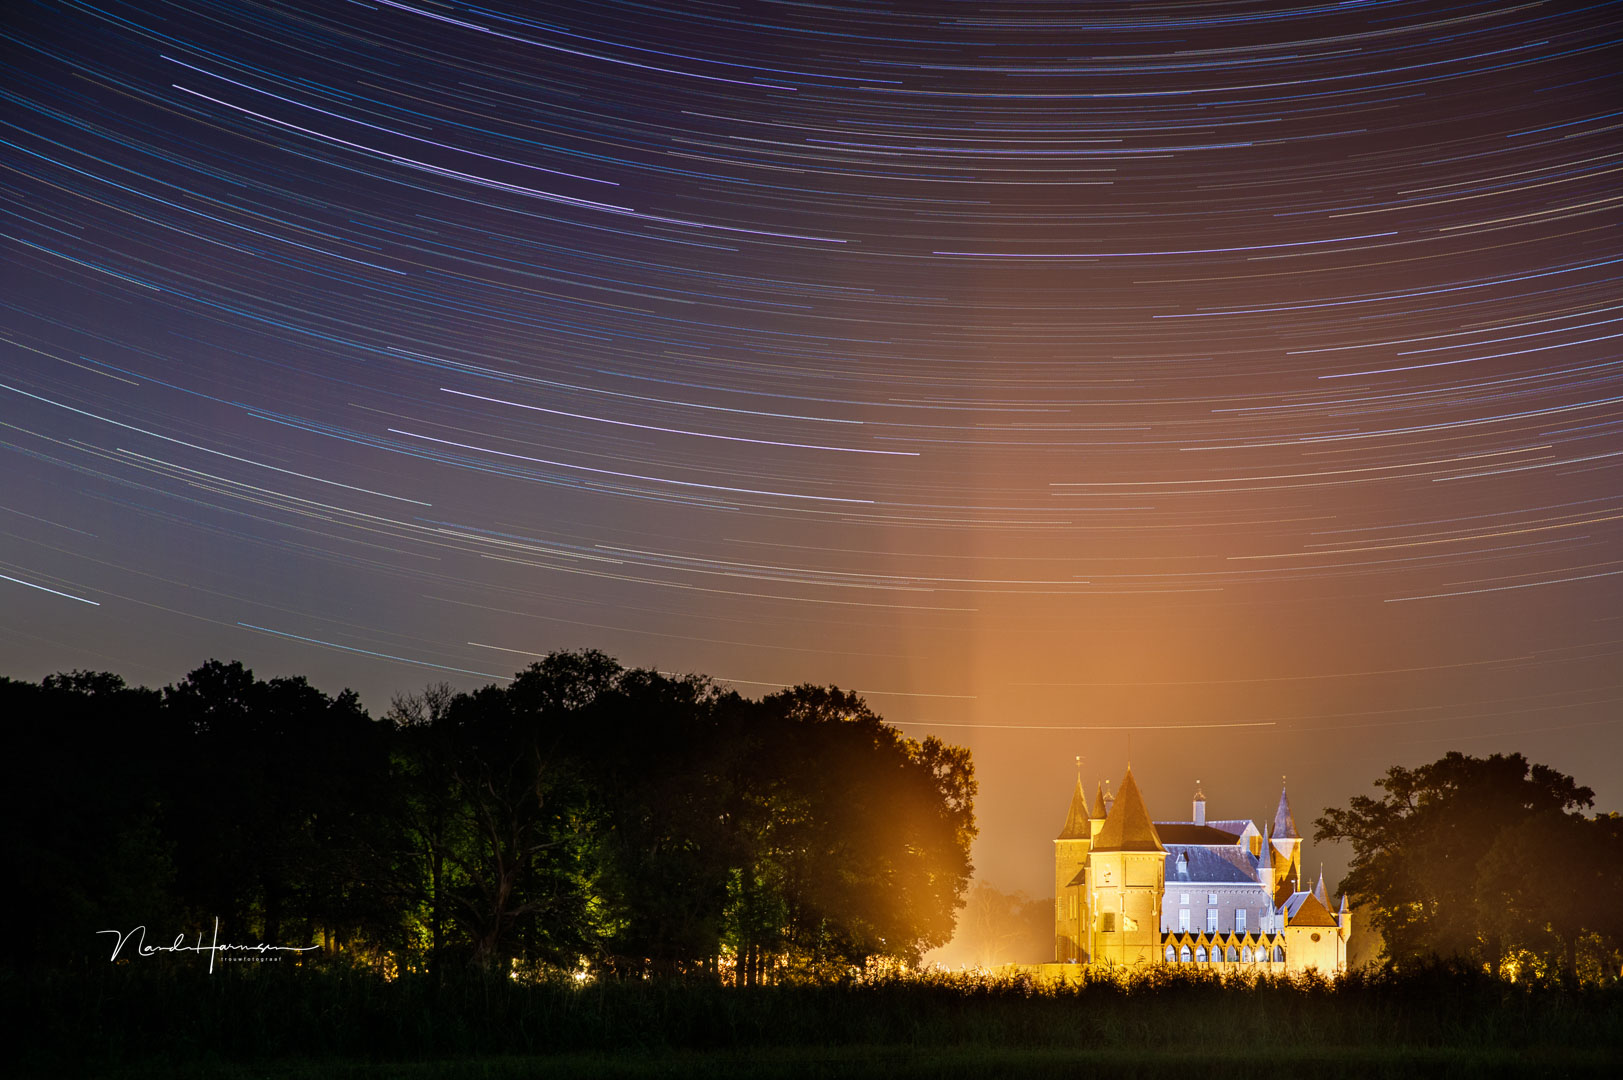
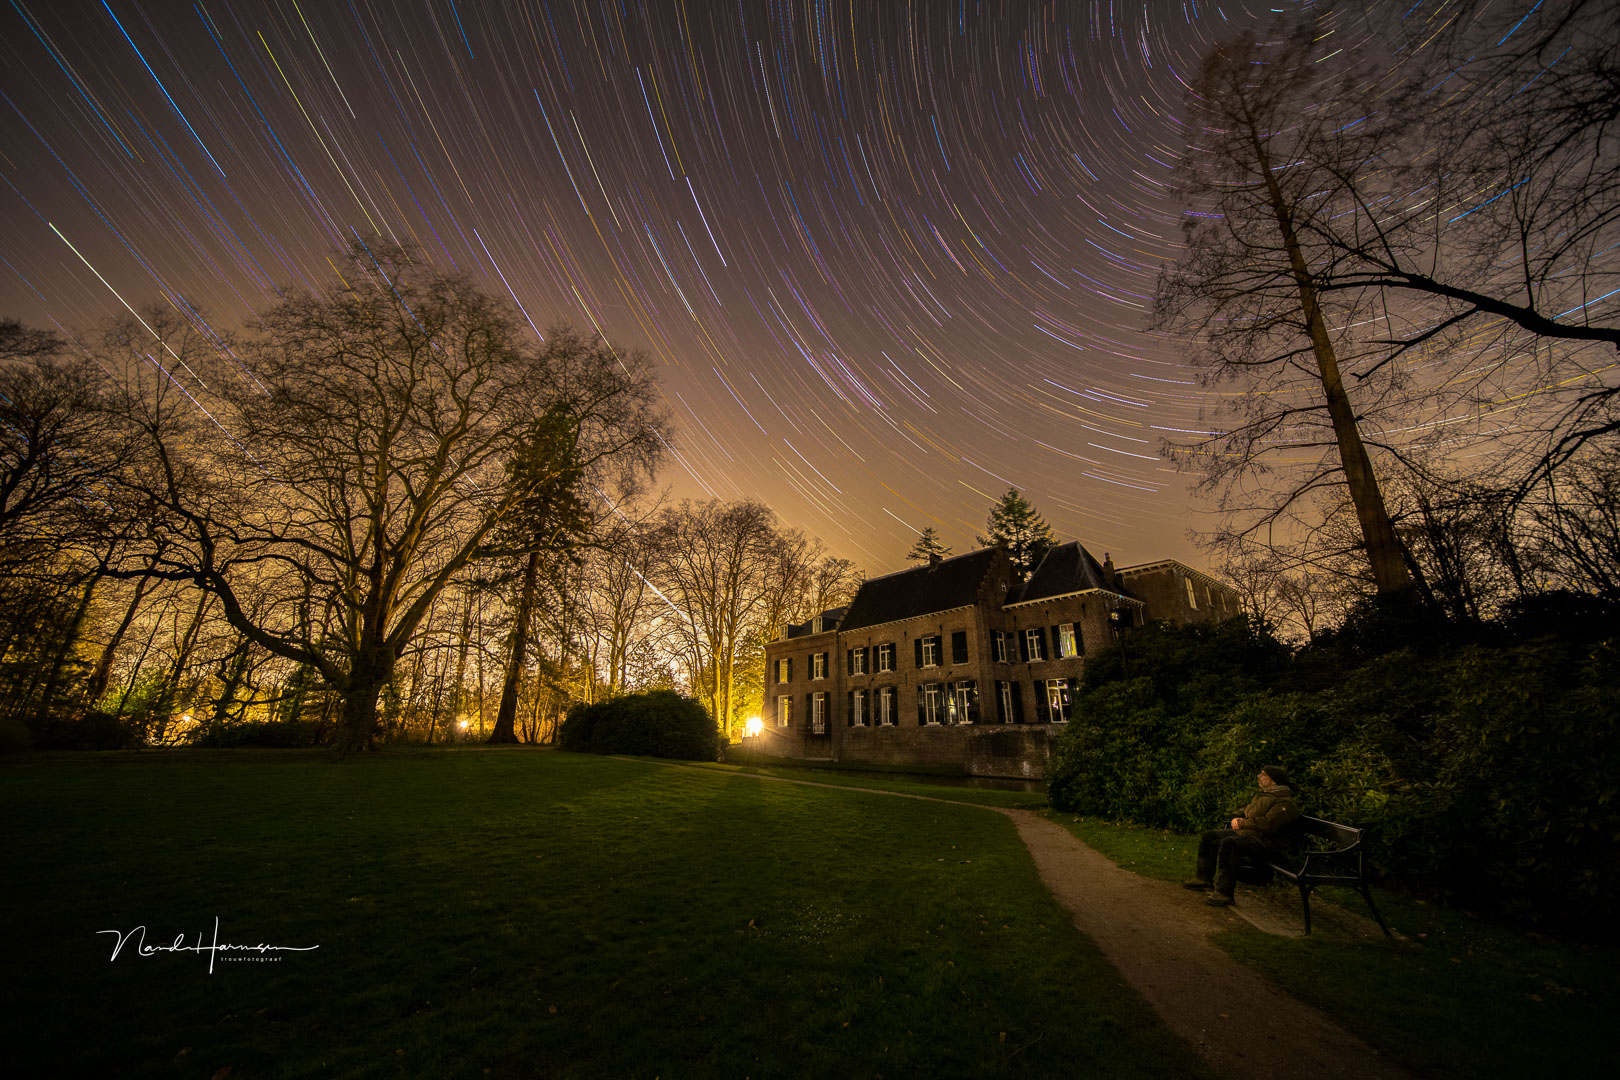
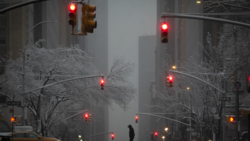
Try to find a foreground with lights, perhaps even in the middle of a city. Choose an appealing subject so the star trails can act as a nice background or backdrop. In most situations, it will make the image much more interesting.
Tip 2: Use a Focal Length That Fits Your Composition
I see a lot of star trails that are shot with a wide-angle lens, or even an ultra-wide-angle lens. It allows you to get close to a nice foreground while capturing a large portion of the night sky. If that is your goal, then it’s the right choice.
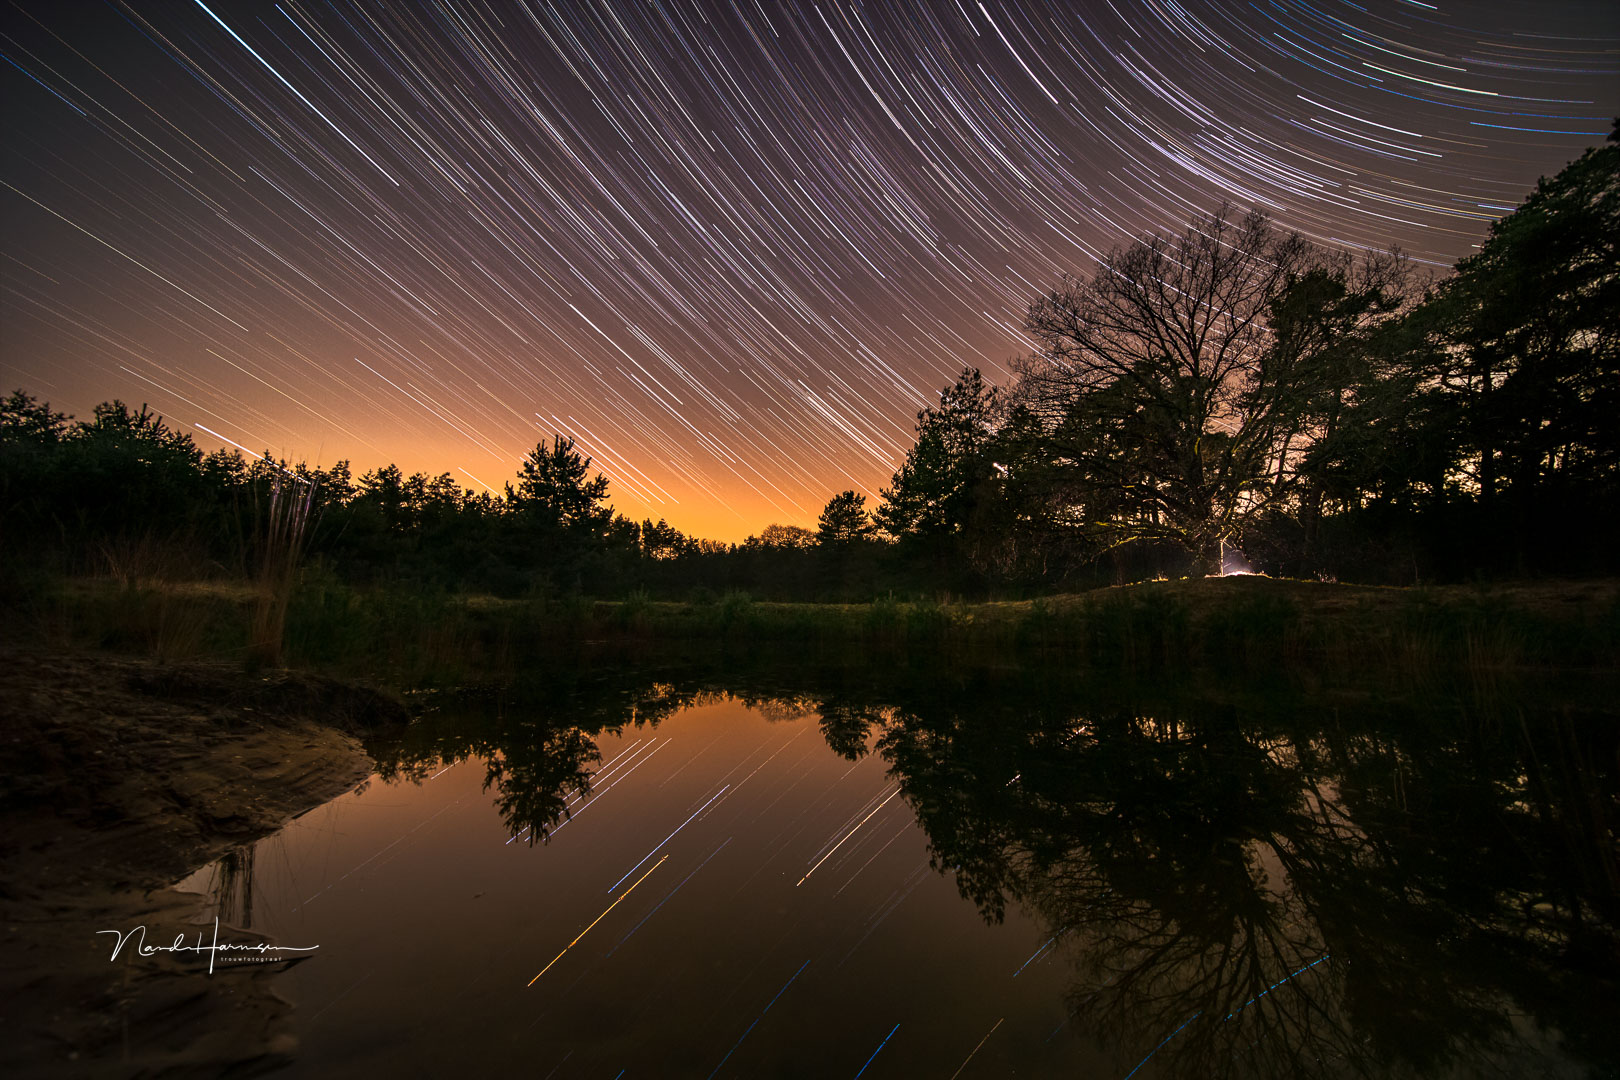
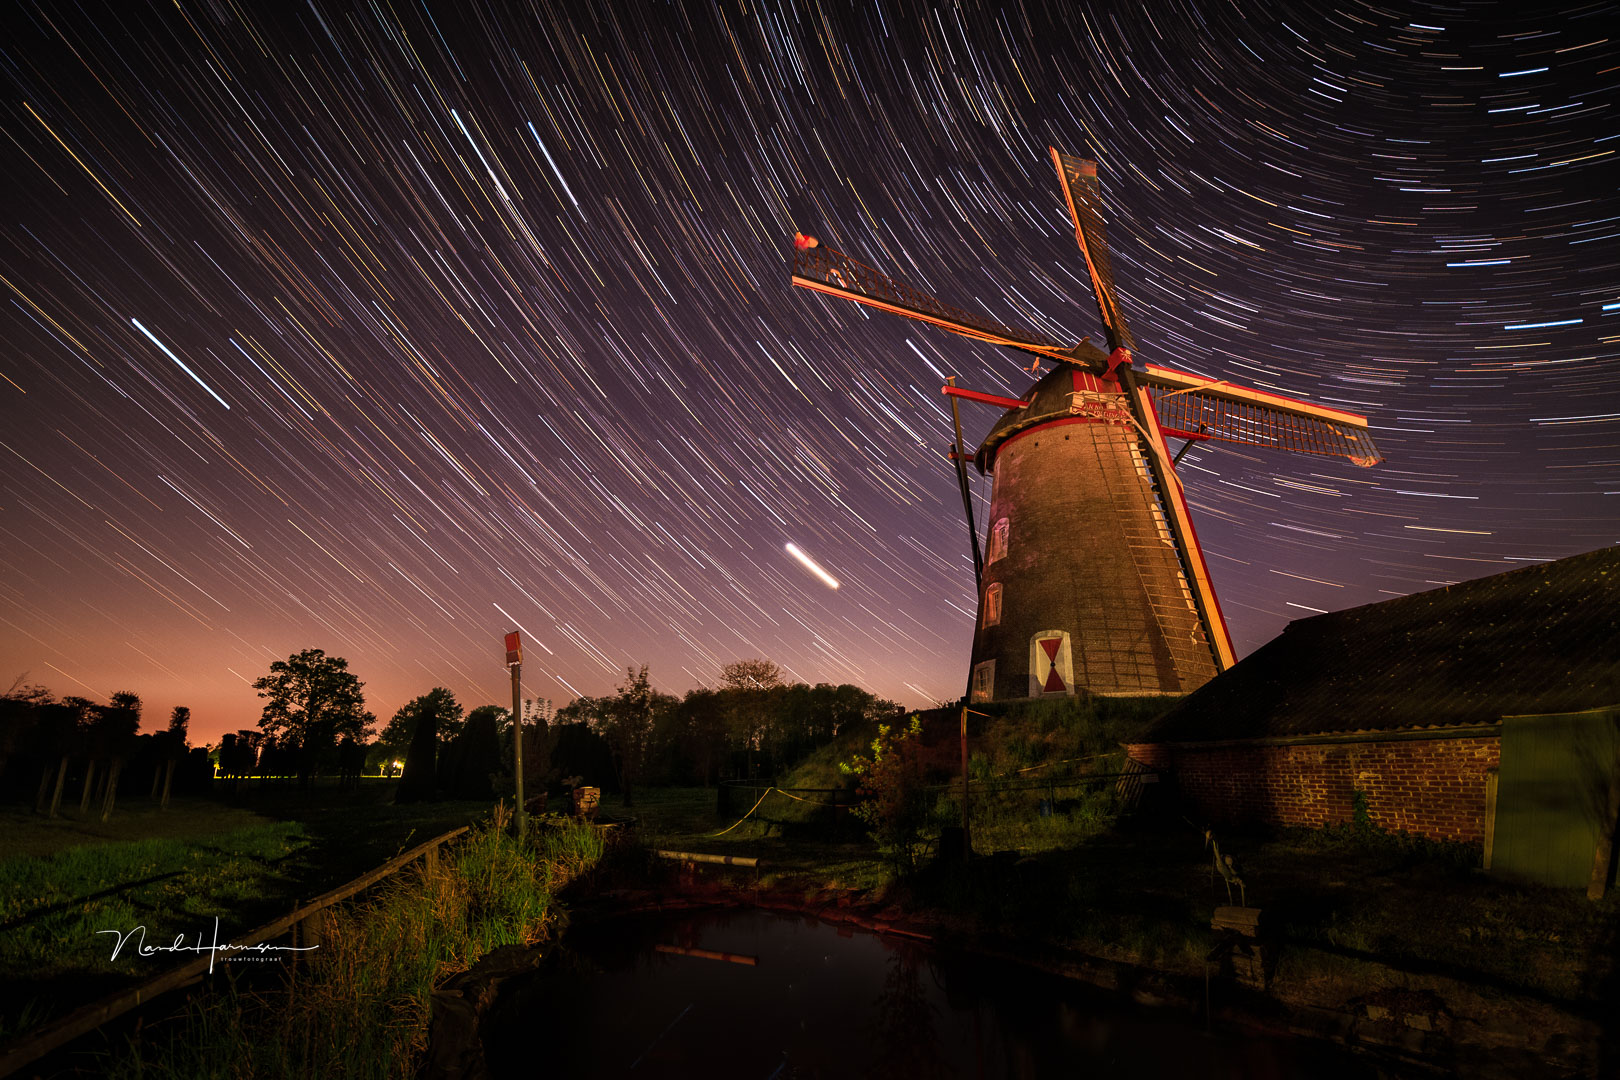
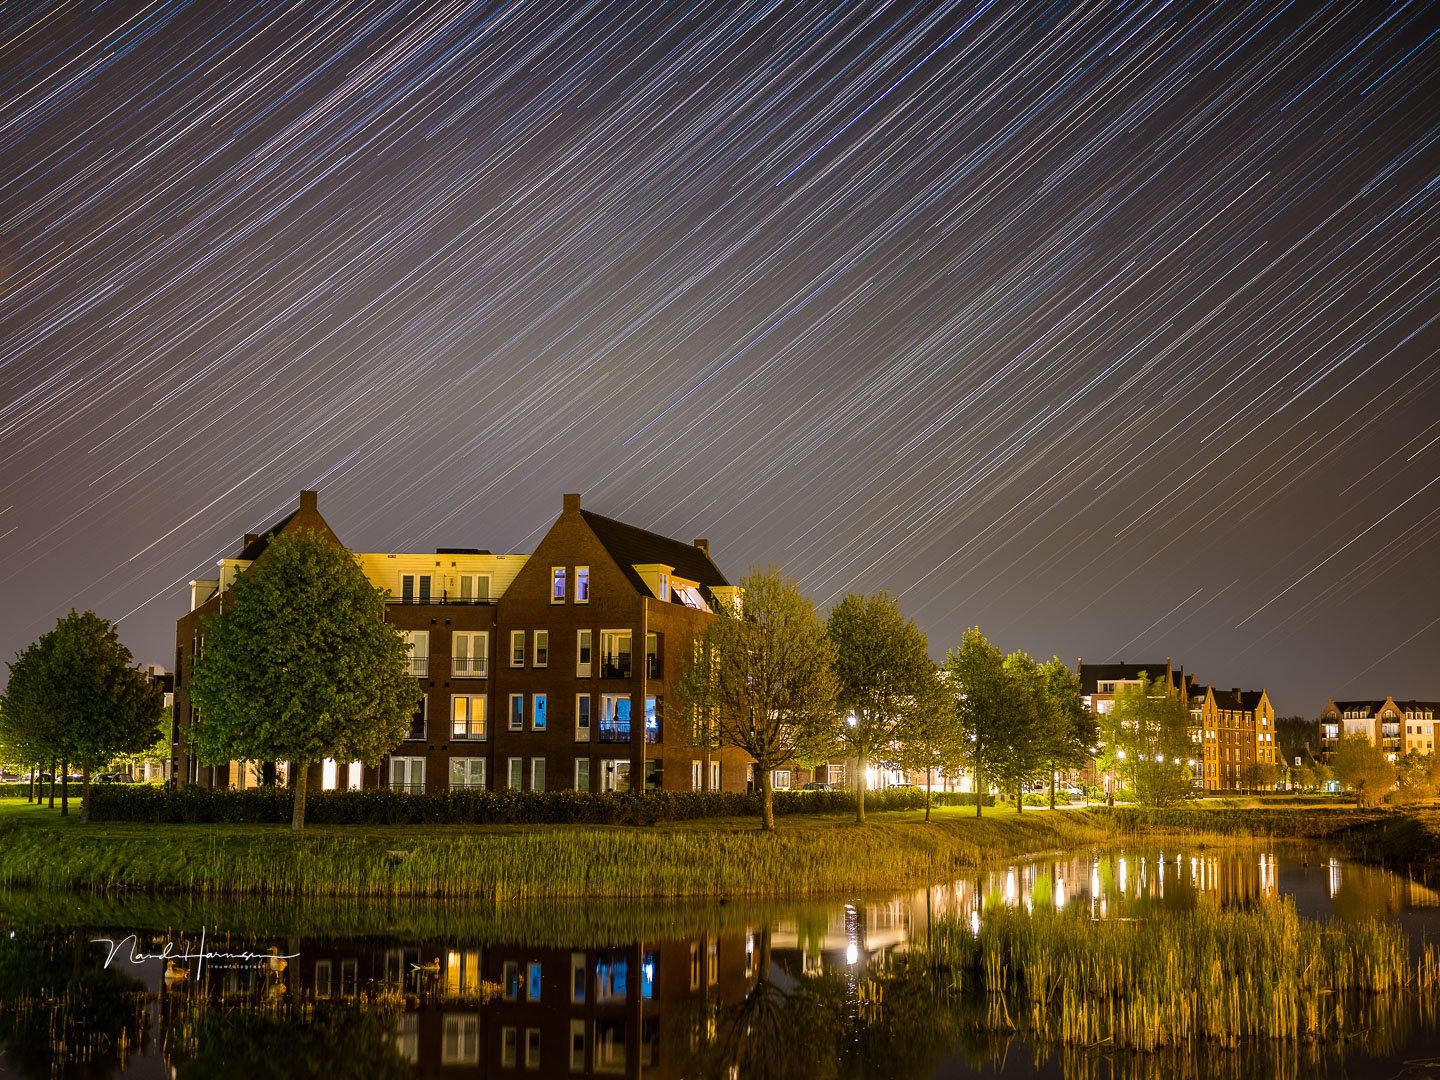
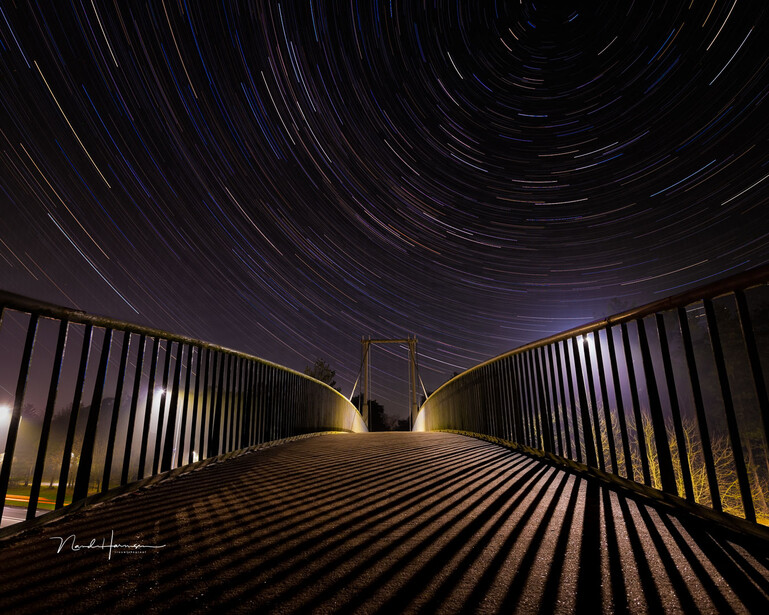
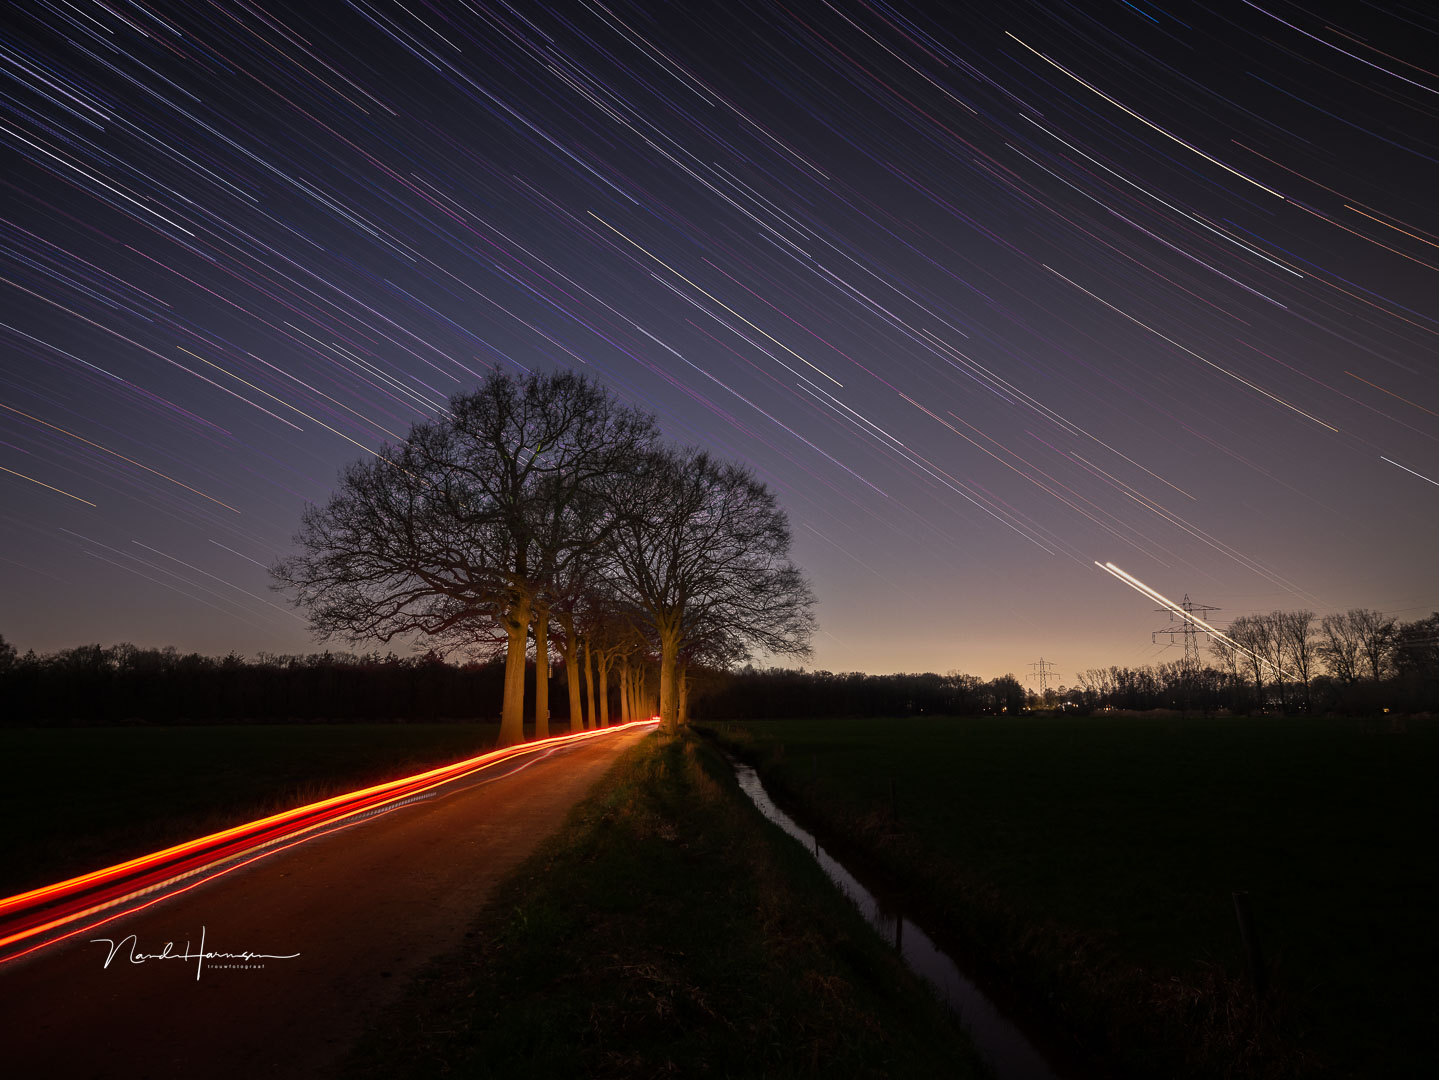
It's not mandatory to use a wide-angle lens for star trails. A longer focal length is also possible. Especially if you use star trails to act as a nice backdrop it can be a better choice. The trails can be used as guiding lines in the composition or mimic a rain shower of stars. They can form an arc over the subject in the foreground or be used to circle around a subject. Be creative.
Tip 3: Don’t Limit Yourself to One Wind Direction
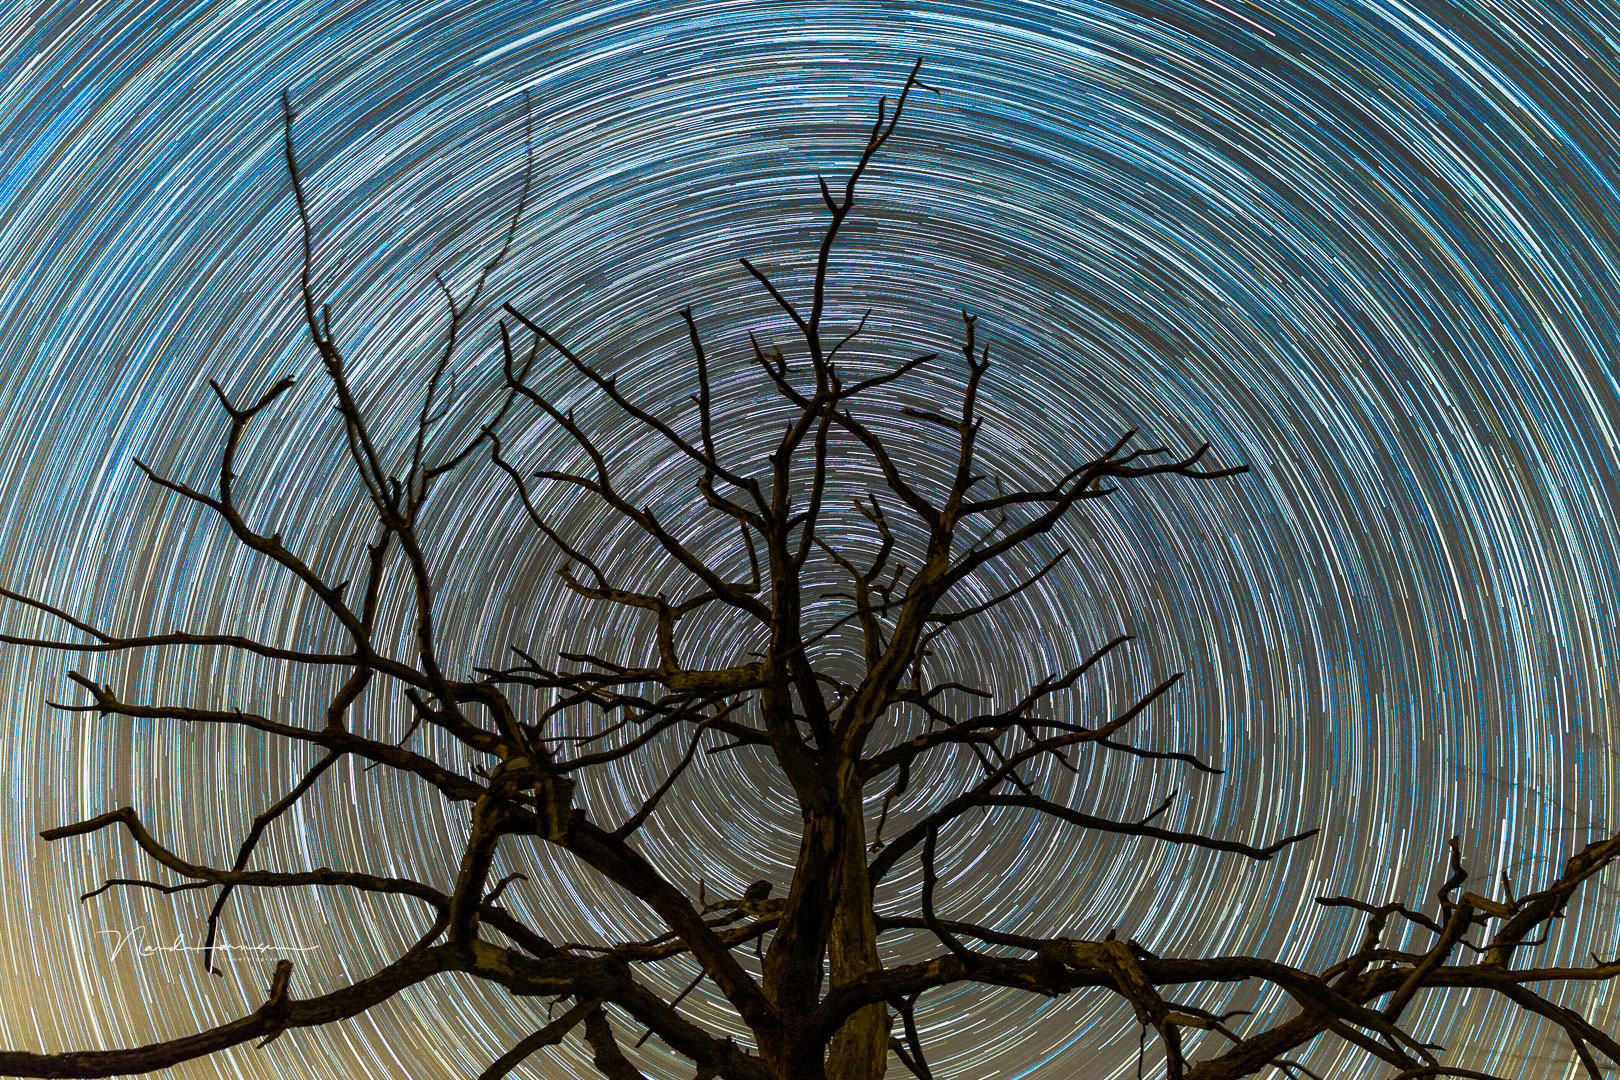
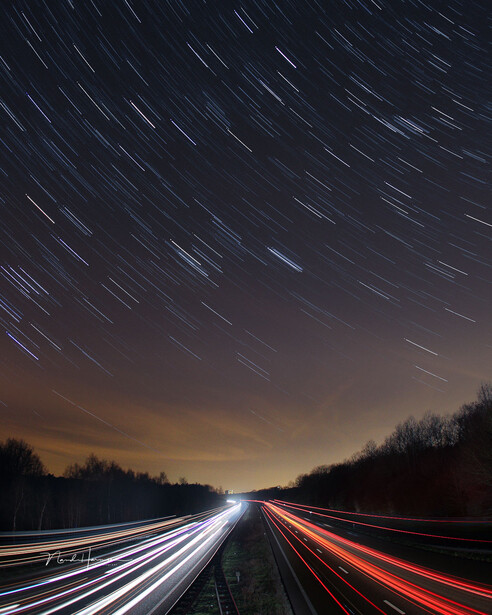
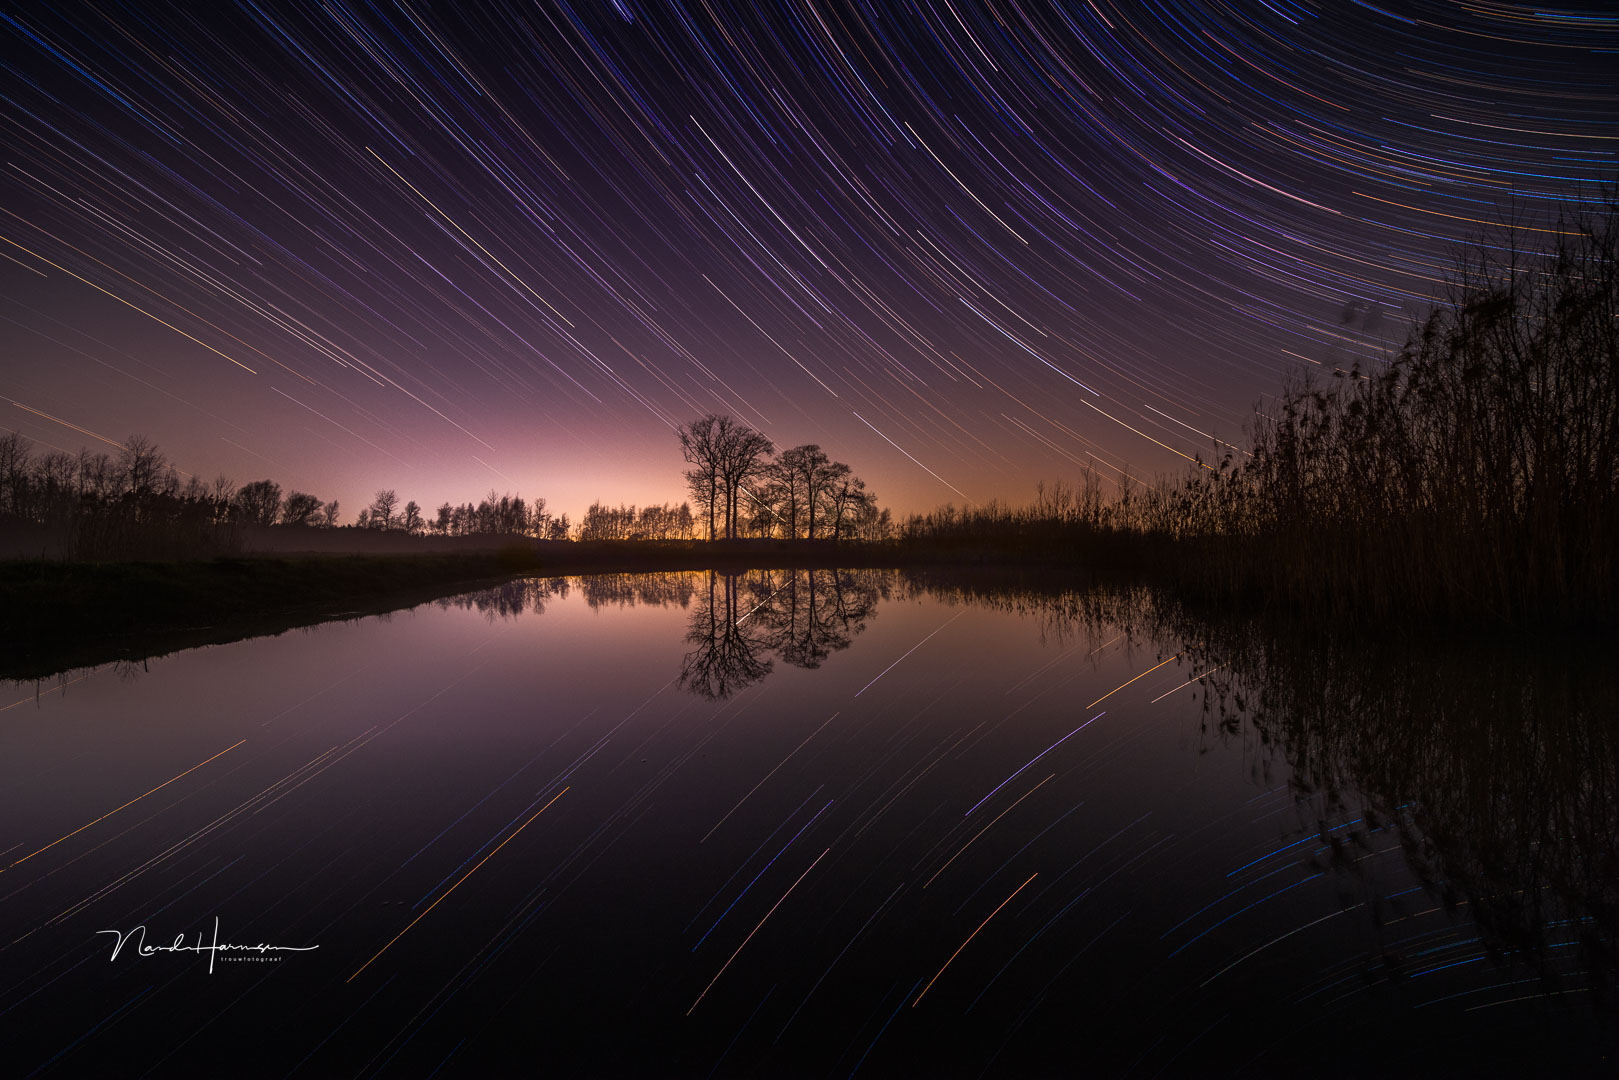
It can be tempting to point your camera to the north star and let the stars form circles in the sky. If you’re situated in the southern hemisphere this will be due south, of course. Although it looks fantastic at first, you can do so much more. Point your camera in one of the other three wind directions also.
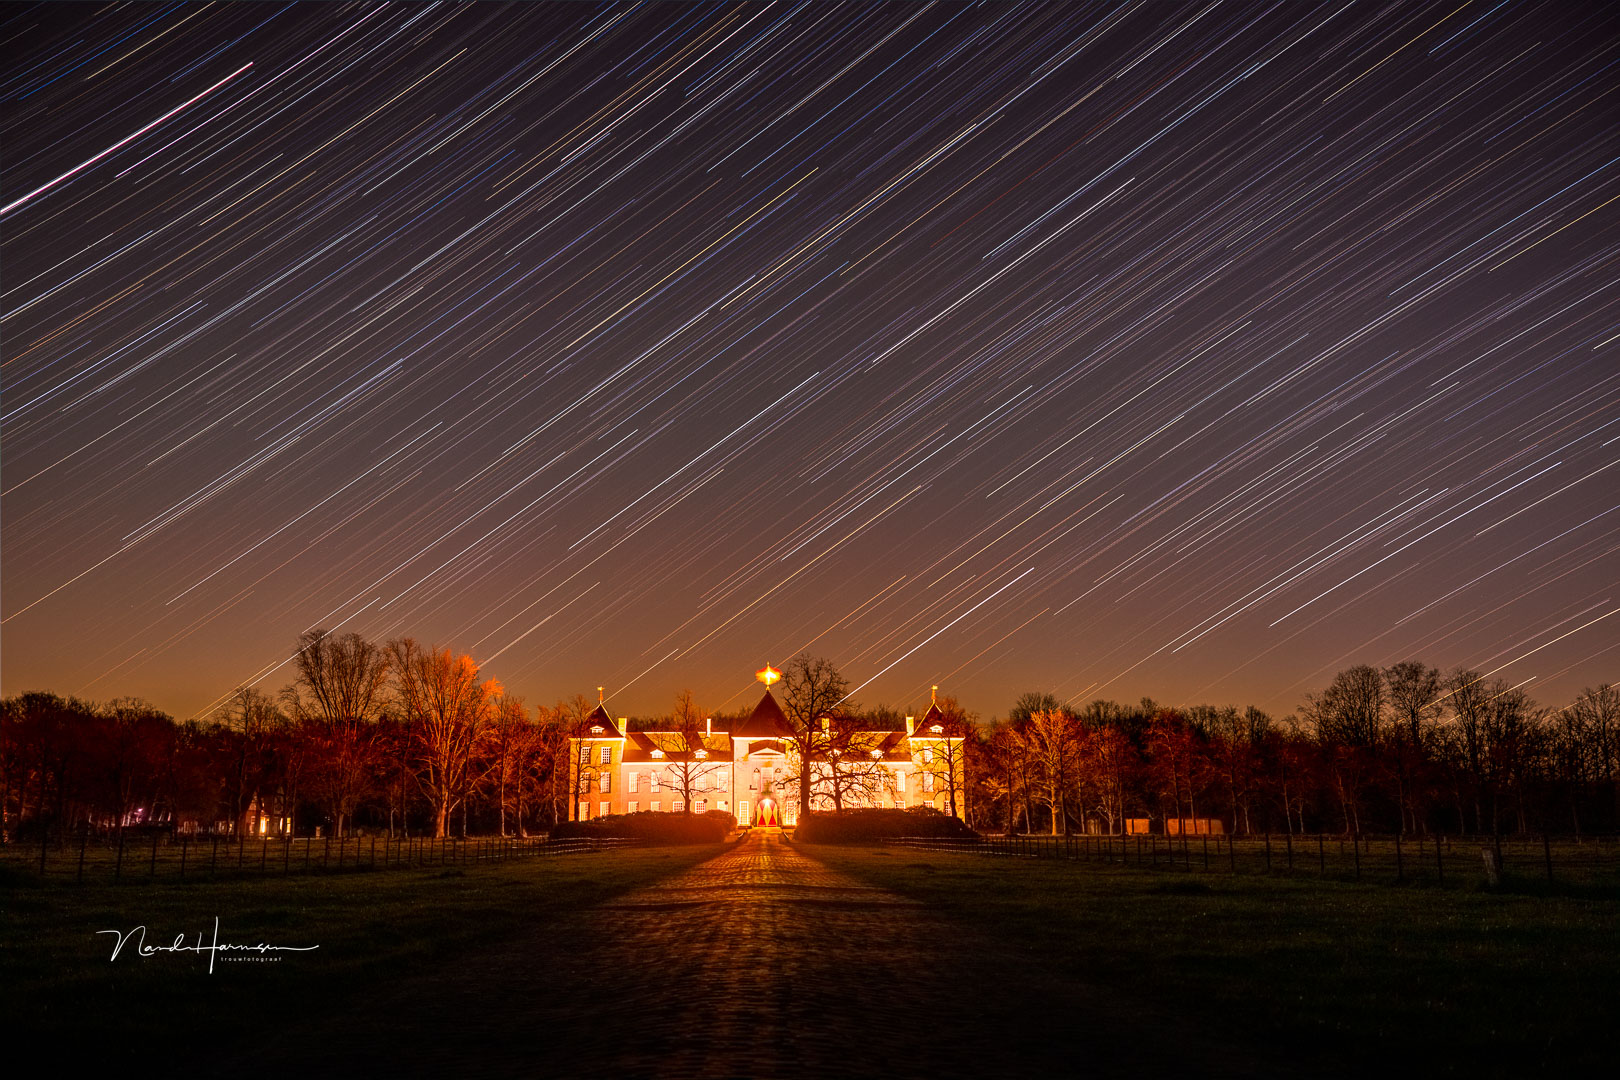
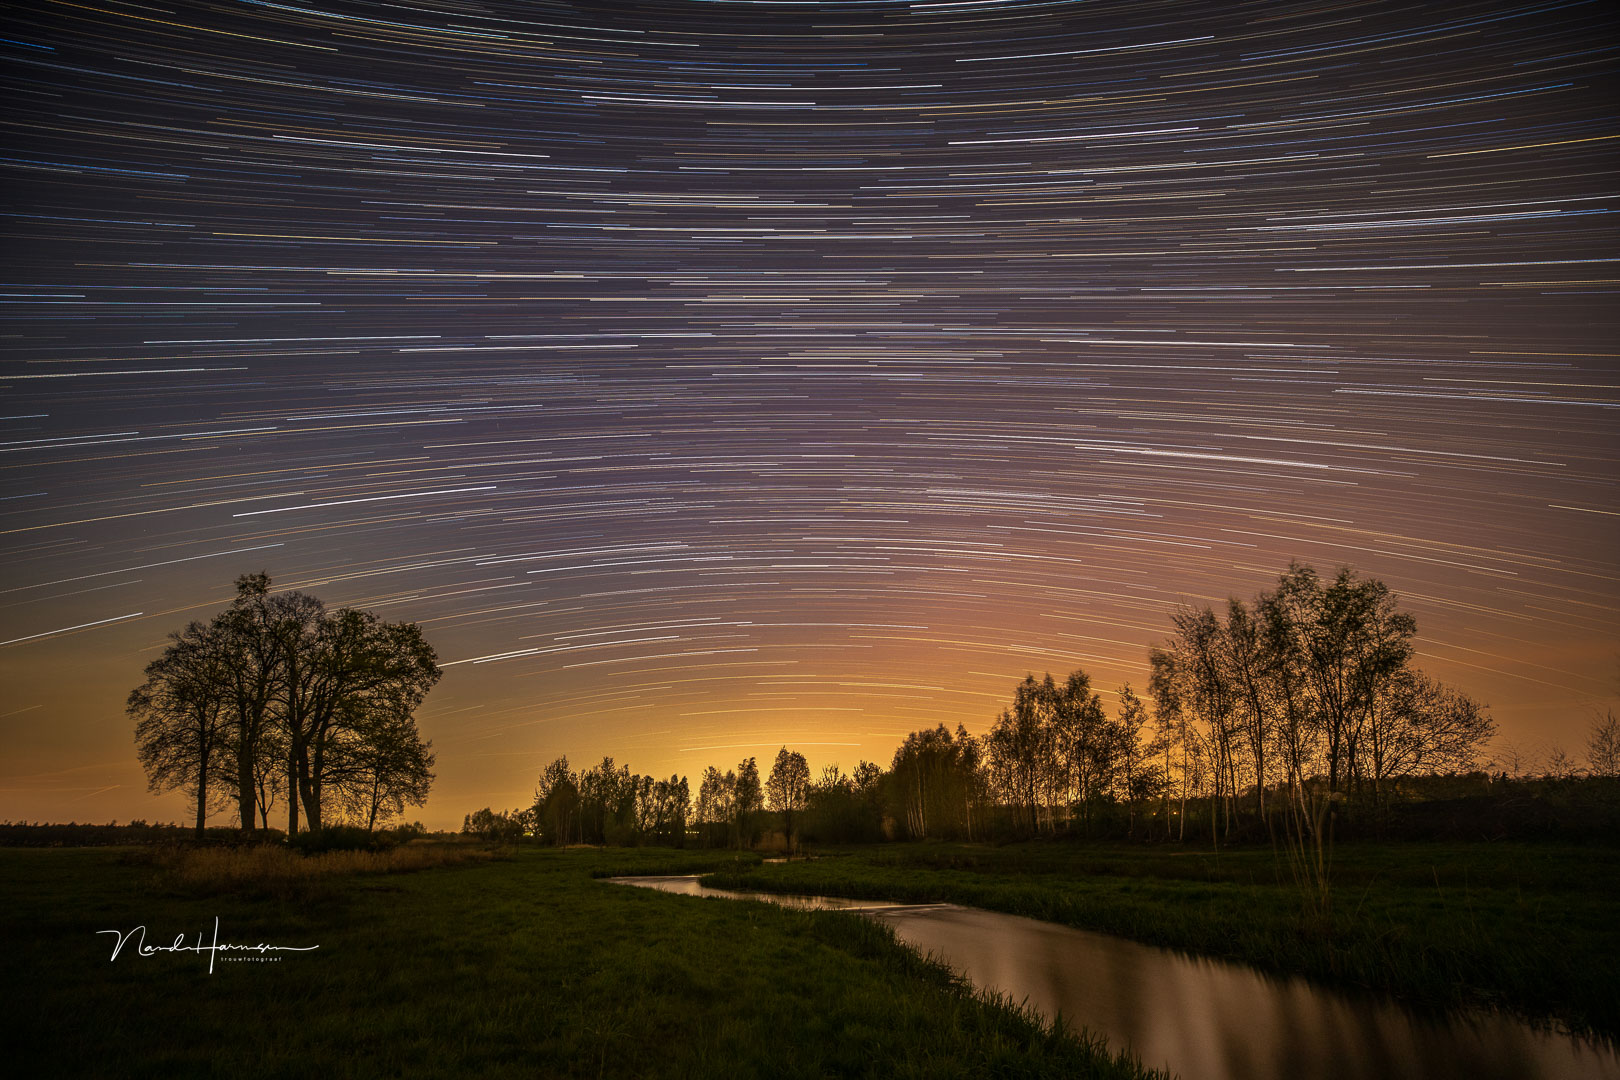
If you point the camera south instead of north (or north instead of south if you're below the equator) the stars will form arcs over the horizon. Pointing east or west will result in diagonal lines. You can use these lines for your composition as well.
Tip 4: Don’t Be Afraid of High ISO Values
The ISO value will determine how many star trails will appear in your image. If you want a sky full of trails, a high ISO is necessary. It will allow you to capture more faint stars. A Low ISO value will make the sky less crowded with trails.
A high ISO may produce more noise, but if you get the exposure right, this won’t be too much of a problem. Do some testing with your camera to determine how far you can go. I explained how in an article I wrote some time ago.
Tip 5: Choose the Right Exposure Time
When the right ISO value is determined, you need to use the aperture and exposure time for the correct exposure. Since the widest aperture is often used for this kind of photography, the exposure time is the one that can be used to get the correct exposure.
When the correct exposure time is set, you will know how many images you will get. Depending on your location, aperture, and ISO setting this will be often somewhere between two and twelve images per minute.
Tip 6: Don’t Overexpose the Stars
It might be tempting to expose as long as possible to keep the number of images per minute within reasonable numbers. But be careful not to overexpose the stars themselves. Always keep an eye on the histogram on your LCD screen. Keep the exposure on the safe side.
Overexposing the stars will result in plain white dots, and thus white star trails. But if you keep the starlight within the dynamic range, the colors of the stars will become visible. The result will be more eye-pleasing.
Tip 7: Make Your Star Trails Long Enough
Shooting images for the star trails will take a long time. Don’t be impatient, keep shooting at least one hour, preferably longer. At first, half an hour may seem enough to get a nice result. But if you double that time the star trails are much more attractive to look at.
Tip 8: Remove Any Plane or Satellite Traces
The one downside of shooting star trails is the number of airplanes and satellites that will cross the frame. You can try to avoid this as much as possible by choosing a time slot when airplanes won’t fly that much anymore. Or you can choose a location that is far away from the flying routes. But this is not always possible.

Make sure you remove all airplane and satellite trails from the series of images you took. This can be a tedious job, but it will be well worth the effort. You can try to use AI tools to remove these trails from the end result, but often it’s better to do this for each image separately.
Tip 9: Combine Your Images in Photoshop
There are a lot of free software packages that can stack the images you took and make a nice star trails image with a touch of a button. If you want to have full control, it’s better to do it yourself with the help of Photoshop or another photo editing program that supports layers.
Stacking images is easy and you don’t need a powerful computer. Prevent having too many images in layers at once by working in batches, or by merging every new layer you add to the stack. This way you never need more than two layers at once. I created an action in Photoshop for this so I don't have to do it manually.
Tip 10: Don’t Be Hasty, Take Your Time
Shooting on location is often a matter of activating your camera and waiting until the desired time has passed. You can enjoy looking at the stars and listening to the sounds of the night. You can read a book, or listen to music if you like.
Editing the images and stacking is much more work. Although you can automate the stacking itself, removing satellites and airplanes from the images can be a lot of work. Don’t be hasty, take your time shooting and editing the images. This way your star trails will be great to look at.
With these simple tips, you will be able to shoot wonderful star trails. Perhaps you have some tips as well. Feel free to share these tips in de comments below.


Join the Fstoppers community for free
-
Post comments and join in the discussions
-
Browse the site ad-free
-
Share your work and get featured in the community
-
Compete in the photo contests for fun and prizes
3 Comments
Great advice and amazing images.
Beautiful shots and nice informative article.
Definitely should try star trails more often.
Use om solutions/Olympus Live Composite