

Astrophotography is one of the most rewarding yet undeniably expensive genres of photography. From specialized cameras to heavy mounts, the costs can quickly spiral out of control. And let’s be honest: print sales rarely make a dent in those expenses unless, maybe, you have a once-in-a-lifetime shot of Icarus flying into the sun.
Professionally, the most reliable setup for capturing Deep Sky Objects (DSO) hinges on a good equatorial mount that can support a substantial payload — a telescope, a cooled astro camera, a guide scope, a guide camera, and a few light pollution filters. That's just the foundation, and it doesn’t stop there; you'll also invest in a solid post-processing software such as PixInsight.
And once your rig is fully built out, you'll need a way to transport it. Maybe not a full-size truck, unless you’re hauling around something like a giant Meade LX90—then yes, maybe even a truck.
But take heart! There is a way around this. This article may save you from all those expenses, allowing you to conduct your affairs with the stars cost-effectively.
Astro-Modifying Your Camera Pros and Cons
One of the most common debates among astrophotographers is whether modifying your camera is worth it, i.e., removing the stock IR-cut filter to increase sensitivity to deep-red hydrogen-alpha (Hα) light. While this can improve your ability to capture certain nebulae, a modification isn’t always necessary to achieve impressive deep-sky images.
Many modern DSLR and mirrorless cameras already have sufficient Hα sensitivity for general astrophotography. Often, the real challenge isn’t the camera itself but how the images are processed. Auto white balance, or overzealous post-processing, can unintentionally suppress the visibility of red emission in your shots. In other words, great results often come down to technique rather than hardware.
When a Mod Helps
- You shoot lots of H-alpha dominant nebulae (Rosette, North America, California, Heart, Soul, etc.).
- You want a noticeable boost in red emission without springing for a dedicated astro camera.
- You’re okay with sacrificing some natural color balance for more hydrogen detail.
When a Mod Doesn’t Make Sense
- You prefer natural-looking colors with a good mix of H-alpha, OIII, and H-beta.
- Your camera already has strong H-alpha response (surprisingly common in many Canon and Nikon bodies).
- You’re willing to invest more time in processing instead of hardware.
- You don’t want to void your warranty.
A modified camera tends to push images too far into the red, washing out the other beautiful colors in a nebula. So instead of showing the true color diversity of a target, you may end up with a giant red cotton ball. Not ideal unless red is your entire personality.
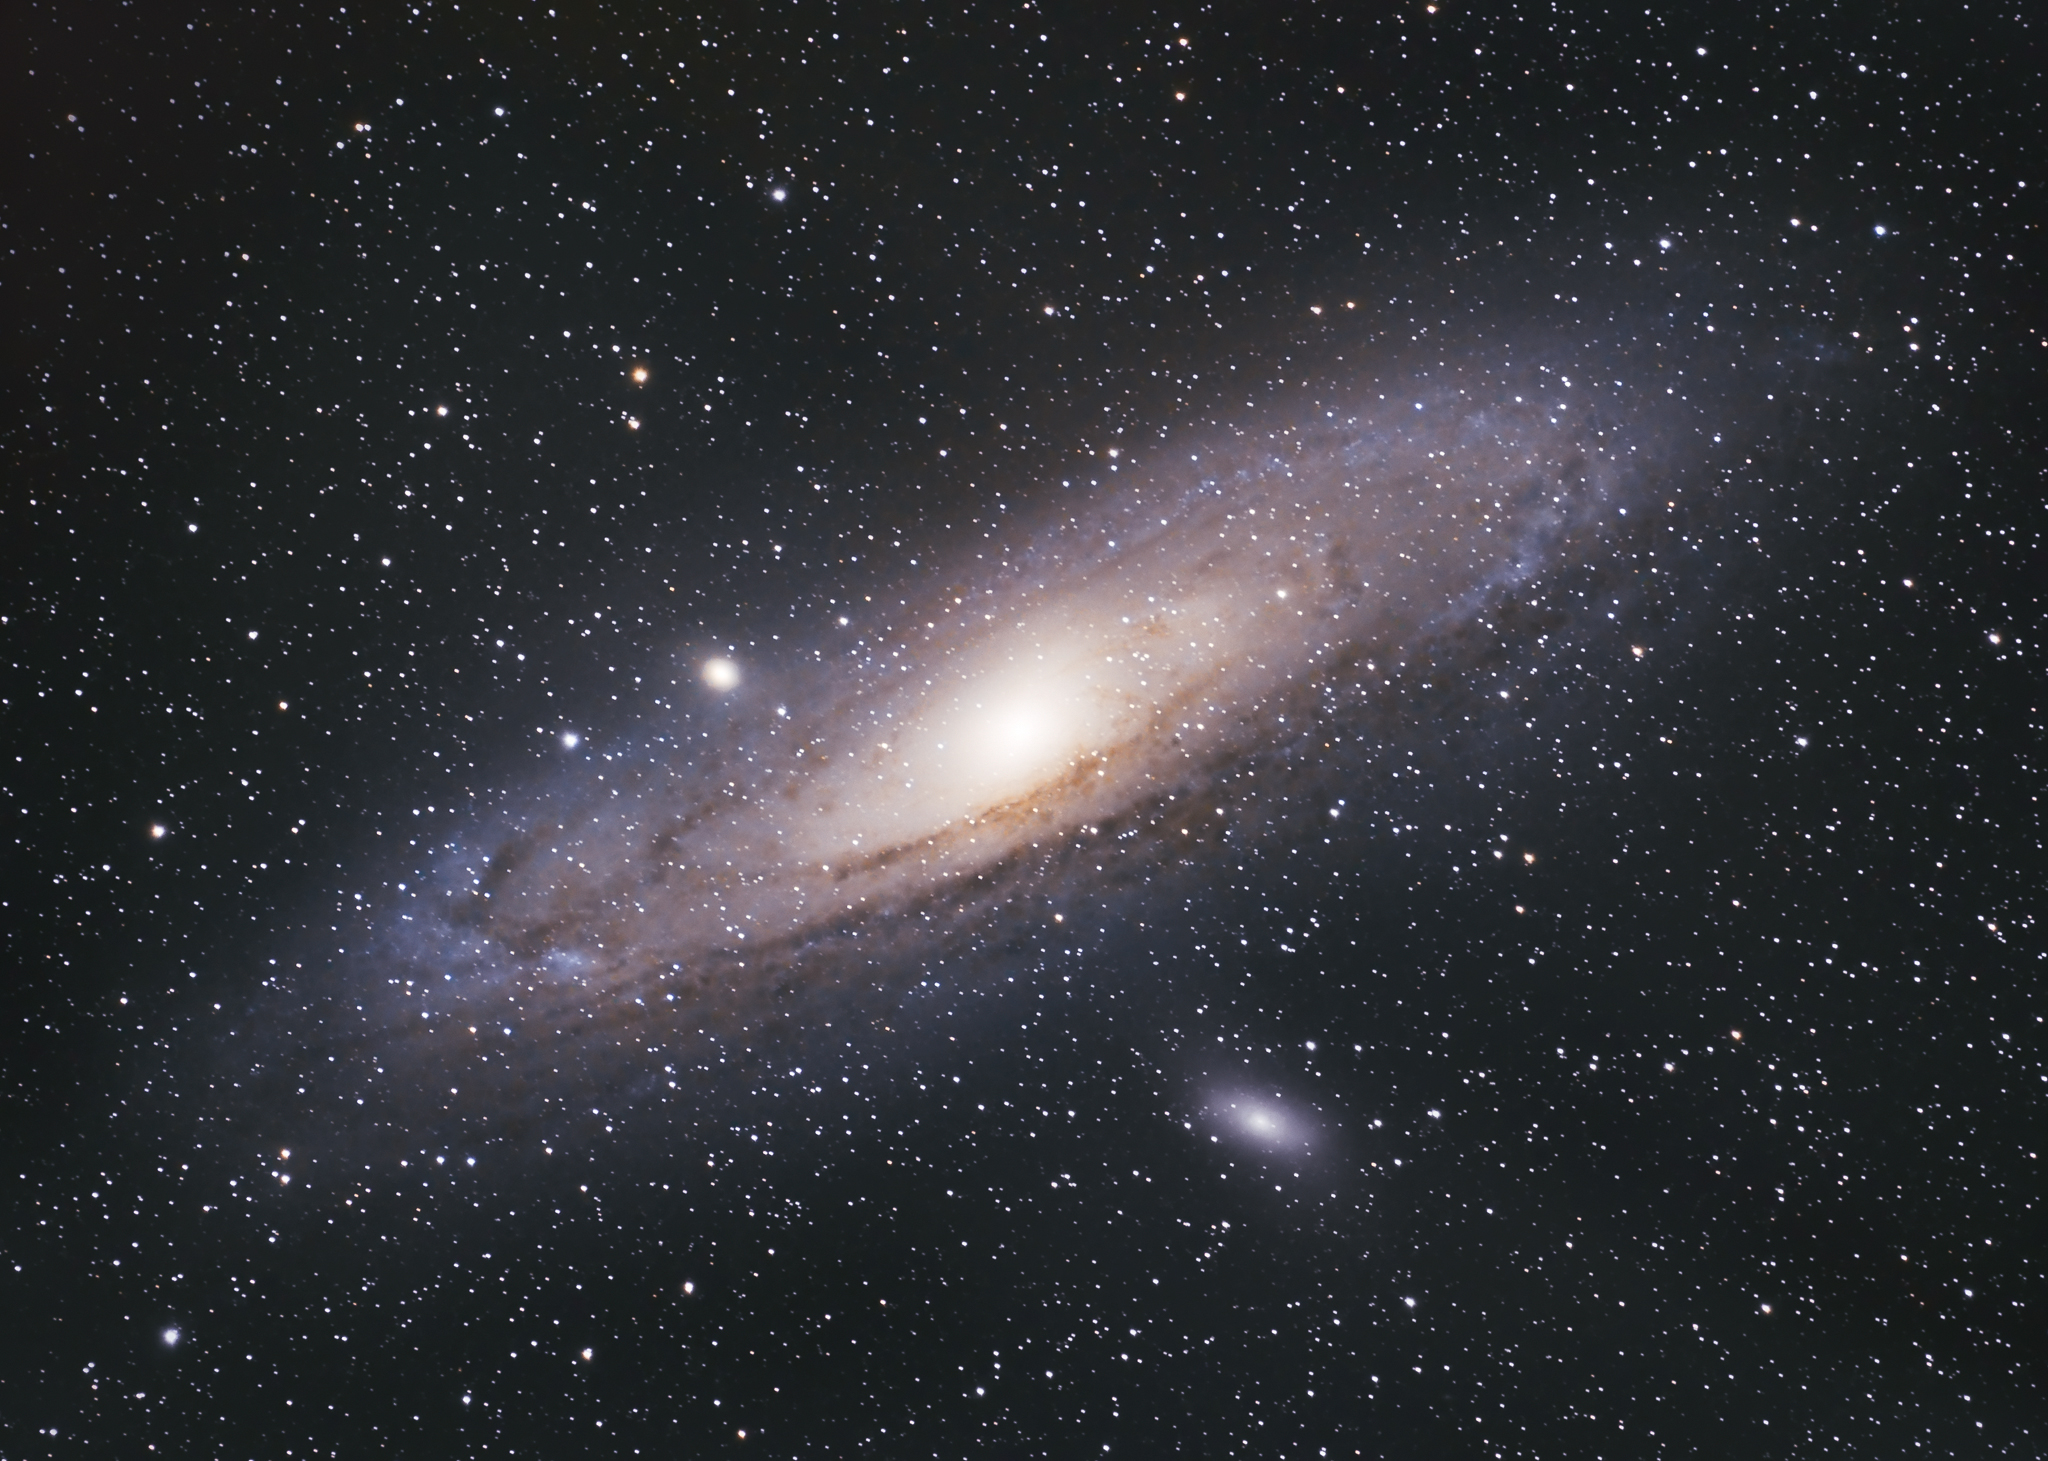
Renting Telescopes Remotely: Astronomy as a Service
Astrophotography is still possible without owning a telescope and mount. Even with the best setup, you’re still at the mercy of the weather gods, hoping and praying for a window of clear skies. Another cost-saving alternative is renting time on remote telescopes, either in the U.S. or in premium dark-sky locations like Chile. This lets you capture deep-sky targets without the upfront investment, maintenance headaches, or worrying about light-polluted skies.
I remember the time when I used to buy time on a timesharing machine back when personal computers were still a thing. Remote telescope rentals feel like a modern extension of that same idea — paying for access instead of ownership.
Platforms like iTelescope let you schedule imaging sessions on remote-controlled telescopes with sites in the US, Spain, and Australia region. You select your target, set exposure parameters, and download the data after the session.
Observatories in Texas (e.g., Starfront Observatory) allow you to host your own telescope remotely or use their preset setups.
Chile is a hotspot for remote astrophotography due to its pristine dark skies. Services like Deep Sky Chile, , or Baader Observatory Solutions offer remote access to professional-grade scopes — some even up to 1 m apertures.
Renting remote telescopes gives you access to world-class skies without the need to travel. You can avoid the significant costs of buying and shipping a high-end telescope, and you enjoy the flexibility of booking time only when you actually need it. That said, costs can still add up, especially if you’re using large-aperture professional scopes. You’ll still need a solid understanding of astrophotography workflow, including exposure planning, filters, and data calibration. Scheduling can also be competitive, particularly for high-demand telescopes, so you may need to plan well in advance.
Star Trackers With a DSLR: Backpack Friendly
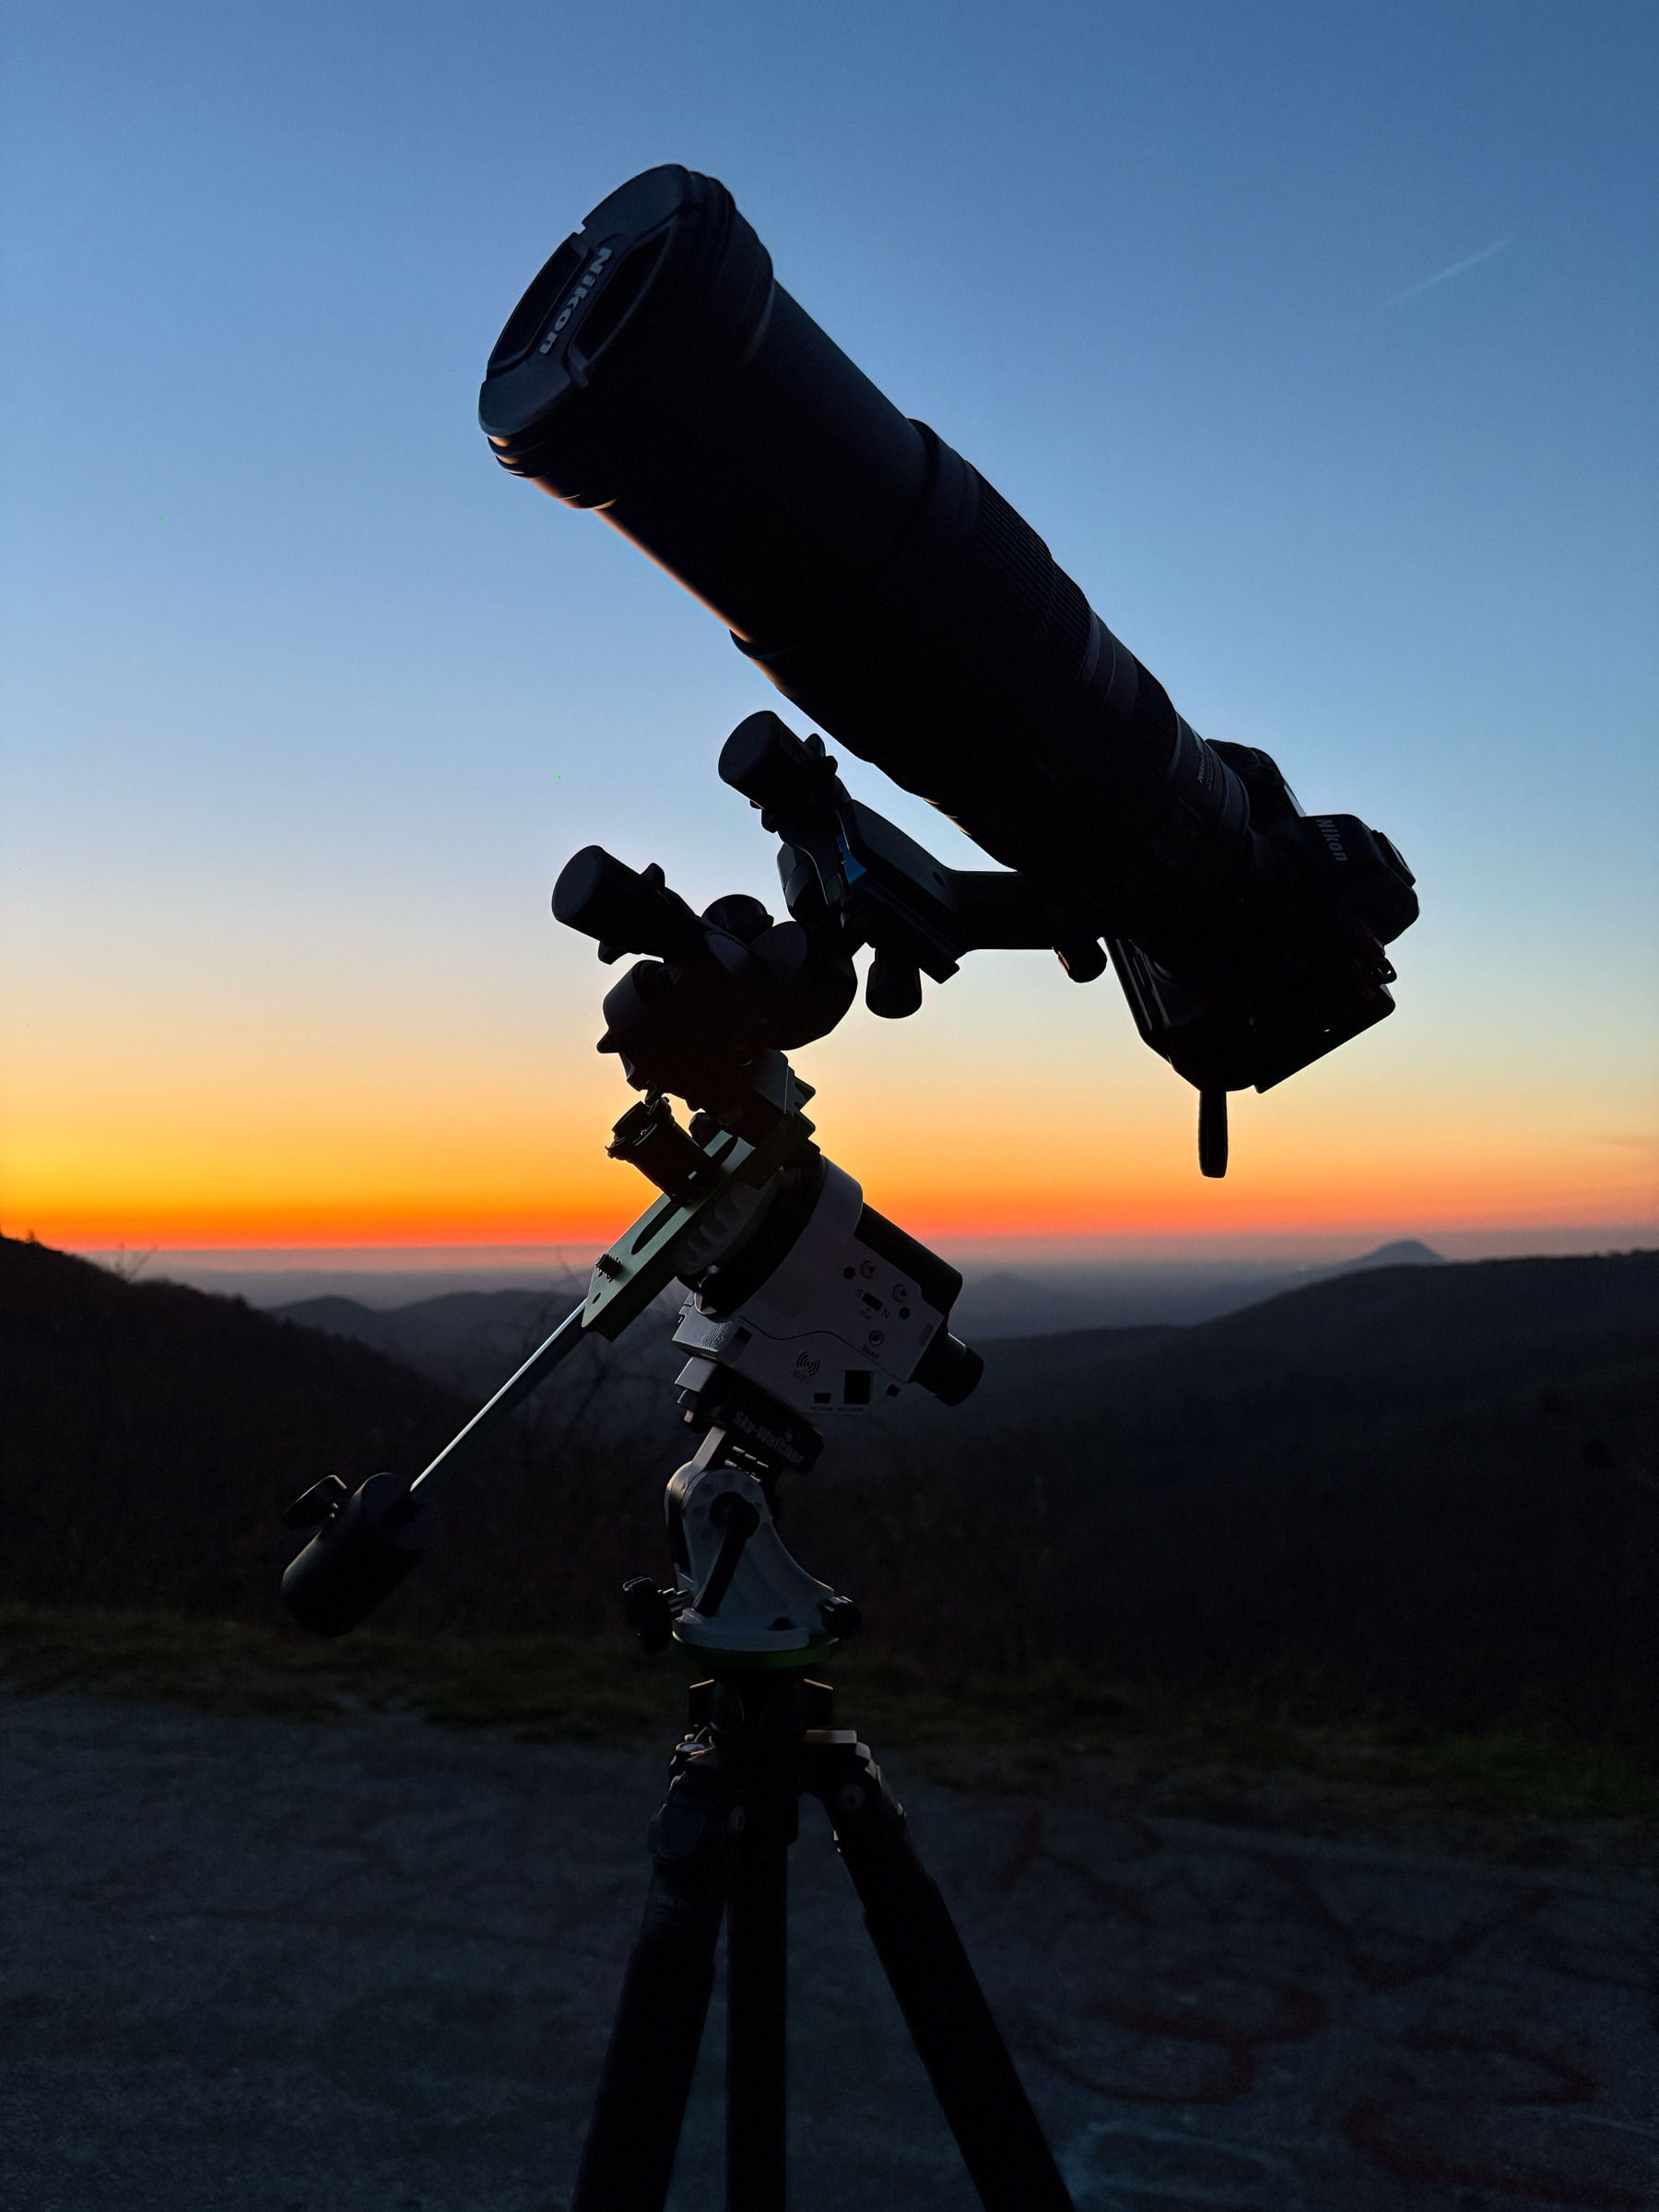
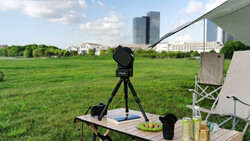
Of course, nothing quite matches the pride of owning your own rig. You can progressively build a robust system starting with something simpler. An easy start approach would be to mount a DSLR on a star tracker and use a regular telescopic zoom lens. This is actually my setup, and you’d be surprised at the kind of images you can capture with such a straightforward arrangement. The entire kit fits in a backpack, making it easier to hike to remote dark-sky spots.
Star trackers compensate for the Earth’s rotation, allowing you to take longer exposures without star trails, which is essential for deep-sky photography. Combined with a modest DSLR and lens, this setup can yield impressive results. It’s perfect for beginners who want to explore deep-sky imaging without breaking the bank.
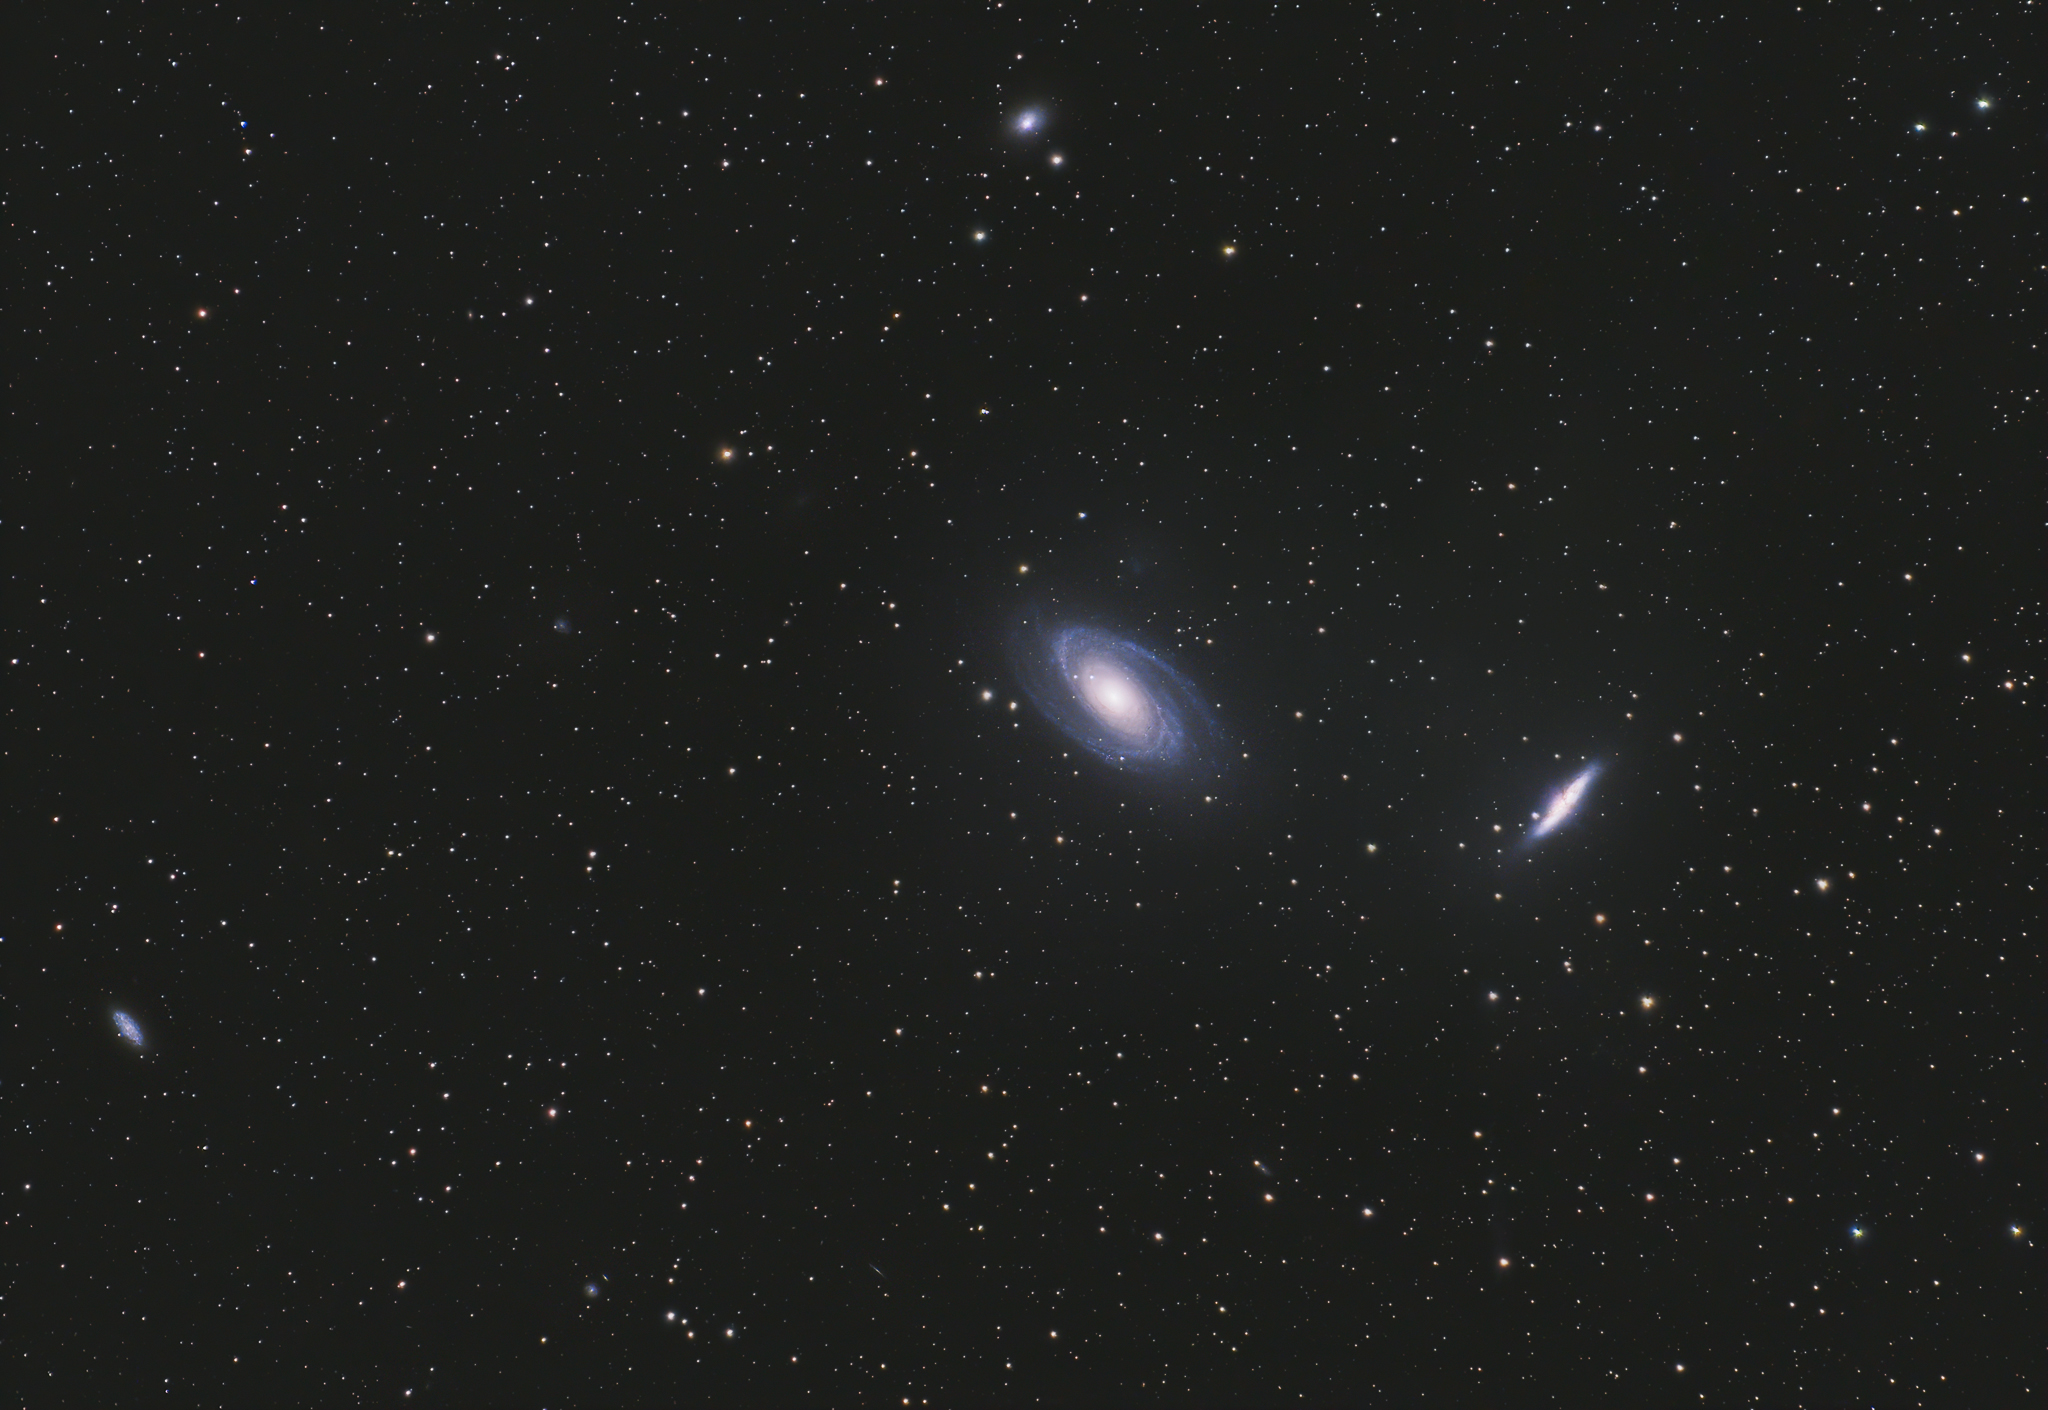
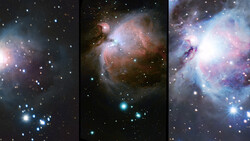
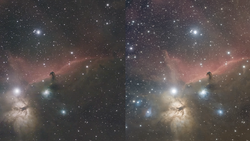
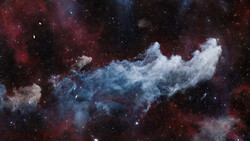
Astrophotography may be an expensive hobby, but the thrill doesn’t come from the price tag on your gear. It comes from celestial curiosity, patience, and the ability to turn knobs on your camera during cold winter nights. Start simple, invest wisely, and build your system as your skills grow. And for proof: most of the images in this article were captured with nothing more than a DSLR and a star tracker. You can certainly enjoy this fine hobby without having to empty your bank account!

Join the Fstoppers community for free
-
Post comments and join in the discussions
-
Browse the site ad-free
-
Share your work and get featured in the community
-
Compete in the photo contests for fun and prizes
3 Comments
If I may add a fourth option: A smart telescope. It may arguably be the easiest and least costly entry point into the hobby depending on the brand. Plop it down, turn it on, connect to it with the mobile app, and use the built-in sky atlas to find and shoot a recommended target for the evening. The software takes care of the stacking and noise reduction. The more popular smart scopes like the DWARF 3 and ZWO's SeeStar lineups have pushed firmware updates to support EQ mode for even longer exposures.
That said, if you already own a camera and you don't wanna take the fun out of exploring the night sky yourself without the aid of automation, then getting a star tracker as you suggested makes sense. I started with a Star Adventurer 2i and a Sony A7 III but once I took interest in emission nebulae, it became too cumbersome for me to manually hunt for them, so I moved on to more automated solutions and a dedicated astronomy camera.
That’s a fair point! Smart telescopes have absolutely lowered the barrier to entry and are a great option for many people.
This article was aimed more at traditional modular setups and the spending pitfalls people fall into when scaling those systems too quickly.
An article written in 2025 that doesn't include a sizeable amount of information on Smart Telescopes like the ZWO, Dwarf, and others - seems to be completely missing the boat in terms of where amateur astrophotography is really at in 2025.
In 2025, when you can get the complete smart telescope package, including sensor, mount, software, and complete system integration for less than $500.00, talk of a DSLR and/or dedicated astro-camera system and telescope/mount system requiring many thousands of dollars in equipment seems misplaced.
I have both systems, so I've got nothing against a full blown astro-photography system ... but with each software and firmware update, ZWO brings my SeeStar50 closer and closer to what my dedicated system costing 20 times as much can accomplish - ESPECIALLY in environments that are light polluted, which is most all of occupied North America.