
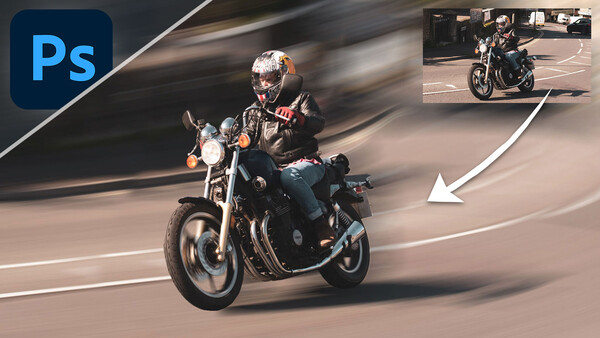
If you've ever wanted to inject a sense of speed into your automotive photos but haven't quite nailed the camera settings, then don't worry, because you can edit in some dynamic motion blur to your images with these simple techniques with Photoshop CC.
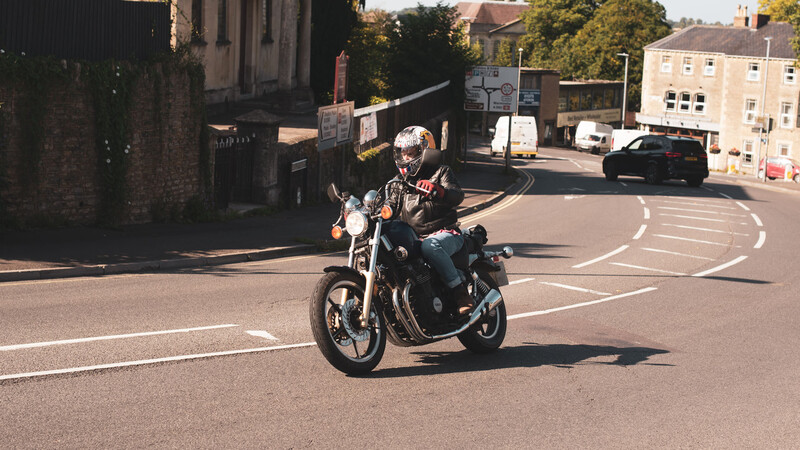
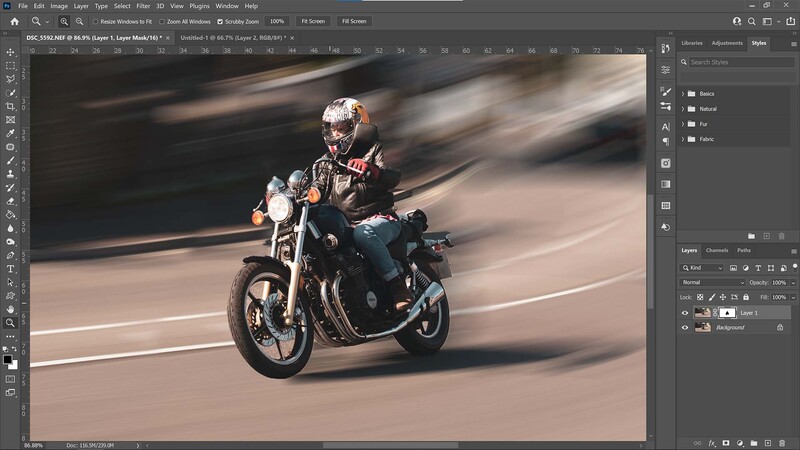
Fast-moving subjects often require fast shutter speeds to capture them sharp while in motion. However, that brings about an issue: subjects that look static even though they're moving fast. Due to the fast shutter speed, everything moving is frozen in time Take a look at my photo below of a motorbike screaming up the road. Despite the speed, it looks like it's sat there on the pavement, frozen. Even the wheel spokes are stationary.
All is not lost, though, because with a few tweaks in Photoshop CC, we can add that speedy feeling back into our action shots and make things look dynamic again. I'll show you how to use Photoshop CC's Path Blur and Spin Blur tools to inject a sense of speed into your shots.
Aim for the Path Blur
The first step is to open the photo in Photoshop CC and make a duplicate layer of the image, (with the image layer selected, Ctrl + J, or Cmd + J on Mac). With this new duplicate layer selected, head to Filter>Blur Gallery>Path Blur. This is where the magic begins to happen.
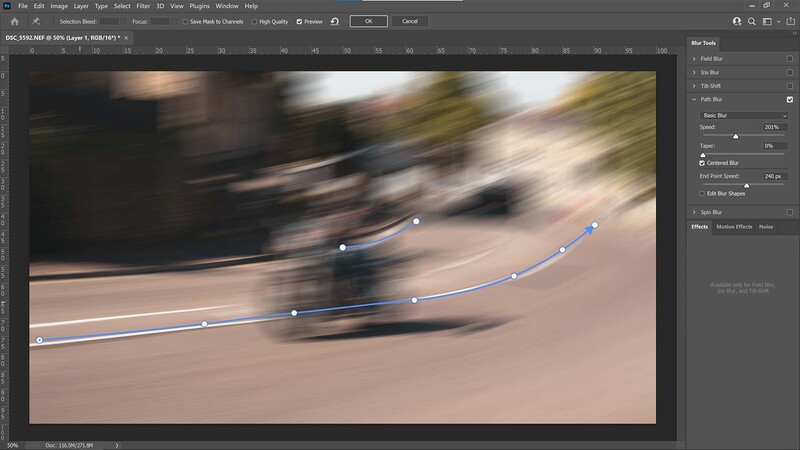
Path Blur is like Motion Blur on steroids. Not only can we determine the direction of motion blur and its intensity, but we can also change the path direction as it moves through the frame. By default, a directional arrow is applied to the photo automatically. Grab the control handles and move them around to find the right direction for your image. I decided to delete it entirely and start drawing my own.
I wanted the Path Blur to move with the direction of the motorbike, so I drew two arrows: one that curved around the top of the bike; and another that flowed along the bottom. To draw an arrow with multiple control points, you can click repeatedly throughout the image or add to the arrow by clicking anywhere along the line. Click and drag to bend the arrow into the desired shape.
The intensity of the blur can be changed with the sliders in the Path Blur window on the right-hand side. I used the Basic Blur option at 201% with 0% Taper and the Central Blur box ticked. End Point Speed was set to 240 px.
Pay Attention to the Subject

Next, we have to make the motorbike visible again because everything is one blurry mess. To do this, I hid the motion blur layer by clicking the eye icon in the layers palette and then selected the original unblurred layer. I then used the Object Selection tool (W) to draw around the motorbike and rider. Photoshop CC did a good job of identifying the area that I wished to select, so I then clicked on the Add Layer Mask button at the bottom of the layers palette.
Certain sections of the motorbike and rider were masked out at this point, so I had to zoom in and paint them back in with the Brush Tool (B). With the mask on the blurred layer selected, I used black as my foreground color to reveal the wing mirror and other sections initially masked.
Clone Out Distractions
Notice that even though the subject is now sharp and visible with the Path Blur layer in the backdrop, we still have some strange ghosting of the subject because the bike was blurred along with the frame. In order to remove this, head to the Clone Stamp Tool (S) and Alt + click on a part of the frame that most closely resembles the area you're trying to clone over (I Alt + clicked on the white line, then moved the cursor to the wheel before releasing the Alt key and painting to ensure the white line continued towards the tire).
Make a Selection With the Pen Tool
It might look like the photo is pretty much there, but zoom in and you'll notice details that tell us we're quite far off yet. Take a look at the wheel, and we can see that the spokes are frozen still. That's because the shutter speed used to capture the moving motorbike was fast enough to freeze this slice of time in an instant.
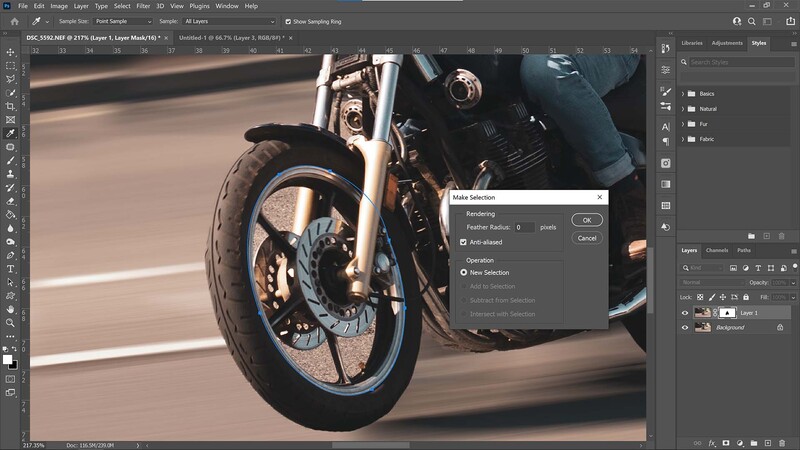
I used the Pen tool to draw around the inner parts of the wheels which I could then use to create another mask for additional blurring. Once my selection was made, I clicked on the original unblurred layer and duplicated it once more, then moved it to the top of the layers palette. I right-clicked in the penned area and pressed Make Selection before leaving all settings at their defaults and clicking OK. I then added a layer mask to keep it all neat within the selected area.
Spin It Right Round
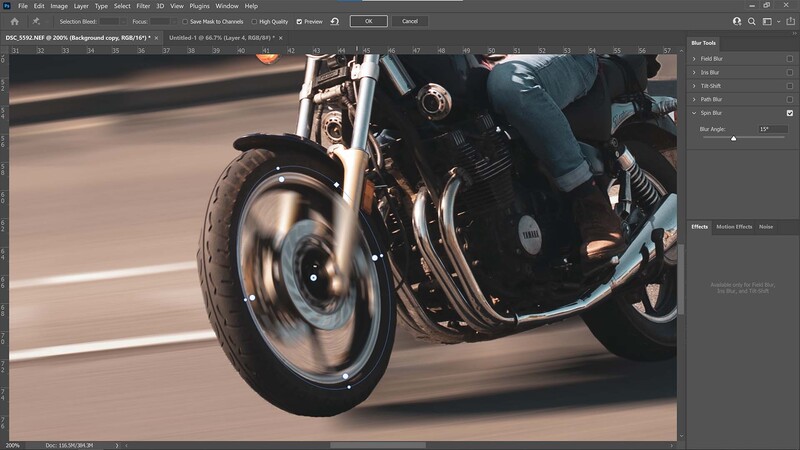
Next, with the layer thumbnail selected (not the mask), I went to Filter>Blur Gallery>Spin Blur. I placed the center of the radius in the middle of each wheel and then reshaped the selection until it fit the center of the wheel before clicking OK to apply it. I set the Blur angle to 15 degrees, but you may need to change this depending on the shape and direction of your subject. Notice how everything inside the defined area is blurred, even the front forks and disc brakes? Time to sort that out.
Define the Mask
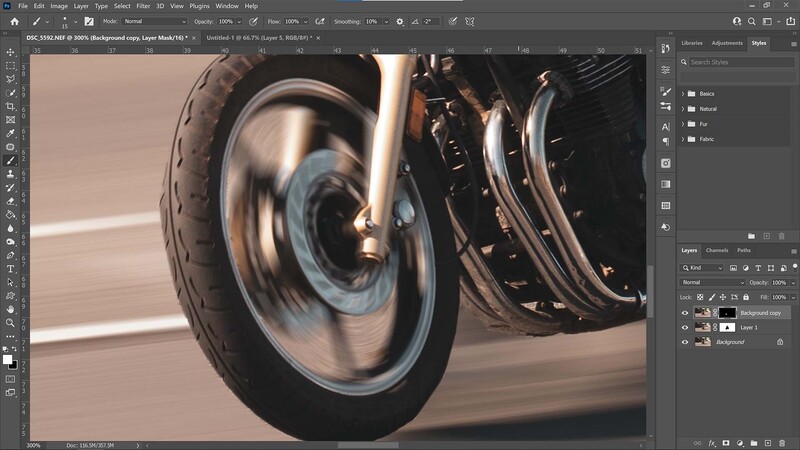
There's a reason why I put a mask in this layer, and that's to both control exactly where the Spin blur affected and to allow me to mask out the areas of the bike that wouldn't have been so heavily blurred, such as the front shock absorbers and the brake calipers and mounting brackets. With the Brush (B) set to black foreground color, I painted over those sections to reveal the sharp, clear original from the original unblurred layer.
You can spend some time fine-tuning this process and really getting that masking accurate, even experimenting with the direction of the Path blur. There's almost no end to the amount of work you can create for one shot. But follow the steps above and you should have a shot that looks speedy in no time.
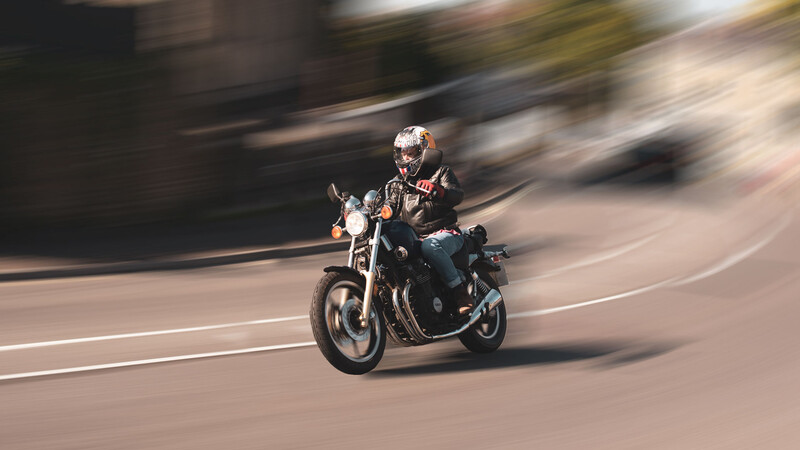
The Finished Look
You can get as involved in the edit as you like with this kind of dynamic portrait effect. For instance, I could've gone a few steps further and blurred the motorbike's front tire, some of the loose clothing on the rider, or even added a small cloud of dust being kicked up behind the back wheel.


Join the Fstoppers community for free
-
Post comments and join in the discussions
-
Browse the site ad-free
-
Share your work and get featured in the community
-
Compete in the photo contests for fun and prizes
1 Comment