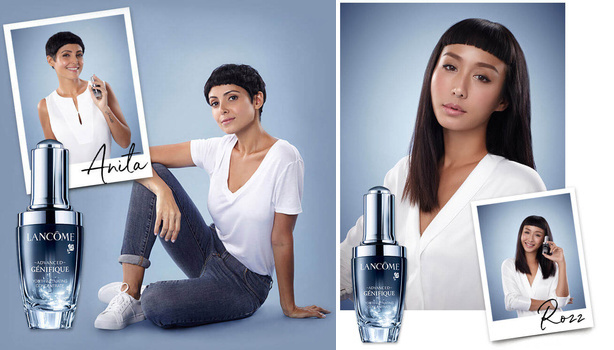
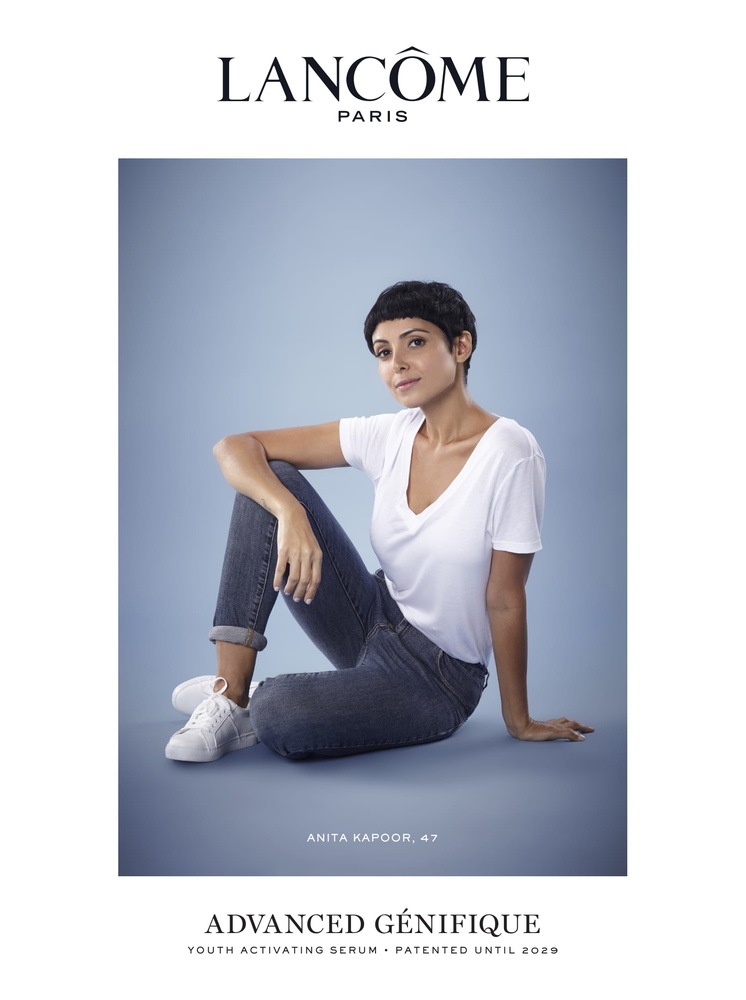
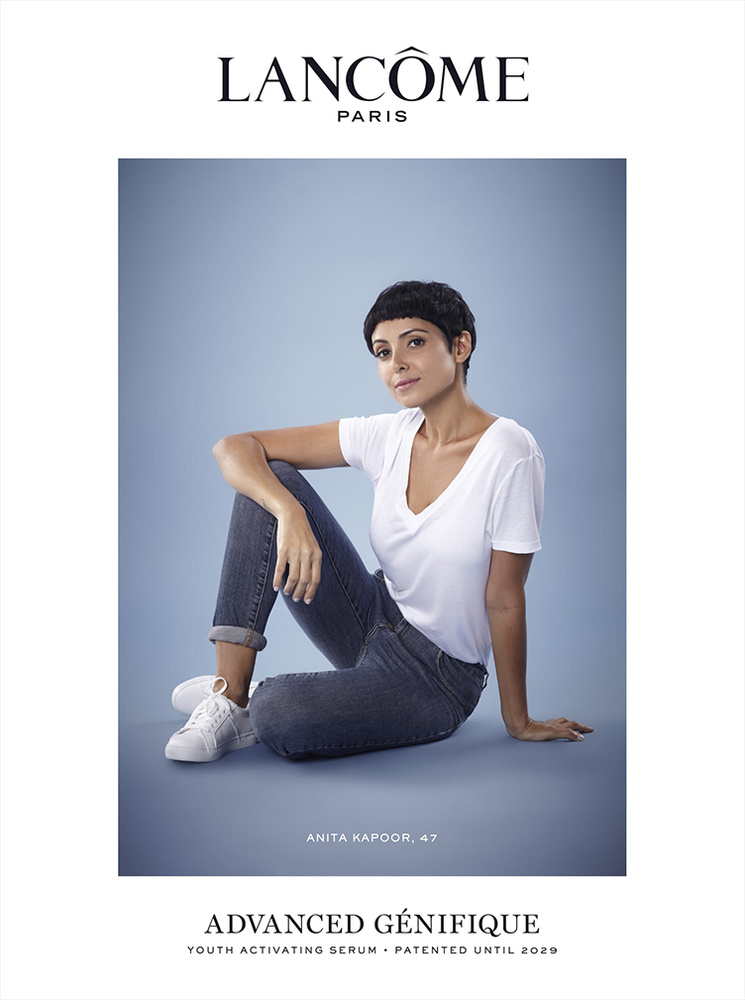
It's not easy shooting for a giant brand. Here's how I pulled off this shoot for Lancôme.
When I was approached to do this shoot for Lancôme, I was naturally thrilled. Who wouldn't be? Their products are not necessarily on the cheaper end of the scale, but they match every dollar with quality. As a photographer, I've always been a huge fan of their minimalist yet classy style. That's not always an easy thing to pull off, but they have been doing it for years, so it was really a pleasure trying to carry on that tradition.

I knew for this shoot I had to make sure that whatever I shot fit in with their branding style in terms of lighting, retouching, and colors. The two ladies I shot were also done on two separate days, which meant I had to ensure that I kept all the settings as consistent as possible through two setups and tear downs. Brutal? A bit! But when Lancôme calls, you answer! To do that, I made sure to take a bunch of behind the scenes photos of the lighting for reference.


Lighting Setup
On shoots with commercial clients, I always make it a point to hire assistants. They're crucial to how smoothly and easily a shoot goes. This shoot was absolutely an example of that philosophy in action. Right from the beginning, I told them the lighting and mood I wanted to achieve, which they helped set up and execute.
For this shoot, the main light was an octa to ensure a flattering look. It was placed slightly to the left so the lighting would not be too flat. A white flag was placed on the right for subtle fill. Two lights with umbrellas were placed behind on each side of the backdrop to provide backlight for the talent and an additional light was placed above the talent for a spotlight on the backdrop.


Post-Processing
During the shoot, everything was tethered through Capture One. On it, I had adjusted the images with an additional vignette and desaturated the blue of the backdrop. This allowed the clients to see on screen photos that were closer to the end product than having to tell them what I was planning to do in post and to imagine it.


Equipment List
- Canon 5D Mark II
- Canon 85mm f/1.4
- Broncolor Scoro 3200 Power Pack x2
- Pulso G head x4
- Umbrella Reflector x2
- Broncolor Octabox 150
- Shoot-Through Umbrella x2
Closing
I'm incredibly grateful that I was given the opportunity to shoot for them, and I hope this article has been helpful!


beautiful!
Thank you!
Love it! Thank you for sharing the BTS!
My pleasure! (:
WoW really generous to share all the details! thanks a lot! Inspiring and crystal clear!
I'm glad you like it! (:
Thank you the more I see commercial photographer use hardware the more at ease I am that you can get the generic versions ( Third party) of those items and save thousands... but at the end of the day...
It's the agency or photographers business savvy that will land the fat contracts, not the hardware.
Yeah but once you start landing those fat contracts you need to make sure your hardware will be able to keep up.
It does. Often times better than the more known brand names.
Nice article.
Fat contracts equal enough money for rental too! Which is basically why I havent found a need to upgrade my 5DMK2. A client who plans to blow up my photo to a billboard size would have the budget for me to rent gear haha.
Honestly, the gear here on shoot were all rented. The only thing that was mine was my old and trusty 5DMK2.
Personally I have Profoto lights, but just one B1 and one A1. Not that many lights. For big clients I just rent.
i bet you can do that with A1s or Youngnuo speedlights, based on the hardware you use the dispersion of those items against an umbrella or inside an Octabox will be identical... plus I can see that you took the time NOT to use a HUGE setup everything was tight and controlled... yup, this setup can be done with speedlights... and it would be, of course after post-production almost identical.
THANK YOU again for sharing this article is worth studying in detail and the setup you shared.
I'm glad you found it useful!! (:
For a job like this you are not running YN or any speedlites. The studio strobes are the better tool for the job and they are far more consistent shot to shot.
That investment in rental, insures reliability and consistent colour/output on the day. It was the right choice the the production and client at hand.
Great read and thanks for sharing. I always sketch up the layout on a pad, noting down position of equipment; camera/lights/background and the final settings, often using a tape measure to record height and distance of lights etc. Makes it really easy when you get a call back to reshoot or in the case of headshots, to shoot that person that was off sick on the day.
Haha I should probably be as detailed when noting down all the settings, sounds like a great habit!
Great Article! One question: This color on background is chromakey?
Nope, it's Gulf Blue from Seamless backdrops (:
Thanks for the article! I enjoyed it! I have a question though. When you said you "... desaturated the blue of the backdrop" was this done automatically upon capture? If so, did you tell the software to look for that specific color (via RGB code) and desaturate it by a configured amount?
Hey Robert! In Capture One, under the color editor "basic", i just picked the backdrop's blue color and made it desaturated. I also added a vignette. I adjusted to have this edit applied for every photo that comes in tethered. The RAW file itself is untouched.
You can see the difference in my attached photo!
Wait.. you are able to add a vignette to the backdrop alone in CaptureOne, even when the model is in front of it? How?
It affects the models a little! But the main effect hits the background more.
Thank you for sharing the lighting setup. To be honest, the photos look very cold, neutral and lifeless due to blue color scheme.
thank you for your thoughts! heh i still have to follow the brief from the client (:
Beautiful work Shavonne. Thank you for sharing the details.
my pleasure (:
thank you you sharing your process! I'm a fan of your articles!
appreciate it!