

Once you start adding up all of the fees, cost of prints, cost of matting, and cost of shipping, entering photography competitions can start feeling a bit expensive. This is why learning where you can cut corners without compromising your work is important.
I’m going to preface this article by admitting that I’m a huge procrastinator. I was one of those kids who waited until the last possible minute to start my book reports and my mom inevitably would have to bail me out. Sorry mom! I once won the digital art category during my high school art fair. I started creating my digital images an hour before the show – we had the entire school year to prepare. While that sounds terrible, I think that it’s because I work better under pressure.
So here's a little secret: While I'm an active member of WPPI, PPA, and SWPP, I've never entered one of their print competitions until this year. But, this year was different. I decided to enter the annual WPPI 16x20 Print, Album, and Filmmaking Competition. If you've never entered a photo competition before, there is usually a fee per image you submit in order to have it critiqued and merited. The funds go to setting up the show, covering expenses, etc.
In addition to that, you still have to invest in prints, mat board, a shipping container and shipping. Add all of these expenses up and you can quickly see how things can get a little pricey.
My Story
Just a week before the submission deadline, I receive a notification on Facebook that all physical prints are due on February 17. This meant that I had to have my images selected, matted, and packed within a week's time. To make matters worse, I was headed to Toronto on assignment and didn't return until two days before the prints were required to be in Las Vegas. Yes, this is the price of being a chronic procrastinator.
Let me also note that I didn't go to school for photography, which means that before this competition, I'd never had to matte anything. Needless to say, I made many phone calls to friends with photo majors! (Thanks Brent!)
But, just like any other adversity, I think you can resolve any problem, with three simple steps:
- Breathe
- Assess
- Conquer
You can read more on those steps in this article on How to Tackle 99 Problems on Set.
Printing on a Budget
For those of you who have never heard of the WPPI Print competition, it’s by far one of the most competitive photography competitions in the United States. There are amazing photographers from all around the globe who submit their work in an effort to have a group of the world's best photographers critique their images.
Now, I've been going to WPPI for about four years now. I've heard several photographers claim that they'd spent hundreds of dollars to print their work with specialty printers. While I wholeheartedly believe that organizations like WPPI, PPA, SWPPI have their merit, I just don't have the budget to spend hundreds of dollars on individual prints. It's just not reasonable for my budget.
So this is where a little research comes into play. What you're being judged for in the 16x20 Print, Album, and Filmmaking competition are these 10 important aspects:
- Strong First Impression / Impact
- Point of Difference / Originality / Creativity
- In Camera Artistry / Degree of Difficulty / Focus / Exposure
- Post Production / Detail in Highlights and Shadows / Color Balance / Retouching
- Emotion / Story / Communication
- Print Quality / Presentation
- Lighting
- Posing / Placement of Elements / Design
- Composition / Cropping / Point of Interest
- Great Example of the Category / Style / Finesse / Refinement.
Notice that print quality and presentation account for 10 percent of your total score. The remaining 90 percent of scoring is based on aspects under your control as a photographer. Those are great odds in your favor because the majority of scoring is based on image quality and not print quality.
To be clear, I outsource almost all of my printing to Millers. They print the images I use in my physical portfolio, my business cards, comp cards, large prints, gifts, and anything else that I need printed, and they also include free overnight shipping. The point of this is, if you're already comfortable working with a print lab, there's really no reason to jump ship and hire a specialty printer, unless you have the budget to do so.
The same is true, even if you're printing from your printer at home.
Diversify Your Selections
Selecting the images from your portfolio can be a little nerve wrenching. My process of image selection is fairly simple. I approach selecting prints with the same mindset as investing. Diversify your portfolio and you limit your risk, include images that are guaranteed to succeed and others that are a little edgier and against the grain. What you don't want to do is put all of your eggs in one basket. In theory, if you have a tougher selection of judges and they don't like or appreciate your style of photography, all the images could fail — so try to diversify things like lighting, toning and composition if you're submitting multiple images.
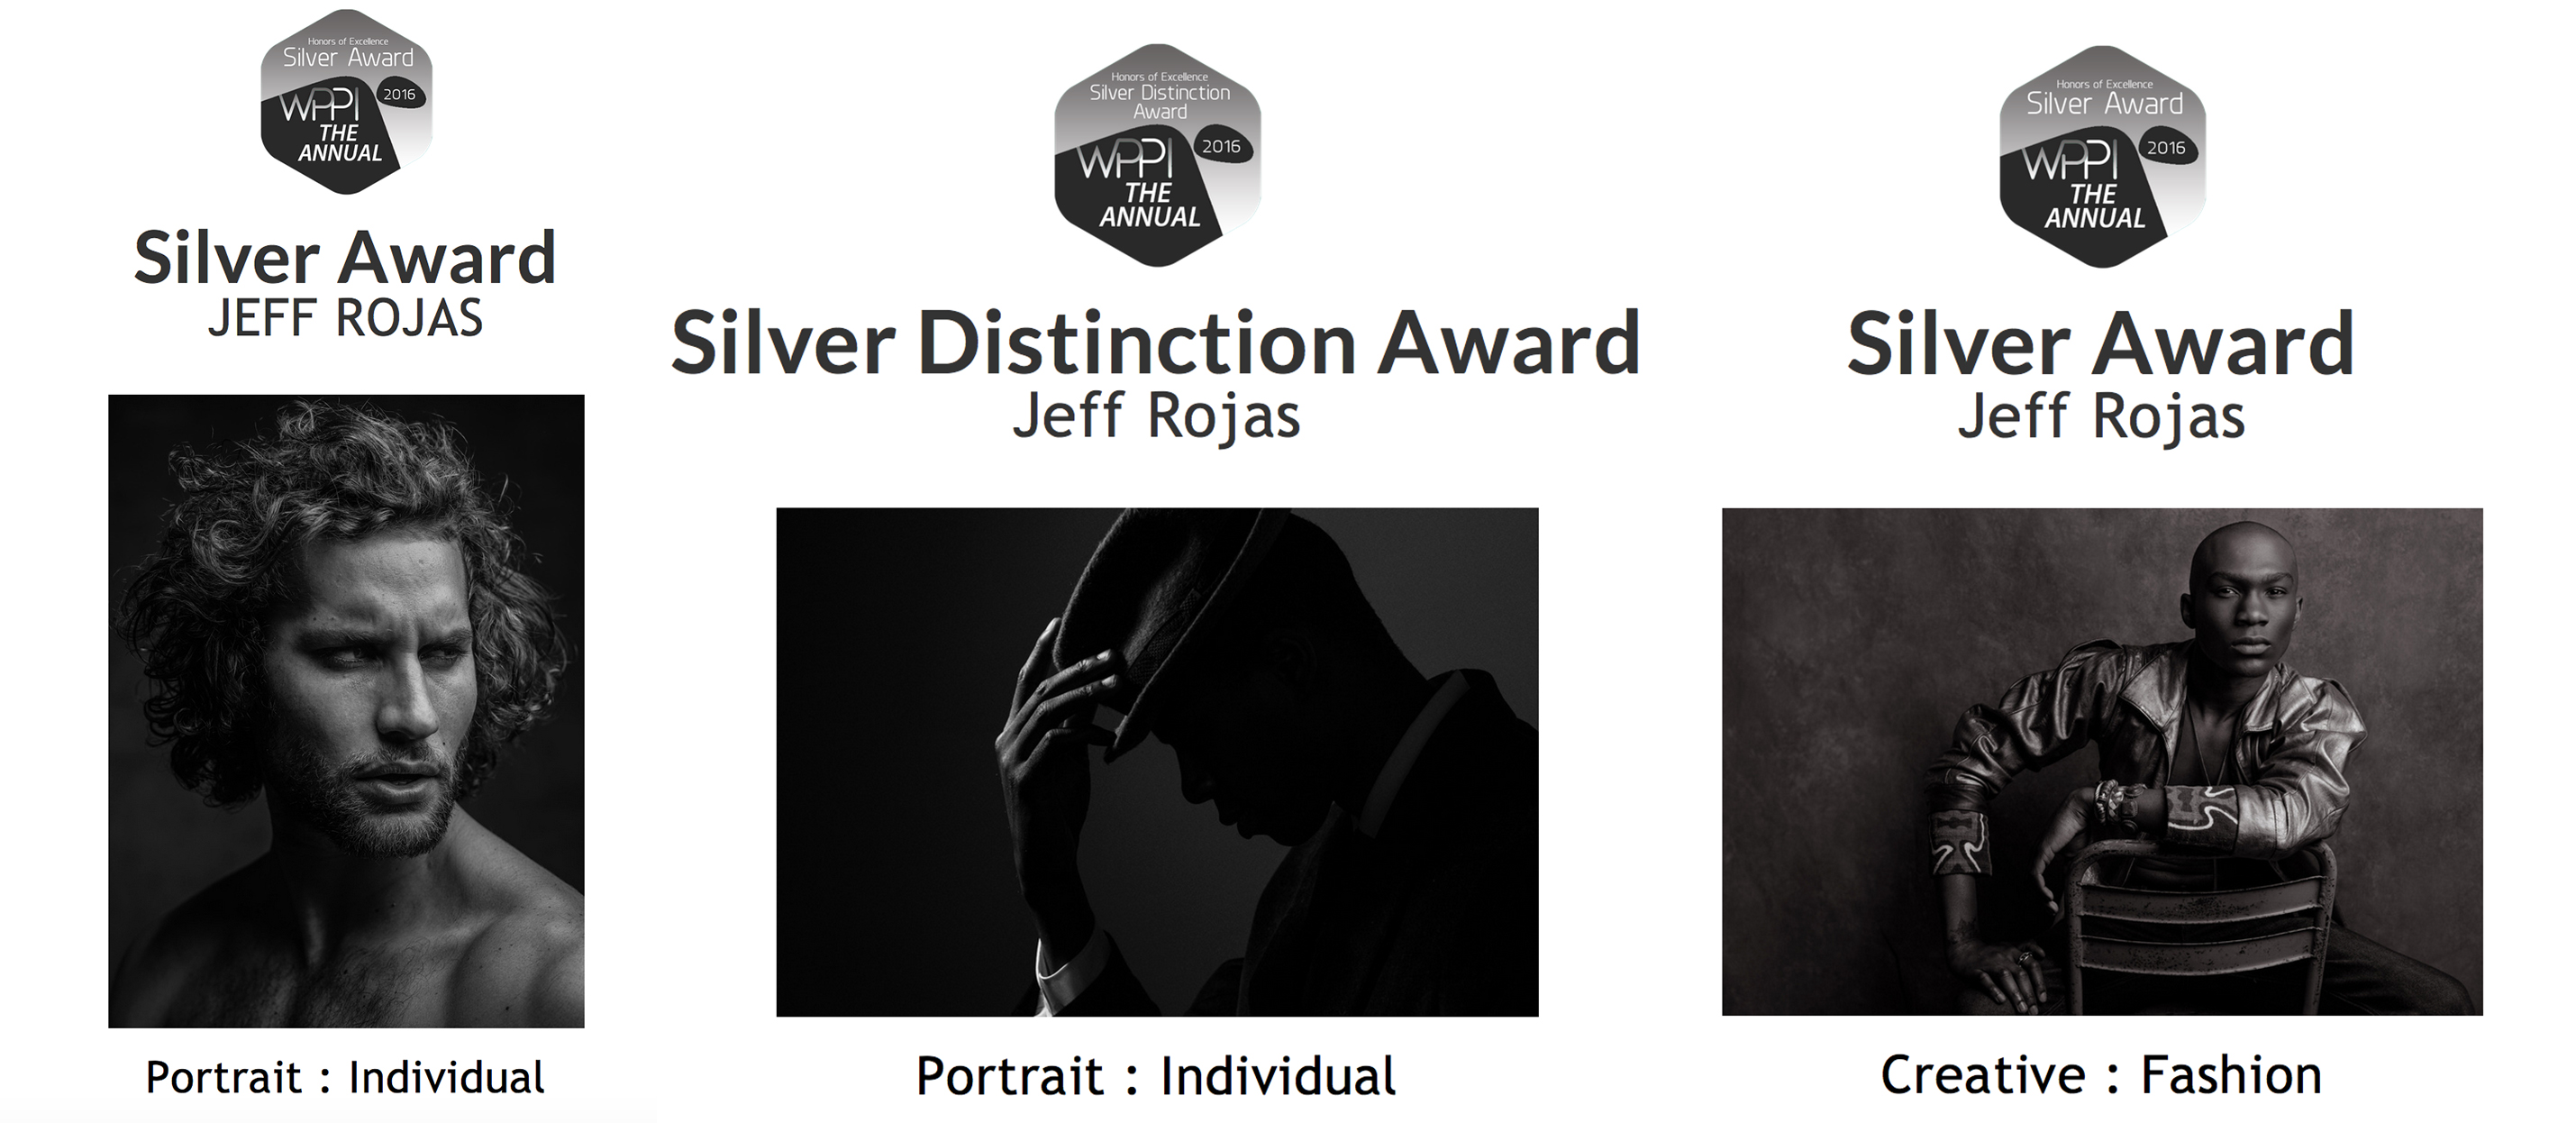
Here were my print selections:
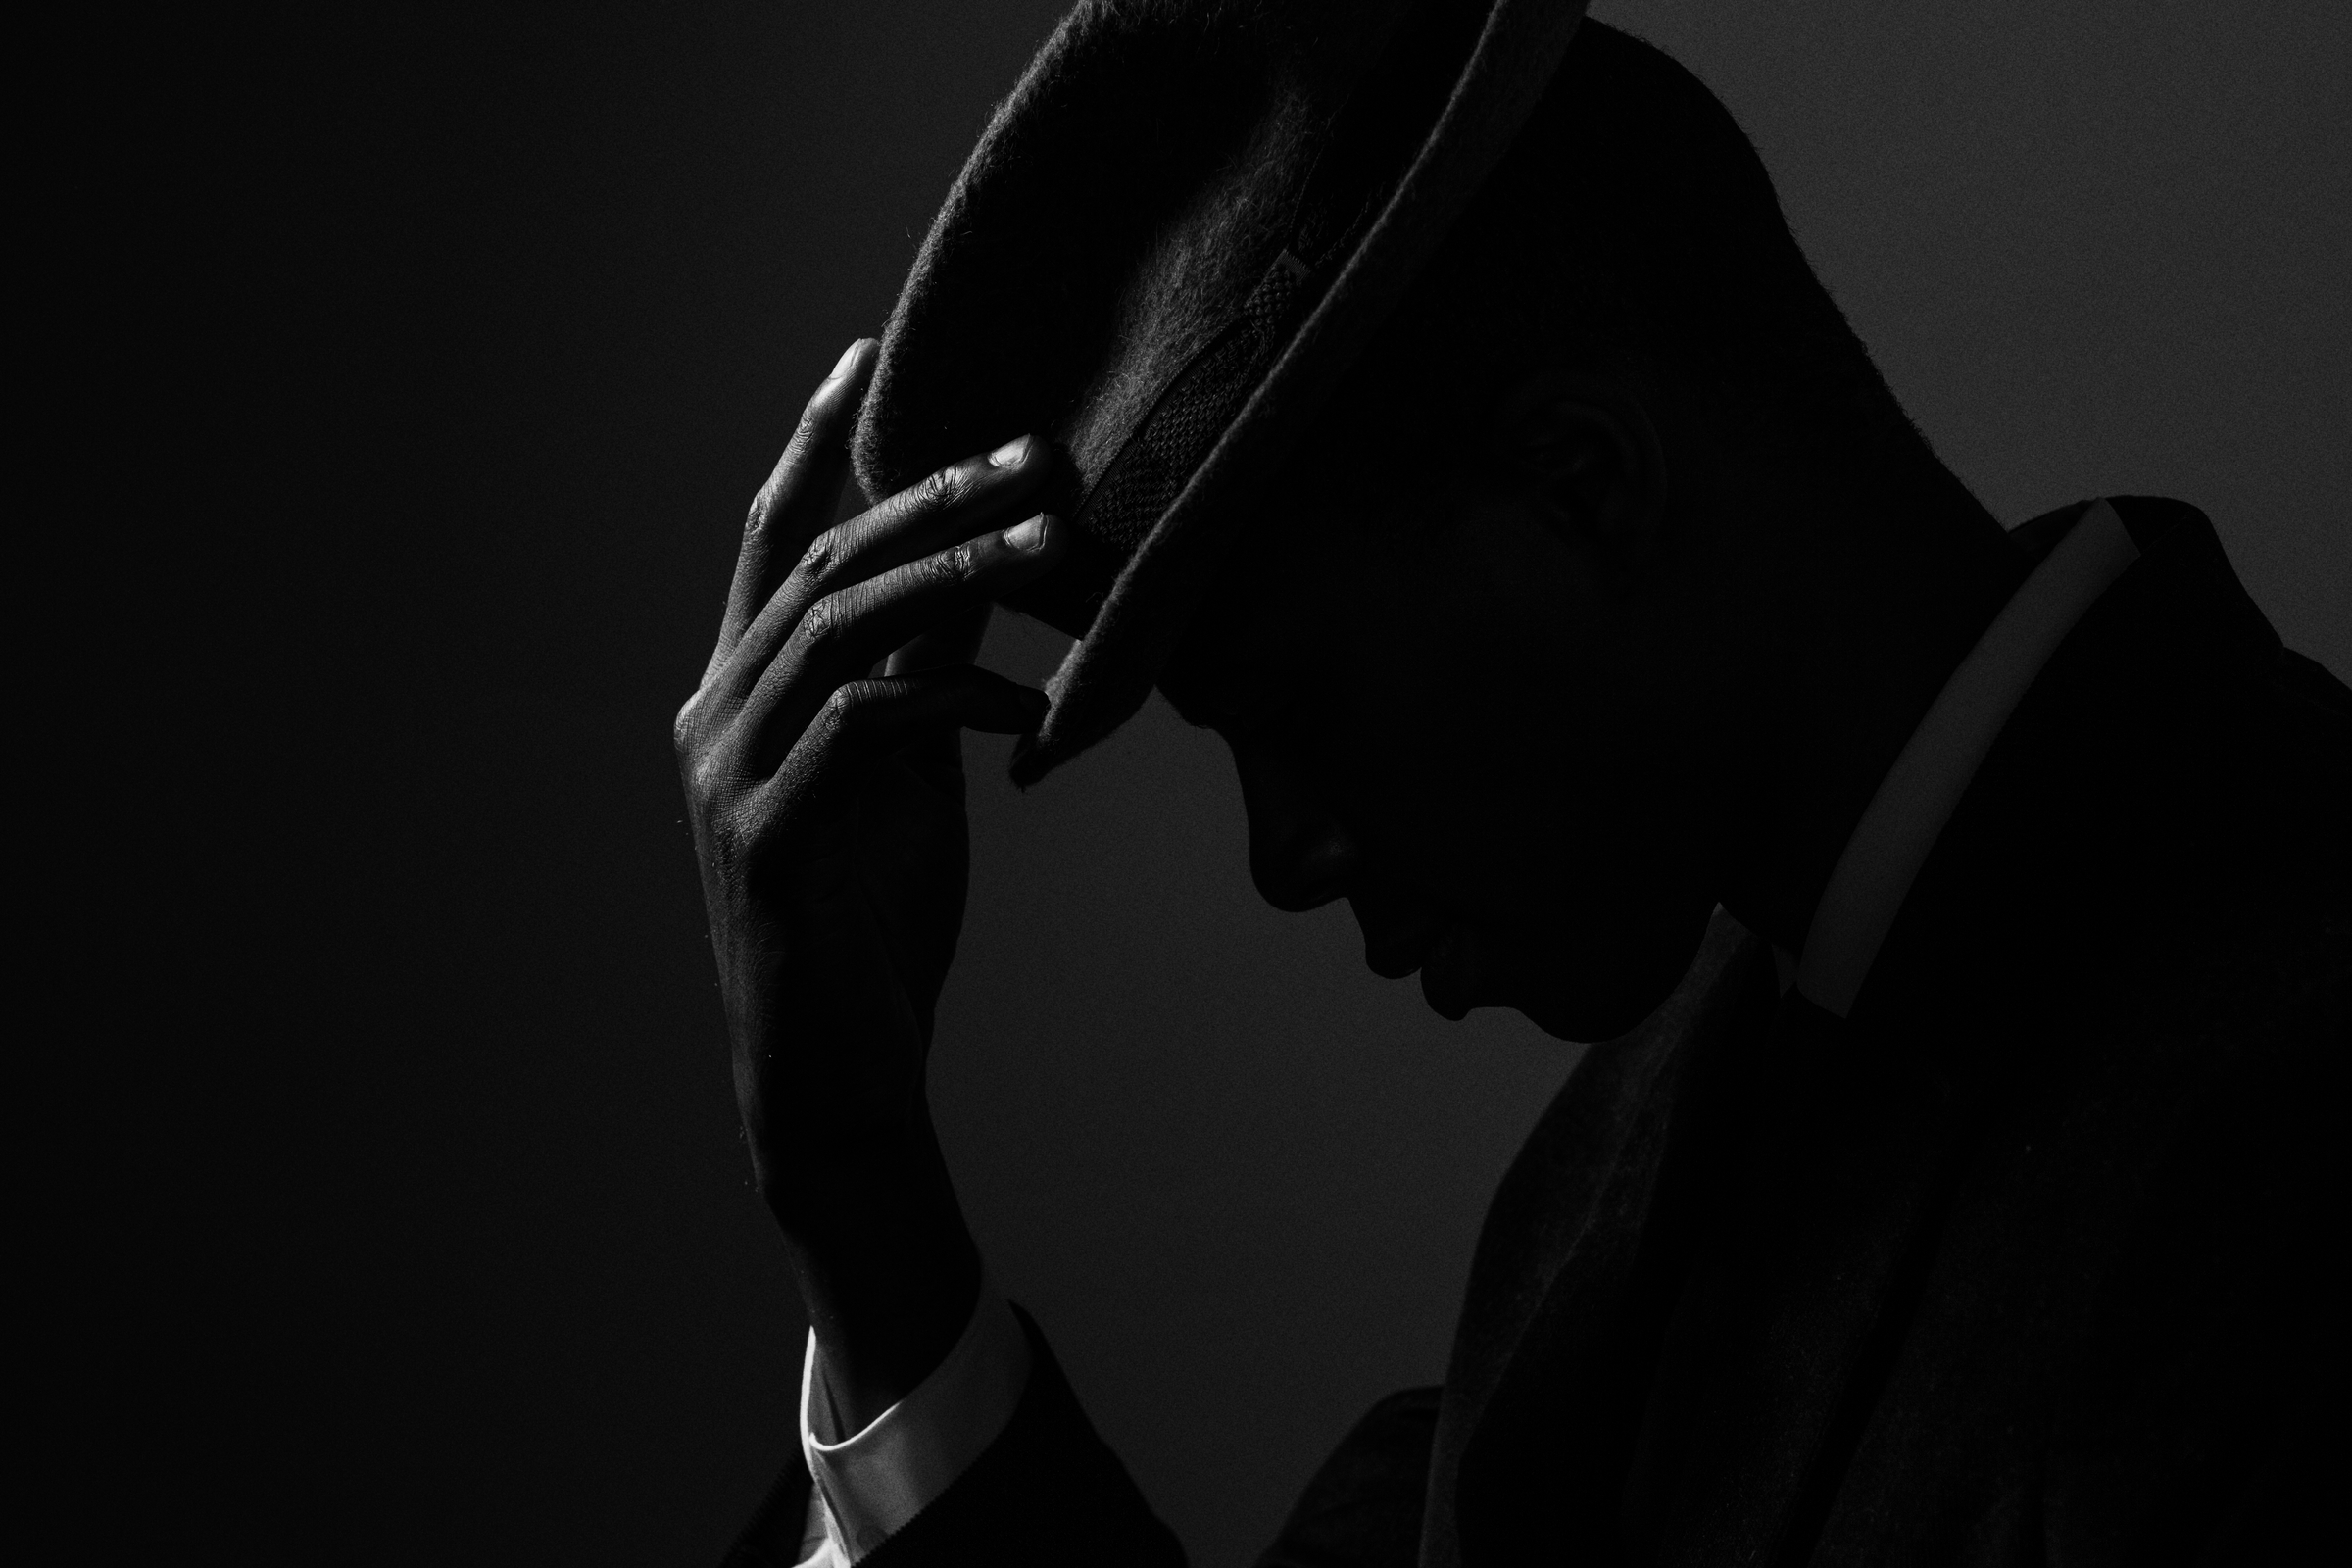
Individual Portrait Category


Fashion Category
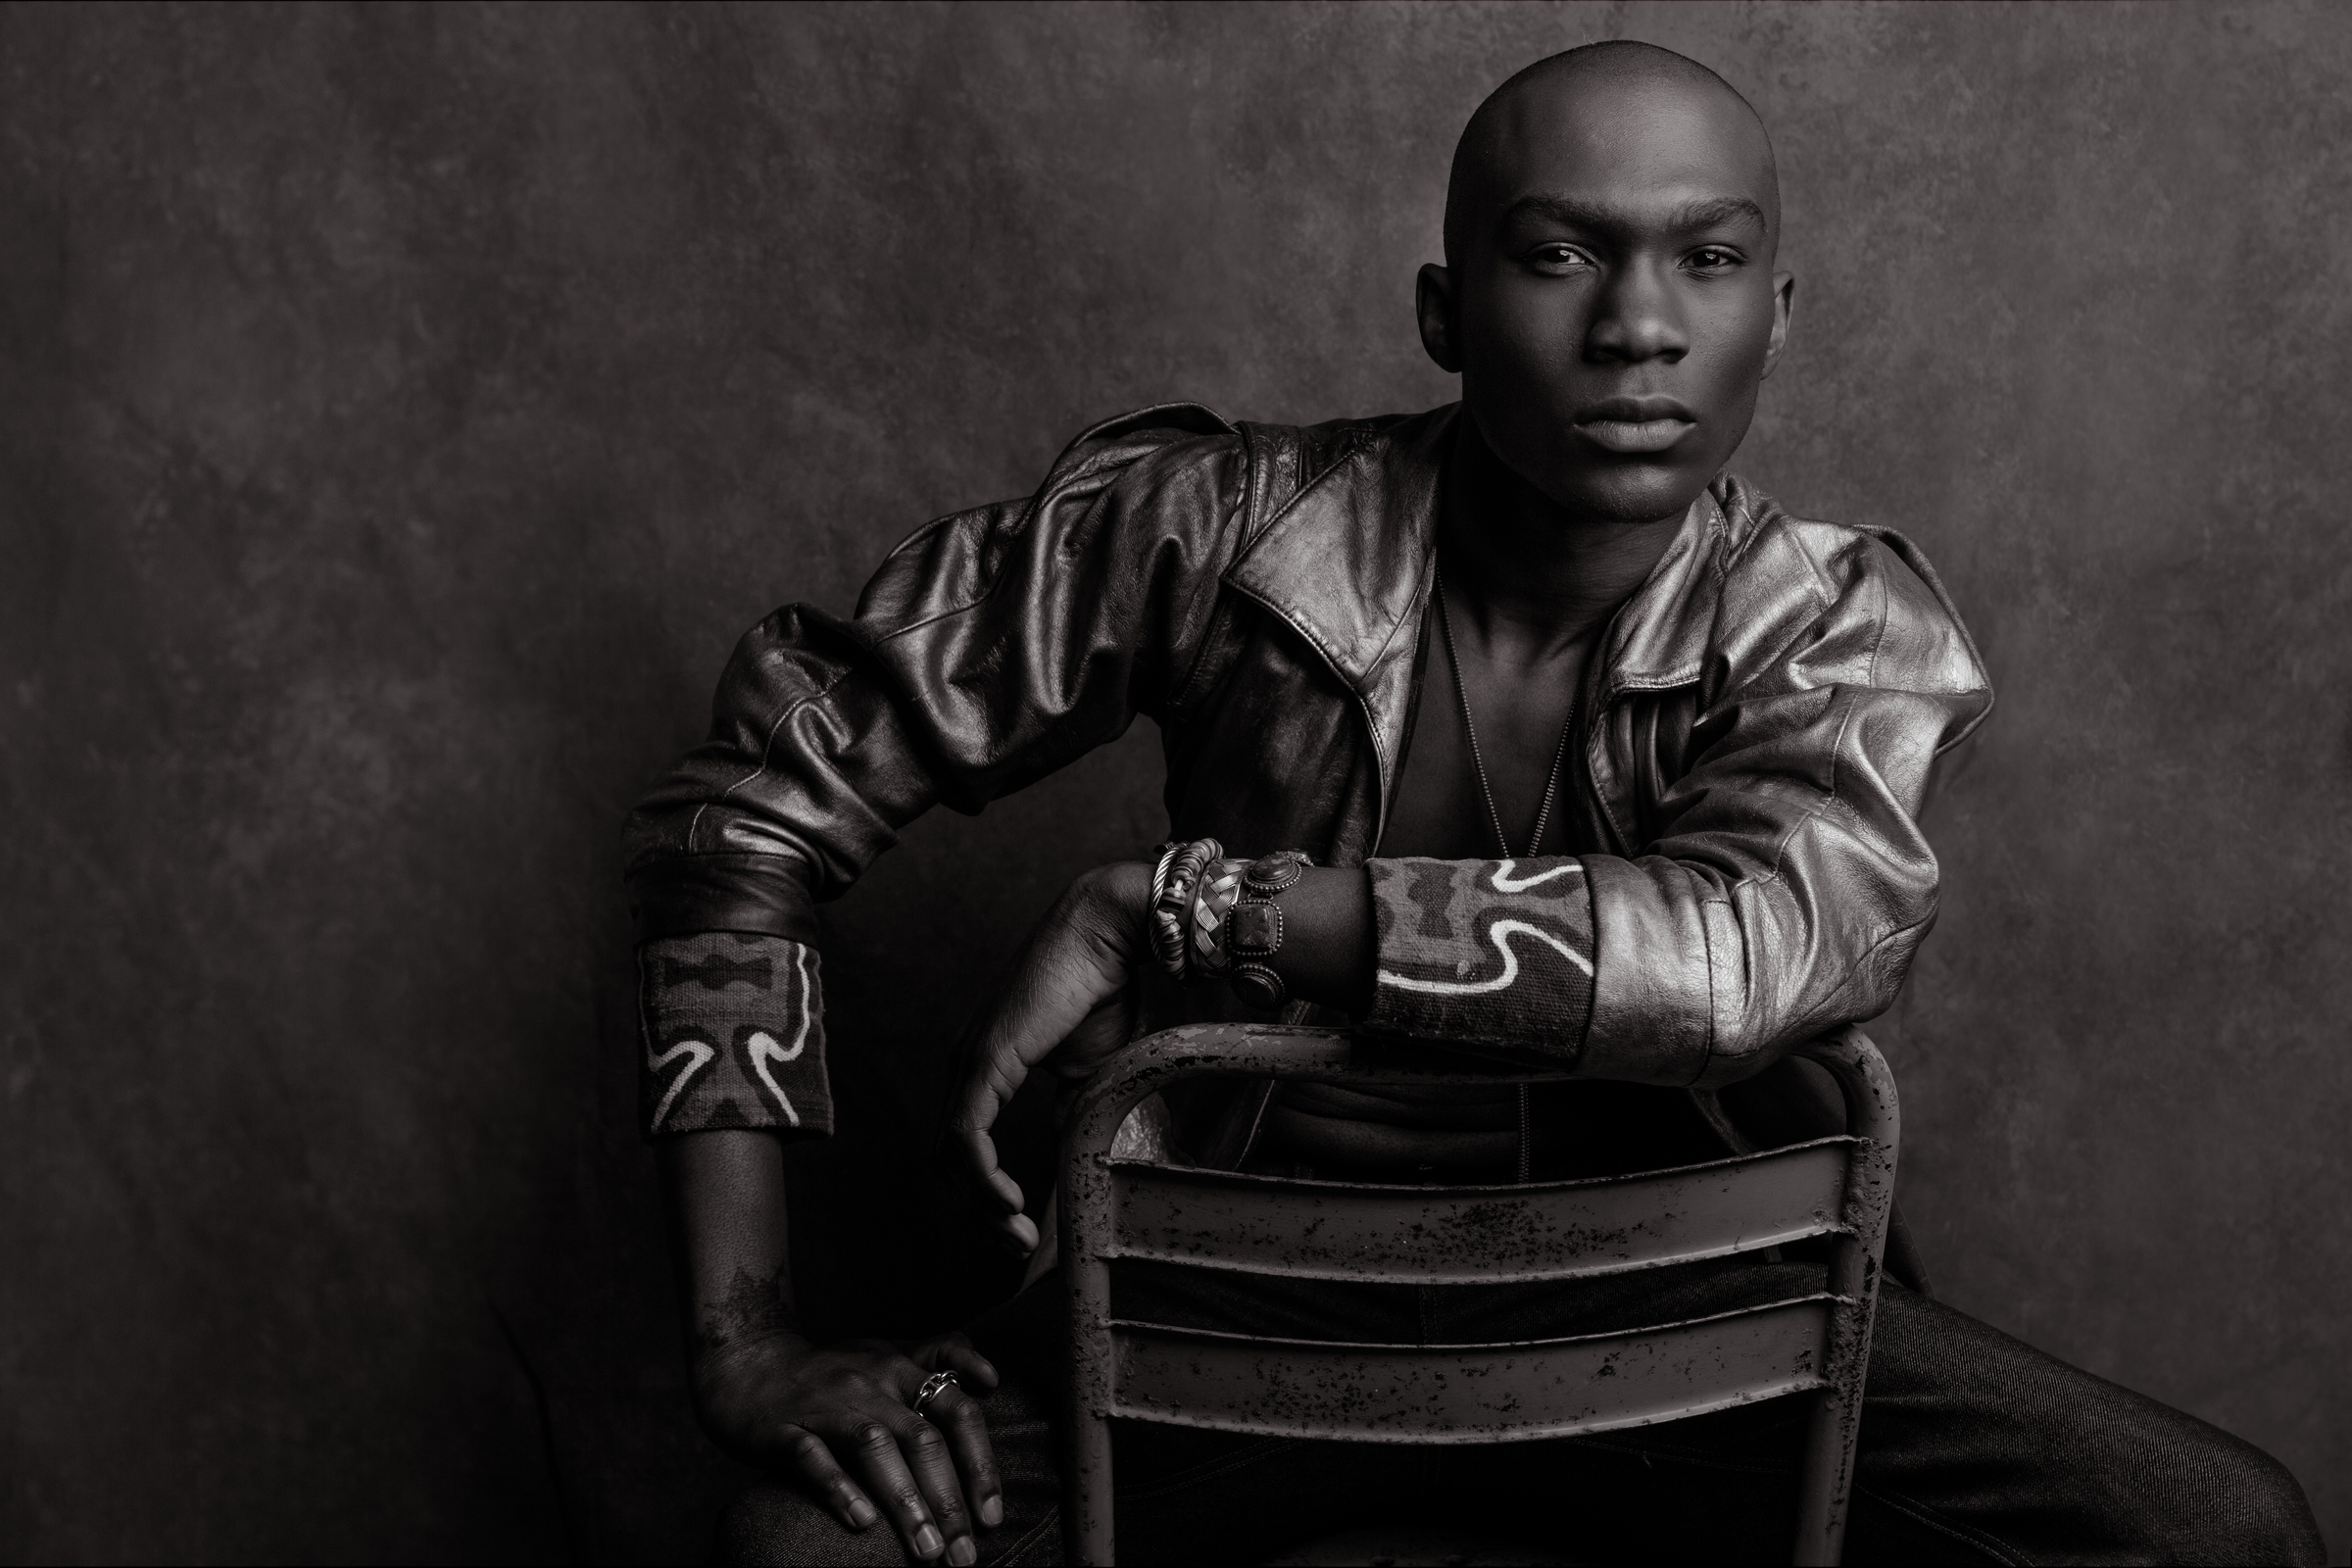
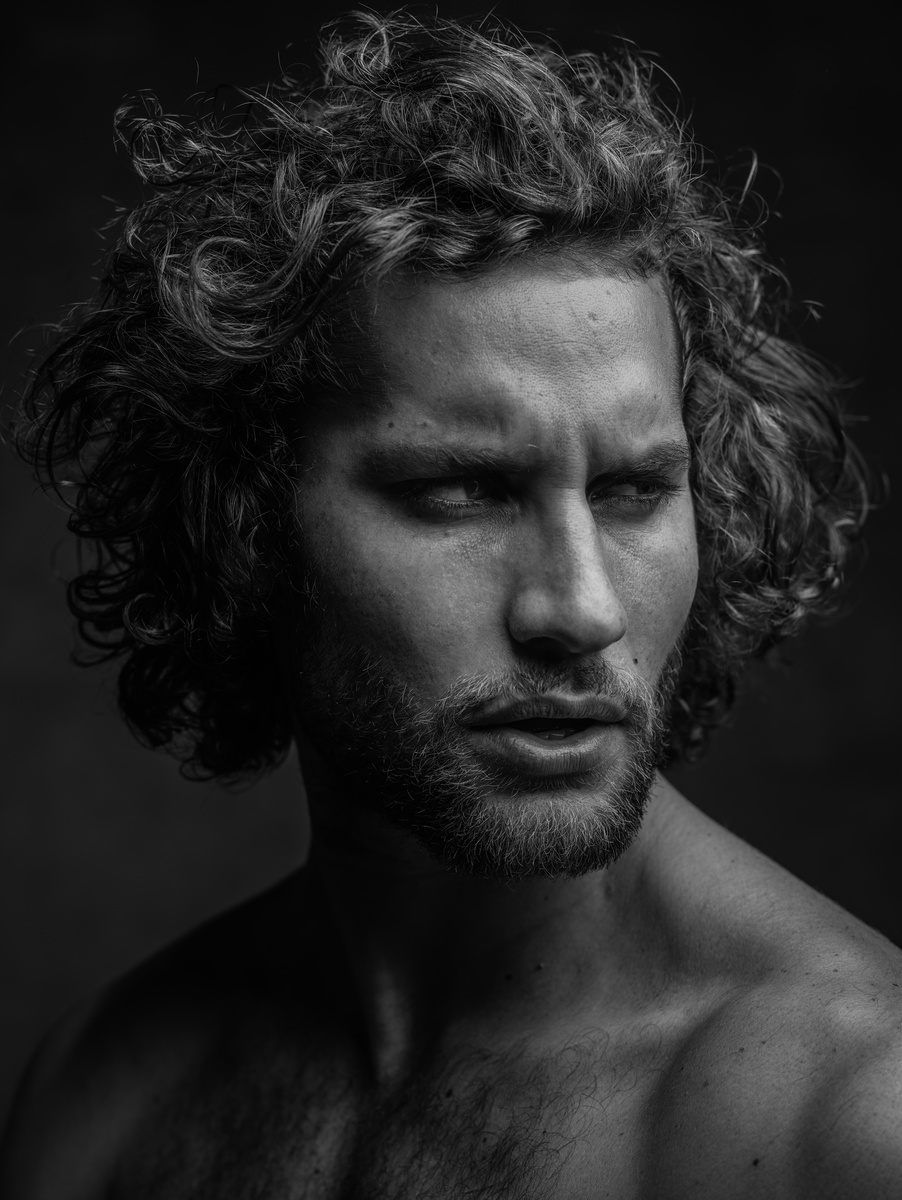
I selected a total of four different images from my work in 2015. Three of those images were submitted into the "Individual Portrait Category" (one of which is the cover of my new book, Photographing Men) and and one image was submitted into the fashion category. Each of the images has been used in some form and fashion outside of the educational industry, and three of the four images have been featured in a publication of some sort, but they are all inherently different.
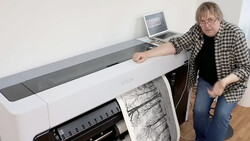
Selecting the Right Paper
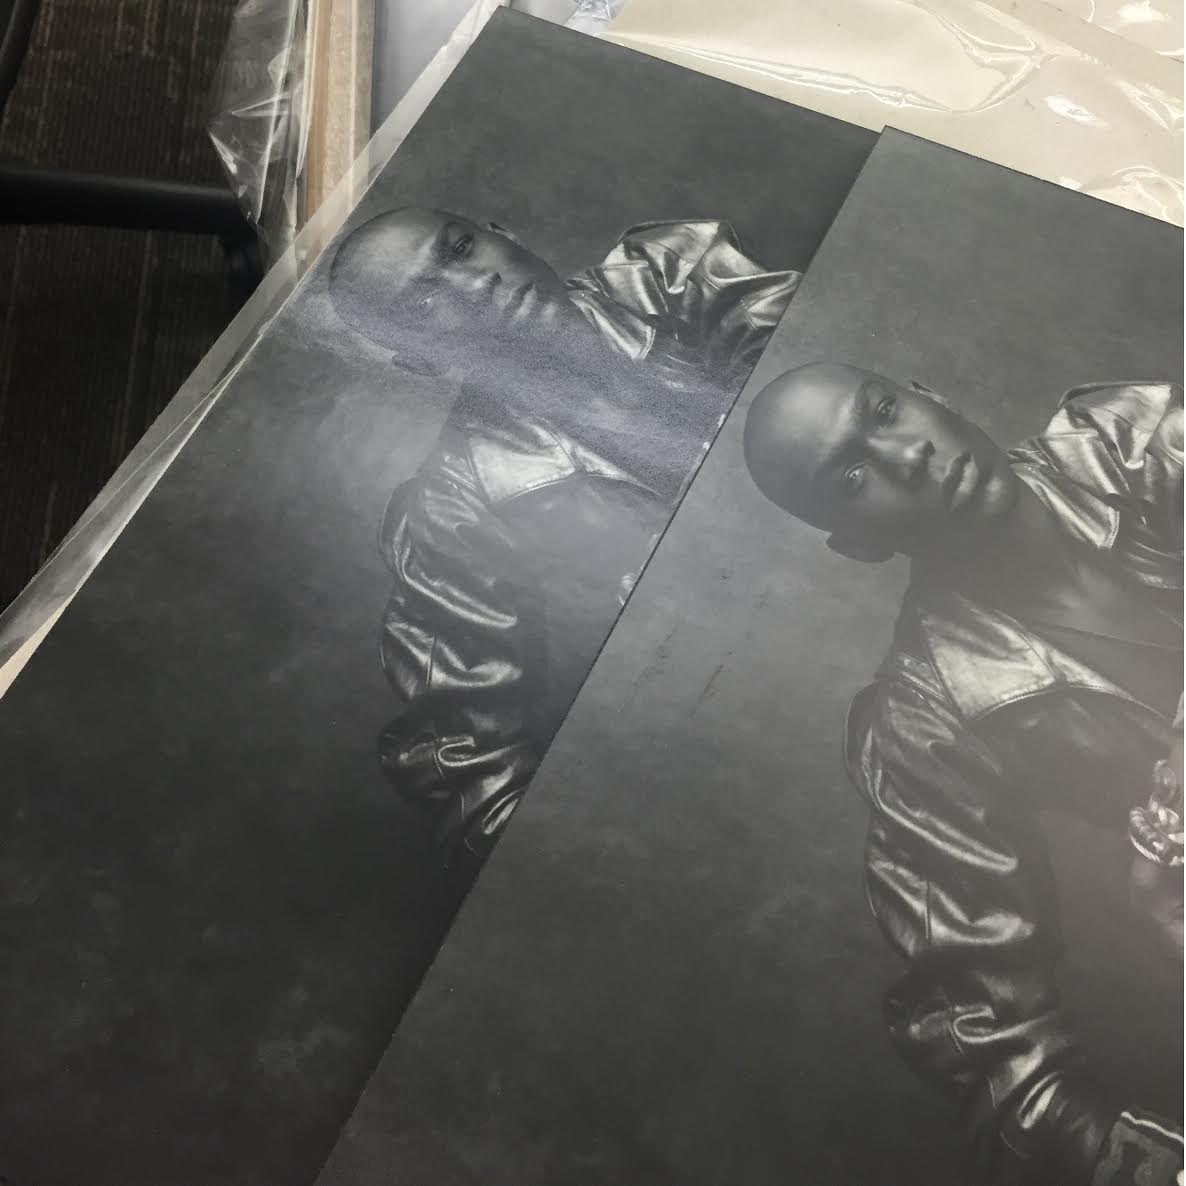
Once I select my images, I immediately contacted the Millers office to assist me in selecting the right type of paper for the work that I was submitting. They were kind enough to make two test prints, one on luster coated paper and the other on Ilford True BW paper. They viewed both images under spot lights and recommended that I’d stick to the Ilford TRUE BW paper because of the amount of sheen present for competition lighting.
Remember that images viewed in a photo competition are viewed under a professional desktop viewer which produces lots of light. You don't want to select luster coating because of the amount of sheen present in your print.
Notice the comparable difference between luster coated paper and more of a matte finish:
P.S. Thank you Marsha and Vinnie! I cannot thank you guys enough for taking the time to test this out for me!
Matting on a Budget
Remember that, unlike many of you, I never went to school for photography. Therefore, I could not mat to save my life, and every single print in the 16x20 competition is required to be matted.
So, after watching three or so YouTube videos on matting, I quickly realized that I was in way over my head. I decided that rather than learn to mat in a week and spend my time perfecting my mat technique, it would be more efficient, albeit less glamorous to order pre-cut mat-board from B&H Photo.
It's actually quite reasonable priced if you don't have the tools to cut mat-board already. A pack of five pre-cut mat costs just shy of $45. The cost of Jeff Rojas learning to mat would cost about three or four times that amount, plus the tools to do so.
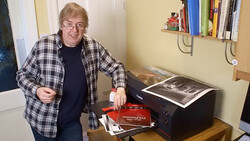
Choosing a Shipping Container
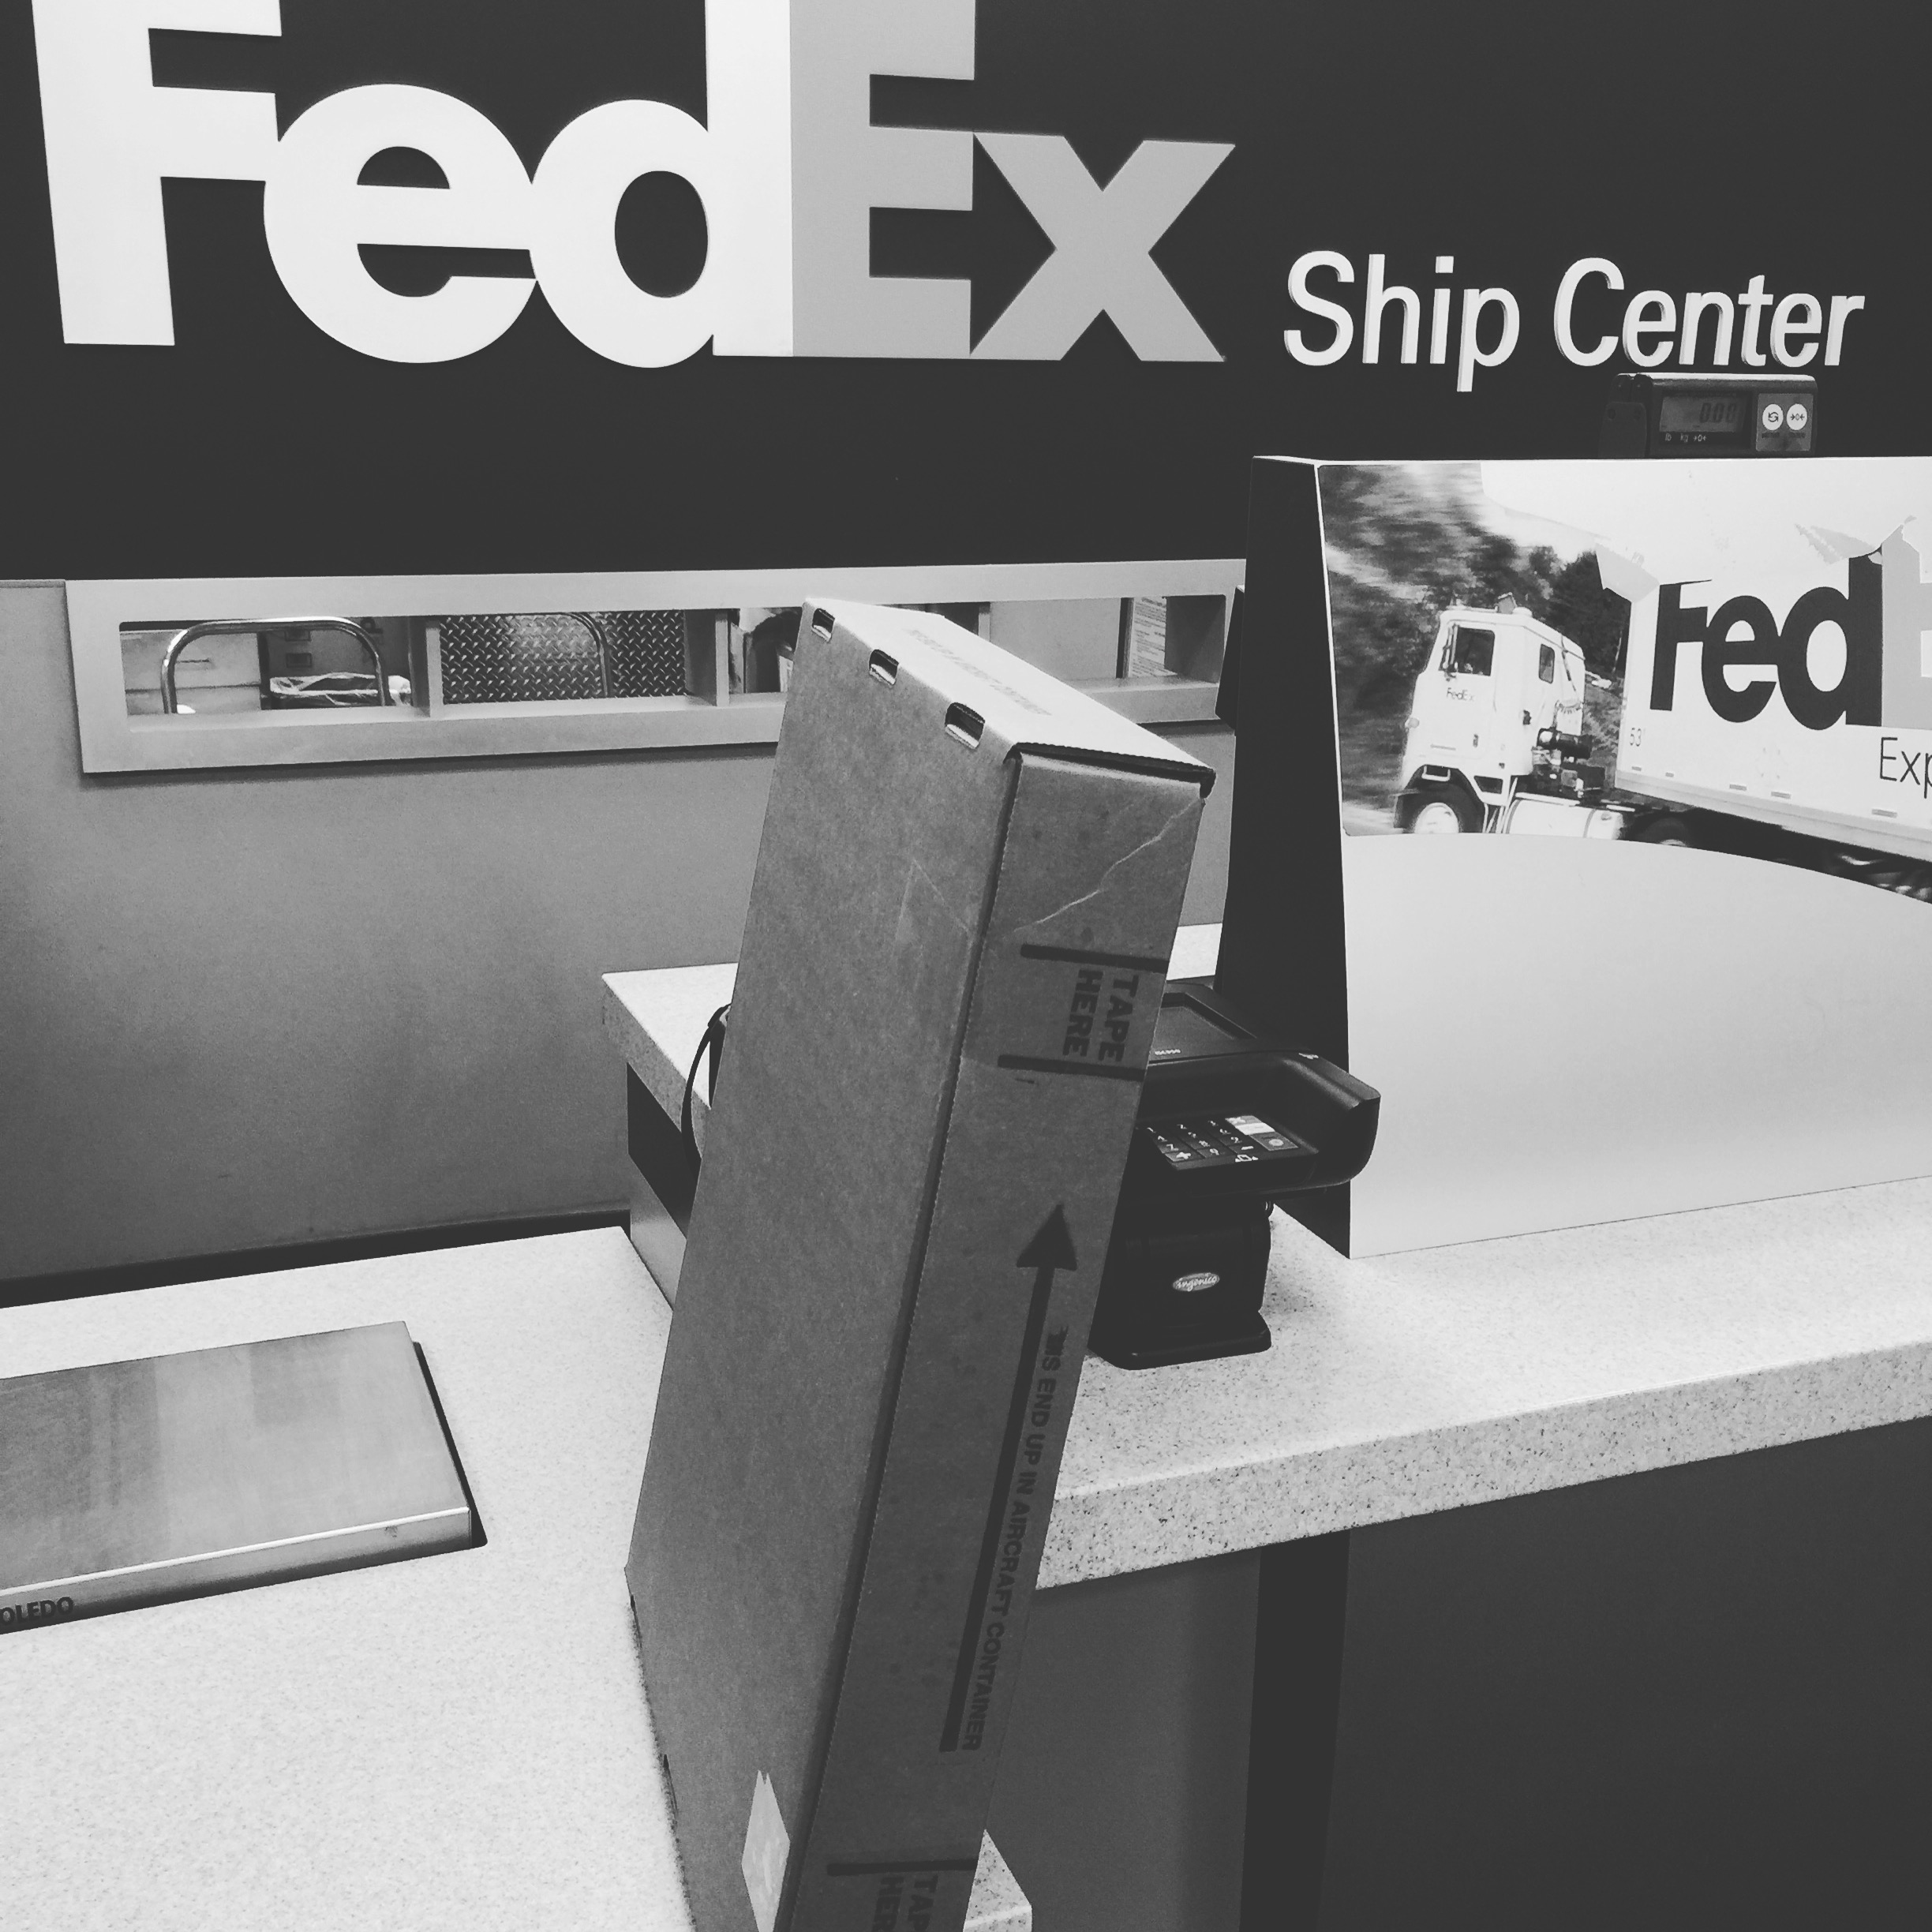
WPPI kindly requests that all submissions to the be shipped in a U-Line Deluxe Artwork Case (S-17580). It’s basically an extremely thick cardboard case, with foam inserts to protect your artwork. Rather than go against the grain, I ordered my artwork shipper and had it shipped so that it would also arrive by the time I arrived home.
If you're shipping your work for photography competitions, save yourself the money and don't spend it on shipping your actual portfolio case. No one is judging the portfolio case at a competition, only your prints. I found that shipping the Artwork Case I mentioned (pictured below) before was less than the cost of shipping my portfolio case in a box because of the extra weight.
Putting It All Together
Between selecting and ordering my prints, mat board, and shipping container, I probably spent about two hours of my time, cross referencing the requirements of the print competition. Everything arrived long before I ever arrived home, and putting all the prints together was actually a breeze. Intimidating, but a breeze, none the less. I spent about half an hour watching YouTube videos, hanging them in my basement, and shipped them out via FedEx the next morning.
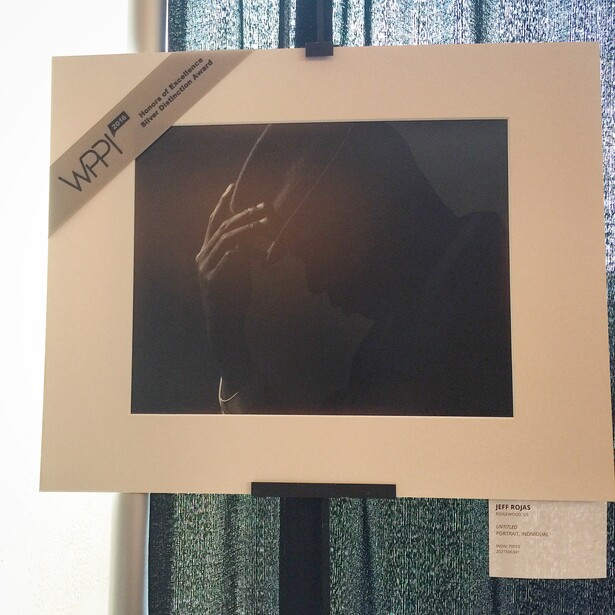
They arrived in Vegas, just in time for the deadline and I’m honored to say that three out of the four images I submitted ranked Silver or Silver Distinction. The last image, was a single point away from also achieving silver, but there’s always next year!


6 Comments
Awesome brother! I've been wanting to print my work for a while, not just for competitions, but to see them in their final output (so to speak). This article has inspired me to stop procrastinating (see what I did there?), as has your book, btw. Love your work, man. Hasta
Go make it happen! :D
Thank you very much btw! :)
For mat cutting, yea cost for the tools itself is pricey if you want to do quality cuts. Easily a few hundred dollars for all tools.
Congrats on the wins! I thought about joining PPA's regional competitions but they're not cheap at all lol, easily a few hundred for entry, can't afford that myself as well, so maybe next year.
Thanks Mate! :)