
Here are some tips and tricks that help make a wedding photography business successful.
Having worked as a professional wedding photographer for over 10 years now and a keen amateur since way before that, I’m always excited to share what works for me when photographing a couple’s big day. I have (I’ll admit) in the past suffered from GAS, or gear acquisition syndrome, and rather than this being a generally unpleasant odor following me around, it means I’ve bought a lot of unnecessary kit, tried tricks and techniques that didn’t work or were, frankly just more hassle than the problem they were meant to solve.

Prior to the Big Day
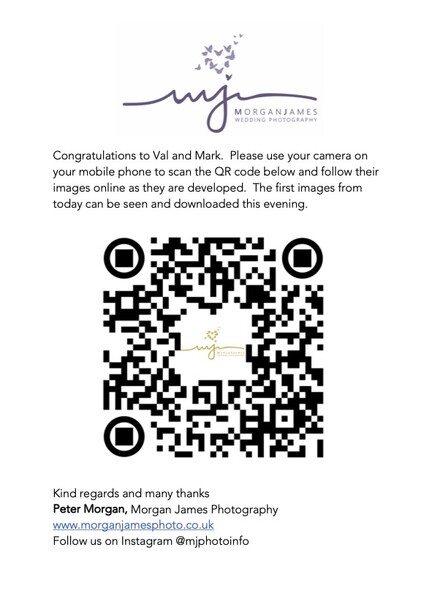
- Create a gallery for the couple online prior to the day to upload the images into. Then, using your computer, create a QR code that links to your online client photo gallery on your website. I use Zenfolio for my website and client proofing galleries at present and creating the empty gallery before the big day. Finally, printing out the QR code and putting it into a plastic stand is normally the last thing I do after packing and checking all my gear is charged and ready. While there are many free QR code generators out there. Why not try QR Code Monkey as they are great, free and allow customization of the QR code prior to creation and download. This way, on the wedding day, the guests can scan the QR code and bookmark the URL on my website where the gallery resides, which normally results in more print sales from guests and family and less of the “where can I see the pictures of us?” questions. It looks something like this.
- Create an online discount code for your shop customized for the happy couple. If they think that you’re creating a specific code for them, they are more likely to share the code with guests and spend money with you.
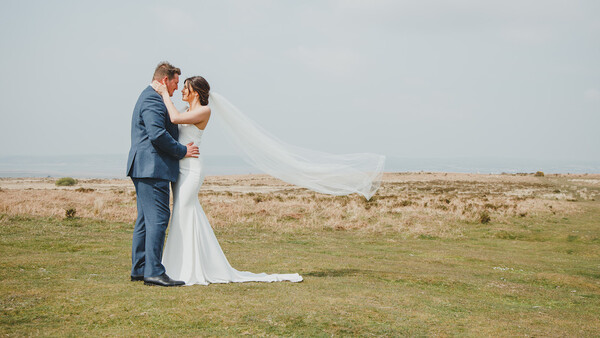
- Hire or at least offer a second photographer for the happy couple. Nothing feels worse than delivering photos of a beautiful bride getting ready with hardly any of the groom, best men, groomsmen and father/s of the respective couple. As photographers, we can’t be in two places at once, and it’s as important to cover the groom getting ready as it is the bride. Remember, because you’ll have lots of extra photos to edit, you should consider adding an extra fee to what you charge your couple for your second photographer to cover the extra work.
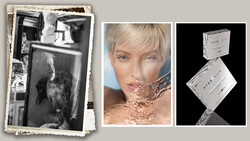
- Send the happy couple a written guide to what time they should expect things to happen on a typical wedding day and get them to confirm with you what time those events are happening on their day. If you don’t mention that it’s okay for the speeches to happen before the meal and they surprise you with it on the day, it becomes a problem that you'll have to adapt to. If you don’t know the answer, don’t guess, ask for clarification. A good option is to create a brochure in Adobe InDesign (you can see a copy of my brochure here). Featuring articles, tips, and advice, including a timeline guide for couples as well as images and links to other great suppliers is a good way to catch their attention.
- Get the couple to send you a Pinterest board with things they like. Nothing better than seeing pictures that have taken their interest, colors they like, and ideas they have for their wedding. It’s going to make you look more professional if you can offer advice and give examples of things that may have worked for other couples, as well as taking their ideas and running with them.
On the Big Day
- Always arrive early. On time is late. Use the extra time to scout locations if it’s the first time you’ve been to the venue. Introduce yourself to the key people, and make sure you meet the wedding coordinator and anyone else who may be of help to you during the day.
- Find a safe place to store your equipment. You don’t want to be having to go back and forth to your vehicle to grab things all the time. It needs to be available for your second shooter too.
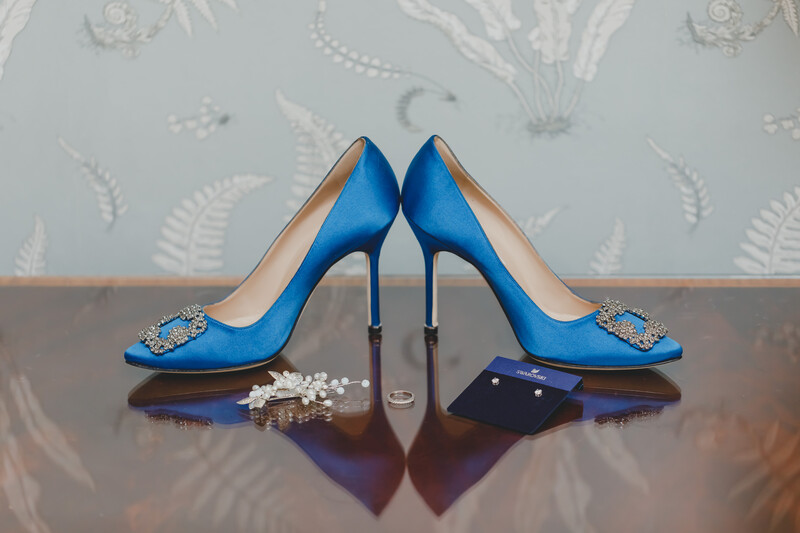
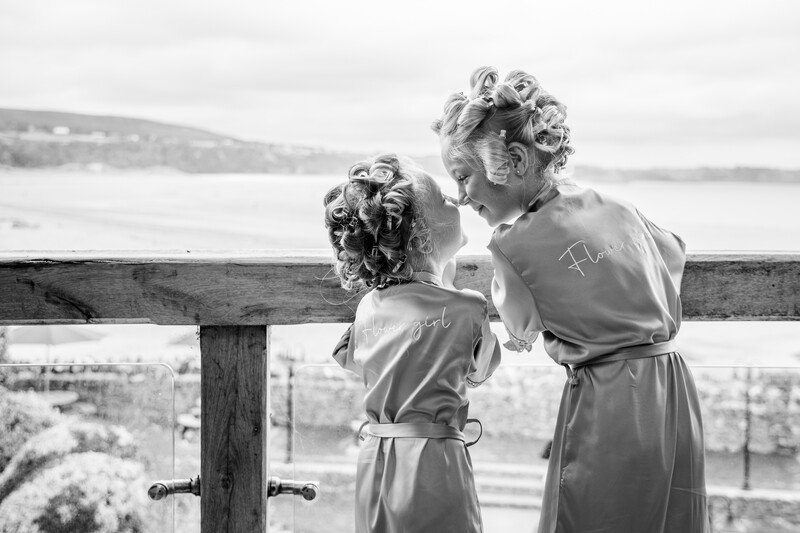
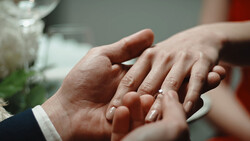
- Get the detail shots done first. Flowers, shoes, dress, something old, something new, something borrowed, something blue. Silver sixpence shots are great and thick double-sided sticky tape to stick it to the bottom of the shoe should be good enough to hold it on for the day. Also a good option is to bring blu-tac. You can get the rings to stand up on their edge if you put a tiny piece of it on the bottom of the rings. This always makes for a great shot. While the bride, groom, and guests are getting ready, it’ll show you are in control of the situation, and subsequently, they will put more faith in you knowing what you’re doing.
- Remember to ask permission, but moving stuff in the getting ready room if it’s in the way is a good idea. Better yet, ask the venue if they have a spare room you can use for bridal portraits. The venue just wants to make their rooms look good, and if they can give you access to a clean room for a half-hour, they most likely will. Declutter before you shutter is the rule.
- Get the Instagram handles for all the suppliers on the day if you’ve never worked with them before. When you’re writing your blog, tagging them means a much wider reach, and they'll have great images of their products taken by you that they will want to share (make sure you put a watermark on the image you're giving them to use as people often forget to credit you).
Essential Things in my Kit Bag
- Arsenal 2: I love this bit of kit. It's so good for automating focus stacking and HDR images, as well as panoramas. It really helps you when you have little time to help get amazing shots.
- Godox AD200: small, portable, and versatile. These are awesome for off-camera shots. Make sure you buy the X Pro Trigger too. It’s awesome and easy to have multiple flashes set up very quickly with different power settings. Also, the Godox S2 Speedlight Bracket works well for attaching Bowens style softboxes to light stands. This kit is all reasonably priced for what it is and small enough to pack down into a decent-sized bag, and with multiple head attachments available, it really is a great choice.
- Blu Tac: A must-have for holding shoes in place or standing rings up and sticking to the end of the flowers pin so the groom doesn’t get stuck with it.
- Holdfast Moneymaker: I’ve used a lot of straps, and they don’t seem to last, or they aren’t as good as I’d hoped. This is the one camera strap holster system that stays with me at every wedding. It’s not only customizable but very strong, and it looks really cool.
- Buy yourself a set of walkie-talkies. Give one to your second shooter and another to the wedding coordinator or venue’s point of contact. It's much easier if everyone knows where they are meant to be, and you can keep the bride and groom apart more easily prior to them seeing each other.
Post-wedding Planning
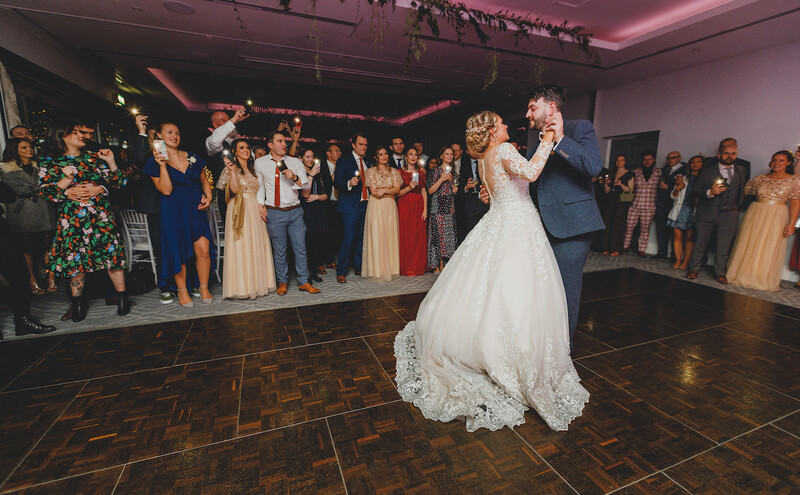
- Send the couple the first 50 images out within 24 hours. The advantage of this is they can share them on social media straight away, as many guests will share their smartphone images on social media. I’ve lost count of how many times people will wait until I’ve set up a shot on the day, then try to take the image with their mobile phone over my shoulder and post it the day after.
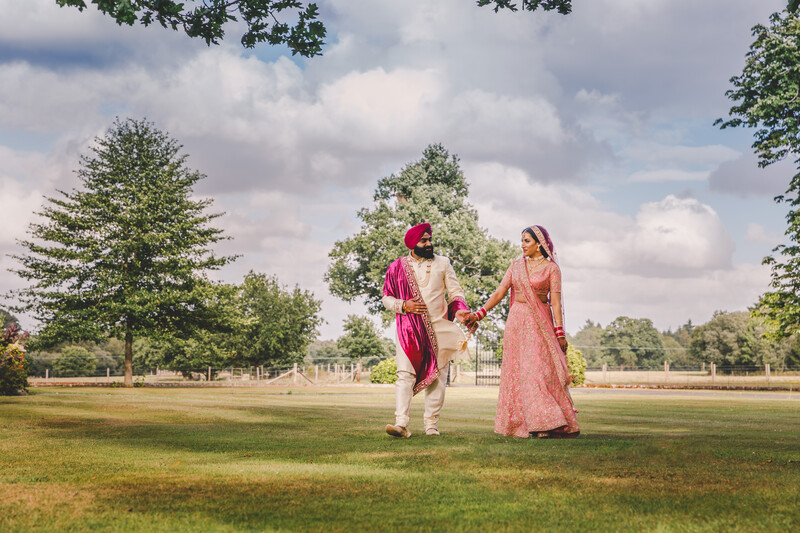
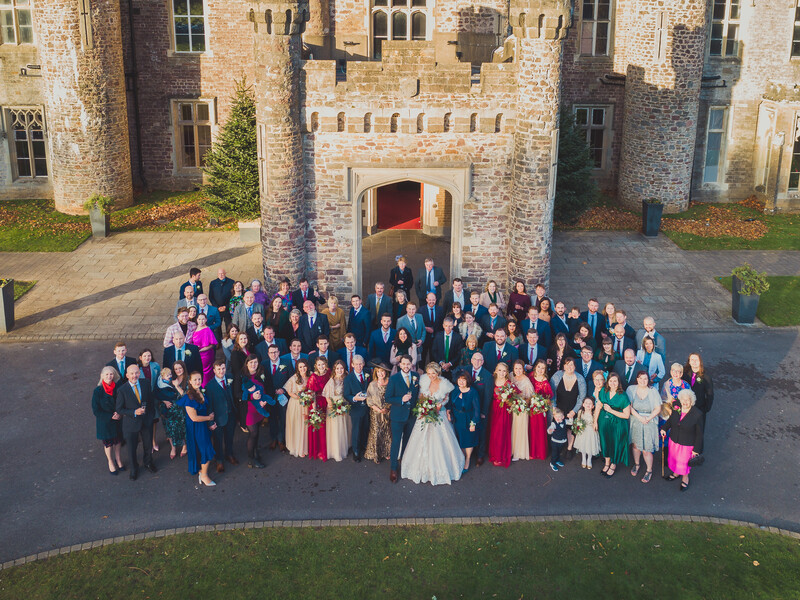
- Taking pictures of every attending guest couple on the day means that you’ll have images for people to purchase as soon as they are edited and uploaded. Some people might not get a chance to get pictures together, and getting dressed up for a wedding is a perfect opportunity for a great image. Get your second photographer to make sure they photograph all the couples attending the wedding.
- Get your pictures backed up as soon as you get in. Charge your batteries and put your cards to one side until you deliver your images to your client so that you're ready for the next shoot.
- Set yourself a time limit to edit per day. I'd recommend to edit a max of 45 minutes and then take a break. I find a fresh pair of eyes every day means more quality work gets done.
- For photo culling, why not give Aftershoot a try? It uses AI recognition and your uploads to find all the photos that are in focus and compositionally good and in your style. It then grades them, and you can update the metadata and reload it into Adobe Lightroom. It saves me hours and hours of going through images and culling them prior to the final edits.
Hopefully, these tips and this information will help you if you're thinking of starting your own wedding business or are already in business and looking to try some new things. If you have any useful ideas or would like to add to what's here, please drop me a line. I'd love to hear your thoughts.


Join the Fstoppers community for free
-
Post comments and join in the discussions
-
Browse the site ad-free
-
Share your work and get featured in the community
-
Compete in the photo contests for fun and prizes
3 Comments
Great article.
Thanks Damir Spanic
Well done Pete, a well written article, good advice and working practice. Thanks for sharing, keep up the good work. 😎😎😎