

Creating a custom email signature is easy if all you want is plain text. It’s worth it to create your own HTML signature to stand out with something fresh. And it’s not nearly as scary as it sounds.
A number of services online will promise you free or even paid HTML email signatures. The problem is they’re all mediocre. Either they really don’t look that great, or they look marginally better and charge you as much as five dollars per month to let you keep certain features. So, I'm going to help you create your own. But first, what is an HTML email signature?
HTML Signatures and Why You Need One
We’re all familiar with creating custom email signatures with text. But in reality, these never look that good. So, we end up adding an image, which is easy enough with a copy and paste function. But then we end up obliterating email inboxes and begging junk filters to steal us out of our recipients’ inboxes.
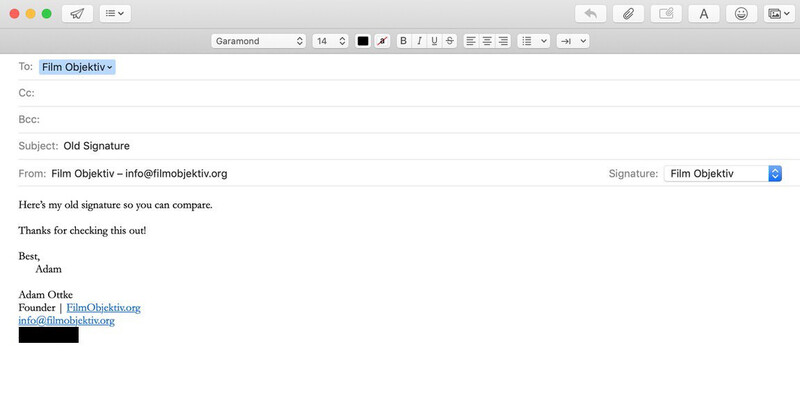
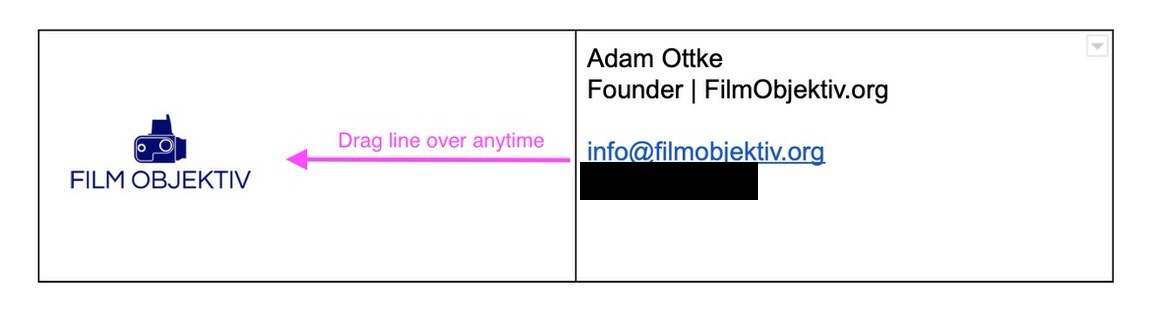
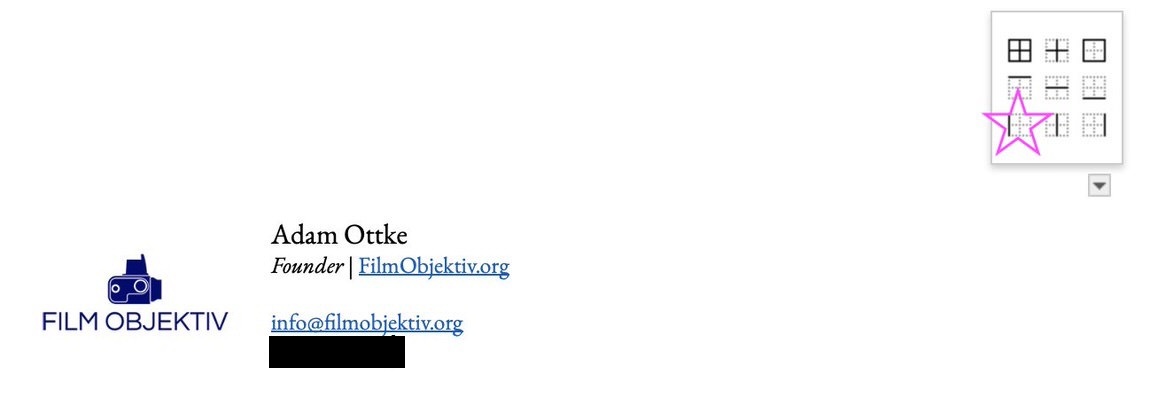
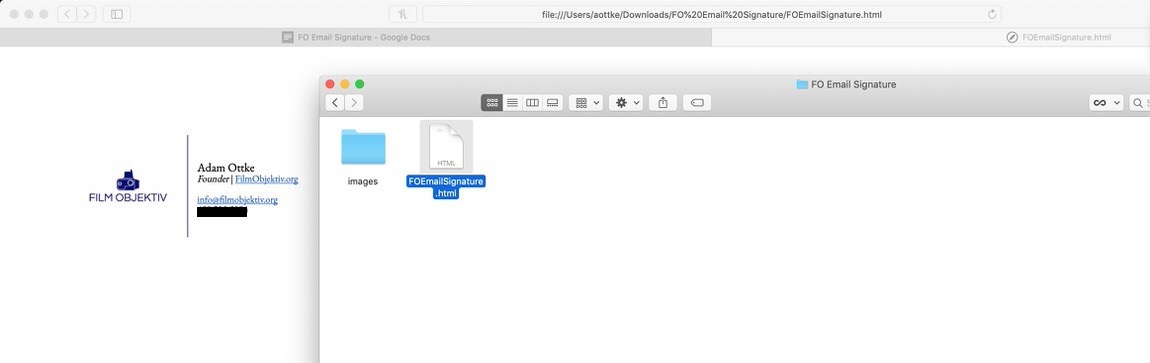
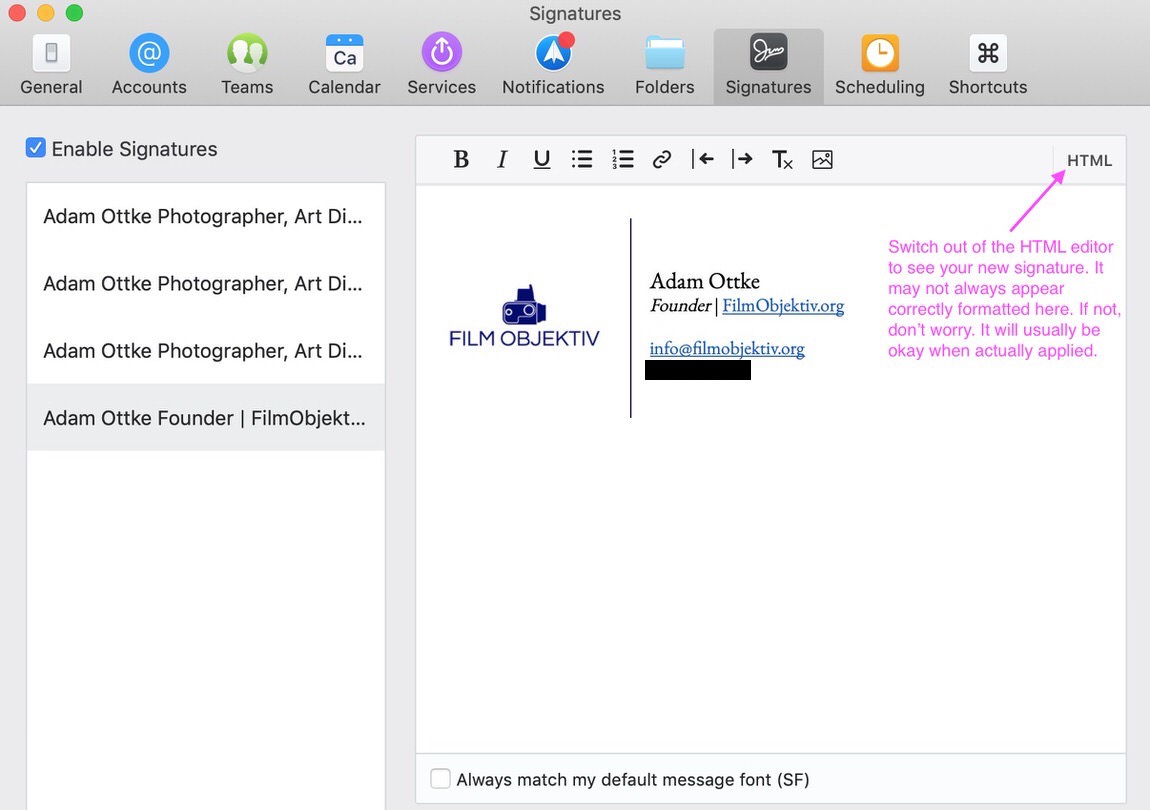
An HTML signature is one that's written in full HTML code. This allows for two things: full customization of text, layout, colors, graphics elements, etc. and to host an image, portrait, or logo externally so you don’t add to the size of your email, which helps keep you out of junk mailboxes. A third benefit is that it actually will reduce your inbox size over time, since your server won't be holding a copy of that image for every single email you ever send out. To start, let’s look at where I came from and where I now am:
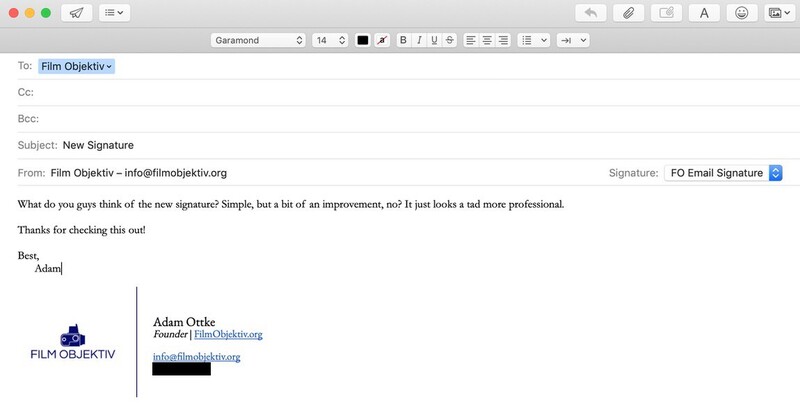
As you can see, the new signature isn’t overly flowery, but it’s a simple upgrade that looks like I care just that much more about my brand. And when I care that much about how I present myself, clients can rightly assume I will do the same with the work I’m asked to take on.
Step 1: Upload Your Image/Logo to Google Photos Your Site
UPDATE: Google Photos updated something about how it works to keep this method described below from working properly. As a workaround, host your photo somewhere else, such as on a random, unseen, unlinked page on your own website, where you know it will always stay active. Anywhere your image from Google Photos is mentioned in the directions below, simply use the link to your self-hosted image instead, and it should still work just fine.
This is more of a pre-step. But whether you want to use a snippet of an image, a logo, or a portrait of yourself for your new signature, you should find something you like and upload it to a free Google Photos album. I’ll trust that you can figure out how to add an image with rounded corners or with a circular cutout from Photoshop if that’s the look you’re after. I recommend a 350-pixel wide image. You can tweak the sizes as you wish, but you will likely want more than 300 pixels and less than 600. A narrower image or a portrait image that at least isn't at the upper end of that range in width will help your signature look good on all devices such as mobile and those with non-retina screens. You will end up resizing this anyway, but a properly sized image will ensure it remains high quality without taking forever to load in your clients' emails.
You can use a variety of other online storage services, but Google Photos is free and will let you throw up an uncompressed image of your choosing into a new album from which you can upload and host the image so it isn’t sent in every single email as an attachment. It also syncs nicely for the purposes of Step 2 below. Note that if you want to add social media buttons with links to each of your accounts, find some royalty-free icons or logos that you like (or purchase some premium ones) and add them to your Google Photos album as well.
Step 2: Creating the Google Doc
We’re going to build our signature in a Google Doc. This is free, and if you use Gmail, you can do this all a bit more easily than the rest of us if you’re okay with throwing your signature into every email from that account no matter what. For the rest of us, directions for Apple Mail, Spark, and iOS will follow.
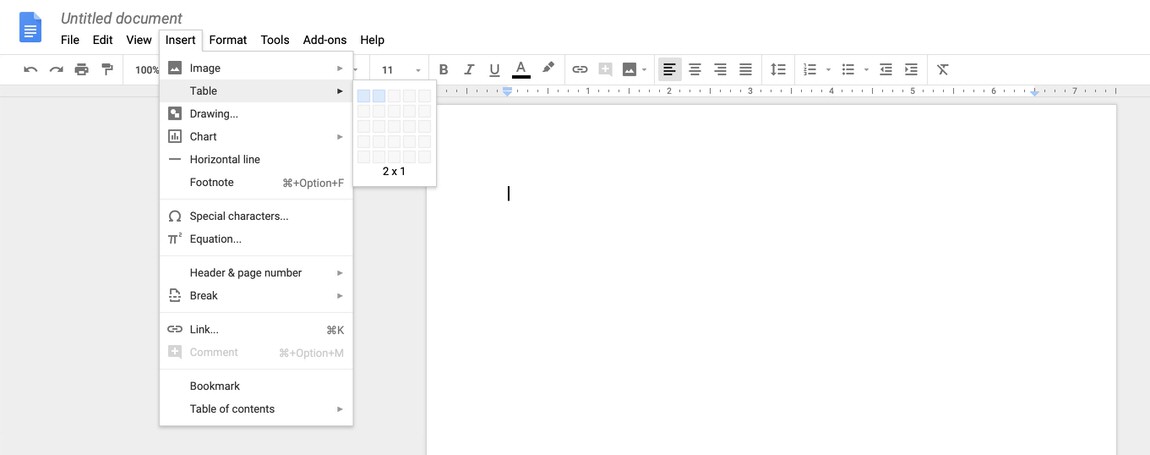
Once you start a new Google Doc, create a table with two columns. If you want to add a quote of some kind (I don’t know, some people like that, right?), add a second row in addition, and then merge the row of cells you would like to eventually include your quote line (i.e. merge the bottom two cells by highlighting them both, right clicking, and selecting “merge cells” if you want your quote below your signature). We’ll refer to the cells as left, right, and quote cells from here on out (don’t forget, you don’t need a quote cell if you don’t want one; the images in this article don't include one).
Step 3: Filling in Your Signature Elements
1. Image
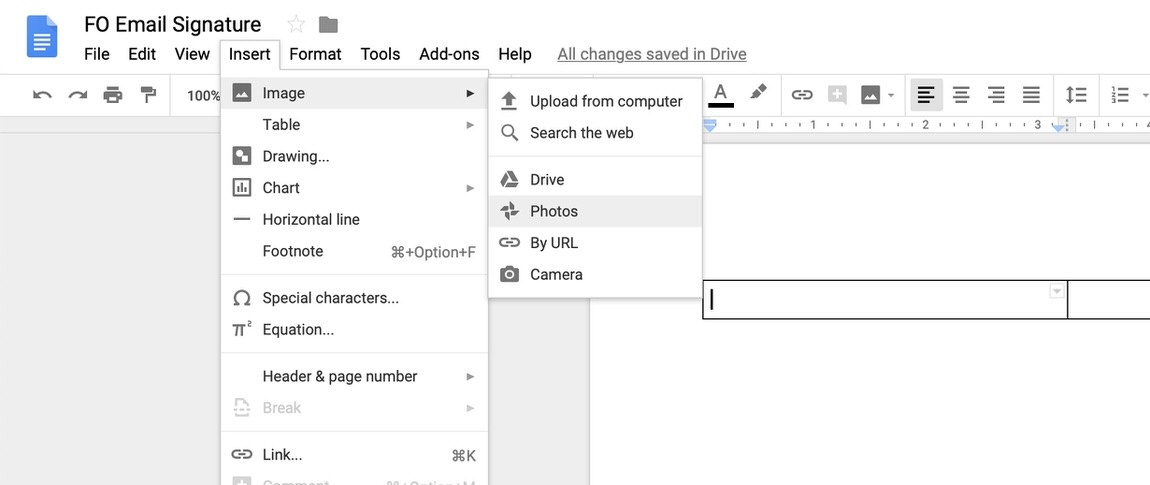
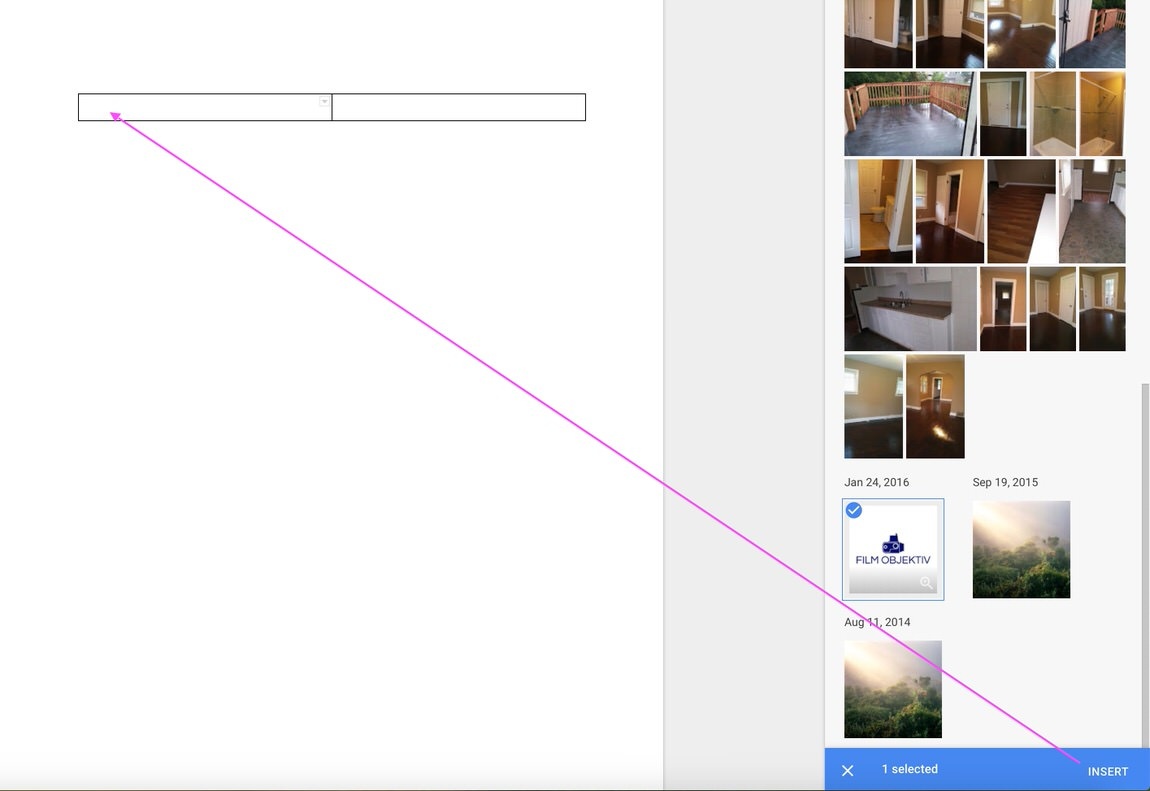
Insert your image, portrait, or logo into the left cell (File, Insert > Image > Google Photos > [select uploaded photo]). Then, resize it if needed. If you would like to add social media buttons, add those images in the right cell underneath the contact information you fill out in the step below. You can also link these images by right-clicking and choosing "Add Link." Simply paste in the URL of your social media profile for each one.

2. Contact Information
Your name, title, and contact information should go in the right cell. Make it easy on your recipients by hyperlinking your websites and emails. For webpages, include “https://“ right before the rest of your domain. For emails, use links in this format: mailto:hello@mydomain.com. As an example, I even linked that one to my own email so you can see what the link looks like for me and how it behaves when you click it (or shoot me a message!).
3. Quote
If you chose to have some kind of quote or saying in your signature, fill this out in the quote cell.
4. Formatting
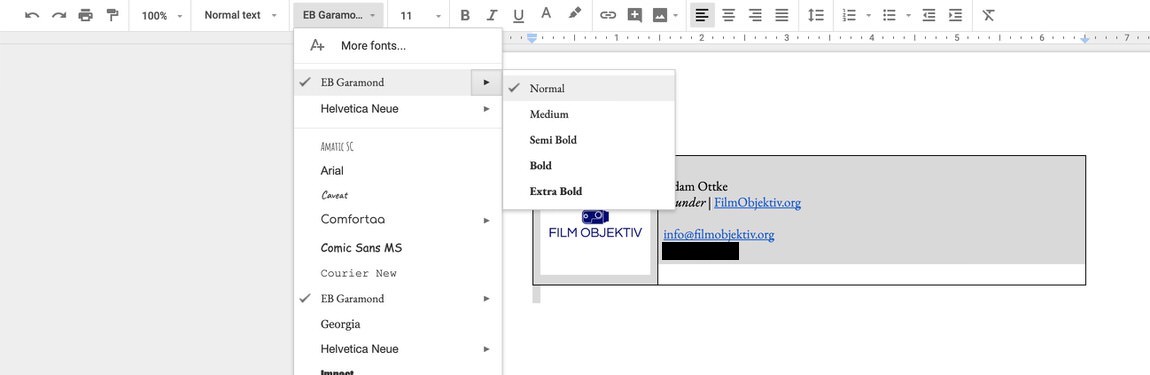
Don’t forget to format your signature the way you want it. This is the time to edit the fonts, colors, and spacing of every element. Make sure your name is larger text than the other elements. You want that to stand out. And don’t forget you can get creative with these elements, especially if you already have great colors that help your brand stand out.
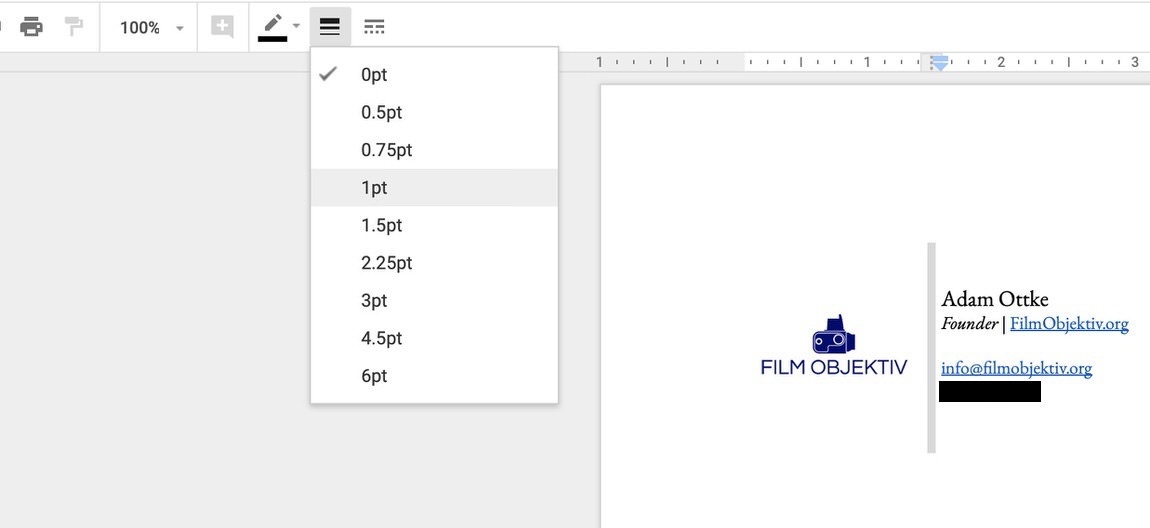
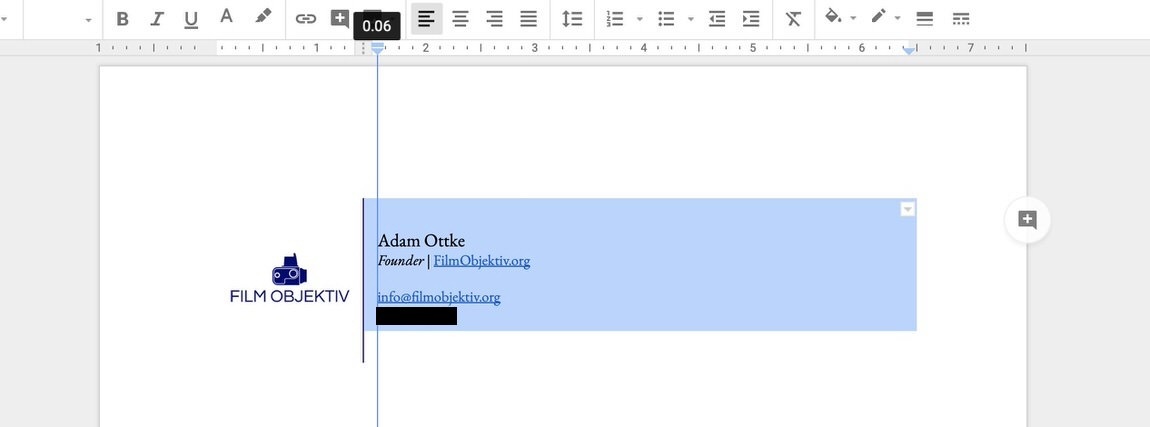
5. Borders
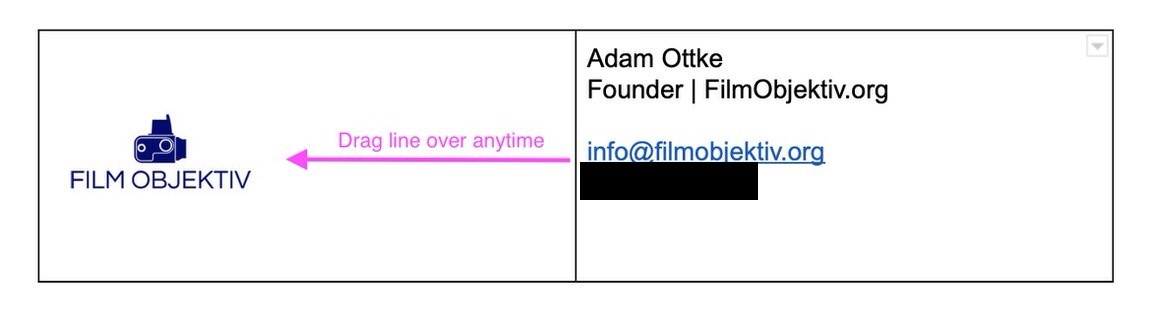
Right-click anywhere in the table, and select “Table Properties.” Change the border weight to 0 pt to get rid of the borders. Then, close that out, and with the cursor in the right cell, click on the little drop-down menu in the top-right corner of the table. Select the bottom-left option to still show the border on the left side of the right cell. Give that a weight of 1-1.5 pt. You can now take your cursor and grab that vertical line to drag it closer to the image. The vertical line can also be highlighted, after which you can change the color to your liking. Finally, highlight the text and shift the margin over just a bit so it’s not so awkwardly close to your vertical separator.

Step 4: Adding Your Signature
1. Gmail
By far, the easiest way to add this is if you have Gmail. That’s because Gmail supports a simple copy and paste function (image included) to let you add a full signature like the one we just created on every email. Simply select your entire signature in Google Docs and paste it into the signature section of Gmail settings under Settings > General (where you’re taken by default) > [scroll down until you reach “Signature”]. There, paste what you copied, and you’re done!
2. Spark
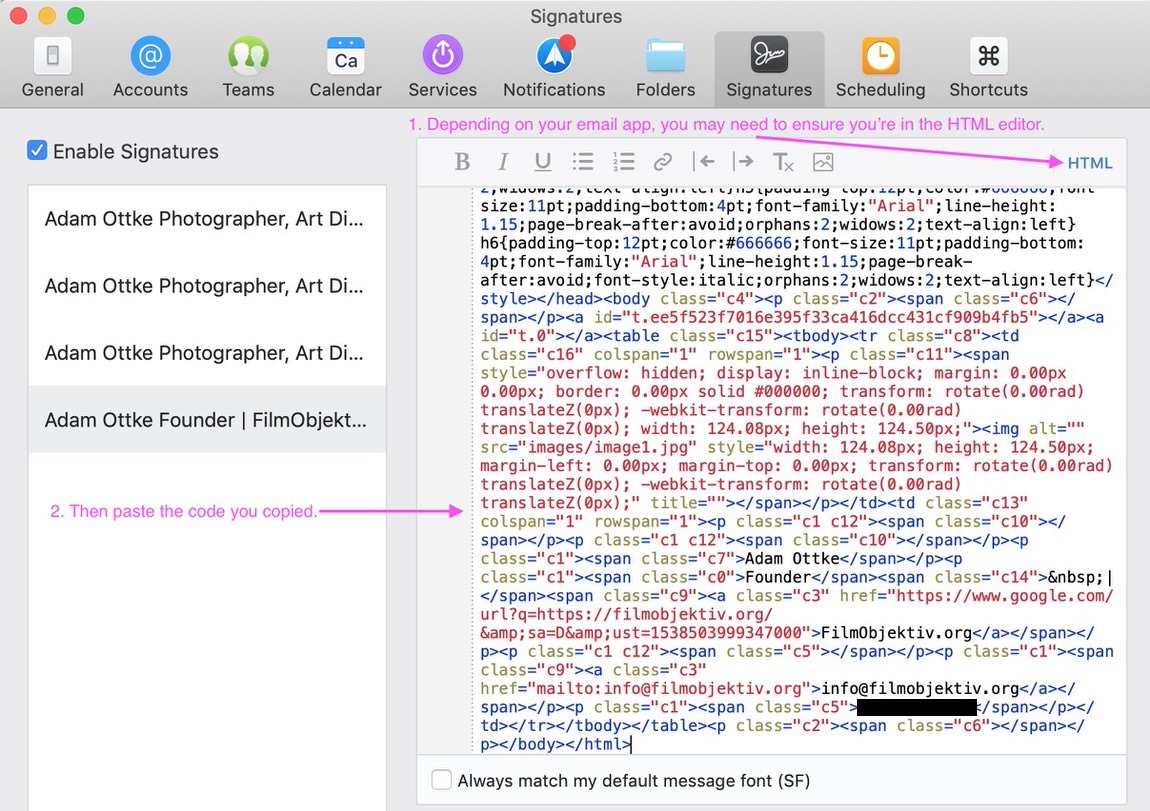
If you have an app such as Spark or a number of other email apps, adding an HTML signature is as easy as pasting the HTML code into the HTML section of the signature editor. The only issue is we have a bunch of graphics elements copied, but not the actual HTML. Don’t worry! It’s not that difficult to get. We're using Spark as the sample here, but most modern, well-supported editors have very similar options that shouldn't be hard to find.
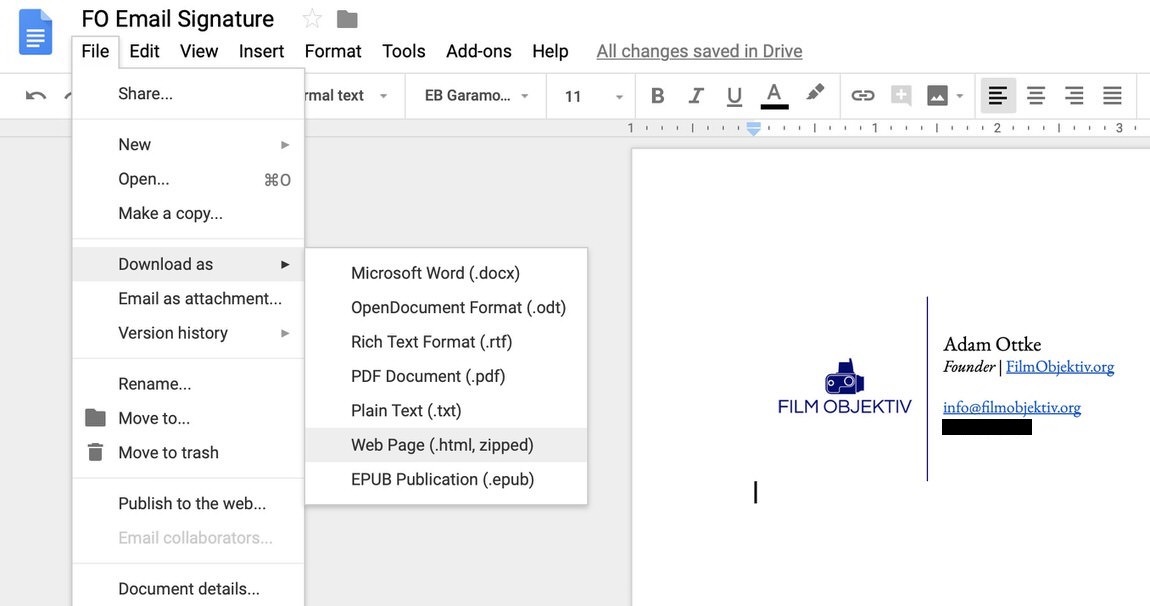
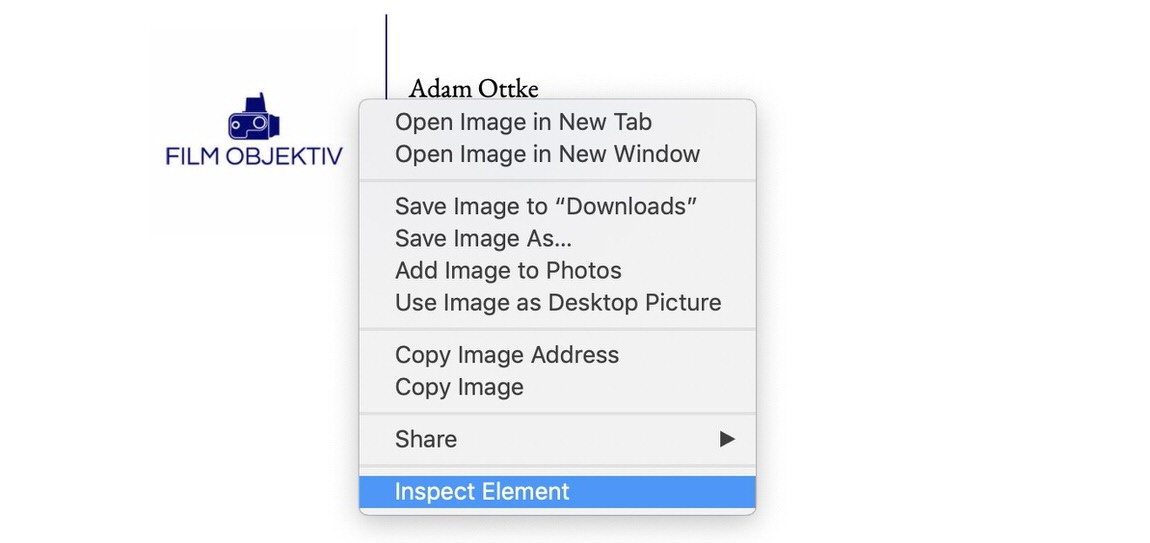
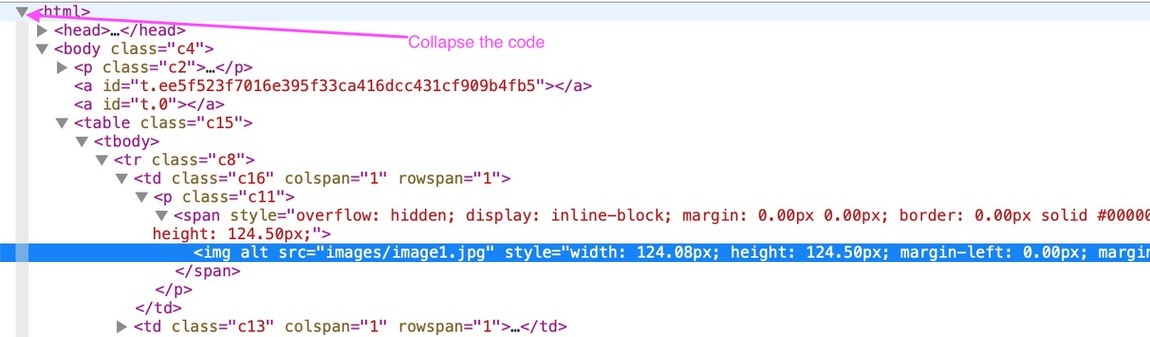
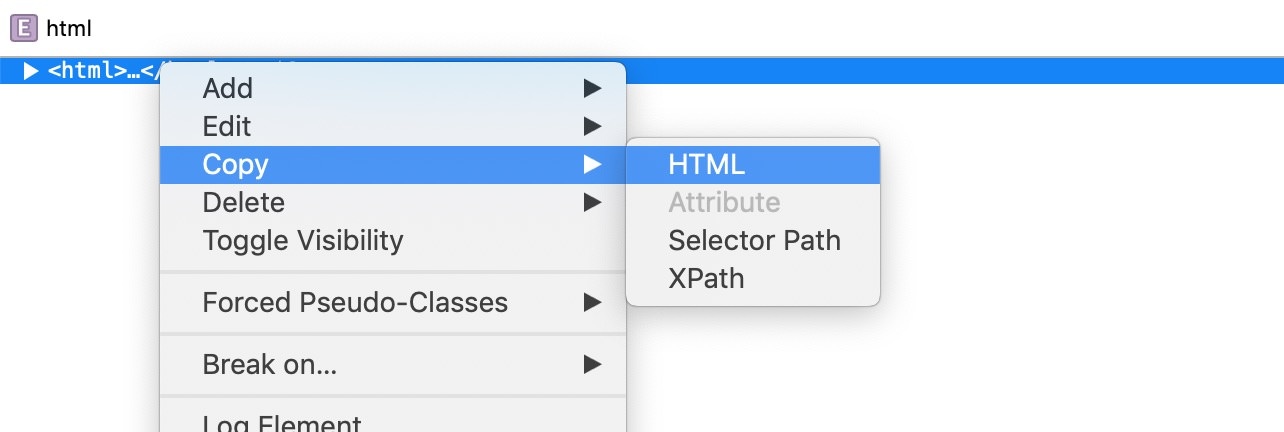
1. From Google Docs, go to File > Export as Web Page (.html, zipped). Save this somewhere handy, like your downloads folder, and expand the ZIP file by double-clicking or opening it. Find the HTML file (the one that’s right in the folder, next to another folder) and open it. It should open in your default Internet browser. Most browsers will let you right-click on that element and select the option, “Inspect Element.” From here, I had to first collapse the HTML lines and then right-click on the HTML and select copy (these shots show this process in Safari, but most browsers should have a similar function).
2. Go back to Signatures under Spark’s preferences. Select the HTML input in the upper right and past what you just copied. A bunch of code will drop itself into the text box.
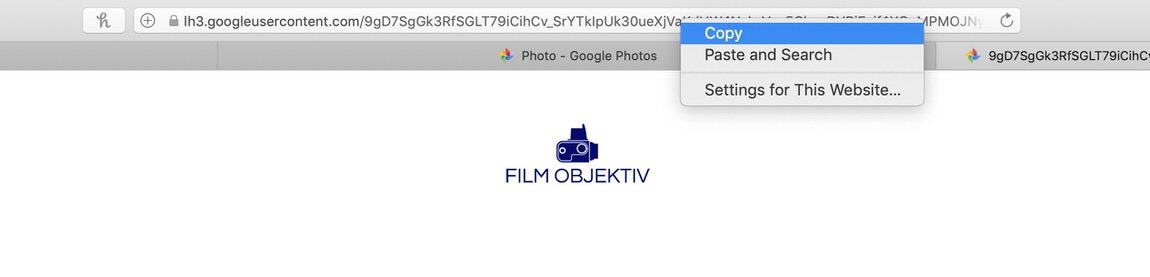
3. At this point, you will need to still add a link to a publicly hosted image. Thankfully, you already uploaded such an image into Google Photos. So, go to Google Photos, open that image, right-click on it, and open that image in a new tab. It’s important to open this image on its own in a new tab as opposed to getting a sharable link from within Google’s menu. Once you have that image opened, copy the URL in the address bar.
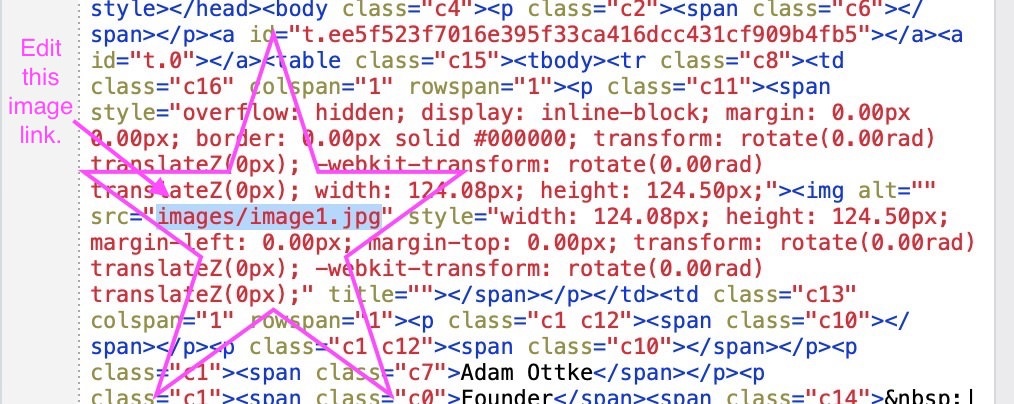
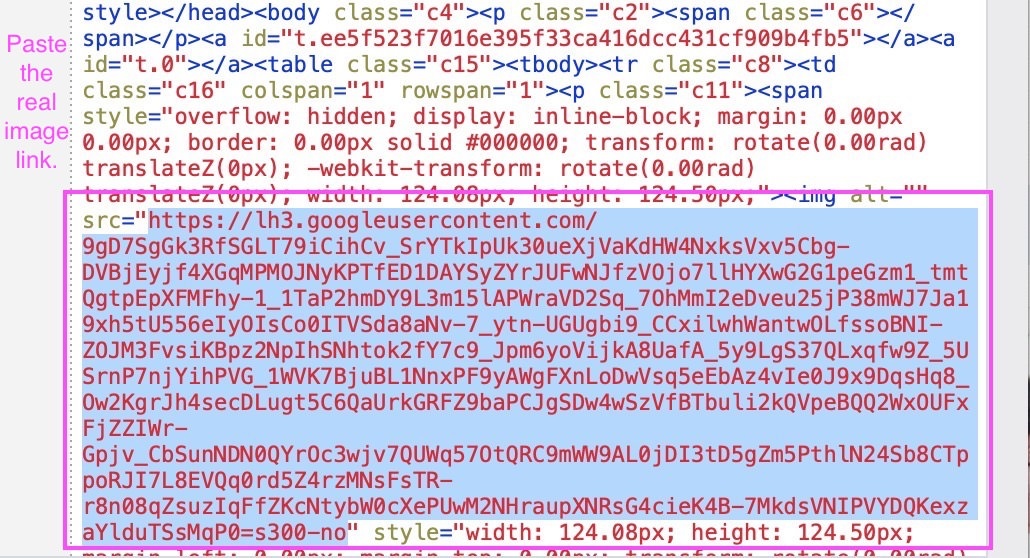
4. In the HTML code you pasted into Spark (or a similar desktop email program), find the image code that says “images/image1.jpg." Highlight that portion, and simply paste over the link you copied in its place (this is the last step in the image sequence above). And now you’re done!
5. Now, you can close out of the window, or first, you can toggle the HTML view to then see your signature (it might take just a moment for the image to load).
3. Mail (MacOS)
For Mail, the process is slightly trickier, but still doable. Follow the steps above for Spark, but when you get to when it’s time to paste in the HTML code (after Step 4.2.1), come back here.
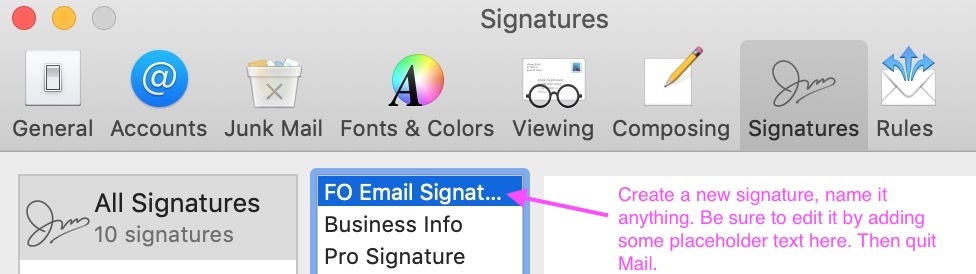
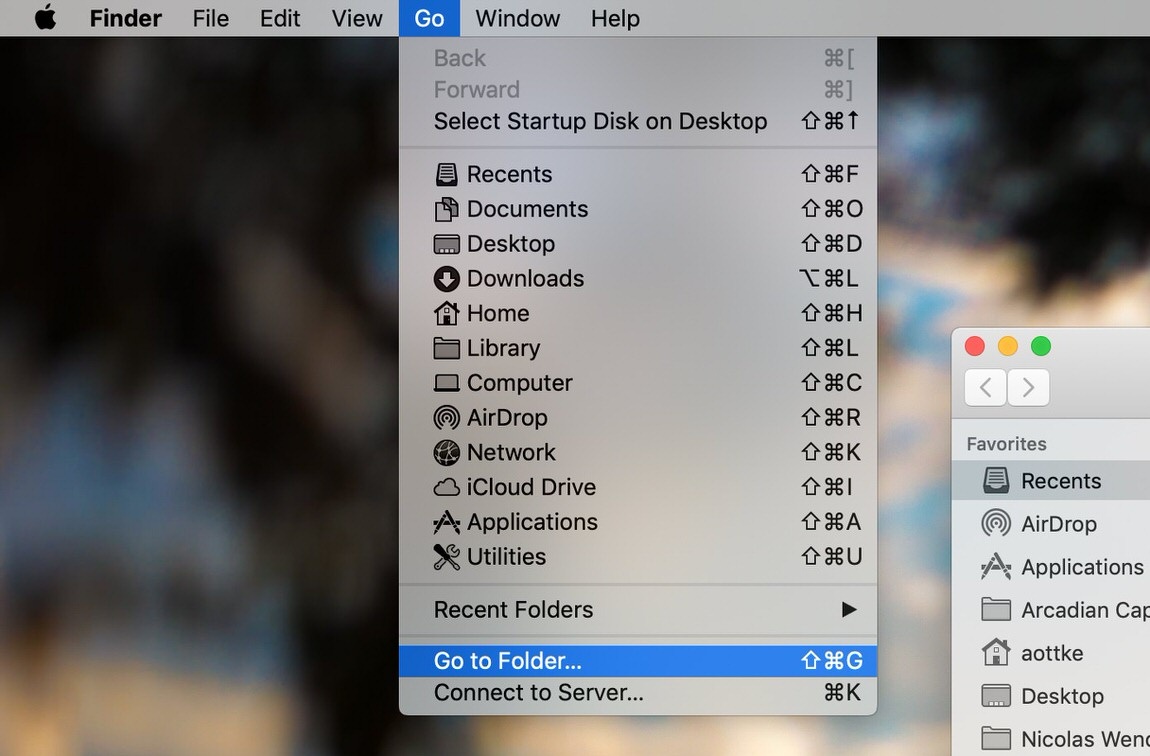
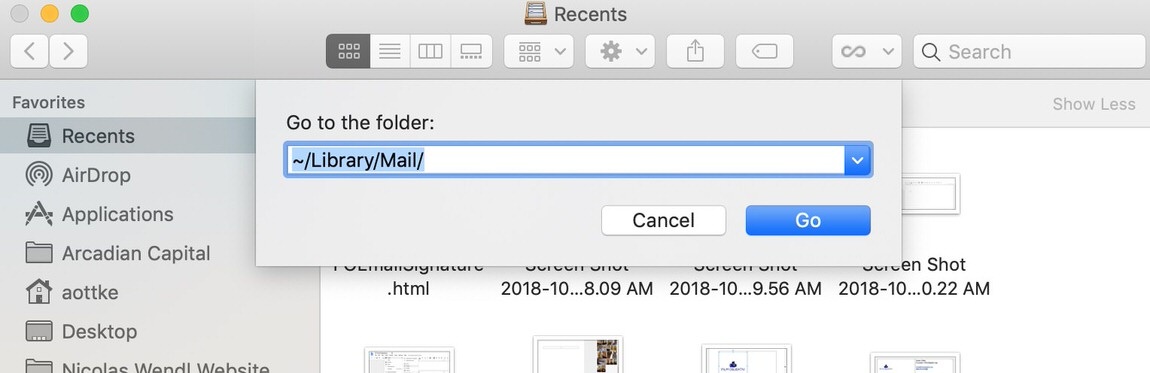
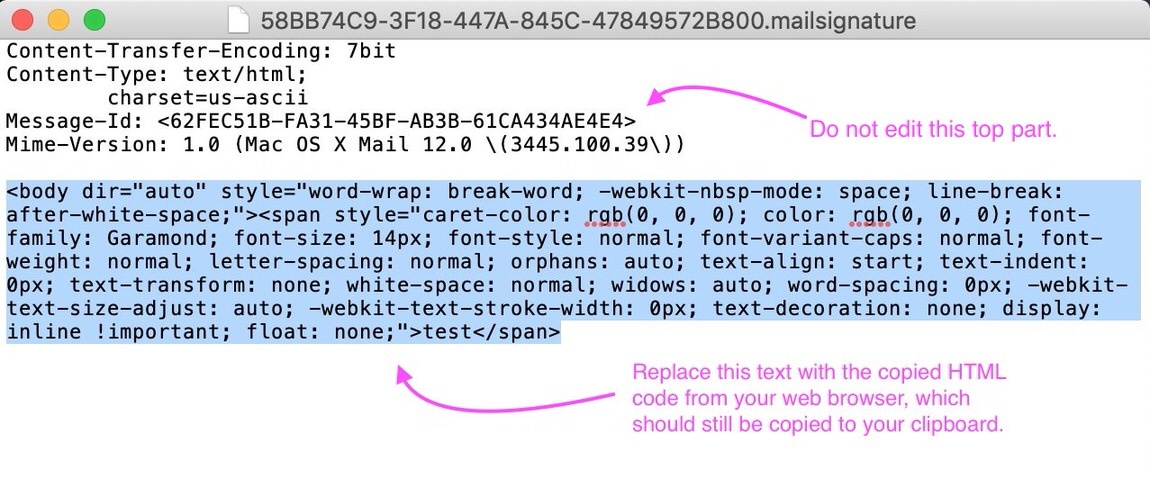
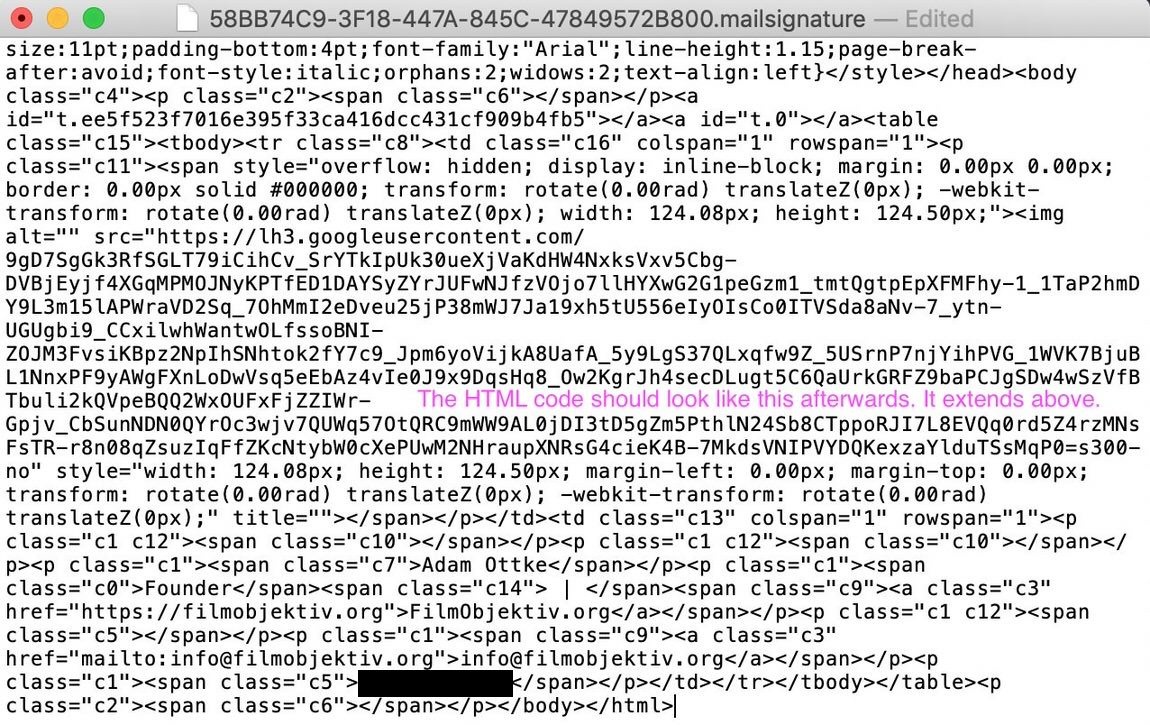
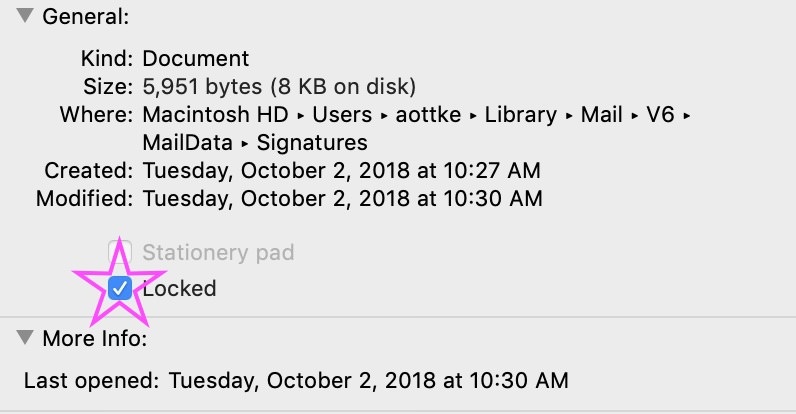
1. Now that you have your HTML code copied, we need to find a way to get it into Mail, as the standard Signatures panel does not support HTML. First, from Mail's Preferences > Signatures, create a new signature, and be sure to put some placeholder text in there. You can name it anything you like. Then, in a new Finder window, go up to “Go” in the menu bar, and type in the folder “~Library/Mail/“ (no quotes). Go to the latest “V” folder (i.e. V6 or V5, etc., whichever is highest). Then go to Mail Data > Signatures, and organize the view by Date Modified. The most recently created file is the signature you just created. Right-click on it and select, “Open with…,” and then choose, Text Edit. Highlight the entire bottom paragraph starting with “<body>” and paste your text (do not change the top portion). Now, go back to Step 2.3 (Part 3 in the Spark section above), and find your image URL from Google Photos. Paste that back into the right area of your code in the Mail signature file you’re editing as instructed in the Spark directions. Then, simply save the file. Once saved, select that same file and press Command + I to Get Info. Check the “Locked” box, and you’re done.

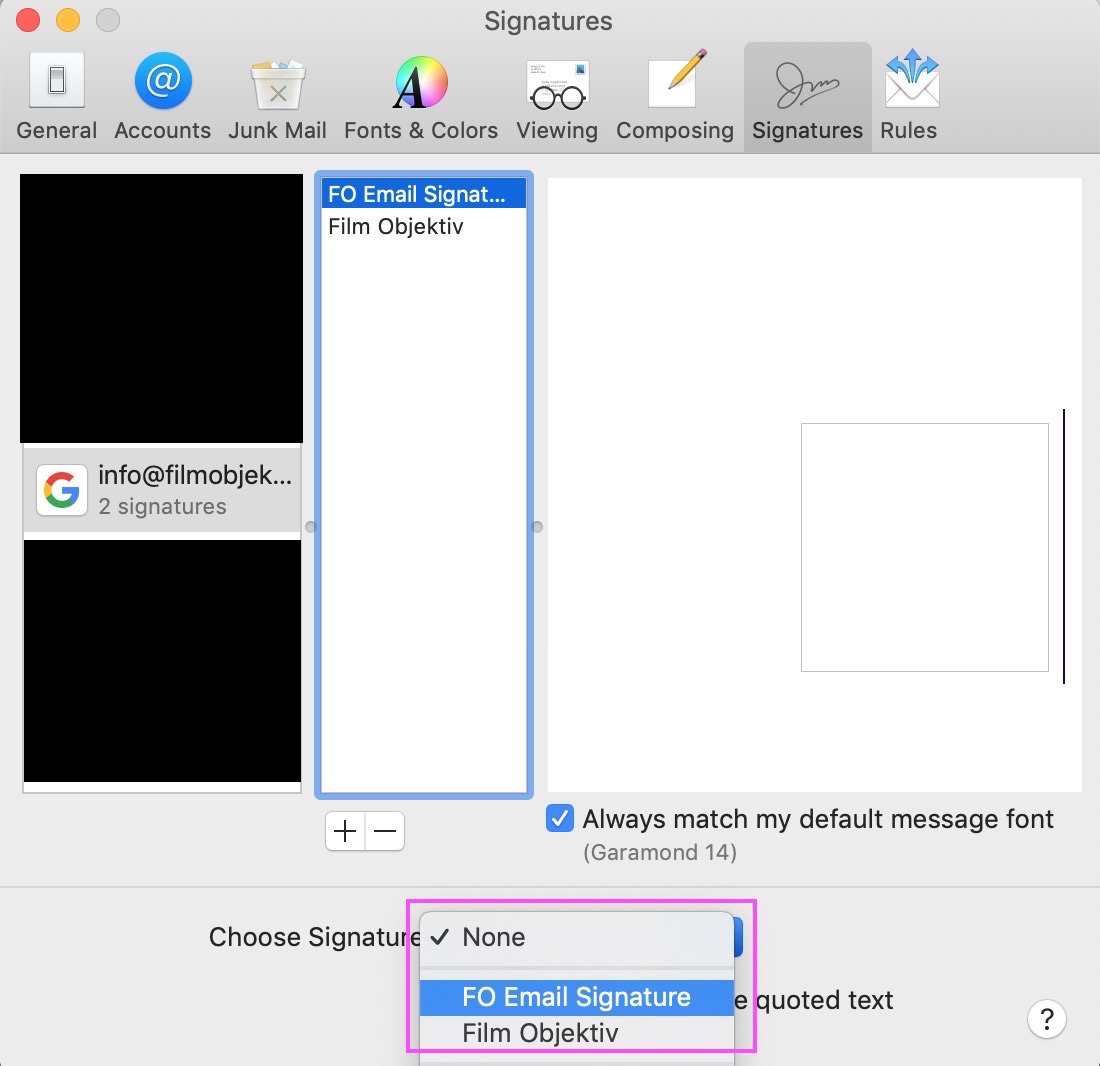
2. Now, open Mail again, open Preferences > Signatures, add that new signature to one of your accounts, and check it out while composing a new message (it still won’t show properly in the Mail Preferences Signatures dialog).
4. iOS Mail
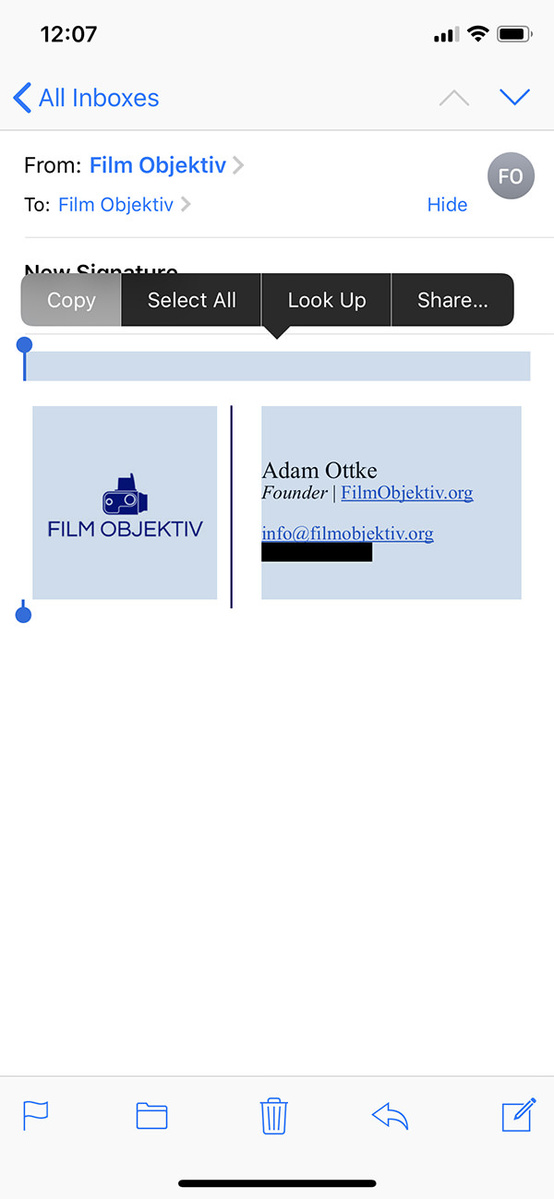
iOS also allows HTML signatures since iOS 10, but there's a trick to get the formatting correct. Check out screenshots for all of these steps in four images at the end.
1. Send yourself an email from your desktop or online email composer that you just used to set up your new signature (with the new signature in it, of course).
2. On your iPhone, open that email, select all of the text of the signature, and copy it.
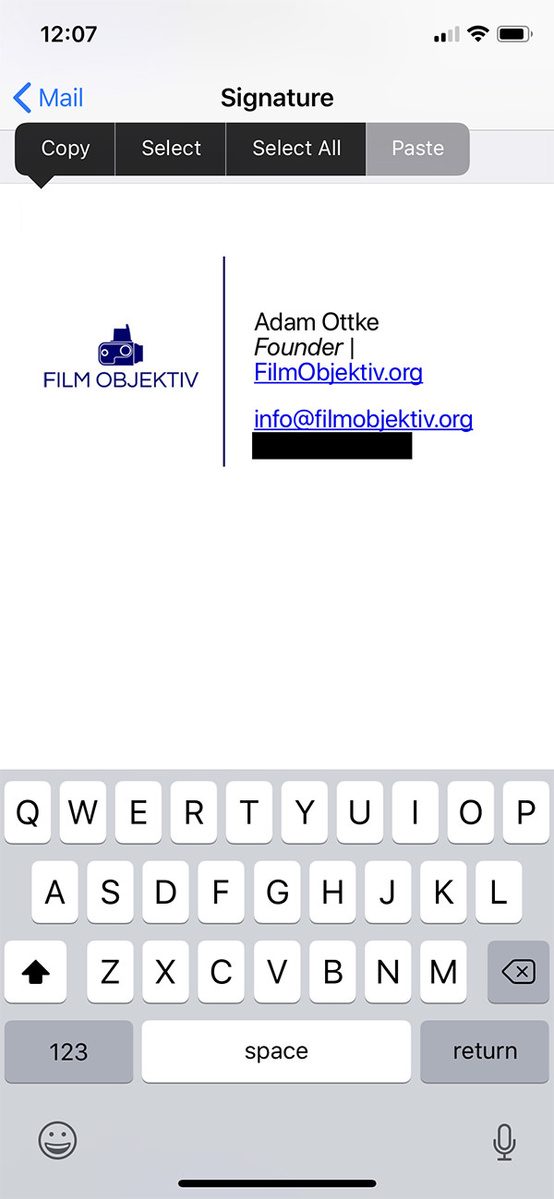
3. Go to Settings > Mail > Signatures, and if you use different signatures for different accounts, paste what you copied into the signature area for the account you want to apply it to (do the same in the signature area for All Accounts if you use the same signature across all accounts).
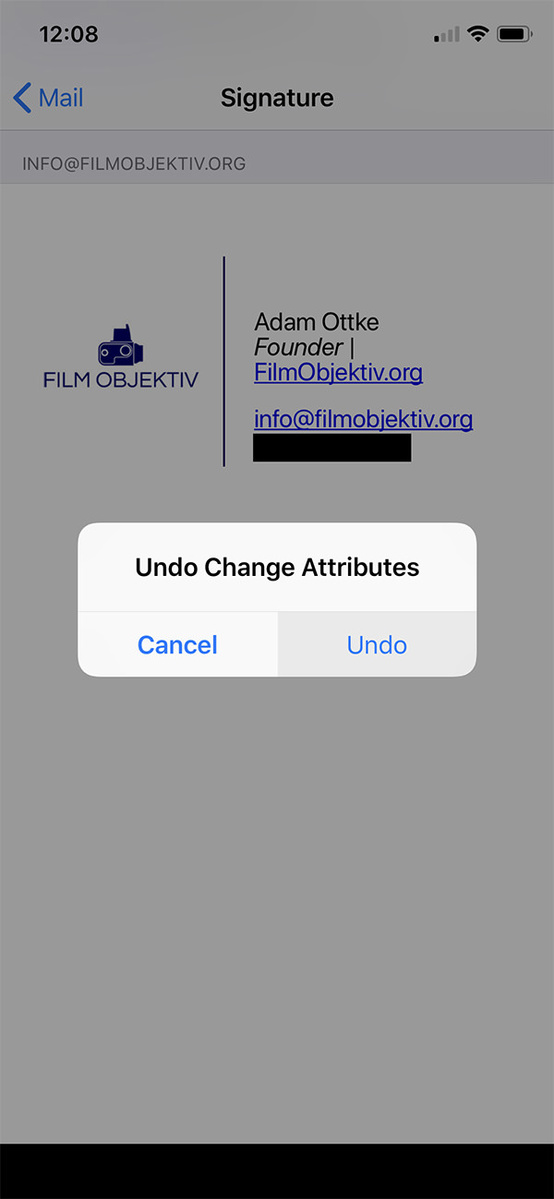
4. You may notice the formatting changed on you, but most of your signature made it. This is because iOS oddly adds its own formatting. Thankfully, it's saved as an "editing step." So, right after you paste your new signature, simply shake your phone, and tap Undo to undo the formatting changes.
5. Presto! Again, you may notice the formatting is still a little off. But at this point, it's only if your signature had a certain width that exceeds the iPhone's screen size. This will naturally push longer lines onto additional lines below. I recommend keeping the same signature across both desktop and mobile devices no matter what for consistency when your recipients read your messages on their various devices (they may always be reading on a desktop, for example). But for this reason, now is the time to double-check and make sure your signature is at least acceptable on mobile. If not, you may want to tweak it accordingly and send it back. I still prioritize desktop email myself, so I will leave my other wider signatures with the slight inconsistencies they have.
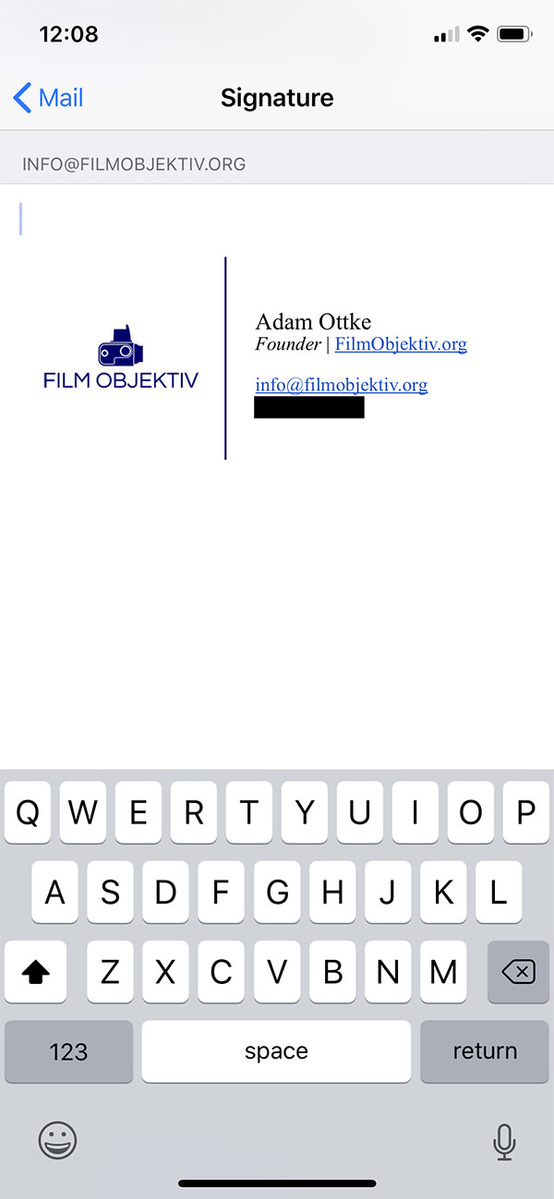
Apple definitely makes it the most difficult to do this natively, but it’s not that hard if you just follow the steps. And thankfully, nearly every other program or online mail application has an area to insert HTML code much more easily. Creating and then getting the HTML code from Google Docs is also not the easiest process, but it's all free and took me less than 10 minutes to create the second one (once I knew all the steps!); and I will hardly ever touch them all now that they're finished.
Once you have yours, feel free to share a before-and-after image of how your signature has improved!
Lead image used with permission of Anete Lūsina.


Join the Fstoppers community for free
-
Post comments and join in the discussions
-
Browse the site ad-free
-
Share your work and get featured in the community
-
Compete in the photo contests for fun and prizes
13 Comments
Great suggestions, however most IT departments in big companies block external or embedded images, except for attachments in their mail-clients for security reasons, so your logo will likely go unseen. You're better off sticking with a simple text signature if you're dealing with bigger companies.
However it is vital that you include your contact information at least in one e-mail to your clients.
One thing you shouldn't forget though is to make your e-mails personal. Here's an article about what I mean: http://workingoutloud.com/blog//insincerely-yours
Embedded images are also a security threat when you encrypt your emails, especially when they are stored on the web. Overall, this is nice looking and a dumb idea from someone with no IT skills.
Adam, this is amazing -- thank you!!! I've spent hours trying to succeed at this DIY route, only to fail repeatedly. Your instructions worked great, and finally got me to the finish line. Woo-hoo! You earned major karma points by sharing this!
By the way, I'm not sure that the previous commenters are clear on the concept of HTML e-mail signatures -- there is no embedded image, right?
Well, there's no actual .jpg (or other type of image) sent in the actual email. On one hand, yes, some work firewalls may block loading such files. But honestly, that's just a part of working at some large corporations. They're used to that. There's no reason the text shouldn't load: it's just text in HTML form. And if that's the case, then people working at whatever institution blocks that are going to be used to that be garbled or missing entirely, etc. I have a lot of friends who can't access or see things normally at work. They're used to it. But even so, that's just at large corporations with dumb firewall rules.
But the good part for every other application is that it doesn't actually require a full image to be sent. And in those cases, some email providers end up "seeing" that image just as some attachment. And in my experience, this style of signature is much more reliable overall in showing the way you want it to without the image being sucked up into an attachment, etc. Instead, the HTML code just tells the email viewer to load an image from the address provided (i.e. Google Photos in this case).
My victory dance may have been premature. In step 4.1 above, the signature fonts are different when I view a desktop-sent message on my iOS mobile device. Any ideas?
That could depend on the apps you're using. If your email app on the desktop doesn't support changing the font (i.e. Spark), then it'll switch it. Also, there are display settings for fonts on your desktop email app (most likely, anyway) that can change the fonts of most incoming messages to one of your preference for reading incoming mail. So it's hard to say what might be happening in this case. Hopefully some of those ideas help....? Which device sends emails with the correct signature font? From there, I suppose it makes sense to troubleshoot the device that isn't sending it correctly.
Thanks for your input. I think I figured it out -- the Century Gothic font isn't natively supported in iOS, so I'll need to find an alternative.
That makes sense. Yes, sticking to the most widely supported fonts is a good idea...
Hmmm, when I paste my signature into Gmail, it doesn't retain the two columns. It collapses into one with my image on top of my text.
Hmmm. Is that just in the signature box? And/or does it show properly when you actually create an email with that signature, or no?
Hi Adam, so I think the reason a lot of your readers are having a hard time making it work is because google's last update is messing with email signatures in a big way! I am constantly making signatures for people and as of late, none of the old tricks seem to work. I have even coded items and they still get chopped up!! It has been a nightmare!!
Yeah, I'm sorry about that. I just noticed this as well. I have since switched to hosting the image on my squarespace site on a random page/spot that will never be seen in a gallery and simply linking to that. I have also just updated the post with this information as well. I hope that helps you (essentially, assuming someone has SOME access to a private site they can edit, they can just throw up an image themselves that'll stay there forever, reliably).
I really did everything you said above but the photo, even though it has a public link, still doesn't show in Mail on my computer when I compose a message. Still has a question mark on it. The image is opened in a single tab and here's the link... https://drive.google.com/file/d/1mXla5YmMxwmZ0AF-ec1WITfCvy5DcYWQ/view - It doesn't show no matter what I do... so weird and frustrating! Any suggestions? I'm running Catalina on my MacBook Pro. Thanks guys, and great article.. I just think I'm doing something wrong.