
On a recent visit to my hometown, a friend of a friend asked if I would be able to photograph some inventory for her online art business. Most of her products were small to medium sized and she had a considerable backlog that needed to go up as quickly as possible. Being away from most of the gear in my studio, I had to improvise a bit if I was going to earn the business.
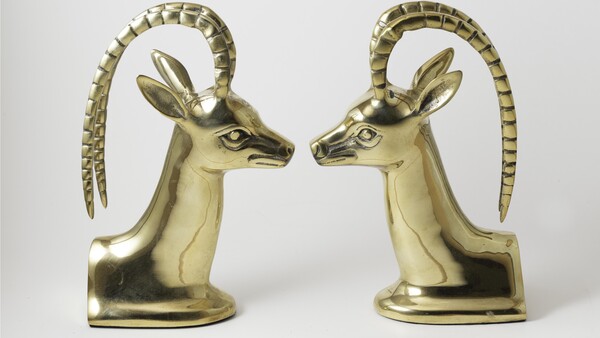
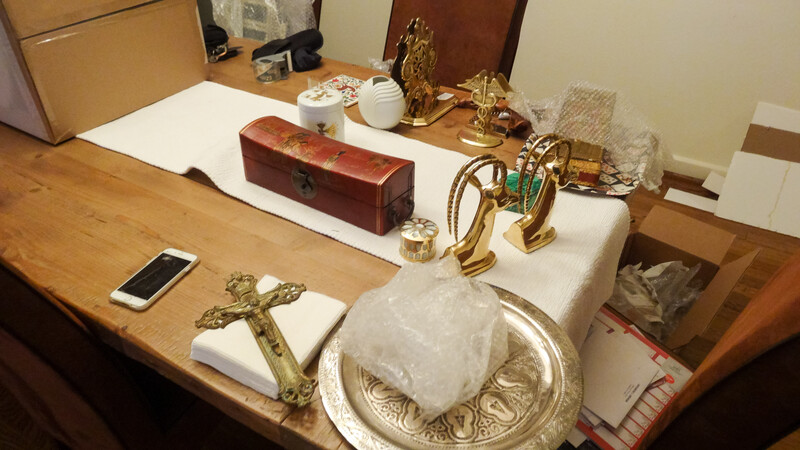
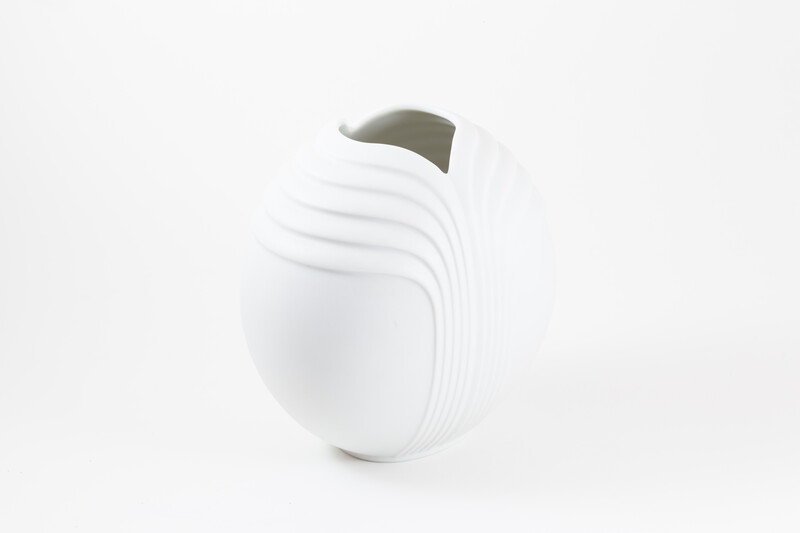
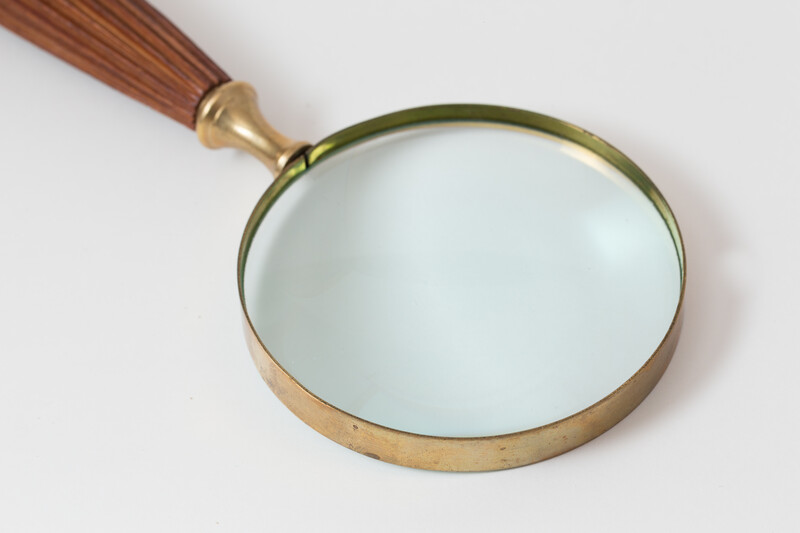
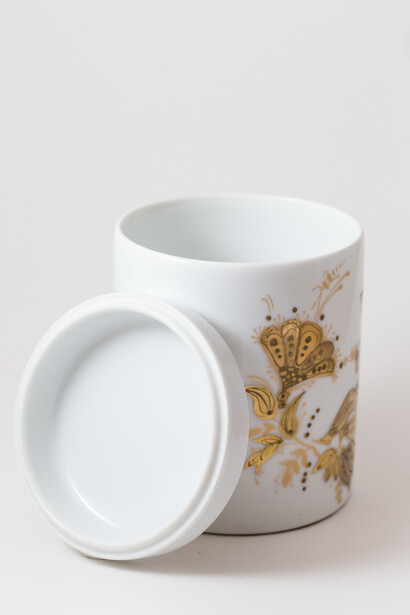
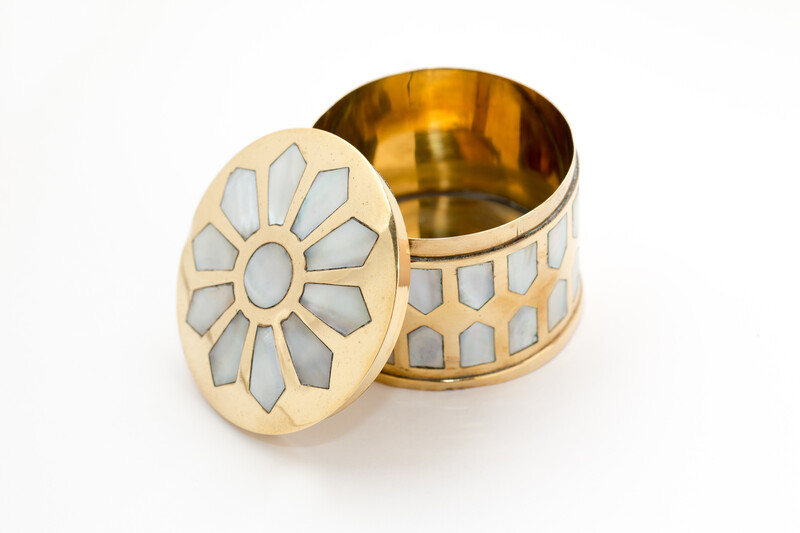
At our initial meeting we discussed her style thus far and looked over some of the products she had photographed previously. Her products were shot primarily on white unless they were reflective in which case she shot them environmentally. Most of the products were fairly small and non-reflective such as magnifying glasses or boxes but there a few more complicated items such as mirrors and brass plates that required an alternative approach.
This job was about volume. She had a good 30-40 items which needed to be photographed quickly on a similar background without much styling. Therefore, I priced the shoot on a price per item basis. My immediate thought was to create a DIY lightbox that I could place the smaller items for consistent results and a quick workflow. Admittedly, creating a lightbox at home is not a cutting edge tutorial. You can Google the term lightbox and find more than a handful of videos. What this provides however is a behind the scenes look at how I approached my unique situation, including photographing the trickier items, so I hope some viewers will find it mildly useful.
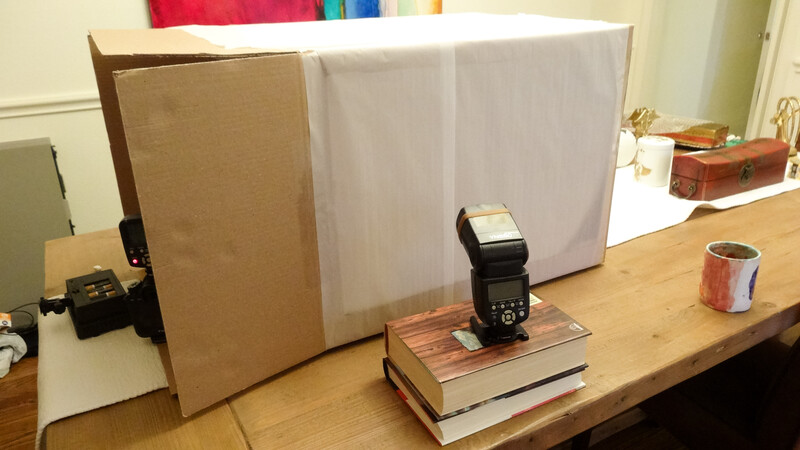
Making the lightbox was very simple and inexpensive. I went to Walmart and picked up a large size box measuring 18”X18”X24”, a roll of parchment paper, one sheet of white poster board, packing tape, and a $.98 box cutter. All of this cost me about $10. You could sub a translucent white cloth for the parchment paper or use tracing paper if you prefer. It simply needs to be semi opaque to soften the lights we will be using. I opted for speedlights as I had two readily available. Using continuous lighting would prove easier and if you decide to do a lot of this work I would either buy some decent ones from B&H or try a set of desk lamps fitted with CFL bulbs which will cost you less than $20 and allow you to control the light in real time.
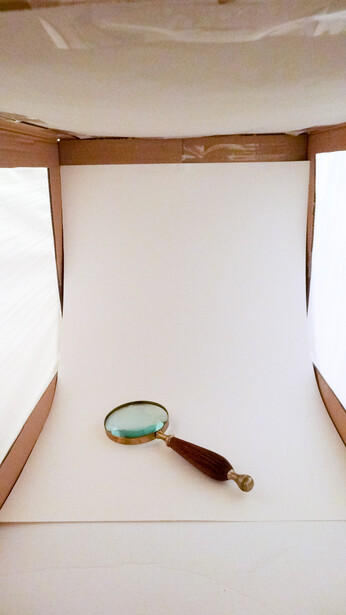
The first step was cutting out the sides of the box for my lights. The parchment paper measured 16” wide so I want to create openings that were slightly smaller, say 14.5”, in order for the parchment to be taped down to the box securely. Measure out a rectangle on opposing, vertical sides of the box that measure 14.5” wide X 22” long. Take your time cutting the slots with the box cutter and then securely tape down parchment paper sufficient to cover the slots. Cut the poster board to a thickness of 18” to allow a snug fit inside the box, then tape one end to the back, top edge and allow it to exit towards the front of the box with a curvature. This will ensure a smooth transition behind your product when shooting. Places your lights approximately 10” away from the parchment paper and facing towards the box. Voila, you have a lightbox that can be used in a pinch to photograph a bevy of items without a lot of hassle. Here is what mine looked like:
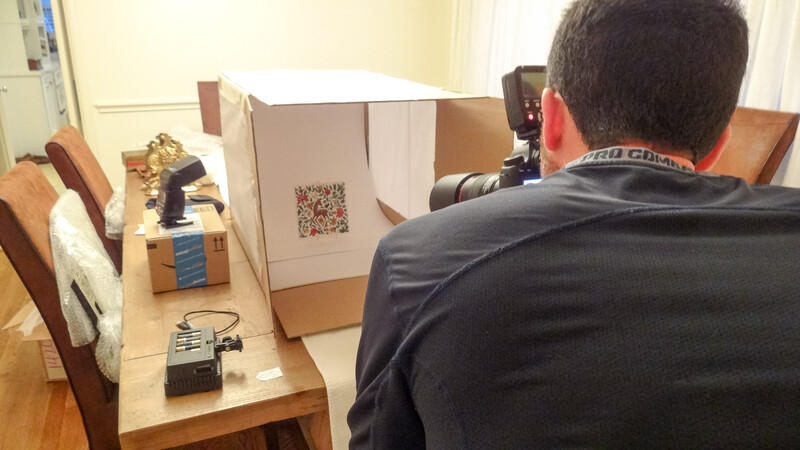

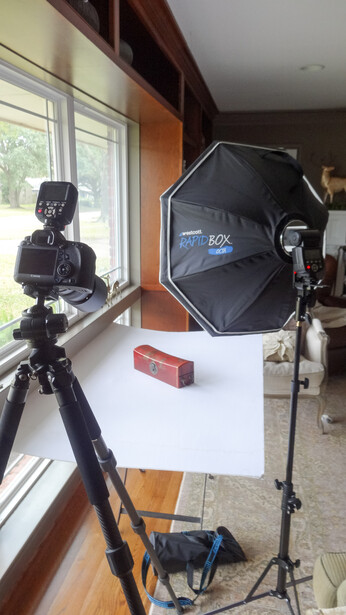
Some of the items were simply too large to fit inside the box so I had a second setup in the living room next to some very large windows. For these items I needed a much larger landing space such that the background would still appear white behind the product even at a relatively flat angle to the surface. Luckily, my friend had a huge white foam board laying around and while it was somewhat in disrepair, I was able to avoid the bad spots and work around. For this setup, I used the window light as a fill and had a single strobe set up camera right with a 26” Westcott Rapid Box as my diffuser. The camera settings here were ISO 400, f8.0, 1/40th with my flash set to 1/8th power. If you don’t have a large foam board as I am sure most don’t, you could layer parchment paper out in two to three sections side by side. This will leave a line down the middle but it should be easy to remove in post.
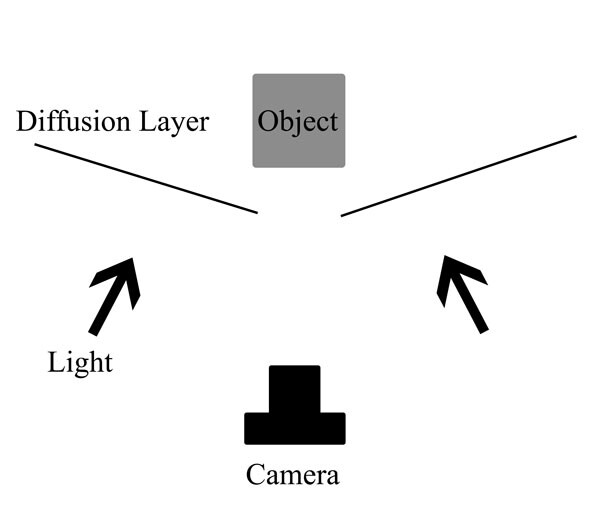
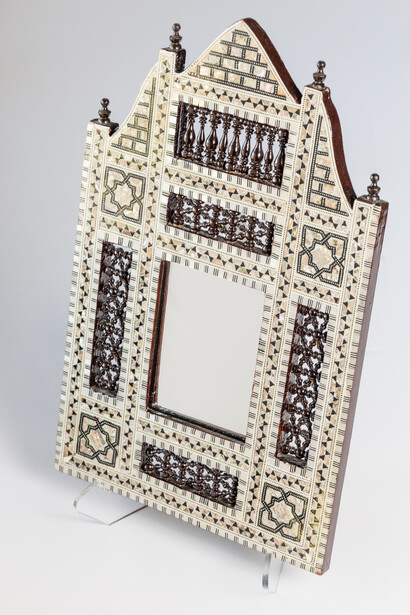
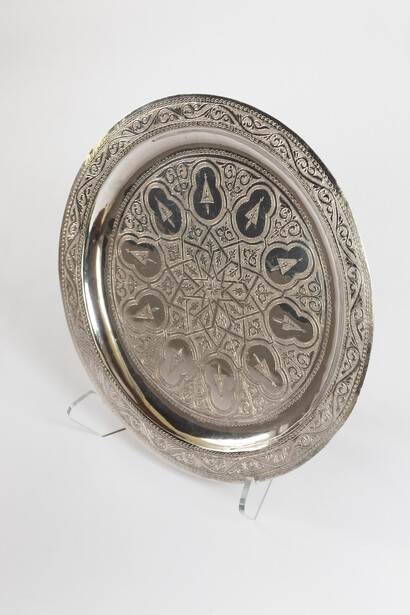
Finally, some of the objects had reflective surfaces and were tricky to shoot. One example was a large frame with a mirror inset. Regardless of where the mirror was turned, it simply reflected everything in the room. My solution was to have it face towards the window where I taped a large black poster board that I had to buy separately. I moved the mirror back and forth until my camera’s perspective was only showing the black board. Another tricky item was a silver etched plate. This surface was curved so regardless of where I placed the black board it showed reflections from the room. It was virtually impossible to remove all of the reflections but by placing two pieces of parchment paper as diffusion camera left and right with my speedlights set up directly behind them facing the object most were eliminated. The two sheets of diffusion were very close together and my lens poked right through the middle. Then I simply rotated the object on its axis in varying degrees along with moving my camera’s angle up and down until there were as few reflections as possible. Here is a diagram of my setup:
All in all, these kinds of shoots are a great way to get your feet wet in product photography and can provide a steady stream of income if your client is satisfied with the work. I hope this behind the scenes tutorial was helpful, if there are any questions or comments please let me know!


Join the Fstoppers community for free
-
Post comments and join in the discussions
-
Browse the site ad-free
-
Share your work and get featured in the community
-
Compete in the photo contests for fun and prizes
4 Comments
Great ideas, well done. Thanks.
Thank you Robin! Simple for some who may be more advanced but effective for this kind of work
Mark, kudos for being inventive. Product photography is not as easy as most people think it is.
Thank you Dallas, I really appreciate that! Writing about a lightbox seemed amateur to me at first but it was part of the job(s) I had last week which meant I could do a BTS on it. I always find these helpful so I figured I'd work with what I had. Product is not always easy and while this wasn't a commercial job, this type of business is common and shouldn't be ignored IMO. Thanks for viewing!