

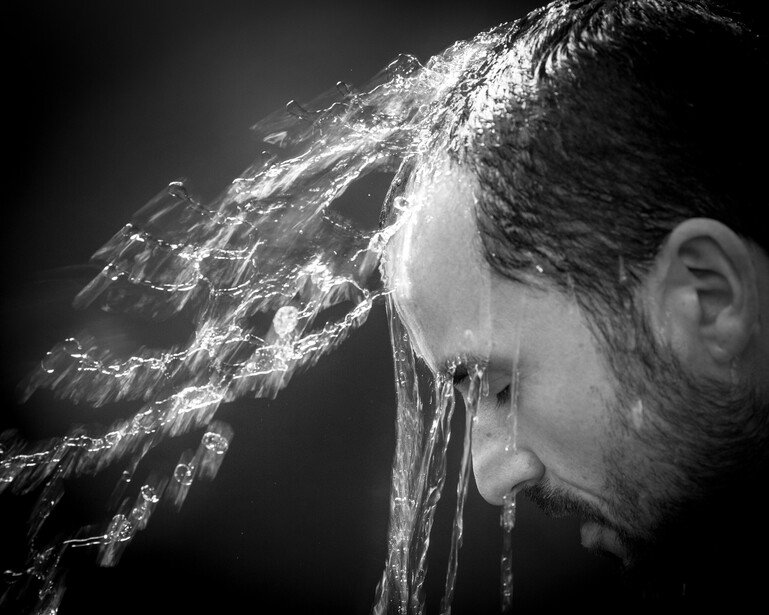
Today was a day of much needed motivation, so I decided to grab one of my speedlights and shoot a portrait with an element of motion. In this case, water.
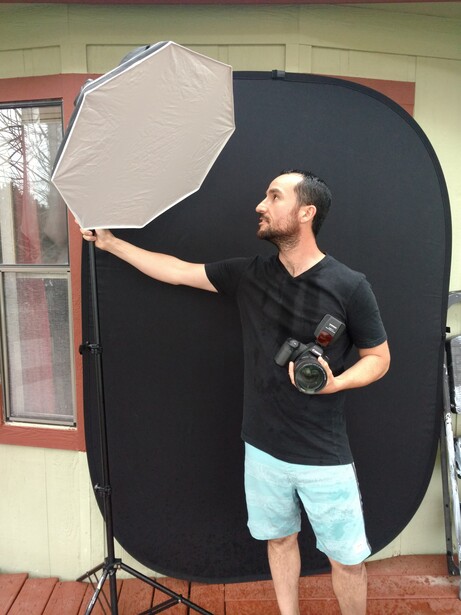
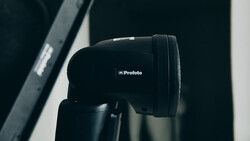
For this shoot, I used a cheap Yongnuo 560 IV flash, Impact light stand, Westcott 26-inch Rapid Box, an Impact 5X7-foot black background, Canon 6D, and my eternally generous wife who is a regular for helping me with these quick projects. I fired the flash using the Yongnuo transmitter that comes with the flash. Alternatively, you could use a much cheaper umbrella and attain similar results or find a simple black or dark colored wall. Don’t overthink it, just get out and try.
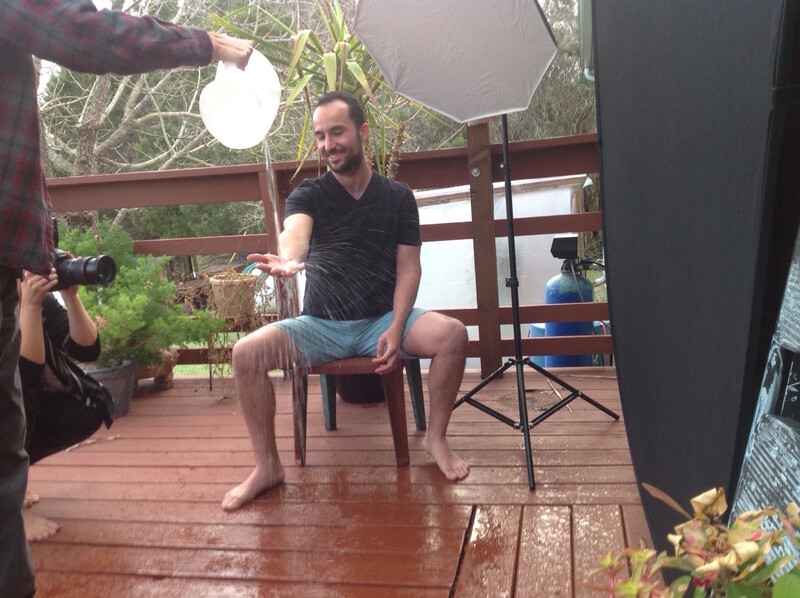
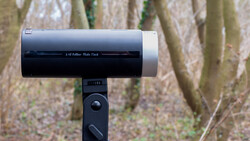
The primary issue with the shot was obviously getting wet. We needed a way to contain the water we would be pouring over my head without getting our set wet. The ideal way to do this inside would be to shoot over a small baby pool or a similar sized container and hang a plastic backdrop behind the model. Unfortunately, I did not have a pool and my indoor space was very limited. Instead, I chose to wait until sunset and set up my light and backdrop on our back deck. By waiting until the light was low, I could avoid having too much ambient light enter my scene which would be easier to control if I had been indoors. Again, make do with what you have and just give it a shot. Here is a behind-the-scenes look:
The next obstacle was figuring out what settings would freeze the splashing water. While it may seem like your camera’s shutter speed would be the primary component to freezing water, you’d be mistaken. Instead, we need to focus on flash duration which is the length of time your flash’s light contributes to the exposure. The time it takes a flash to fire is incredibly short — much shorter than the sync speed of your camera’s shutter which is generally 1/180 to 1/250 of a second. Therefore, when flash is the key light in your image, flash duration will be the determining factor in how frozen the motion is in your image. Flash duration varies greatly by manufacturer and model but a general rule of thumb is that the lower a flash’s power, the shorter the flash duration. In this case, I tried to stay below 1/32 power to achieve maximum duration.
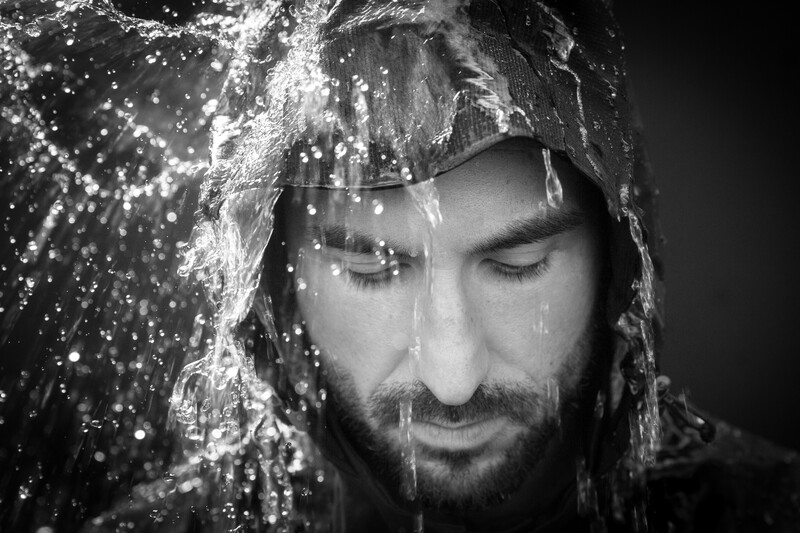
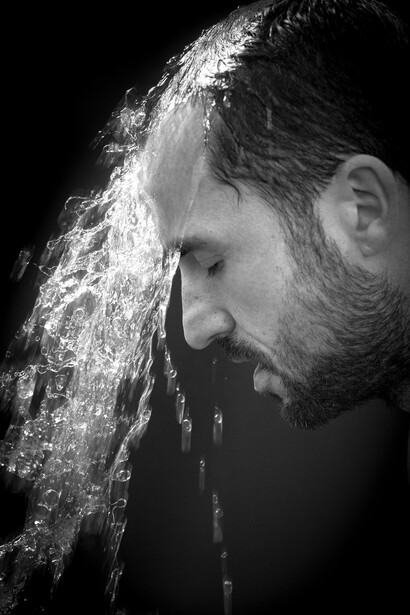
With my model in place, I went about determining an exposure based on my camera’s sync speed of 1/180 of a second. For me, this fell around f/5.6 and ISO 400 to ensure there was enough light given the low flash power used. I also decided to place my light behind my model facing slightly forward to accent the rim of the falling water. You could place the light in front but it would achieve a very different result. Then it was just a matter of shooting a few shots, varying the pose, and seeing what works. Here are some of my favorite out-takes:

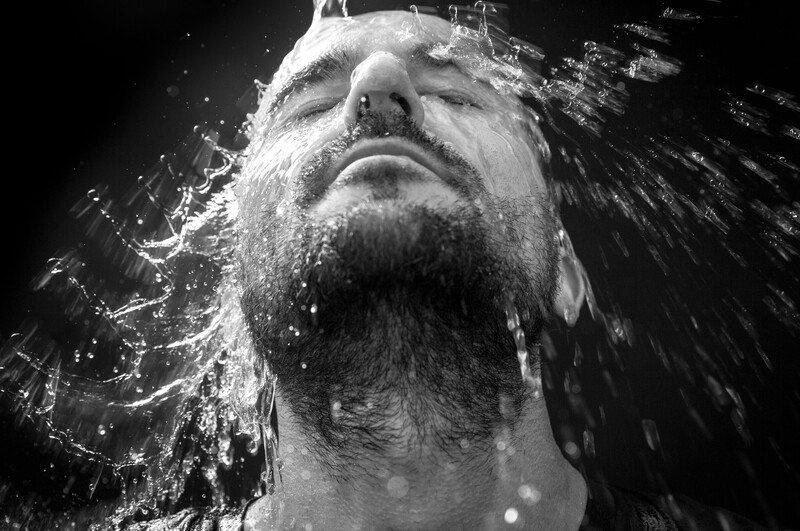
Some of the key takeaways were to pour the water from higher up and at a fairly rapid flow. This helps create a larger splash at the point of contact which adds to the drama. Another thing I noticed is that it is very easy for the water to splash the front of your lens which ruins any consecutive shots thereafter. So shoot with a longer lens, say 100mm, to be able and distance yourself from the subject. Finally, the majority of my images suffer from shallow depth of field and a flash duration that was simply too slow. This left some of the water out of focus and caused blur, which although not ideal for my given intention, did not ruin my shots. Instead, I should have used a smaller aperture, say f/8, a higher ISO, and moved the flash closer to account for the relatively low power.
This was obviously not a professional paid gig but it's shoots like these that remind me how much fun photography can be. And it requires little more than a cheap speedlight and a willing participant which admittedly, was the most difficult aspect of this shoot. Give it a shot and see what you come up with.


Join the Fstoppers community for free
-
Post comments and join in the discussions
-
Browse the site ad-free
-
Share your work and get featured in the community
-
Compete in the photo contests for fun and prizes
15 Comments
Fantastic! You just reminded me to dust off my flash from time to time. Cheers!
Are you sure you don't have ambient light contaminating your shots creating motion blur, being outside?
I think you are right. maybe he should try taking the shutter speed to 1/250th. Also turning the power down on your lights often helps sharpen up the motion.
Hey Martin-my max sync speed on the Canon 6D is 1/180th which frankly stinks. I had the power down to 1/32-1/64 which should have been low enough but, they are only speedlights and as Tyler pointed out I was working with quite a bit of ambient light. Live and learn...
Ah that makes sense. Get you some alien bees? Maybe.
The images are still cool. Not mad at them at all.
Tyler-I think you are right. Working outside was definitely not the best idea but it was what I had to work with at the time. I waited until it got closer to sunset to avoid excess ambient but it should have been darker still.
Maybe I'm wrong but, if you set you flash to rear curtain sync you don't have that weird effect to have the water sharp and then the ghosting but the opposite.
This in one of my experiment with one flash to stop motion
This is awesome Andrea! I have never used rear curtain sync, I always thought it was meant for creating a blue trail behind your subject like this.
If I am not mistaken, rear curtain sync requires TTL flash because camera refuses to enter external flash menu unless it is ttl which yn560 series isnt. Btw I own 560 iii and iv with 560tx trigger, great flashes for low budget.
For such fun with short flash duration, leaf shutters are really cool, as you can easily kill ambient light ;) https://fstoppers.com/photo/165548
Konrad, this is bad a**!! How many lights did you use??
Thanks ;) Just two - one is the rod and the second is flagged speedlight in the back top.
Um, that "motivation" seems to have come from Gavin Hoey (https://youtu.be/hBOX_w077QE). Nothing wrong with recreating shots but crediting the original author would be appropriate.
Like This