Editing on the wrong monitor, shooting at the wrong ISO, working in 8-bit — any one of these mistakes can quietly wreck an otherwise solid photo. Some of them can't be fixed in post.
Coming to you from Mads Peter Iversen, this practical video walks through seven specific mistakes that can ruin your photos, many of which are easy to make without ever realizing it. Iversen opens with a real story from a workshop in Slovenia, where a guest was editing on a cheap workplace laptop. The screen couldn't render the full sRGB color gamut, which meant everything the guest edited looked correct on his machine but was completely off everywhere else. Iversen's fix is straightforward: if you're serious about editing, your monitor needs to cover the full sRGB color spectrum at a minimum. He used a MacBook Pro as his own reference point in that comparison, and the difference between the two screens on the same raw file was dramatic.
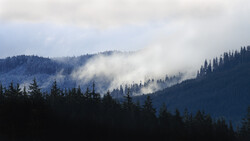
Iversen also gets into editing environment mistakes that are easy to overlook: things like having bright windows or strong lights in front of you while you edit. He admits he over-edited a set of winter tree photos specifically because of this: he was sitting in a bright living room and his perception of contrast, brightness, and color was thrown off by the ambient light. His practical advice is to let a photo "marinate" after you think you're done: step away, come back later, and check it again in the evening. He also recommends loading a finished photo from your portfolio that's similar in tone and light to use as a reference while editing in Photoshop or Lightroom.
The ISO section is worth paying close attention to. Iversen pushes back on the idea that ISO 100 is always the right call. In a scene with wind and moving branches, a multi-second exposure at base ISO can leave you with motion blur in places you don't want it. That blur will draw the viewer's eye straight to the problem. A tack-sharp image with some noise is almost always the better result. He also points out that in wildlife shooting, he rarely shoots at ISO 100 at all. Shutter speeds of 1/1,000 of a second or 1/2,000 of a second are often necessary to freeze a bird in flight, and getting there means pushing ISO higher. The principle he keeps coming back to is this: decide on the artistic result first, then dial in the settings you need to get there.
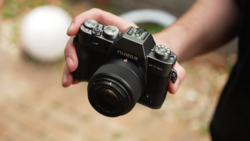
There are three more mistakes covered in the video that Iversen ties directly to gear choices, including why cheap SD cards, low-quality filters, and third-party batteries each carry real risks, some of which can do permanent damage to your files or your camera. Check out the video above for the full rundown from Iversen.



Join the Fstoppers community for free
-
Post comments and join in the discussions
-
Browse the site ad-free
-
Share your work and get featured in the community
-
Compete in the photo contests for fun and prizes
No comments yet