
Both beginner and intermediate photographers are sometimes surprised to find out just how limited a camera meter is. Understanding how the camera meter works and how you can compensate for different lighting conditions is something that can significantly improve your photography.
You would think that with modern-day electronics that something as "simple" as metering for a photo would be no big deal. However, once you understand what is taking place, it's not so simple.
With an evenly toned image, yes, the metering is pretty simple and fairly accurate. However, in a scene with unbalanced bright and dark areas, things tend to get a little more tricky.
If you've ever taken a winter photo, one of the first things you find out is that when using the default evaluative metering, the snow doesn't look white, it comes out gray. Let's explore why that is.
Types of Light Meters
There are two types of meters used for photography: incident meters and reflective meters. Almost everyone has seen a photographer use an incident meter, but many don't know why they use it.
Incident Meters
An incident meter measures the amount and intensity of light falling on a subject. Placed at or in front of the subject being photographed, it knows nothing about the color or reflectivity of the subject, only the light reaching the subject. You've probably seen these handheld devices, especially among commercial photographers. Obviously, their limitations are that they need to be placed at the subject location, making that impossible or near impossible for many photography situations.

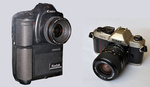
Sekonic LiteMaster Pro L-478D-U Light Meter
Reflective Meters
All digital cameras use a method called reflective metering. Reflective metering measures the amount of light reflected from a subject and determines the optimal exposure based on the metering mode (more on that later). The color and reflectiveness of the objects(s) being photographed will affect the amount of reflected light and influence what the meter considers to be a proper exposure.
Some people may be surprised to find out that in many cases, digital camera meters are merely guessing at what the proper exposure should be.
The electronic sensors in the camera have no idea what level of brightness a specific tone should be; they can only measure the amount of light the subject is reflecting. Should that dark object be black or just dark gray? Should the light object be white or just light gray? The camera has no idea, and it has no way of knowing what it should be.
In simple terms, a camera's metering system works by averaging the brightness of the scene and calculating what the exposure should be to make the average brightness of the scene to be 18% gray if the image was grayscale/black and white. 18% gray (also known as middle gray) is perceptually about halfway between black and white. This average is also weighted by area depending on the metering mode.
One thing to note, though, is that DSLRs (when not in live view mode) don't meter using the image sensor, as the mirror prevents that. DSLRs use a separate metering sensor, and the number of zones they meter for can vary significantly between cameras. For example, a Canon T3i has 63 zones for metering, whereas a Canon 5D Mark IV has 252 zones used for metering.
The amount of light and dark areas in a scene can significantly affect the metering. This can be demonstrated by simply taking a photo of a white, gray, and black background. The following photos were taken with evaluative metering in aperture priority mode (f/5), ISO 100, and under constant studio lighting.
White Background Versus Gray Background
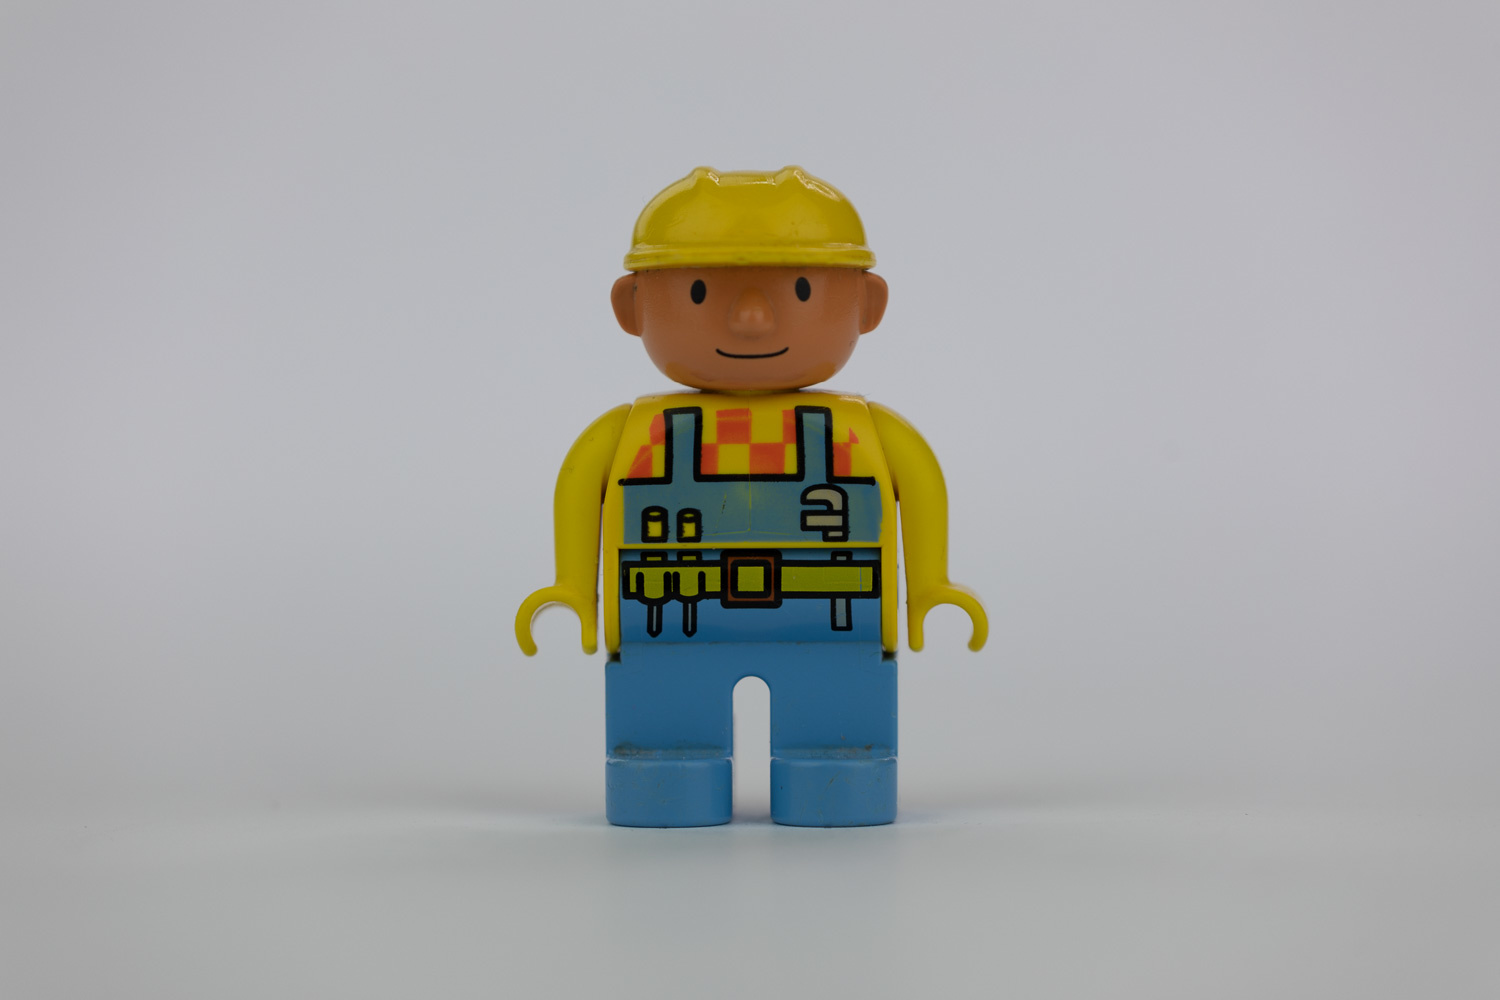

White Background Versus Black Background

Note that the shutter speed for the white background is half that of the black background. We want our little figure to be correctly exposed, but the white background causes the evaluative metering to underexpose the image.
Metering Modes
Most modern digital cameras have several metering modes that determine what area of the image is sampled for metering. Here are just some of the metering modes that some cameras have:
Matrix/Evaluative Metering
Matrix Metering (Nikon/Sony, the name varies on other cameras) or Evaluative Metering (Canon) is the default mode for most cameras. This mode evaluates the largest portion of the image. It is best used with evenly lit scenes or flash photography.
Center-Weighted
Center-weighted metering varies from camera to camera, but basically, it evaluates the image with more of the center of the image considered. This mode is best used with portraits, macro, and when the subject of the photograph is going to be in the center of the frame. Also useful with flash photography.
Partial Metering
Partial metering evaluates a smaller area of the image. On Canon cameras, this is about 6.5% of the image. It's similar to center-weighted, but uses a smaller portion of the image.
Spot Metering
On Canon cameras, this uses 2.5% of the image, and on Nikon, it uses 5% of the image. It is best used with backlit photos, high-contrast scenes, such as snowy landscapes and silhouettes.
Highlight-Weighted Metering
This is the newest metering mode on select Nikon cameras, in which the camera meters the highlights to ensure that they are properly exposed. Best used for mixed lighting scenes where there will be bright areas that would be hard to spot meter.
For our little test figure, in spot metering mode, the camera chooses a shutter speed of 1/125 sec for both the white and gray backgrounds, because the spot metering is evaluating the light reflected from the small portion of the little figure just above the belt buckle.


How to Compensate for Metering
Now that you know that your camera meter isn't always going get it right, let's look at a few ways you can compensate for it to get the exposure you would like (in camera). When lighting conditions are extreme, you may find that you'll want to get your exposure as close to correct as possible in the camera.
Metering Mode: If your subject or background isn't changing frequently, you can use a metering mode like center-weighted, partial, or even spot metering to get more accurate metering. Depending on your camera, changing modes may not be as quick as one of the other methods.
Exposure Compensation: Just about every digital camera has an exposure compensation setting. This is typically indicated by a +/- symbol, or an actual dial labeled "-2, -2, -3, 0, +1, +2, +3." This setting simply tells the camera to adjust the metering by the selected number of stops. For example, if I'm photographing a scene in the winter, I'll dial in +1 or more to compensate for the brightness of the snow in the scene, which the camera tends to underexpose. If I'm shooting a white bird on a dark background, I might dial in -1 or -2 to compensate for the dark background.
Full Manual Mode: When you're using manual mode, you can simply adjust your settings so that the metering reads the exposure as either overexposed or underexposed. Once you're comfortable shooting in manual mode, you often know just how much to compensate a particular scene for as well as how much highlight and shadow recovery you can get when shooting in raw.
Conclusion
Photography is all about light; it's at the center of everything we do as photographers. Getting the exposure you want is crucial to your photo. Whether that's exposing just right, underexposing, or overexposing your image, you'll need to learn to control the camera to get the best image to start with; don't just rely on post-processing to lighten or darken parts of your image.


Just a heads up - you might want to correct the article title.
*Your
Good article. Also good to know where your meter is reading Zone V (18% gray ), I know a calibration test. No one likes shooting a gray card, and adjust your setting accordingly. No two meters read the exactly the same.
This why live histograms in EVFs are so useful. It then does not matter what meter mode you use. But a good article about a slightly mysterious subject.
I’ve read a lot of articles over the years that attempt to explain metering and most have been identical to this one, to the degree that it seems like people are just copying / pasting from each other but keep missing the same important points.
The problem is that there are some philosophical concepts embedded in these explanations that should be cast aside in order to truly get the most out of metering. For starters:
"Now that you know that your camera meter isn't always going get it right, let's look at a few ways you can compensate for it to get the exposure you would like (in camera)."
First, in order to use metering effectively, it's important to dump the notion of "the camera getting it right" and instead consider that it's not the camera's job to "get it right", it's your job as a photographer to evaluate what the meter is telling you and to use that data accordingly.
Snow is something people love to use as an example of the camera "getting it wrong", but it isn't getting it wrong. It's telling you exactly what the meter is supposed to tell you, which is the exposure needed for a light reading to be plotted at 50% gray on the histogram. This is where knowledge of the histogram comes into play (I feel like we just had this discussion in a different thread), because you should know that scenes have highlights and shadows and not everything is going to fall at 50% gray. It's your job to identify those elements in your scene and figure out where they should fall on your histogram, then use the meter as a starting point. In the case of snow, YOU need to know that it should be a highlight / almost white rather than 50% gray, then you can meter it effectively by knowing how many stops over 50% gray you need to shoot in order to plot the snow where it should be. Some may consider this a semantic argument but I think it's the difference between an efficient thought process and one that is potentially more confusing. The notion of the camera "getting it wrong" implies that there's a higher degree of imprecision to the device, when the truth is that the device is quite precise, you just need to know how to use it.
The other problem with the idea that the camera gets it "right" or "wrong" is that it implies the idea that a photograph consists of "one" exposure, and that there is a correct one. It's best to stop thinking about scenes in terms of one exposure and instead approach them as being many exposures contained within a single photograph. I believe this is part of what Ansel Adams taught with his Zone System, though I could be wrong because I haven't really explored his version thoroughly. Basically the idea is that you learn to measure individual components of your scene rather than thinking "the average" is what matters.
All of this is why I actually find the spot meter the most useful for everything shot in manual mode. Instead of using evaluative and acting like the picture is "one" scene, I point the spot at several different points in the scene... not to tell me whether they're "over" or "under" exposed, but to tell me specifically how far over or under they are. That allows me to make decisions for my overall exposure... but the point is that I'm making those decisions, I'm not leaving it up to the camera.
It's like blaming the level because you didn't hang a frame correctly. The level didn't hang it, you did, it just tells you what's level and what's not. There's a lot that goes into that process and it's up to you to make sure everything comes together. Metering shouldn't be considered the "brain" of the camera (as it often is) because it isn't. You are. The meter is just a tool with a specific function that can be used efficiently or inefficiently.