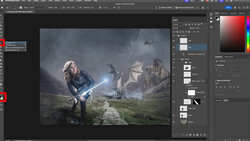
In this video tutorial, watch as Redouane Naouri shows you how to create a gel color lighting effect in Photoshop.
In the video, Naouri starts by showing us how you create a bump height map. Personally, I had never used this feature before, so it was interesting to see how it worked. Just in case you have a low-end computer, Naouri gracefully shows us another way to get around the bump height map. From there, it needs to be turned into a pattern, and we are all set to start adding color. Using a blank layer and the soft light blending mode, Naouri paints color on the model and lowers the opacity. To give the color some life, he then goes on to use bevel and emboss.
As the video continues, Naouri shows why he is one of the young and upcoming photo manipulators to watch. Once we go into the bevel and emboss, things become a little more advanced. Once the effect is created, Naouri paints it locally using layer masks and then runs through the process again, changing some of the settings. I would prefer to shoot the image in the studio with gels, but not everyone has access to a studio.
This tutorial is great for anyone who wants a split gel effect but has no way of getting an image lit like that or does not have access to a studio.

Join the Fstoppers community for free
-
Post comments and join in the discussions
-
Browse the site ad-free
-
Share your work and get featured in the community
-
Compete in the photo contests for fun and prizes
No comments yet