
If your subject is far away, you can use a longer focal length to bring it closer. When the subject is very large, a shorter focal length can capture it al at once. But did you know the focal length can also be used in another way?
The focal length of your lens determines at what size your subject will appear in the frame. The longer the focal length becomes, the narrower the field of view will be. The result is a magnification of the subject. If your want more in the frame, you need to make the focal length shorter, thus making the field of view wider. In that case everything will become smaller in the photo.
This is not something new. It's something every photographer knows. This is the reason why a tele lens is used to take pictures of a small birds, or athletes from a safe distance. It is also why a landscape photographer often uses a wide angle lens to capture as much as possible in the frame.

Zoom Lenses and Primes
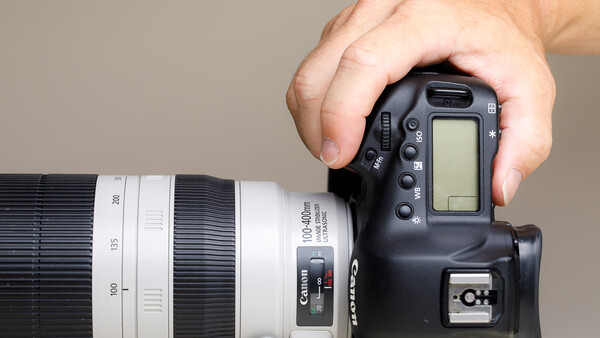
Zoom lenses are very versatile in that way. Because these lenses have a range of focal lengths, it is easy to determine the most ideal framing just by zooming in or zooming out. Is your subject too small in the frame, just zoom in. Do you want more of the landscape in the frame, just zoom out.
Photographers that use primes can do the same thing. But instead of zoom, they need to change a lens when a different focal length is needed. Some may say the user of primes has to zoom in or zoom out by using their feet. If they need the subject to be larger in the frame, they need to take a few steps towards the subject. And visa versa, increase the distance when the subject needs to be smaller in the frame.
But don’t be mistaken. Changing your own distance is not the same thing as changing focal length. This is because the angle of view will change when zooming in or out, something that won’t happen when you step closer to your subject with the same prime lens.
Using Focal Length for the Background and Not for the Subject
I described the use of focal length to change the size of the subject in the image. In that case it is not necessary to change the distance to the subject, because the focal length does the job for you.
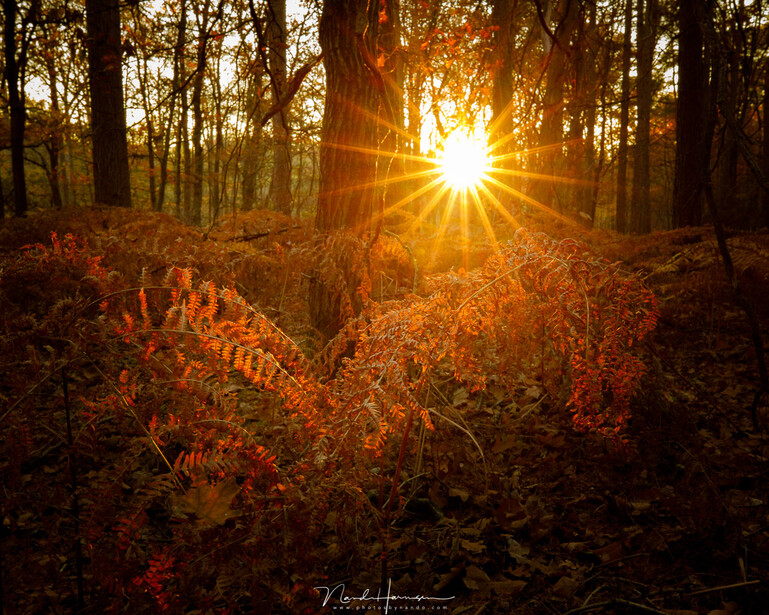
But you can also use the changing field of view to manipulate the amount of background you want in your image, without changing the size of your subject. For this you not only have to zoom in or out, you also have to change your own distance in such a way that the subject will keep the same size. The next example of a sunset shot demonstrates this kind of use. Watch how the background changes while the subject, the bare tree, is kept the same size.

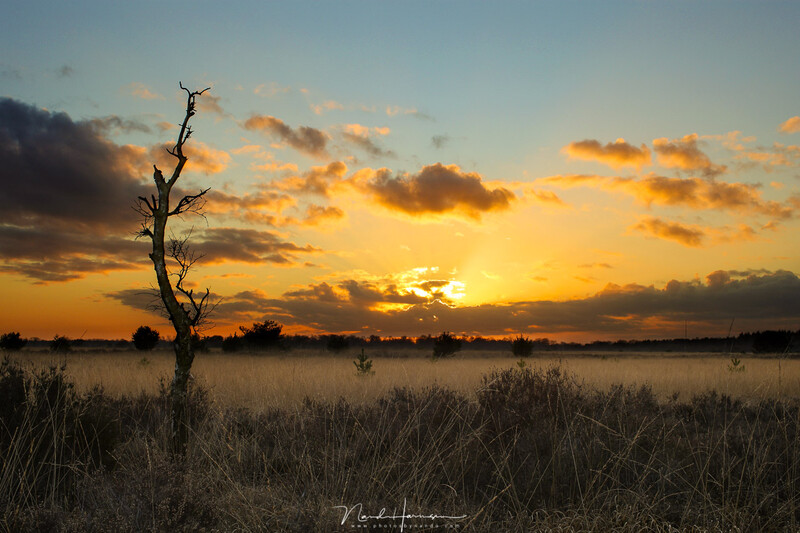
Keep in mind, there has to be a certain distance between the subject and the background for this to work. If your subject is standing against a wall, it won’t make a lot of difference. But if your subject is against a landscape the difference can be huge.
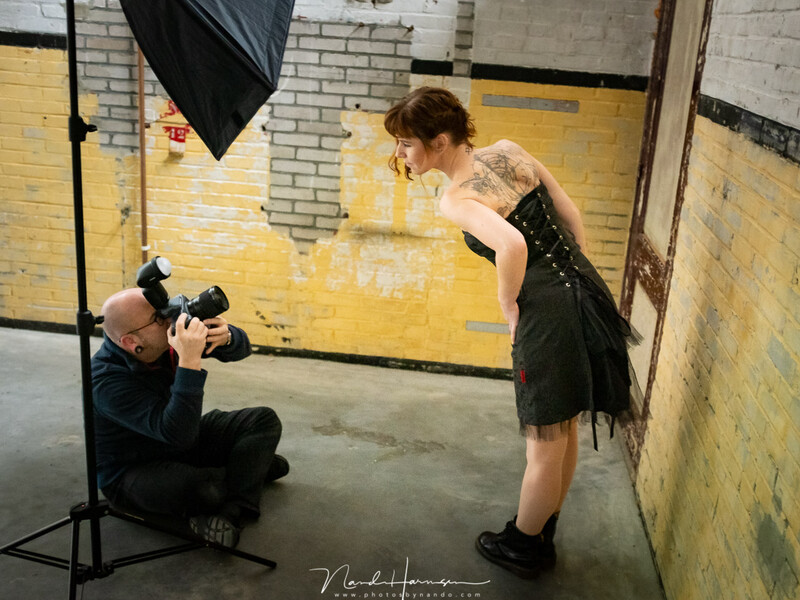
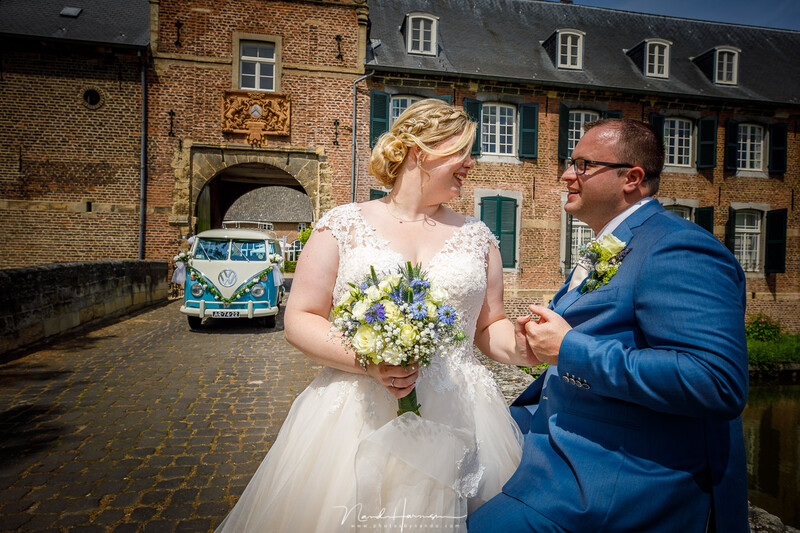
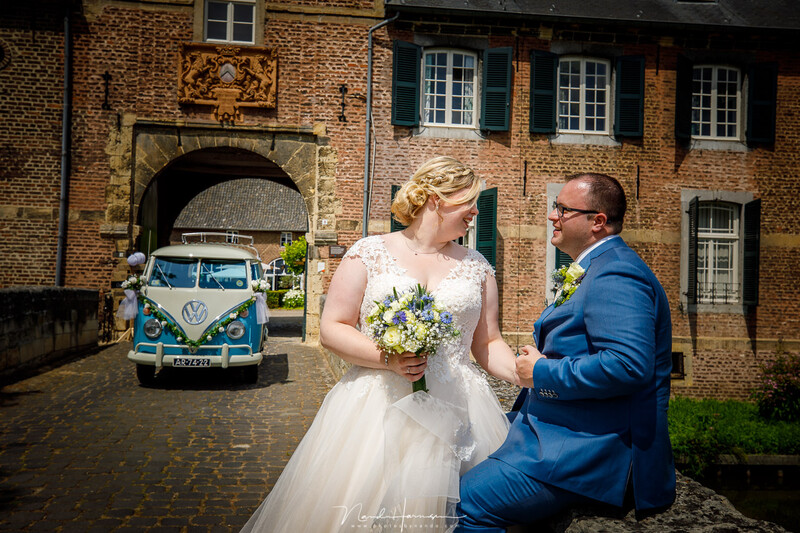
Using the focal length of your lens this way, you are able to manipulate the background. It works for all kind of photography and I use it often for portrait photography, weddings, and landscapes.
When using zoom lenses you have a large range of focal lengths available in one lens. Choosing the right amount of background in the frame is easy. Users of primes have a limited amount of focal lengths to choose from, but it is not impossible to manipulate the background like this.
You Should Try It out for Yourself
If you already use the focal lengths of your lenses in such a creative way, that is perfect. But if you only use a zoom lens to get a subject larger in the frame, you might want to try it out. Just change your distance to the subject when you are changing your focal length in such a way the subject will keep the same size. Watch what happens to the background and use it to your advantage. I would advise taking a few photos from different distances while keeping your subject the same size in the frame, to learn how you can manipulate the relation between foreground and background..
I have some more examples of how a change in focal length can change the image when the subject is kept the same size, or almost the same size. Just remember; it is not about right or wrong, good or bad; it is about choosing a composition you like. I have mentioned the focal distance below the before/after images for your information.
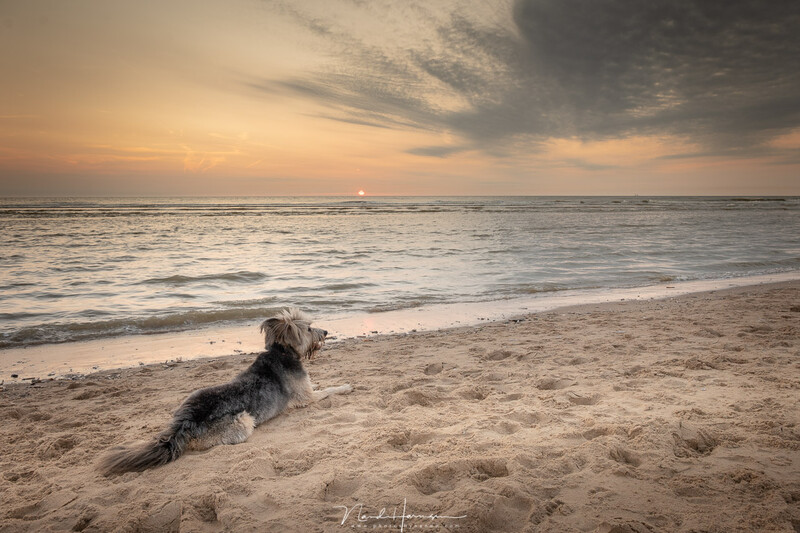
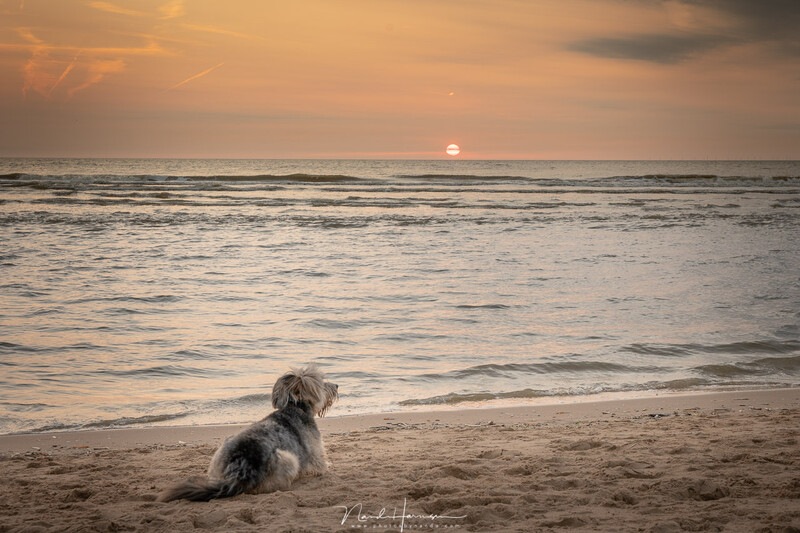
Left: 24mm (notice the wide angle distortion of the dog). Right: 66mm which shows the sunset in a larger size relative to the dog.
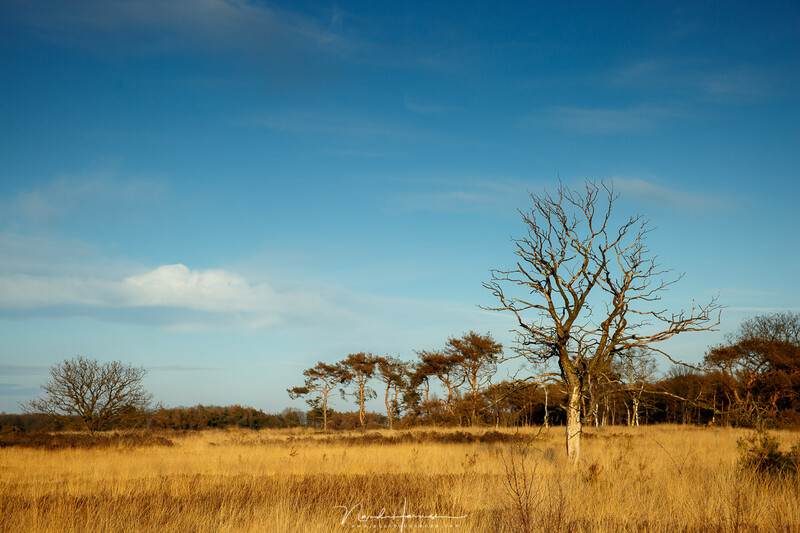
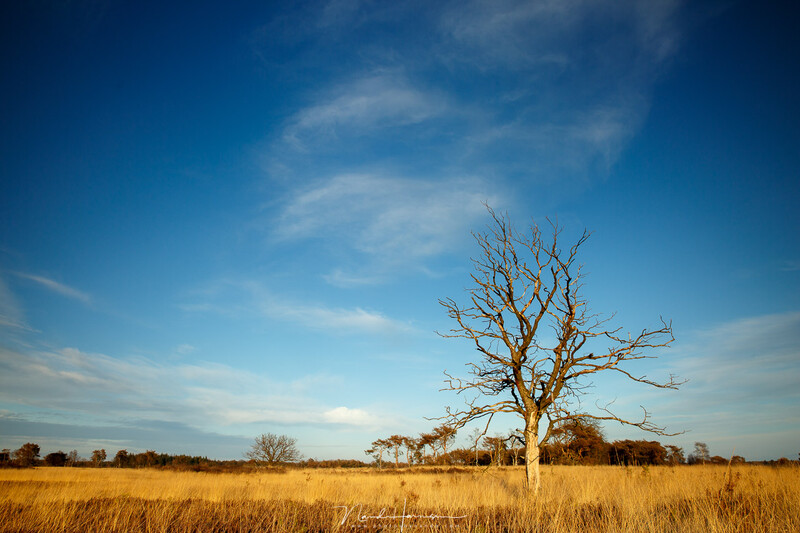
Left: 70mm. Right: 24mm, which makes the tree stand out better against the background.
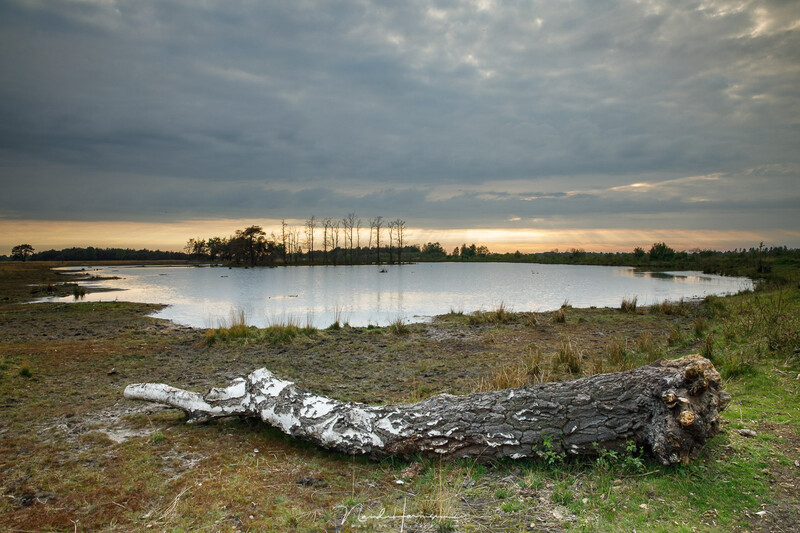
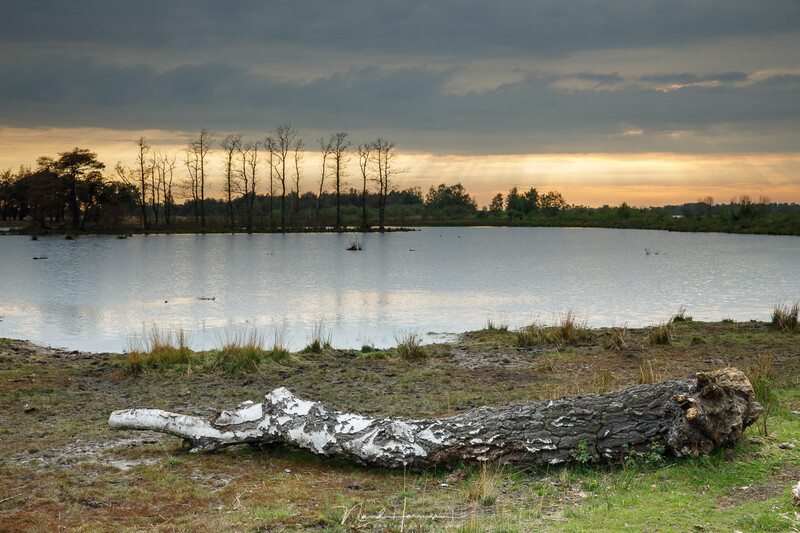
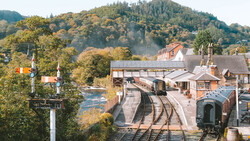
Left: 24mm. Right: 50mm, with the trees behind the pond larger in the frame.
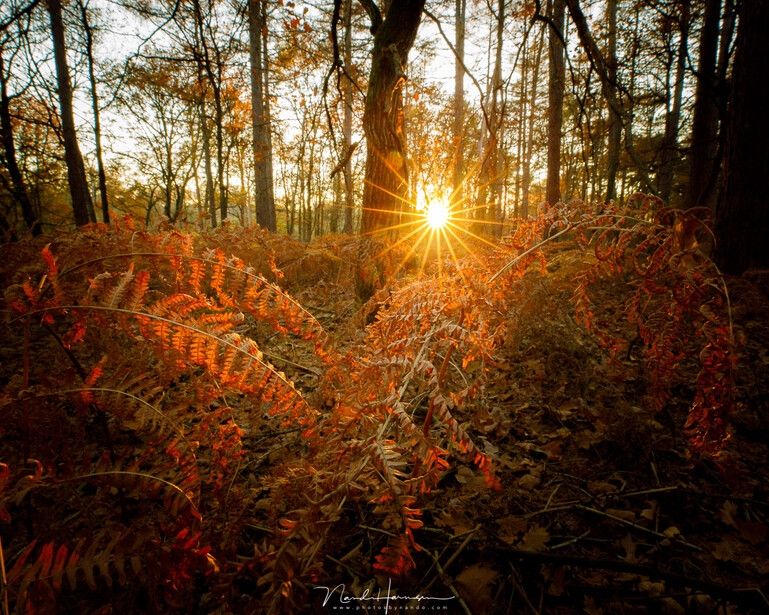
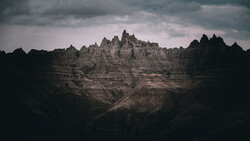
Left: 16mm. Right: 35mm, where the bright white sky is kept out of the frame.
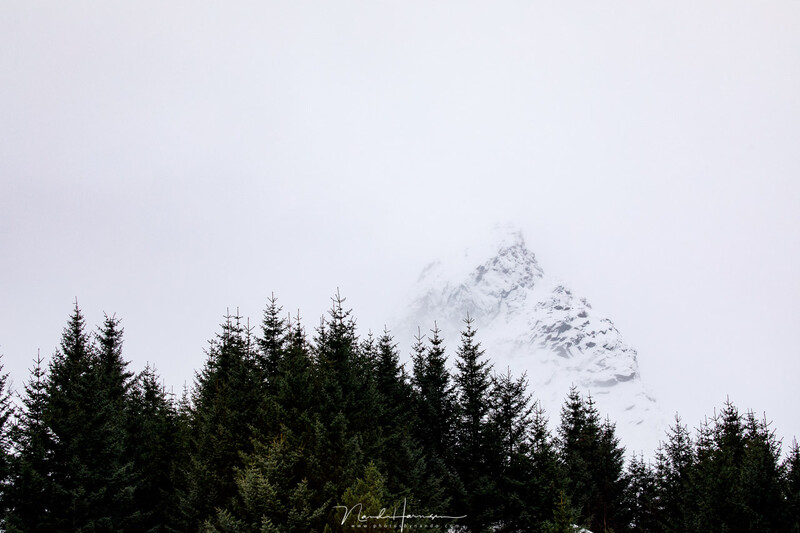
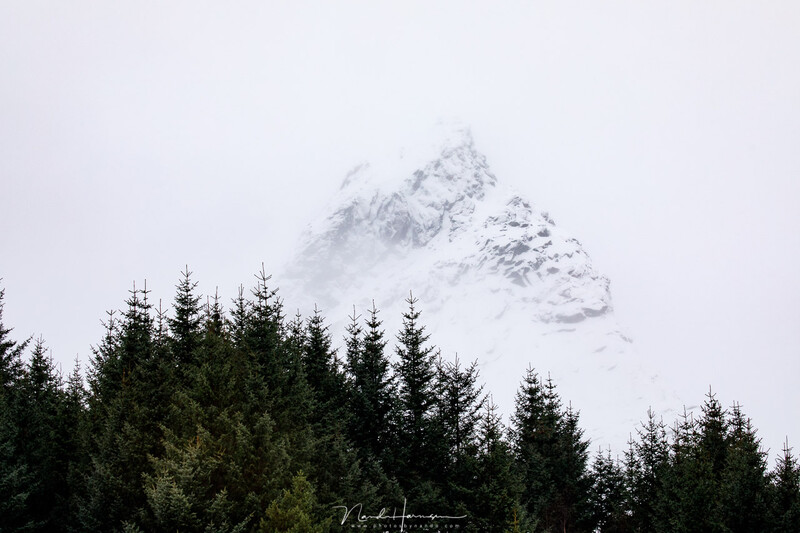
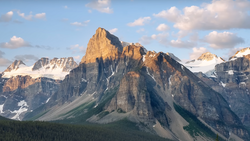
Left: 110mm. Right: 135mm to have the mountain in the back a bit larger in the frame.
Final Thoughts
I know there are situations when it is not possible to change your own distance. A wildlife photographer probably can’t get closer without scaring the subject, a landscape photographer might not be able to step back without falling down a cliff, or a portrait photographer might be limited to the space available in the studio. But there are a lot of other occasions where this creative use of the focal length may help to get the perfect relation between subject and background.
Did you know about this use of focal length? Or is this completely new for you? Please share your thoughts in the comments below.

Join the Fstoppers community for free
-
Post comments and join in the discussions
-
Browse the site ad-free
-
Share your work and get featured in the community
-
Compete in the photo contests for fun and prizes
24 Comments
A great example of something I think most of knew, but didn't realise or utilise. A great peice of education.
Thank you David
Thank you so kindly Nando. By far this has been one of the most helpful articles I have read here for a while. Though I am not a professional I do learn a lot from photographers such as yourself. I'm the sports shooter and with your advice maybe I will enjoy shooting landscape. That you so much for the advice and keep on shooting.
Thanks William, It is usable for every kind of photography. Perhaps you can use it also for your sportsphotography
Well I would but this global virus has stopped all of my two son's sports. Guess I'll try landscape photography!!!!!!!
Ah yes, of course. But the crisis won't last... eventually normal life will continu
Such a great article! Well made, and the examples are perfect. I agree with David's comment in that many people "know" this in some way, but do not consciously utilize it as much as these examples show in their photography. Love it.
If you realize what is happening when changing focal length, you can use it in a very conscious way. Thanks for your comment, Matthew
Good article! My favorite YouTube guy, Matt Granger, does this a lot when he compares lenses, especially primes, of differing focal lengths.
I will check out Matt Granger. The effect is best seen when comparing, indeed. Thanks for the comment, David
Matt will compare, say, portrait lenses; 85, 105, 135 and the like. Not only does he mention background blur, but how it compresses the background. He'll take shots of his model with a cityscape in the background and note how the background not only blurs but changes shape.
That is a good idea to perform myself, one day. For my own blog and presentations. Thanks for the idea
This a wonderful example of a simple but very useful and effective article. I especially appreciate the examples.
Thank you, Scott
"Users of primes have a limited amount of focal lengths to choose from, but it is not impossible to manipulate the background like this."
Excellent info for those who advocate "zooming with your feet".
Possibly one of the more important principles in photography is learning that where you stand determines the perspective and the lens determines the crop.
That is a great sentence to summarize everything. Thanks for adding this, Indy.
This is pretty great, thank you! The only time I’ve done similar is to emphasize or minimize the view out of large windows or off balconies when doing real estate photos, for example to enlarge a distant downtown skyline I’ll step back and use a longer focal length. But for some reason it never occurs to me when shooting for fun although with portraits I far prefer 100mm to 85 or 50 to emphasize the subject.
You’ve definitely made me rethink composition.
A nice application of this principle, Jason. Never thought of real estate in this way. Often it is just wide wide wide angle in these kind of photography.
Thanks for the comment.
A great article!!!. Now I understand why some people use longer focal length like 70-200 for landscape photography. Want to learn more from you, keep doing Nando.
Thanks.
I will do so :)
As a newbie to photography, this was a superb article, especially with so many great examples. Thank you!
You're welcome.
Glad to be of help :)
Nice images. Thanks for illustrating this important aspect of photography. Back in the golden age of film cameras, camera company's lens family brochures included a focal length-subject distance picture series titled "perspective." Image magnification, focal lenght, and camera- subject distance is the key to proper looking subjects and the relationship of subjects to their surroundings. All of this prectctable. Which is what makes the craftsmanship of photography so interesting and fun. Suggest you check online for old Nikon/Canon/Minolta/Olympus brochure and reproduce perspective series for your viewers. A real eye-opener to the power of the lenses they own and use. Keep up the good work. Again, really like your images. Best,
Phil
Thanks Phil.
I remember these brochures, and if I am not mistaken, I still have a few Minolta magazines in the attic. These nice series of images were used often. I made one also for my own website. Perhaps for a follow up to this article