Nathan Elson, a commercial photographer from Calgary, Canada, just posted a great no-nonsense tutorial outlining his basic lighting set-up. Oh, FYI, there's also a great contest that Elson has put together with Strobepro. Go take a look.
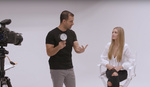
Instead of showing us a flashy 3 minutes of posing and high-paced cutting and calling it a BTS tutorial, Elson has taken the time to spend 20 minutes showing us exactly how he approaches his go-to lighting setup. In the end, we're given a packed 20 minutes of lighting advice.
Before I note a few of my favorite pieces of advice, it's important to point out Elson has partnered with Strobepro to offer a giveway contest!
- Strobepro 47" Rapid Deep Octa Box
- Strobepro 63" Deep Para Umbrella w/ White Diffusion Panel
- Strobepro 40" 2 in 1 Umbrella
 A few great points to look for in the tutorial:
Elson discusses his use of manual white balance. I'm curious, how many of you do this instead of using either auto balance, or switching to flash balanced? I find that almost all photographers eventually move away from any kind of auto mode, with the exception being auto white balance. In my experience, photographers often stick to this auto function much longer.
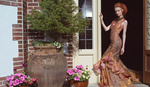
I found Elson's discussion of how a subject's distance from the light source can have an effect on the shape of the light falling on the subject helpful. This is an important point that a lot of photographers overlook. After all, why spend money on a particular shape of modifier just to move it too far away and create a generic looking splash of light?
I had never thought of it in the terms Elson uses, but, it makes sense the way he eschews reflectors and v-flats for flashes (when possible, and, of course, budget permitting) for fill. As Elson points out, it's much easier to change the power setting on a flash than to start thinking about the inverse square law. Dialing in power or stops is certainly more desirable than starting to do a bit of math.
I really do love the idea of feathered rim light. Something I'm going to have to add to my own arsenal.

Last, a few assistant / lighting geek notes that I was really happy to see. First, I liked the quick notes on how a c-stand works. So many people and assistants use them wrong. Second, Elson's brief note about where to place the knuckle on an arm so that it tightens with the weight of the light is important to anyone looking to assist.
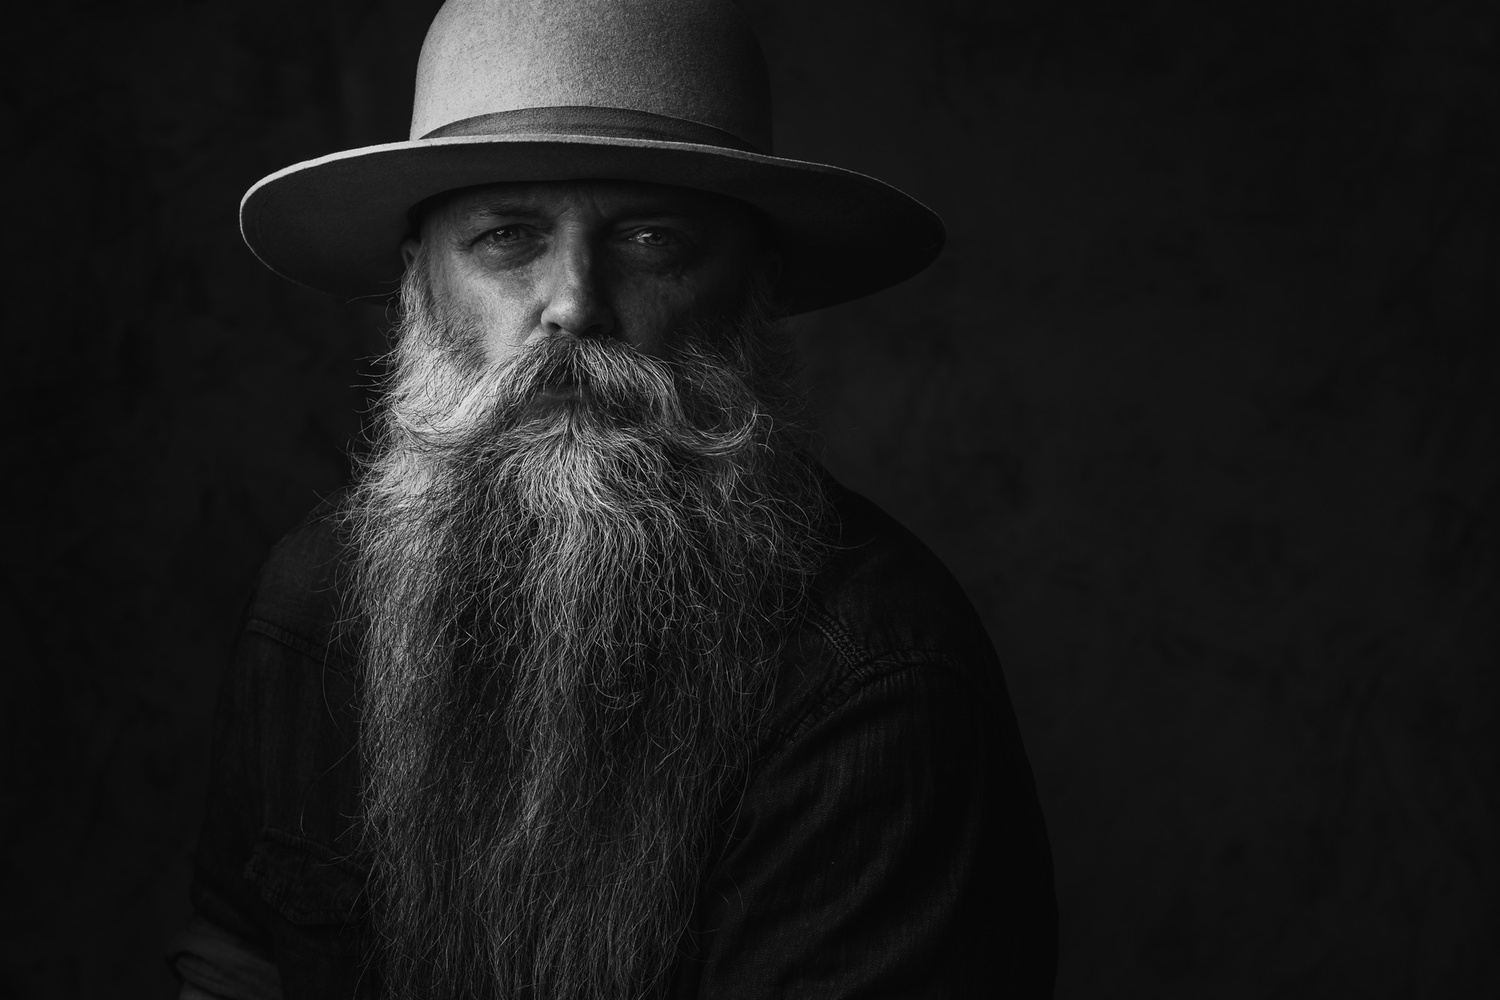
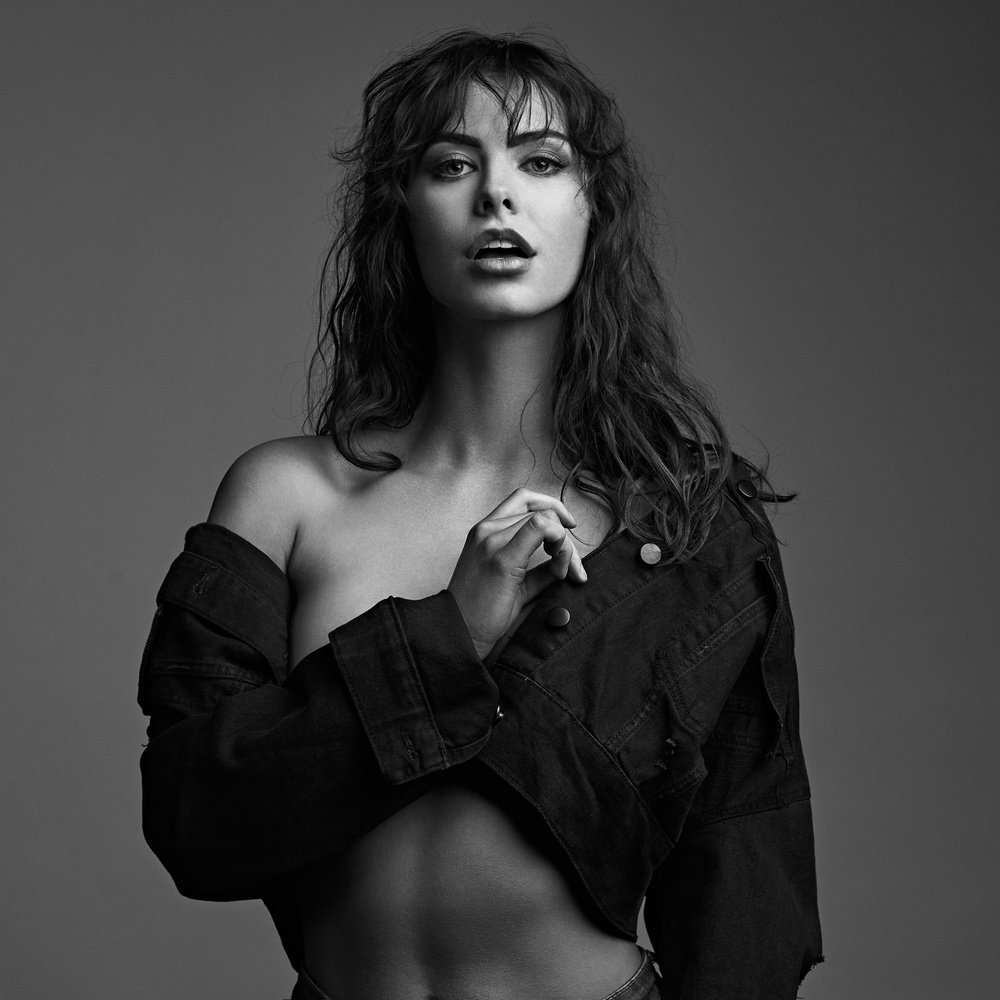
Images used with permission of Nathan Elson.


A couple of things:
1. I'm not really sure why nearly the entire video was in black and white... I found it a bit distracting.
2. It's interesting that he doesn't seem to use sandbags for his c-stands. i guess his lights and modifiers aren't too heavy? I don't own any c-stands, but i was under the impression that you were supposed to weigh them down regardless.
3. Good to know the tip about keeping the direction of the tightening/loosening in mind when using a stand with a grip arm or boom.
4. I disagree with putting the fill light so far away—especially with a reflecting umbrella. I get that you don't want to overpower the key, but putting it so far away turns even that gigantic umbrella into a point light source, which you can see from the weird reflection in the eye. I would have put it much closer and turned the power down a lot more.
5. On the subject of fill, while a dedicated light is quicker to control, a v-flat or reflector placed near the subject will probably be softer—especially the v-flat, which sort of wraps the light around the subject.
6. I never thought of using an umbrella as a rim light. Seems like there's an unnecessary risk of flare by throwing that much light around in the general direction of your lens. Wouldn't a strip box or a snoot work better if all you want is a little kick to separate the subject?
7. Regional Godox re-brands are confusing to me. Why can't they just have one name?
8. Hockey is rough...
Yeah he films a lot of his stuff in black and white and it's kind of annoying.
You don't always have put sandbags on stands. Only for extra security or if your light is heavy.
Most of his work is in black and white because he is color blind.
It's not "because" I'm colorblind, it's just that I like b/w :)
I did a couple of videos in color, and people kept asking for me to go back to b/w, so I figured you can't please everyone, and I might as well do what I want to do.
"I figured you can't please everyone, and I might as well do what I want to do."
You've solved the internet. LOL
Oh I thought you mentioned in one of your videos that you were colorblind. Lol
I am colorblind, just saying that's not my reasoning behind the b/w video :) I shoot a lot of color work as well with photography.
I forgot about you being colorblind!
Oh hey while you're here I would love to see videos on corporate photography. :-)
"Kind of annoying" ??
Black and white can be used to simplify things (or complicate them). In this case, the medium is not the message per se. The impression I got was that Nathan was talking about some pretty straightforward concepts, why would he complicate them with colour.
I'd suggest we stick to discussing the concepts.
Besides, he's sharing his concepts for free.
Personally I like to see color and detail in tutorial videos :)
I disagree with your disagreement on #4. Putting it that far away makes the falloff much more even by the time it reaches the subject, which can be an important aspect of fill. Also, putting a 63" modifier at that distance does not turn it into a point source; that's the whole reason for using a modifier that large in the first place. It allows you to place the light farther away while maintaining some size to the source. Now, if he had placed a beauty dish that far away, you'd have a point (no pun intended).
Different strokes for different folks. A modifier that big is so diffuse up close that you're going to have pretty even illumination regardless-especially if you're using both the inner and outer baffles.
Besides, we're talking about the fill, not the key or a secondary source. Its positioning and power should ideally be set so that you're not going to really perceive the light quality anyway, no?
Different kind of "even". Diffusion is a characteristic that's specific to highlights, being the opposite of specular. But fill light typically doesn't create highlights, it just lifts shadows. The "even" I'm referring to is controlled by the distance, where falloff is less extreme the farther you are from the source. Another advantage is that since the falloff is more gradual the farther away you are, the less precise the placement needs to be. The closer you move it, the more time you may have to spend adjusting it. So yes, you "could" put it closer, and people often do, but people are often working with much less space too. If you've got the space, might as well use it.
Well I'll certainly cop to the fact that at least some of my preference is a function of available space as well as one that is not really optimized for photography. If I tried something like this, it would likely result in all sorts of color casts that would be a PITA to deal with.
I dream of the day that I can afford a nice large studio space that I can paint completely flat black from floor to ceiling so that can always control exactly where my light is coming from without ever concerning myself with bounce or color casts from anything in the room. Of course my wife thinks I'm a psycho when I tell her this. :P
nice tutorial, fun to watch! although i have a different approach in my own style, i will try to recreate this setup using my own light modifiers. i'm curious if i can come close to "his" look ...
Can you guys also point out nonsense tutorial in the future? You know to save us some time.
Will do!! ;)
Nathan, thanks for the video. It was very helpful. I do have one question though. How do you deal with the ambient light? Are the studio lights so low that they don't add to the photo with your current settings? Thanks
Correct, at f/8 the lighting in the studio doesn't compete at all, but if I am shooting something with a shallower DOF (1.4 - 2.8) I will often just turn off the lights in the studio so they are not bleeding into the image.