
Using something in the foreground of your landscape image can add a lot of depth, but placing a foreground in your composition without consideration is not the way. It can be smart to give it a little thought. In this article, I will give you a couple of things to consider that may lead to a better composition.
If you place a subject in the frame, it is wise to use one of the nine basic compositions as described in the composition theory. I wrote about it in a previous article here on Fstoppers. In another article, I told you how lines in a photo can strengthen the composition. Together, it can build a really good photo that will attract the eye.
In this article, I want to show how you can manipulate the relationship between a good foreground and the background. By choosing this relationship wisely, you can find balance in the composition. There are three ways to play with the relationship. First, you can change the size relative to each other, second is the space between the two, and third is the position within the frame.
1. Use Focal Length to Change the Size Between Foreground and Background
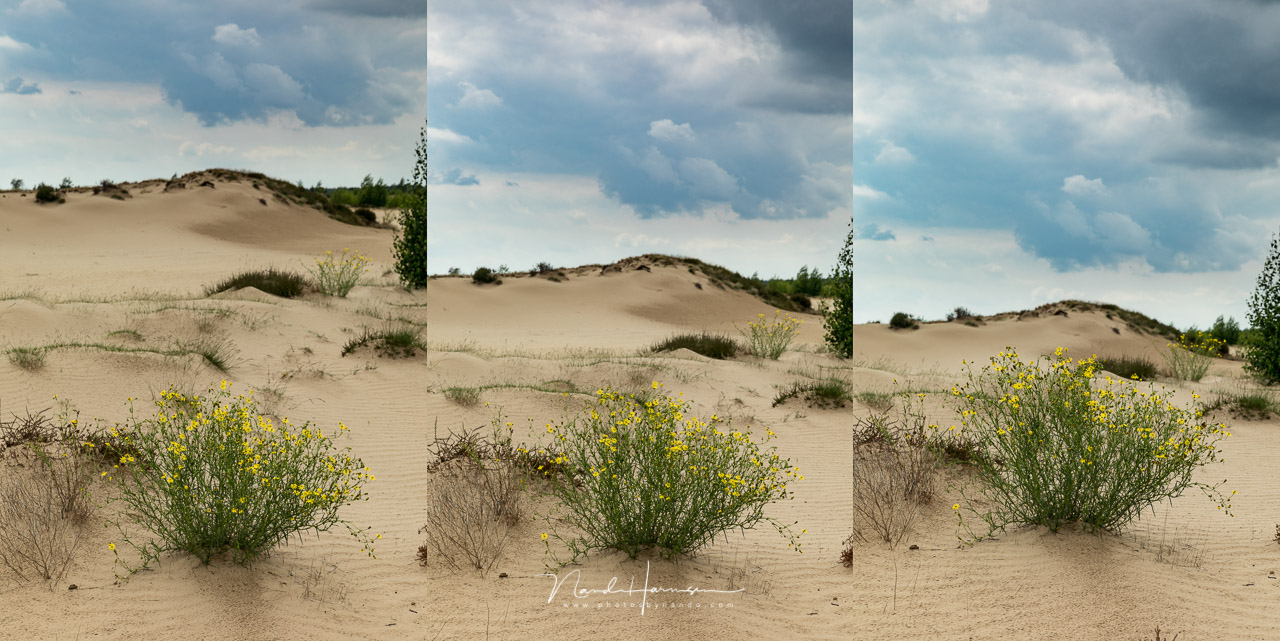
If you shoot a landscape with a nice foreground, often, the background shows up much smaller in size. You don’t have to take this for granted. If you like, you can manipulate the size of the background without changing the size of the foreground just by choosing a different focal length and distance to the subject.
When considering a composition, think about the details in the background and how large these must appear relative to the foreground. If you enlarge the distance to the subject while zooming in, the subject can stay the same size, but you will change the size of the background.
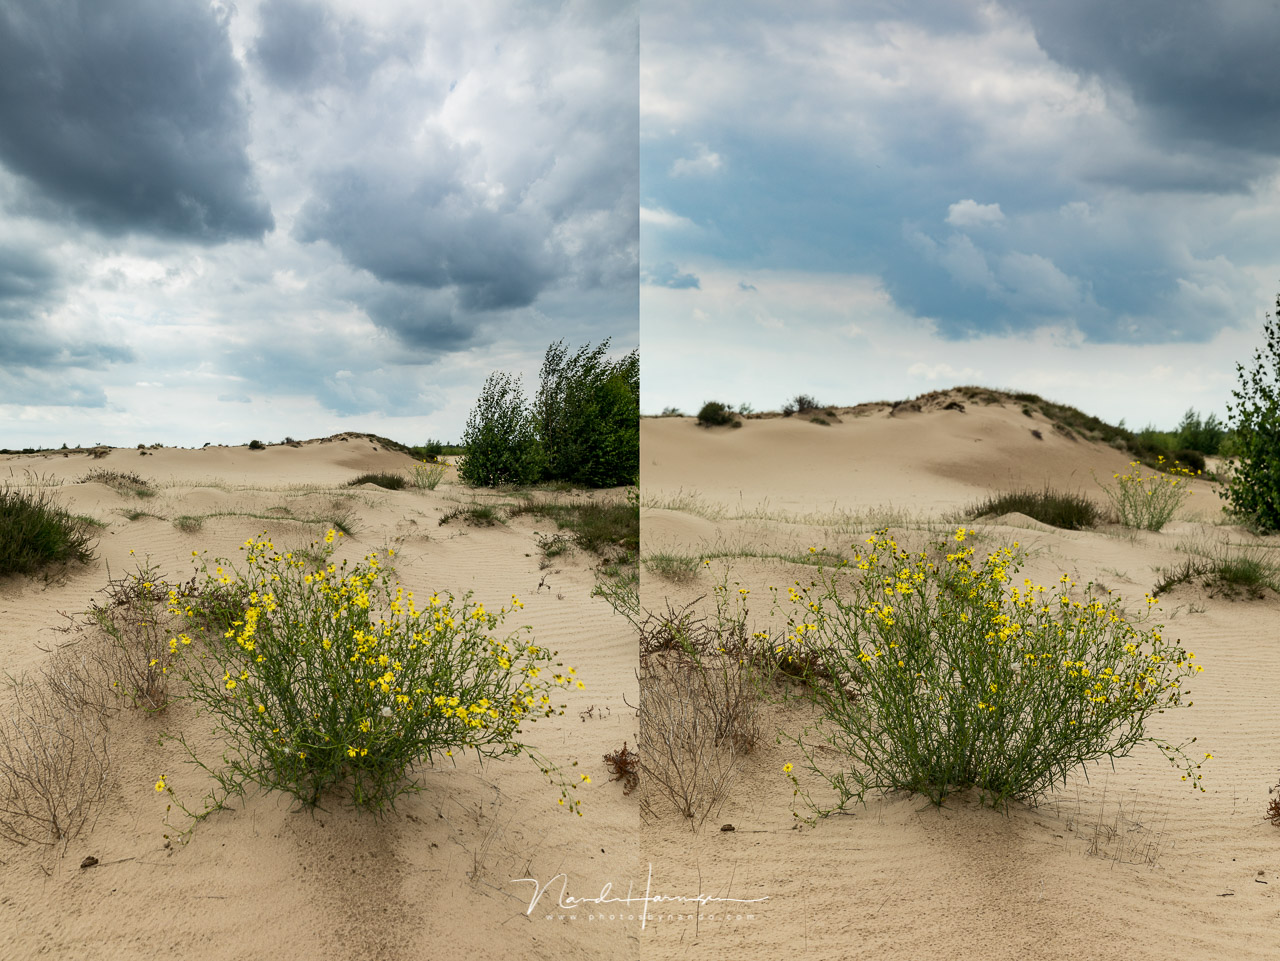
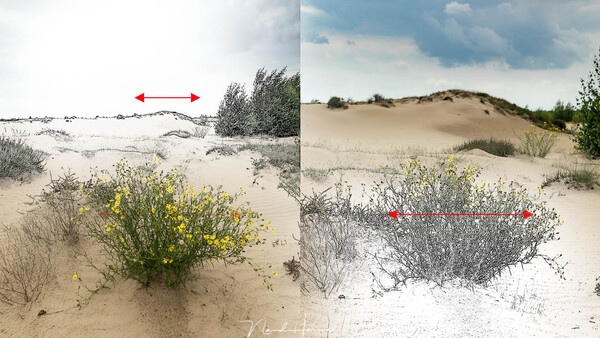
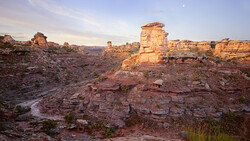
In the example, you see the difference between a 24mm focal length at 2 meters distance and a 70mm at approximately 6 meters distance. While the bush in the foreground has the same size, the dune in the background changes in size.
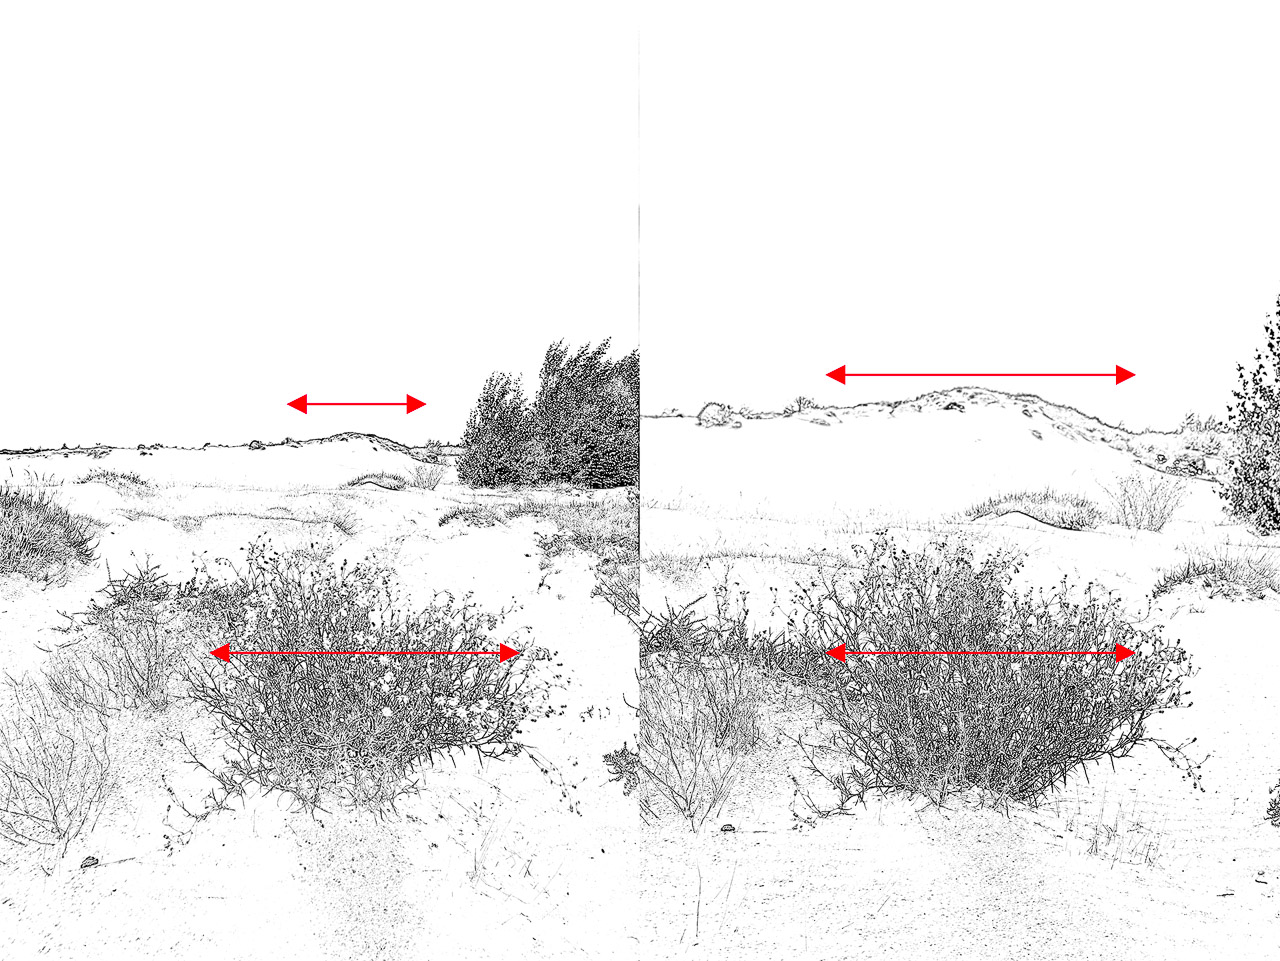
In this example, I was also able to keep the dark bushes at the right-hand side out of the frame. This is due to the smaller angle of view. By changing your focal length, you not only change the size of the background, but it is also possible to keep unwanted objects out of the frame.
2. Use Height to Change the Space Between Foreground and Background
I see a lot of landscape photographers crawling down to the ground and shooting a landscape from the perspective of a frog or even an ant. And although that can be a good choice, it not always the best choice.
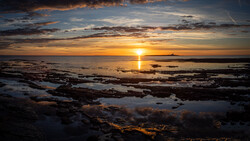
By changing the height of the camera, you are able to manipulate the relative distance of the foreground and background in the frame. To visualize that, you have to ignore the illusion of depth and try to look at the image in two dimensions. Try to see it as a flat surface and look at how the two objects are divided on that surface.
The height of the camera can bring the foreground and background close to each other or really far apart. Just by changing height, you are able to make a good distribution on the plane. Often, a balanced distribution is the best, but it is definitely not the rule.
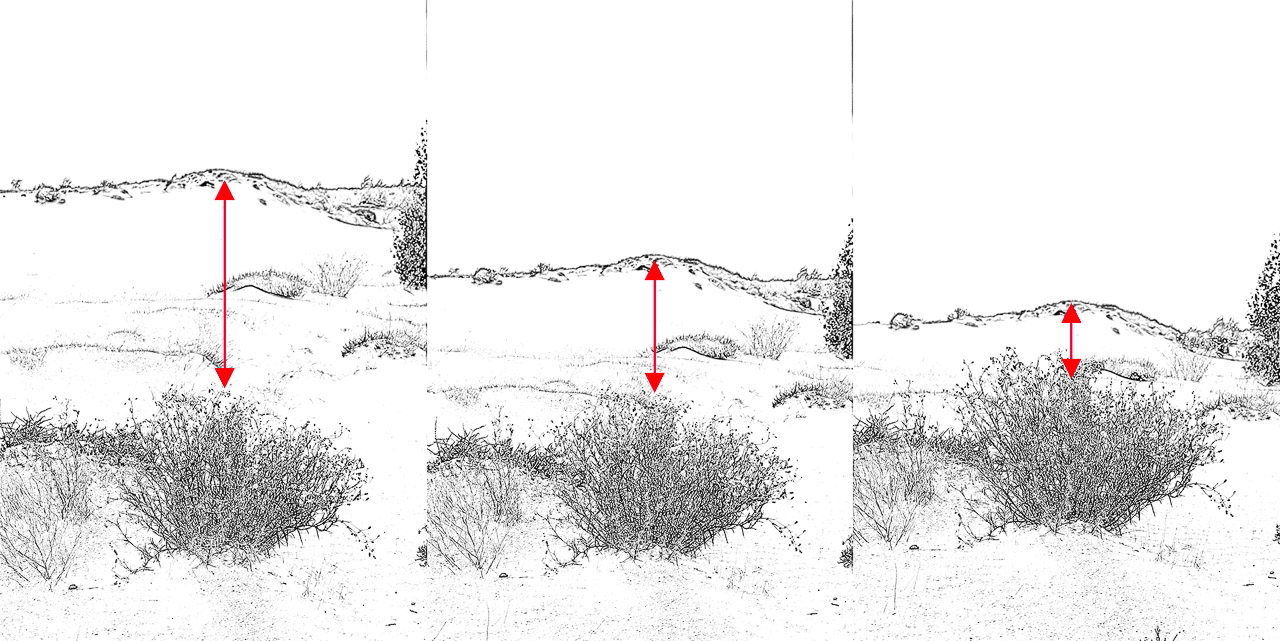
Another thing to consider is the details in the landscape between the foreground and the background. From a low point of view, details will not be visible. The further the relative distance becomes, the more details will be visible in-between. Perhaps you can even discover lines in the landscape that can connect the foreground and background.
3. Choose a Good Position for the Foreground and Background
If you have chosen the relative size of the foreground and background and you have determined the mutual distance between the two, then you can find the right position in the frame.
See both foreground and background as one object. You can place it exactly in the middle, which gives the image a neutral feeling. By placing it just above the middle, the image can become uplifting, with a positive vibe. If you decide to place it below the middle, it becomes heavy in the bottom, and it will pull the image downwards, making it less positive.
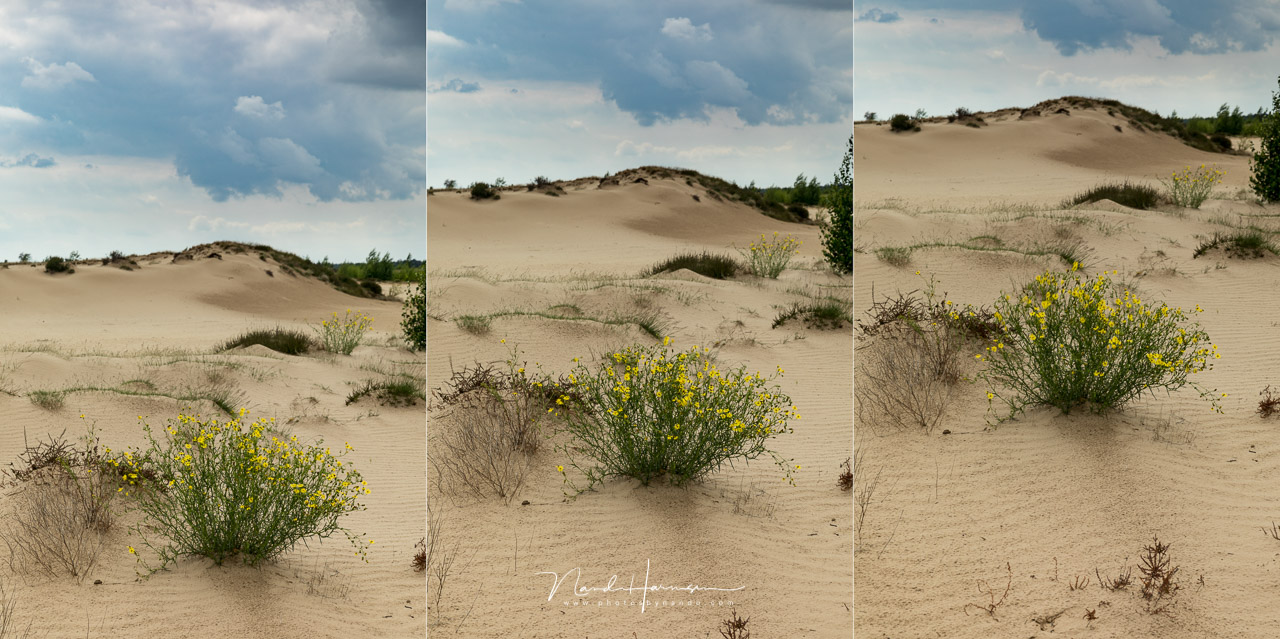
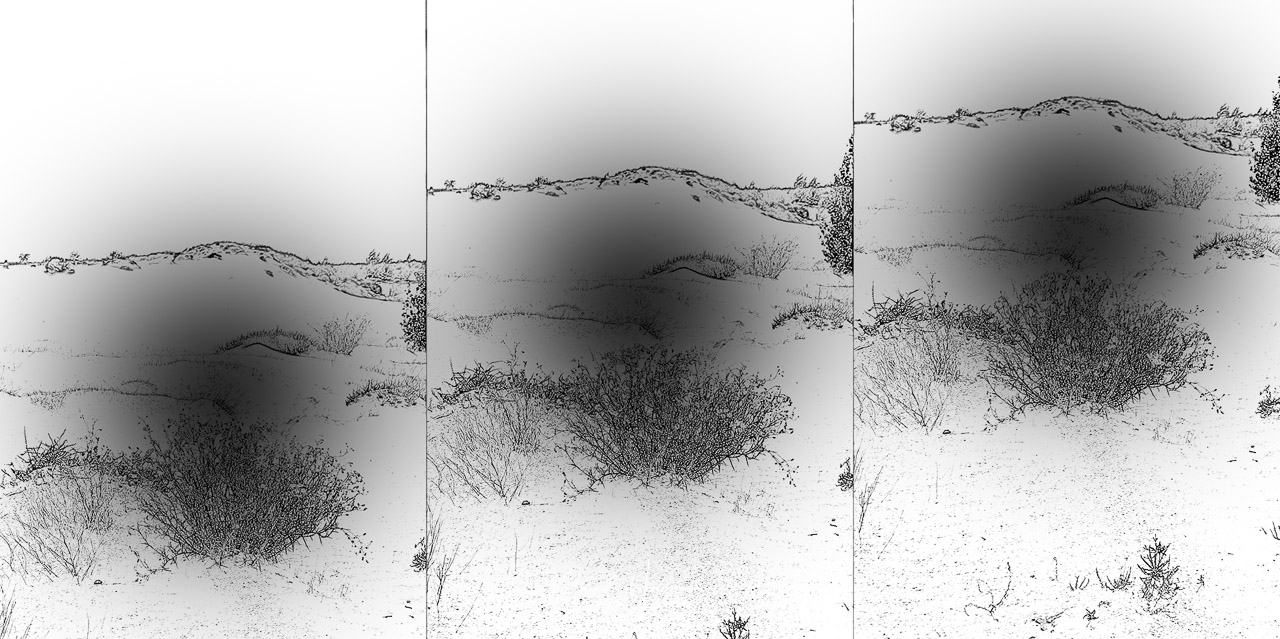
The subject in the middle or just above the middle will often be considered the best choice. But it also depends on the image itself and the message the photographer would like to tell. Changing the position in the frame can be done by changing the direction in which the camera is pointed.
This Works for All Kinds of Photography, Not Only Landscapes
Just using the composition theory and guiding lines in the image is only a small part of a good composition. The placement of the objects in the frame is just as important. It can be done just by choosing the position of your camera and the right focal length and distance.
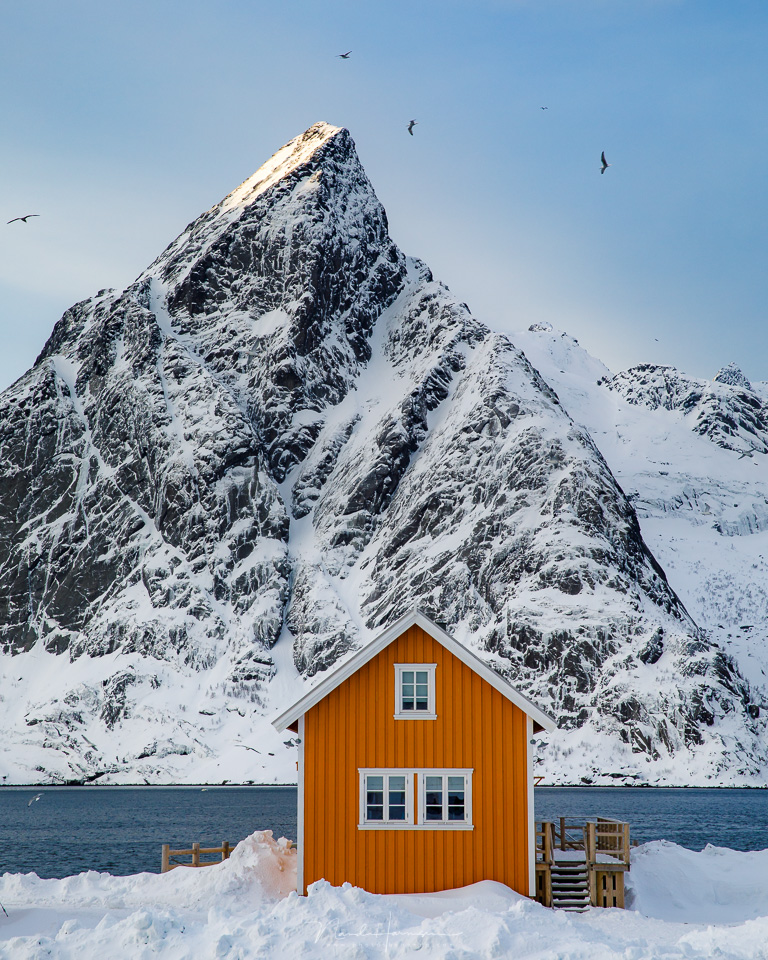
This technique works not only for landscape photography. It can also be used for lots of different photography types. I use the technique for my wedding photography also, which allows me to manipulate the background. I have added an example below.
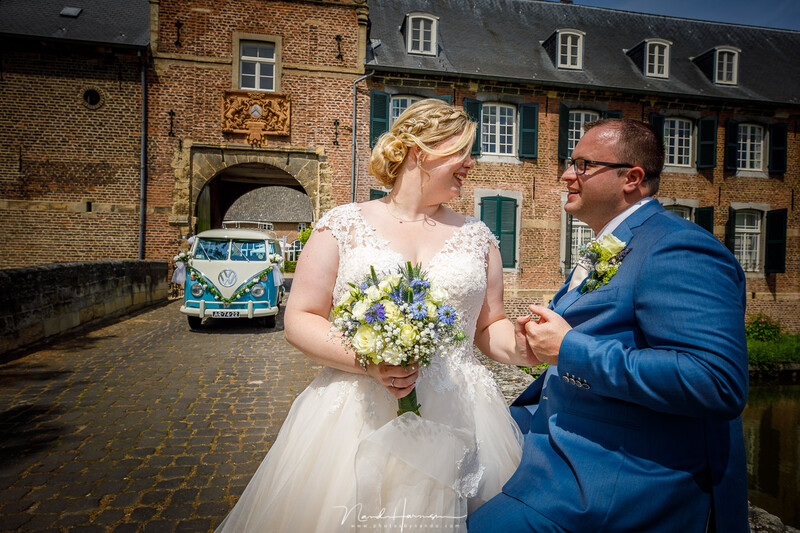
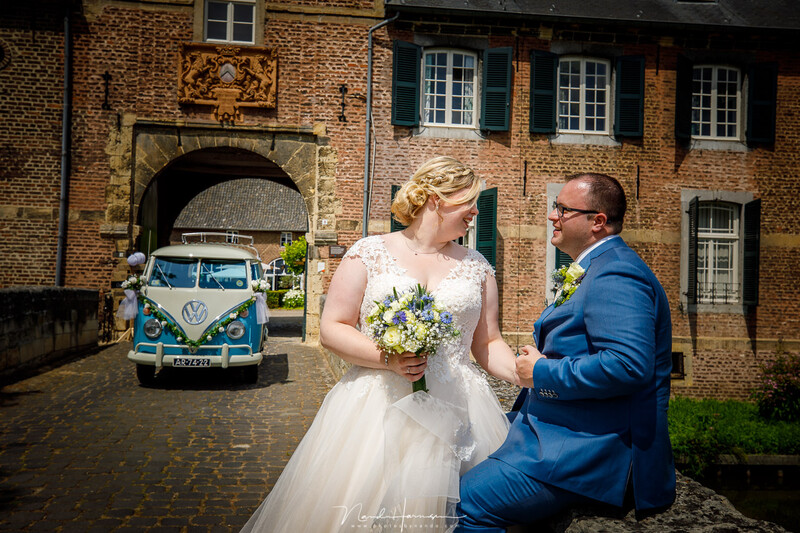
No matter what you like to photograph, try to play around with the relation between a strong foreground and the background. Use the right focal length and distance to the foreground for the relative size between the two. Also, make sure you photograph from the right height to capture a perfect distribution on the plane. Lastly, choose the perfect location in the frame to make it uplifting or to achieve the opposite. Make it your choice, and don’t let it be determined by coincidence.
Do you consider these three things when you make your composition? Or did you never think of them? Please leave your thoughts on this in the comments below. I love to know what you think of this.


Join the Fstoppers community for free
-
Post comments and join in the discussions
-
Browse the site ad-free
-
Share your work and get featured in the community
-
Compete in the photo contests for fun and prizes
15 Comments
Nando,
This is one of the best articles I have read on photography in a long, long time. Why? Because it is actually about PHOTOGRAPHY, and not at all about camera gear, settings, etc.
What you covered here is the very nuts and bolts of composition. As you so well explain, composition is a lot more than just how tight or how wide one frames the scene. It is about the way each thing in the frame looks, in relation to every other thing in the frame. That is all determined by the perspective that the photographer shoots from - where he puts the camera. And therein lies the real genius behind the world's greatest photographers.
Thank you for bringing up a topic that is so much more meaningful than what camera we buy or what adjustments to use in Lightroom. This stuff you discuss is what separates excellent imagery from mediocre imagery.
Thank you for your kind words, Tom
I wanted to write a comment, but as I kept reading yours, I found so many similarities that I instead felt like seconding it here would be a better option. Also, thank you again for such a beautiful article.
Thanks
Composition is so very important for all pictures. It's also very hard to teach. But this article does a very good job of doing that.
Thanks Steven.
Finally an article worth reading on fstoppers.
I have a few others as well... I linked those in the article, as you might have seen
Excellent article The examples and explanations illustrate your points perfectly.
Thanks
Generally I've always run on the theory that you cannot get a photo of the mountain AND your kids: you can get one or the other. Now I realize that if you have a long enough focal length, you very well might be able to get both.
In the right situation, indeed. Just as this one, where I photographed my girlfriend and the mountain in the back, :)
Welllll, my point was more of having a recognizable face AND the mountain. :D
Like these?
You don't even need that long of a focal length ..... its more about the ratio between the camera-to-subject distance and the subject-to-background distance, as well as the ratio between the size of the subject and the size of the mountain.
The top image was taken at 400mm, with the mountains about 35 miles behind the deer, while the bottom image was taken at just 170mm, with the mountain about 12 miles behind the deer.
Also possible. Why not?
Tom Reichner Has placed a perfect example. Just replace the deer with your kids
And if you use a 400mm in the second example, image how large the mountains will appear...