
Black and white and Minimalism is a great style that can be applicable to any genre in photography. It is also a great discipline to practice, especially in landscape photography by maximizing the use of long exposures.
This style usually involves the use of neutral density filters and is an awesome concept to add to your arsenal as a photographer. I took an image of the ruins of a port in the Philippines. It’s a place that’s sealed off to visitors due to the dangers of its weak structure. Believe it or not, I had an accident a year prior when I slipped and fell into one of the cracks. Since then, it now requires a permit to enter the premises.
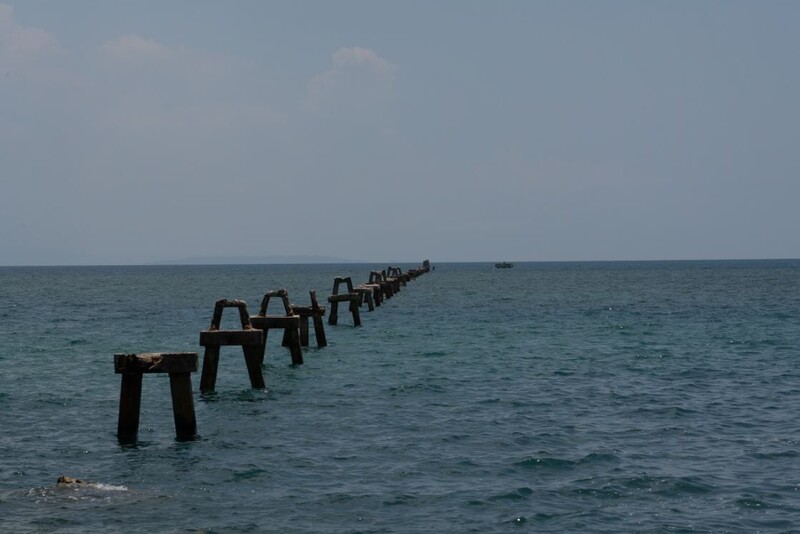
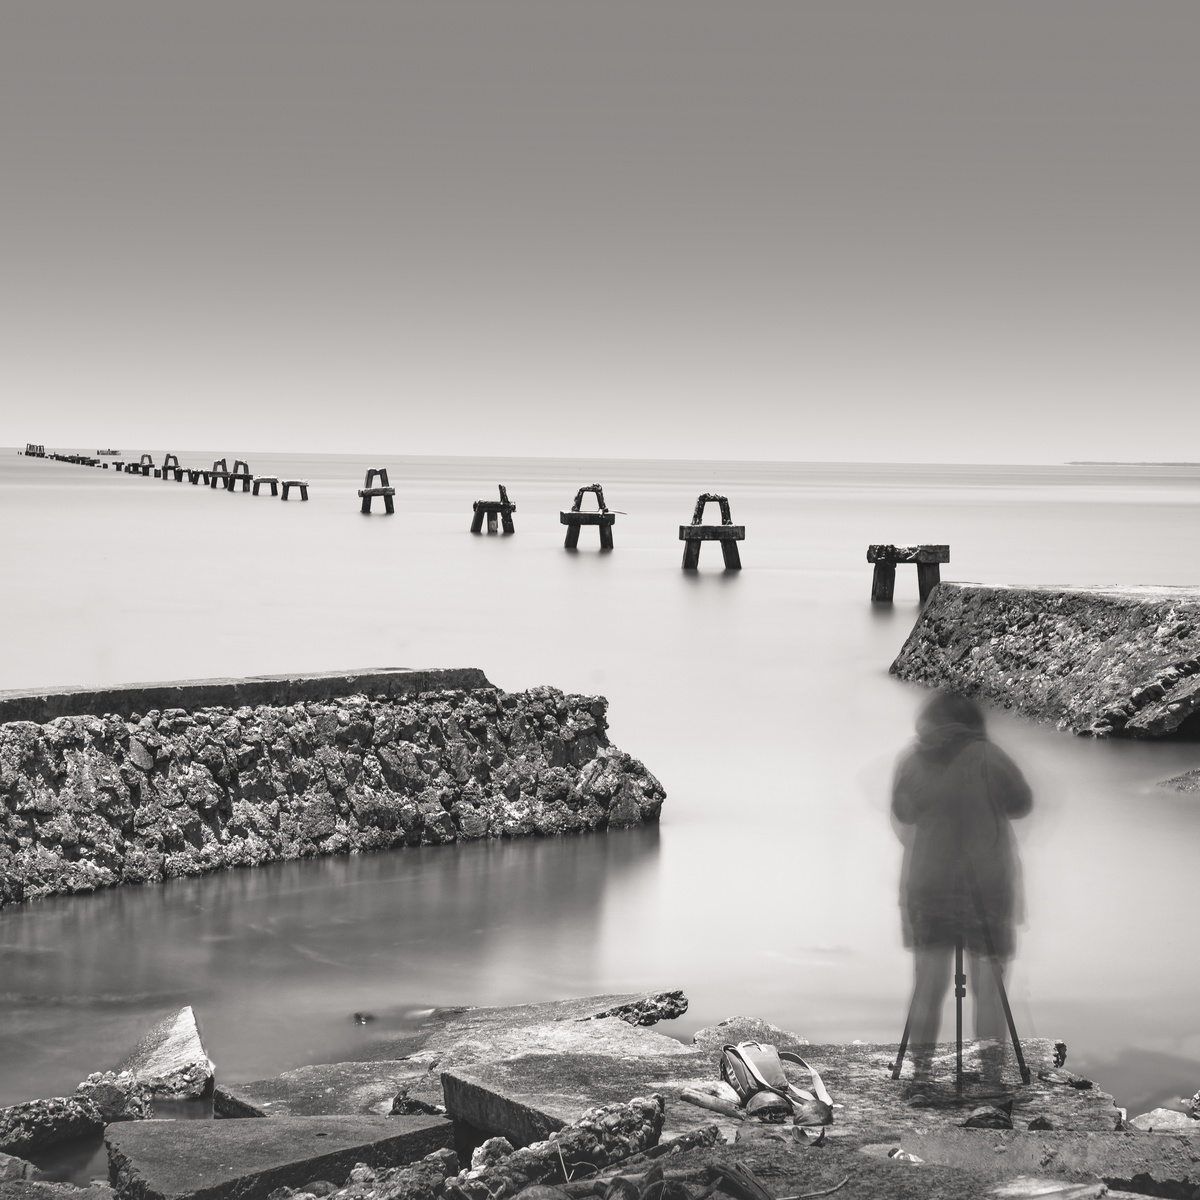
I had taken an image last year that I wanted to re-create and envisioned creating a body of work around it this time around. If you’re curious, here’s the image taken in 2018:

Since the scene employs many of the characteristics of a minimalist image by just looking at it, you can already imagine the possible output. Back then I had just started with photography and do not possess the skills and experience I have now. By this time, I had a similar vision of the subject but with a little more subtlety on the tones.
I surveyed the area once more and took note of the places I wanted to take photos of and imagined the outcome. I had already envisioned creating a series of photos for it. I was traveling with a group so I had to plan my shots properly if I were to take all of them.
After all the planning and shoots, here’s the process of how I went through re-creating that same image.
1. Take a Snap Shot of the Scene
When out in the field it's always a good practice to take a single shot or a snap shot of the subject you plan to take a long exposure on as an insurance for the long exposure shot. Since landscape photography is very time-critical, every photo you take may very well be the final image you take of the scene before the conditions change. In instances where the weather becomes uncooperative and in turn yields an unsatisfactory outcome of the image, you can always use the details of the snap shot in post-processing to replace the unsharpened parts of your long exposure shot.
In some cases, especially near seascapes, rogue winds tend to blow hard and can sometimes shake the tripod. This is also the case on snowy environments due to the unpredictability of the weather.
2. Calculate for the Right Exposure and Take Multiple Photos

Let’s face it, having five long exposure shots of a single scene is better than having only one. This gives you more variety and options to select from. You can also blend these images in post-processing and get the best parts of the image.
It’s also a well-known fact in landscape photography that a scenario quickly changes, so calculating or recalculating for the proper exposure to use on the shot is also critical. To reduce your effort, use apps that help calculate your camera’s exposure to save you some valuable time especially if it requires you to change your filters.
Also be mindful of the time you take to setup and take the shot if you're going in a group. There’s always an unspoken time limit set when traveling with a group (you’ll know when the time is up when the last person before you is packing up to go back to the crowd), so take as many photos as you can, but take them as well as you can.
3. Shoot for the Intended Output
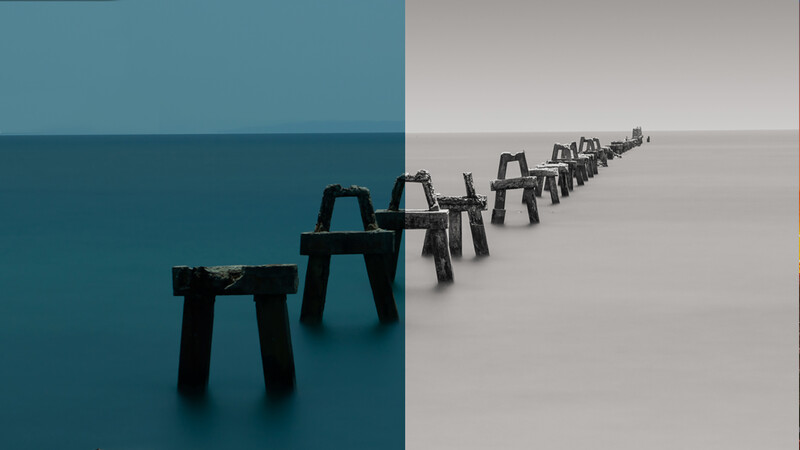
Since the image was taken to be processed as a black and white, minimalist image, try to imagine the image and shoot for it. In this case, I intended the sky to be as plain as possible and the water to be as glossy-looking as possible. This way, it will save me time and effort when post-processing the image based on the intended output.
Also, take into consideration the best time to shoot the scene based on your vision. The image I was recreating was shot midday and so I had to go back a year after and shoot it at the same time or close to it to replicate it as close as I can.
4. Process the Image as You Envisioned It
In post-processing, I added a graduated filter in Lightroom and created a gradient from top to bottom which I placed on the part of the sky to clear the sky further. This removes any visible artifacts on the sky and compliments the output I have in mind.
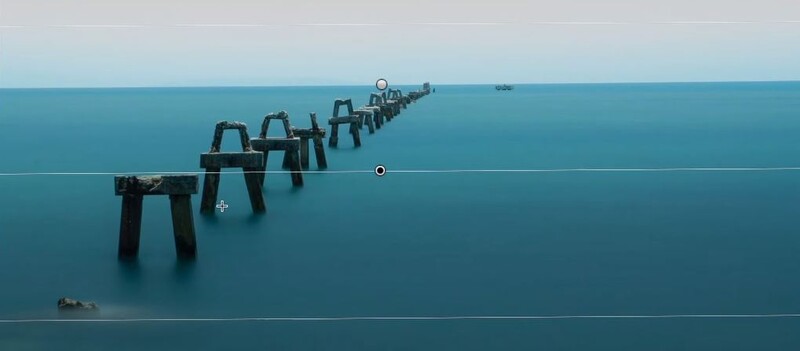
I also enhanced the details of the bridge by moving the shadow slider to the right (positive direction) to add more depth and reveal its details.
Then I proceeded to clean the image by removing dust spots and unnecessary artifact that takes the attention away from the main subject, from there I adjusted the exposure of the subject. At this stage, always check the histogram when you edit an image to ensure proper exposure!
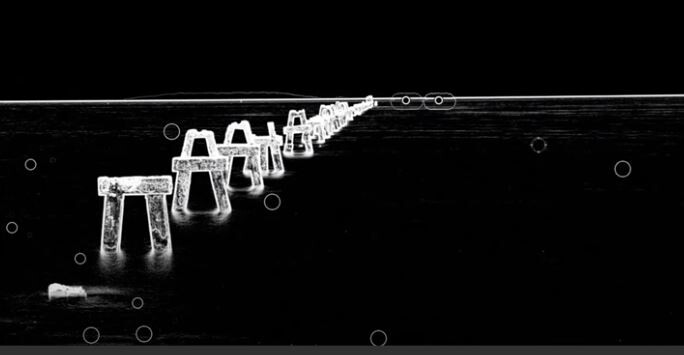
At this point, you’d want to flatten the image to get all the necessary adjustments combined into one image, and you can do this by opening it in an external editor, in my case I used Sharpener Pro 3 by Nik software, since I also planned to sharpen the image.
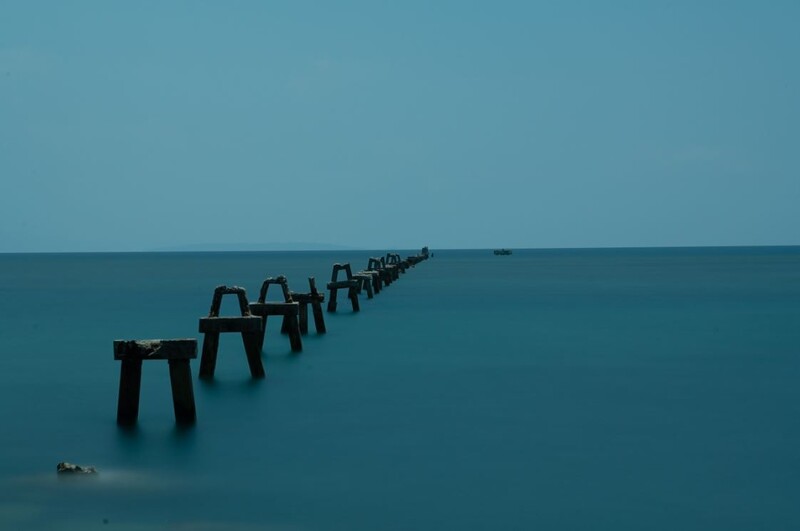
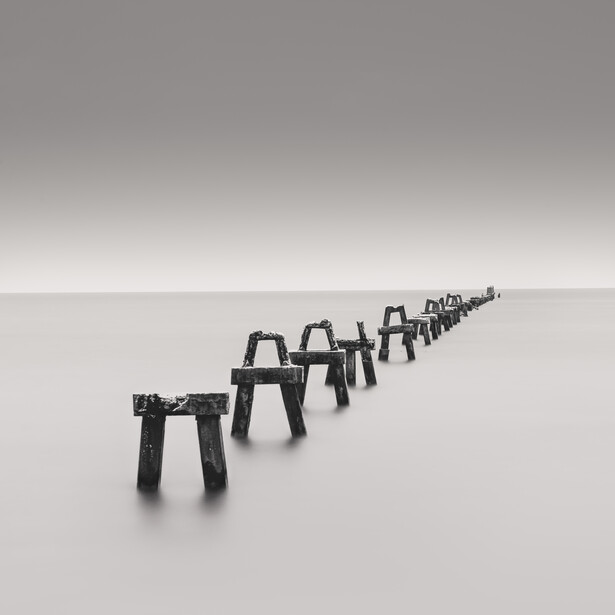
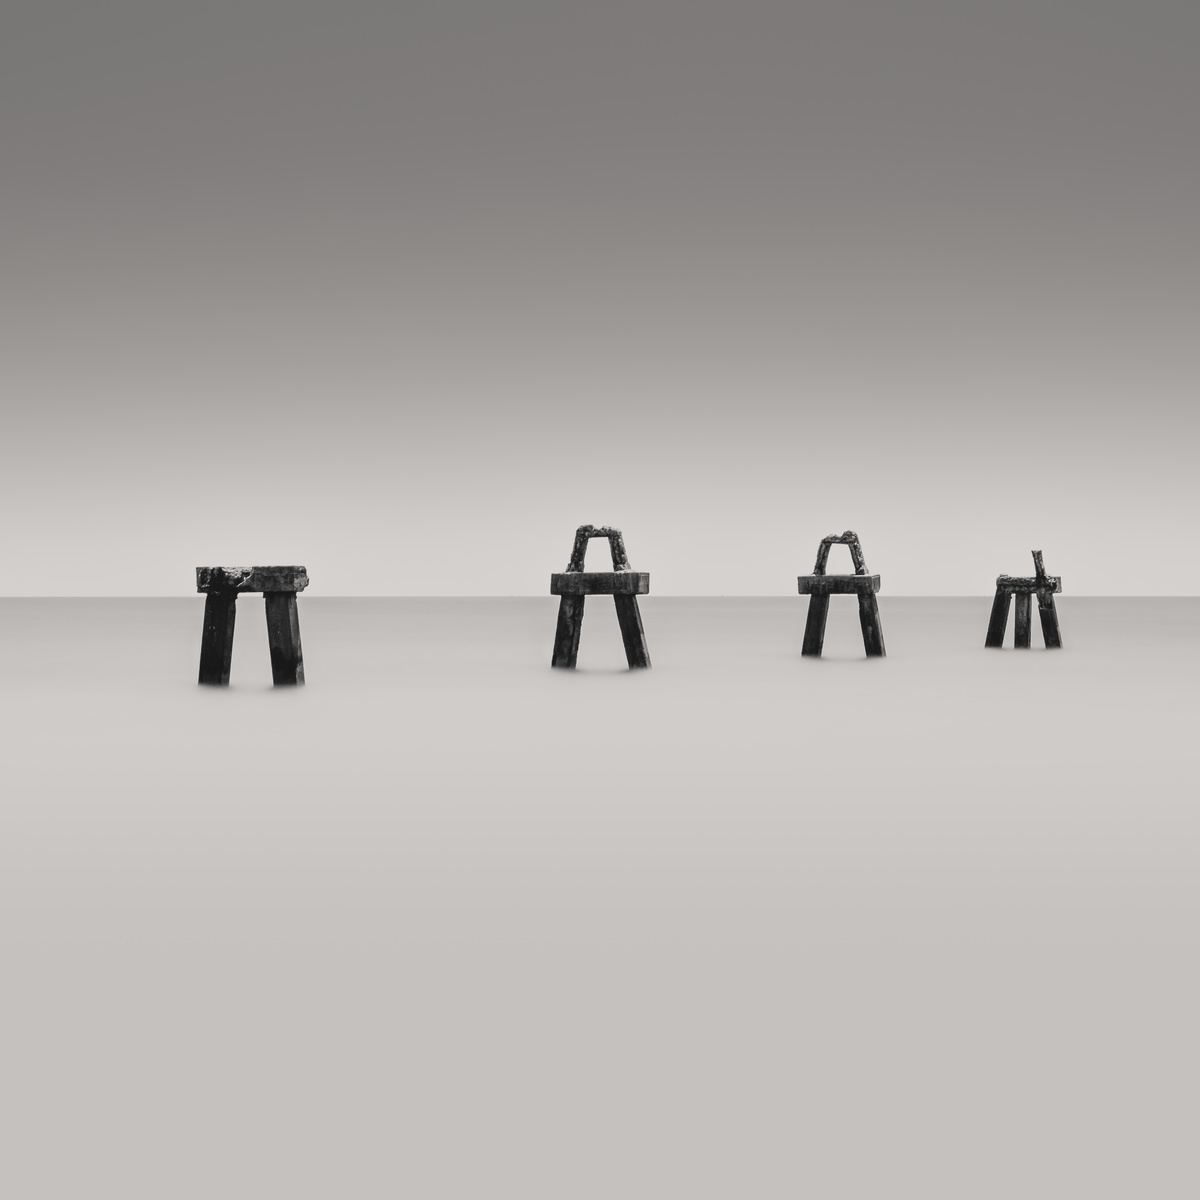
The final touches would be to add another graduated filter layer on the top to darken the sky a bit more and lead the viewer’s eye to the middle of the image and add some split toning for more drama. Here is the final image:
Here are several other images taken in the same location. I had a created a series based solely on these sets of images:
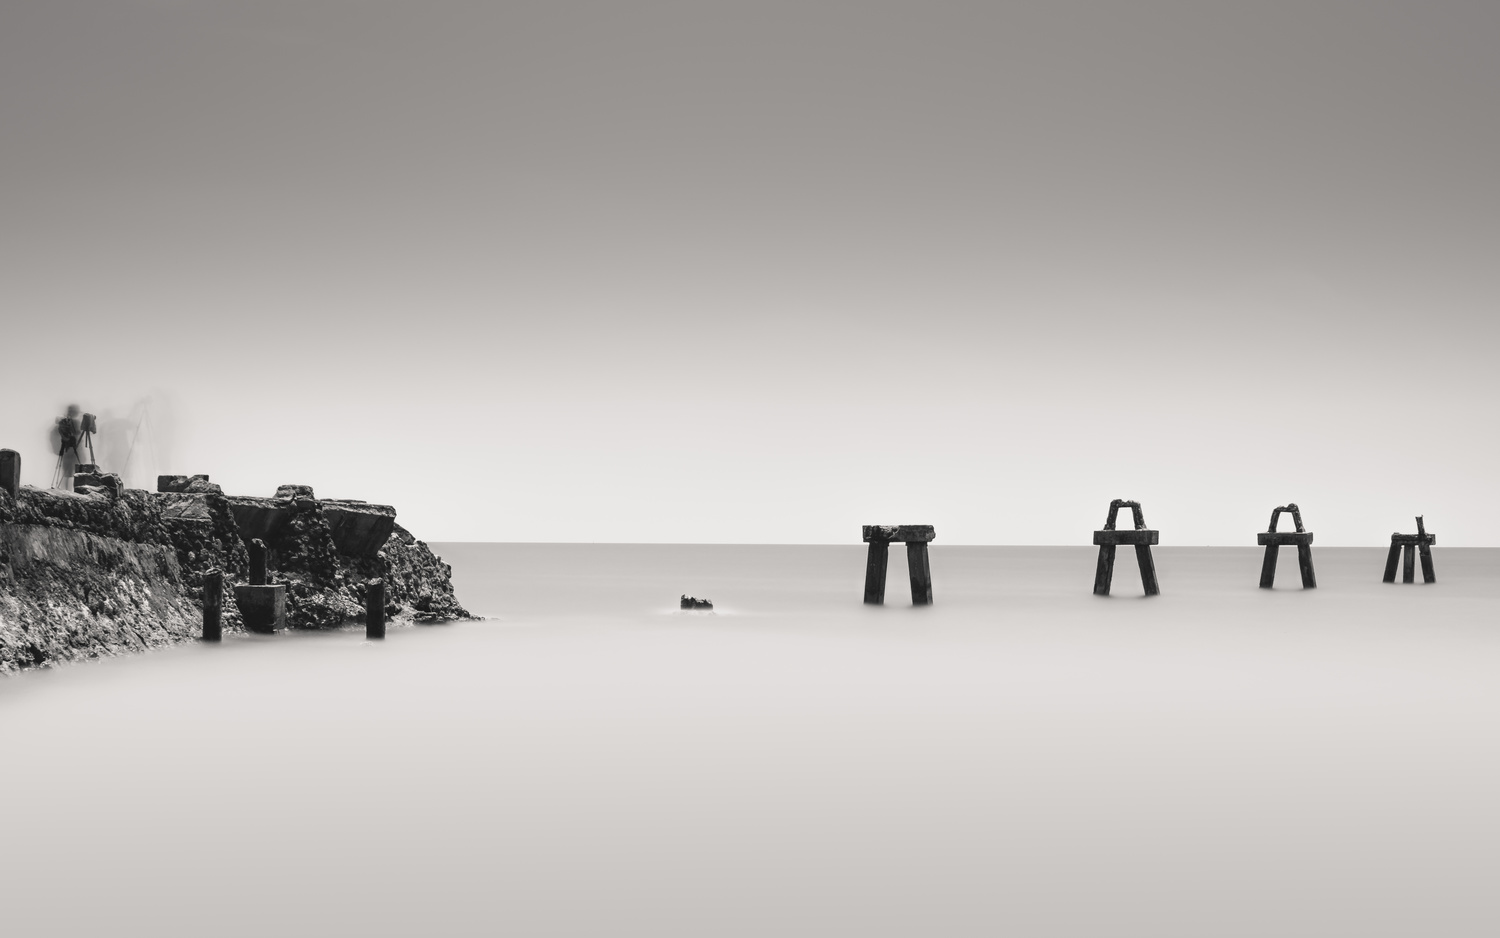
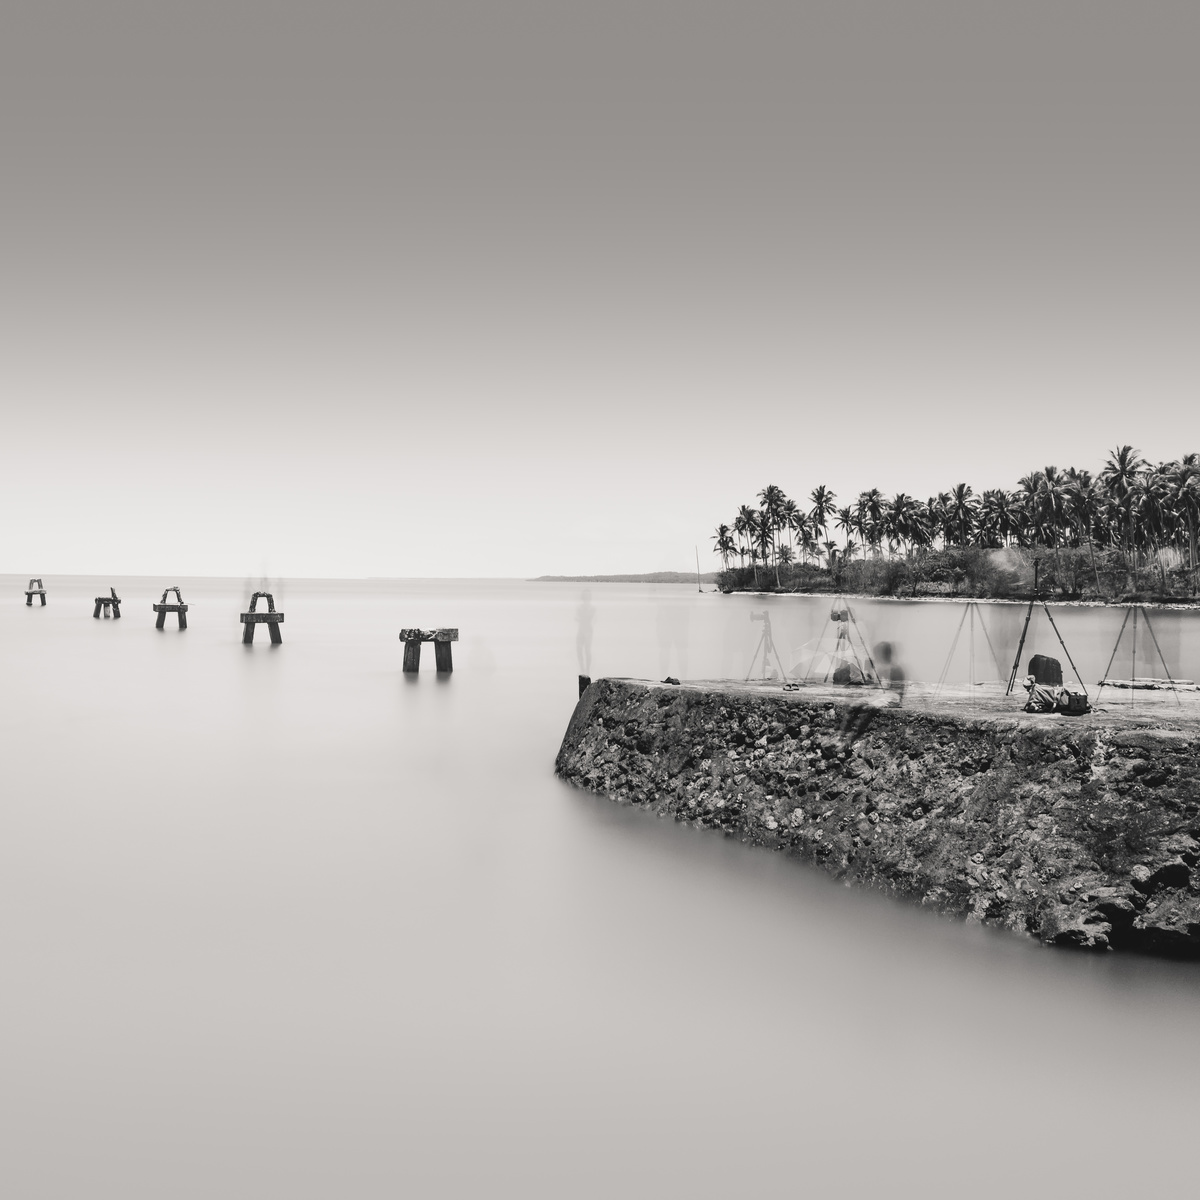
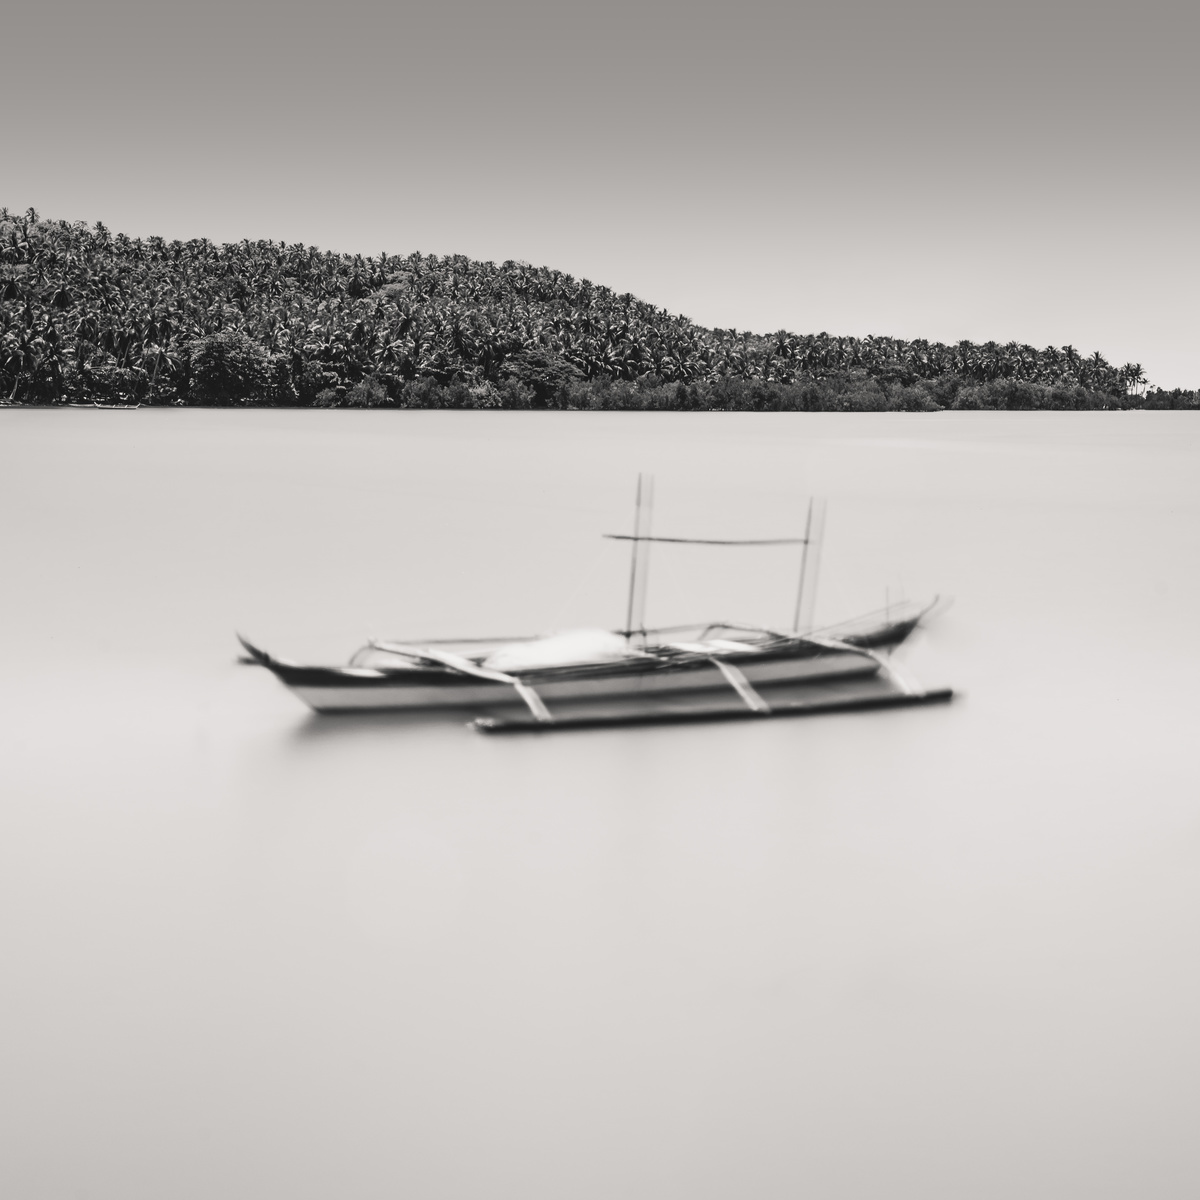
Once you’ve laid out a workflow and style for a certain piece, it is easy to replicate it on similar images that you intended to place inside the series. Check out the video above to see my actual post-processing of the scene.


Join the Fstoppers community for free
-
Post comments and join in the discussions
-
Browse the site ad-free
-
Share your work and get featured in the community
-
Compete in the photo contests for fun and prizes
8 Comments
Hey Marvin! This is a great tutorial!!!
Thank you, Vladimir! Really appreciate that!
Enjoyed that.
Great to know, Mark! Glad you enjoyed it!
This is such a good read! Will be taking a lot from this.
Thank you very much!
Thanks man this was super informative! I'm gonna test this out at a local lake soon.
Glad you like it, Anthony!