

When I purchased my first large zoom lens it came equipped with a tripod foot. I quickly learned that a standard ball-head wasn't the best way to use one of these beasts on a tripod. This started my venture into the gimbal games and actually helped in ways that I didn't anticipate.
I could tell by just looking at a gimbal tripod head that it would serve much better for this use, but I wasn't sure if I would like it and I wasn't sure how I was going to use it for non-footed lenses.
I purchased a cheap gimbal that was on sale knowing it wasn't going to be the best quality gimbal on the market, but I figured that if I didn't like it I could simply sell it and I wouldn't be out that much money. I'm still shooting that gimbal today (after a couple of modifications), but I do have plans to upgrade in the near future. I did try another, more expensive, gimbal (a ProMaster GH25) but it had a design flaw and I had to return it. For now, the cheap one does what I need it to do.
I've had a couple of different gimbal and tripod configurations and my current configuration seems to work pretty well. I wanted to share with you how I use my tripod and gimbal for various tasks. I currently use a Feisol CT-3372 Tripod that I'm pretty happy with.
Standard Use With a Footed Lens
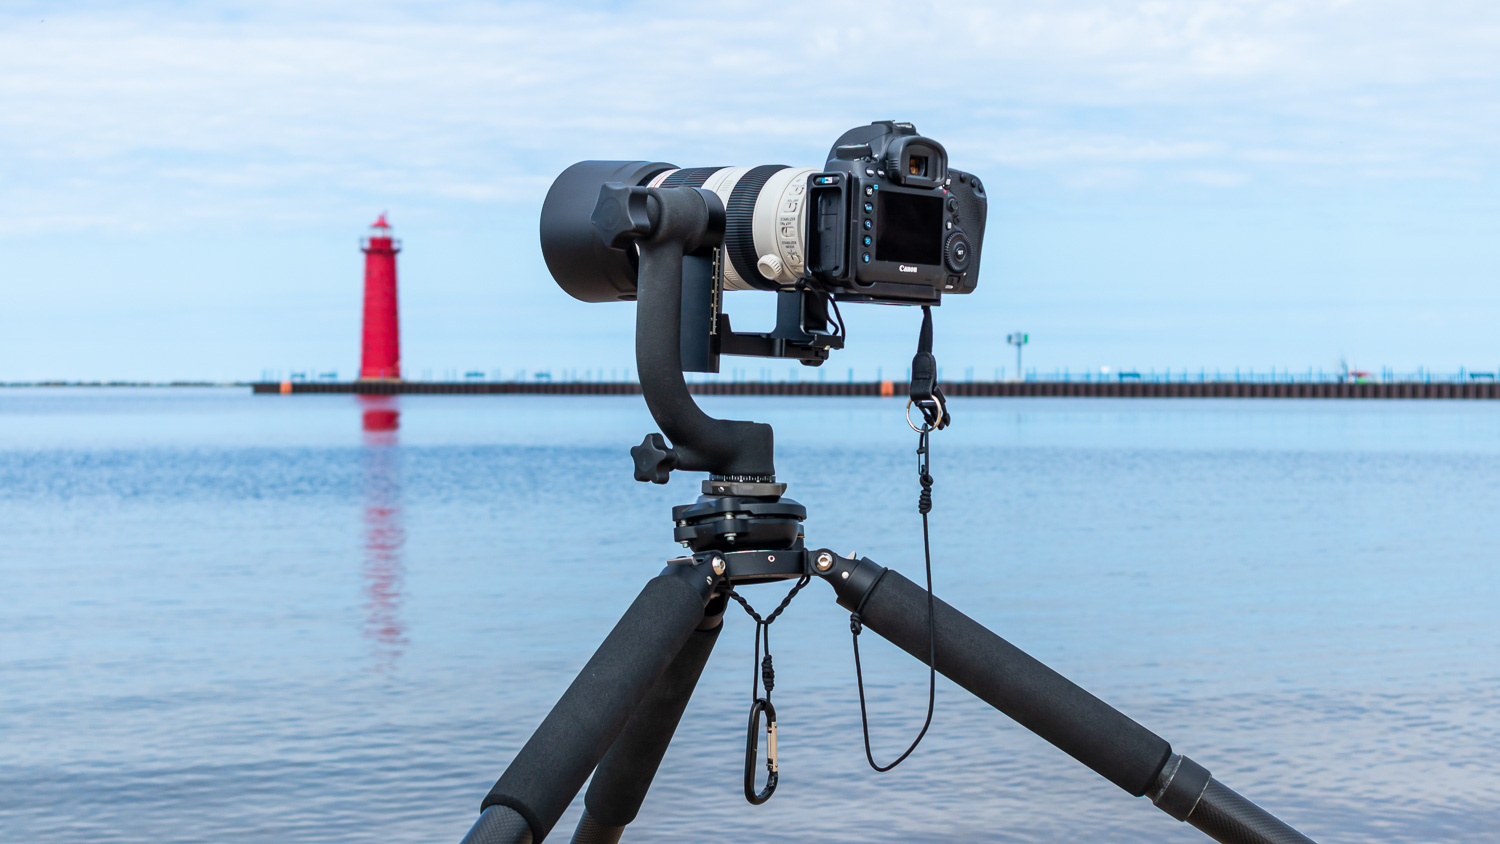
First is the standard use that a gimbal tripod head is intended for: to balance a large lens/camera combination. Some large lenses that come with a tripod foot have an Arca-Swiss type foot or have aftermarket replacements available. Others require the installation of a tripod bracket onto the foot.
Just about all gimbals come with an Arca-Swiss compatible clamp, which means you'll probably want to switch all of your tripod mounts over to this format. I had already implemented the use of an Arca-Swiss compatible L-bracket before I started using a gimbal so I was already set up for that.
I chose the Hejnar Photo Arca Type Foot Replacement for my Canon EF 100-400mm f/4.5-5.6L IS II USM because of the extra length that it provides for hand carrying. I didn't know it at the time, but it also proved to be instrumental for other uses so keep reading.
I actually prefer the separate controls of the gimbal for adjusting the tilt and rotation while composing my shot rather than using a ball head, but this could vary greatly depending on the type of shooting you do.
Gimbal Leveling Head
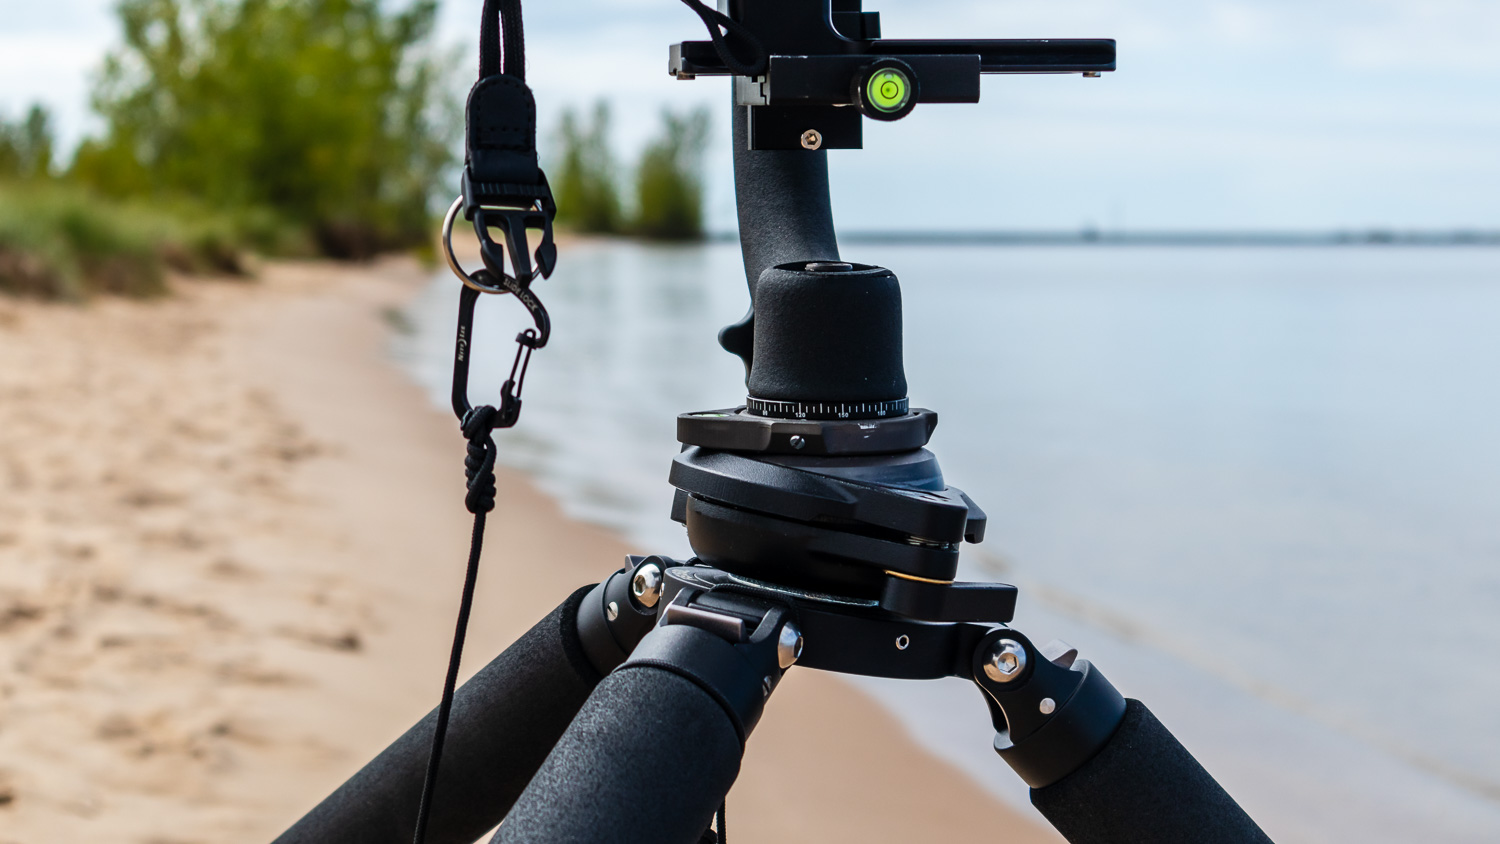
One of the drawbacks with a gimbal is that they don't incorporate a means to level the head, requiring you to adjust your tripod legs if you need to level it. I found that a Manfrotto 438 Compact Leveling Head works just fine for my uses, providing for a 10 to 15-degree range of adjustment. The Manfrotto leveling head adds a little weight, but it's built like a tank and is rated for up to 33 lbs.
The leveling head, gimbal, and longer foot combination allow me to shoot panoramic sequences with my long lens while maintaining a sweep that is level with the horizon, a key requirement for a good panoramic image.
Use With a Non-Footed Lens
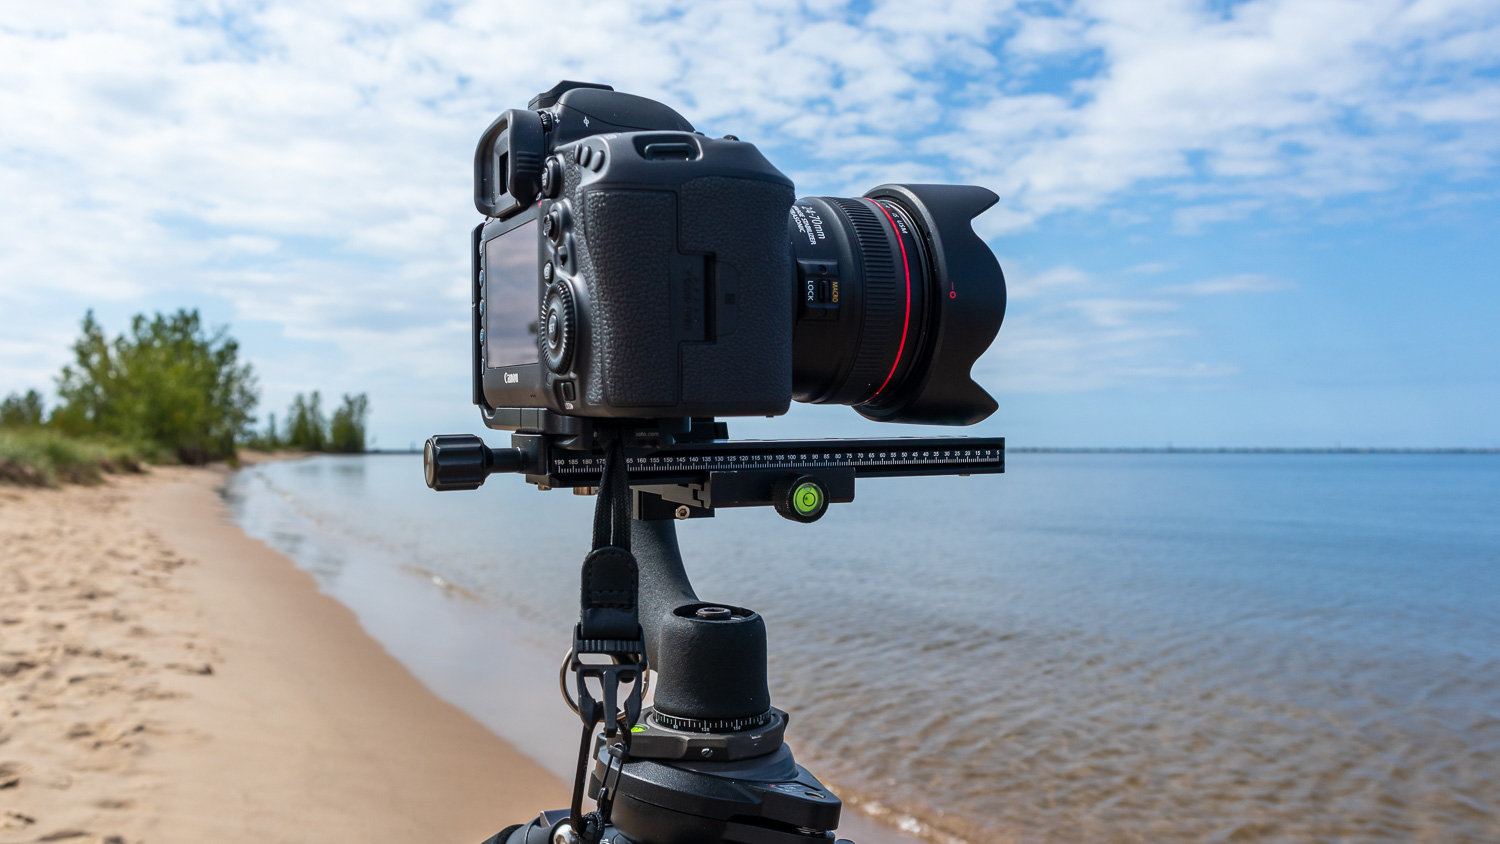
One of the first challenges for using a non-footed lens with a gimbal tripod head is that the Arca-Swiss mount is designed in a front-to-back configuration for use with large footed lenses. In order to use a non-footed lens with this mount you either have to attach a tripod plate to your camera in a front-to-back configuration, or use an adapter (if you can find one). Another option is to get a side-mount gimbal
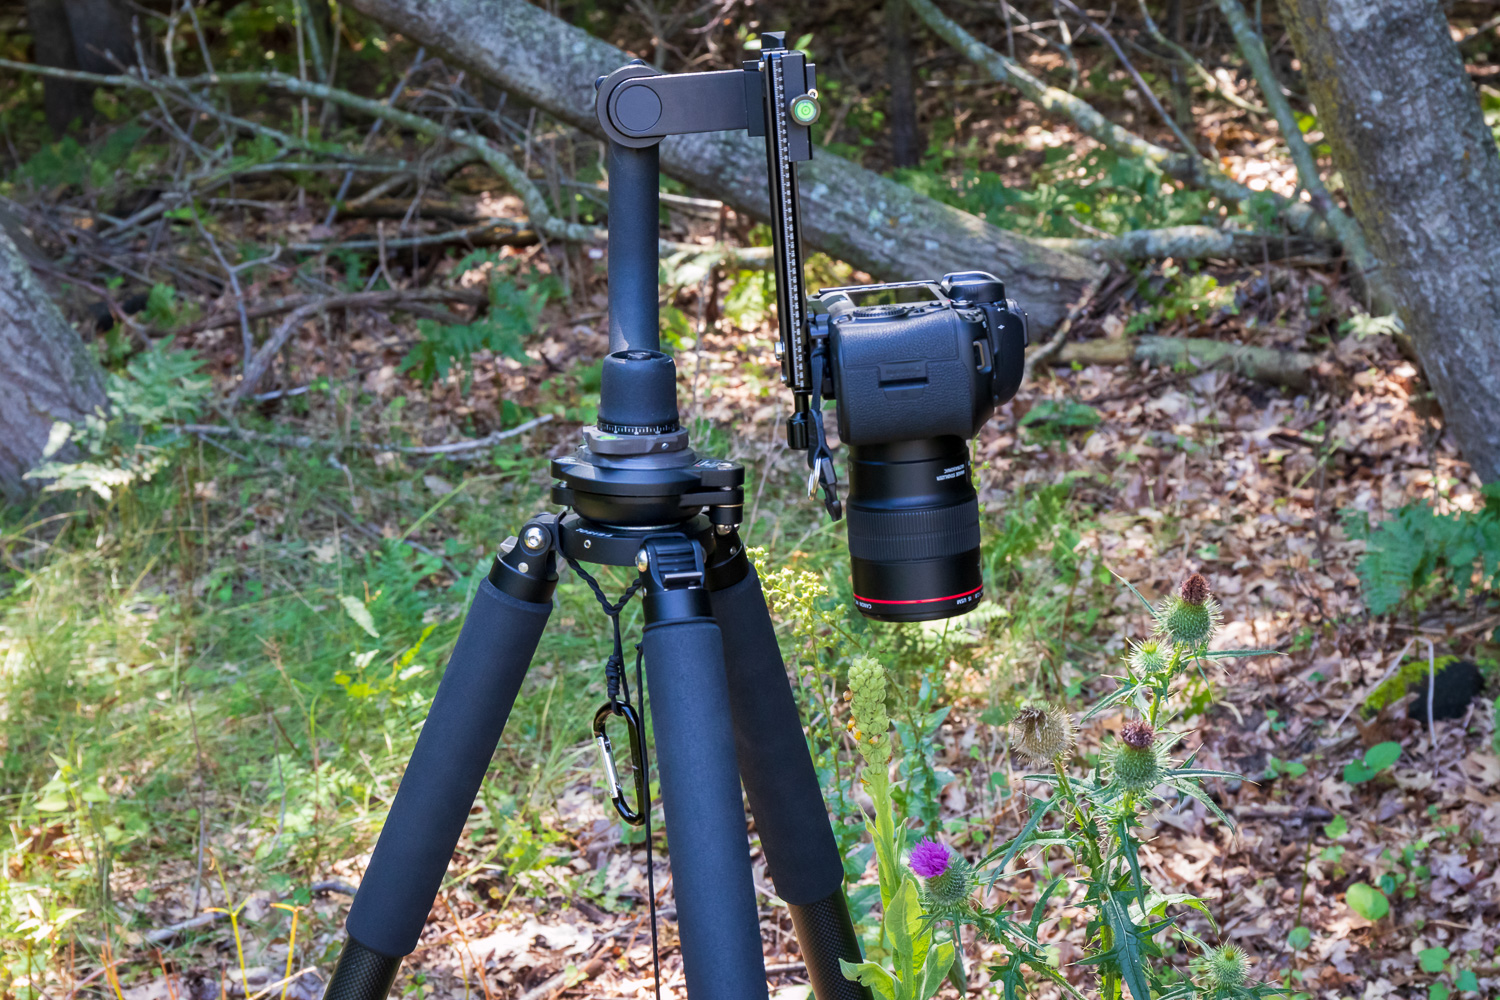
It just worked out that I also had a nodal rail that I used for creating panoramic photos with my ball-head and I found that it also works quite nicely as an adapter for the L-bracket. The nodal rail also works on the gimbal for panoramic photos just as it does on a ball-head. I have a 200mm nodal rail, but they are available in various lengths.
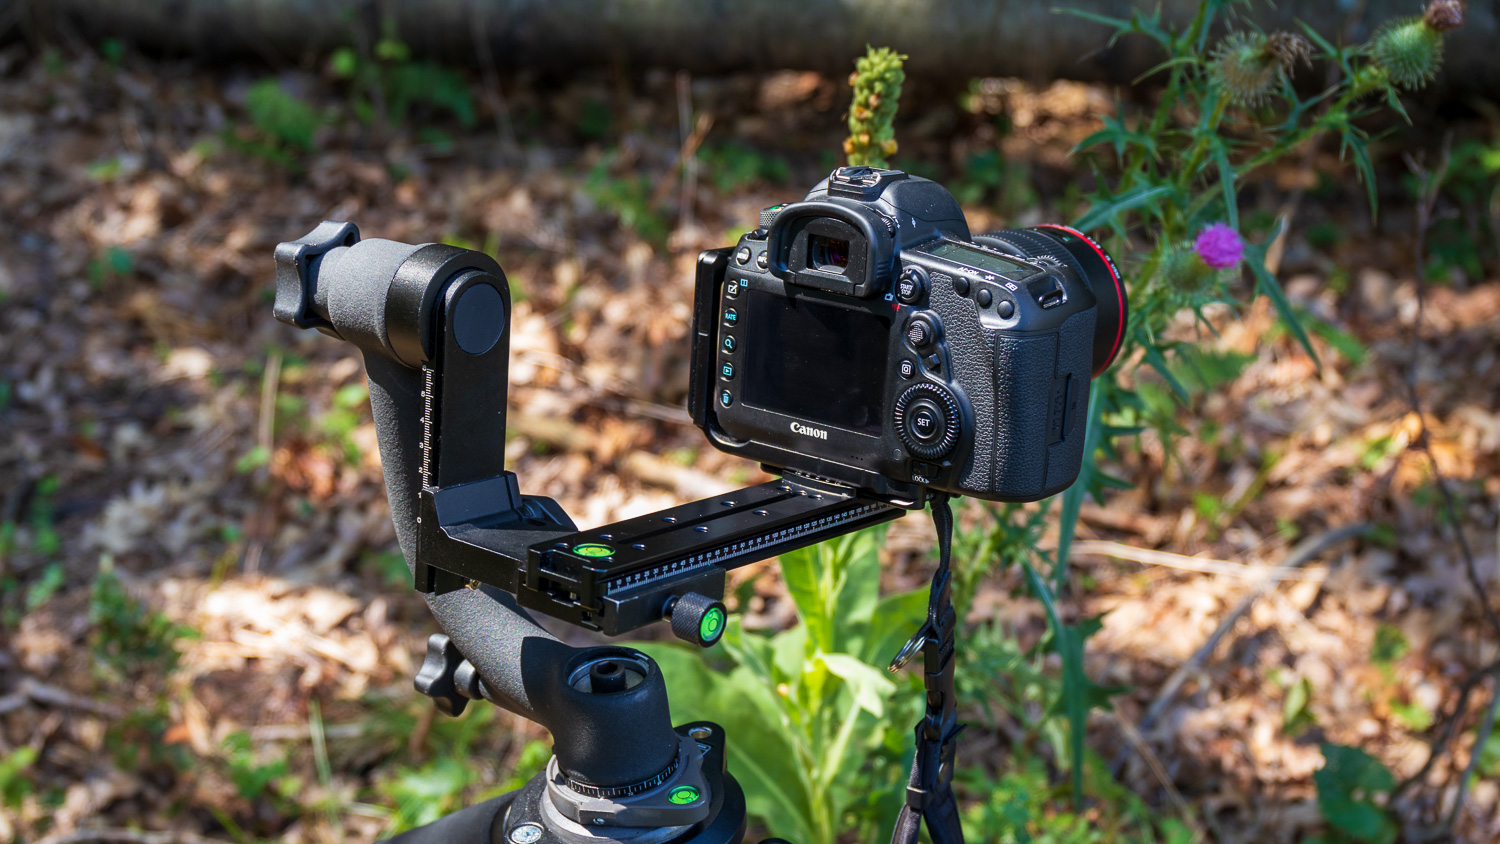
The nodal rail can also be reversed to extend the camera out in front, which I do occasionally when taking macro shots in the field or (even more rarely) shooting straight down. It's certainly not as useful as a tripod with a center column (which I hate), but it often gets the job done without having to haul along another tripod.
Using the nodal rail in an extended fashion like this does place the weight a bit forward and limits the amount of downward tilt, but I typically shoot with my tripod legs spread quite wide so tipping over is not normally something I worry about.
Dual Nodal Rail Use
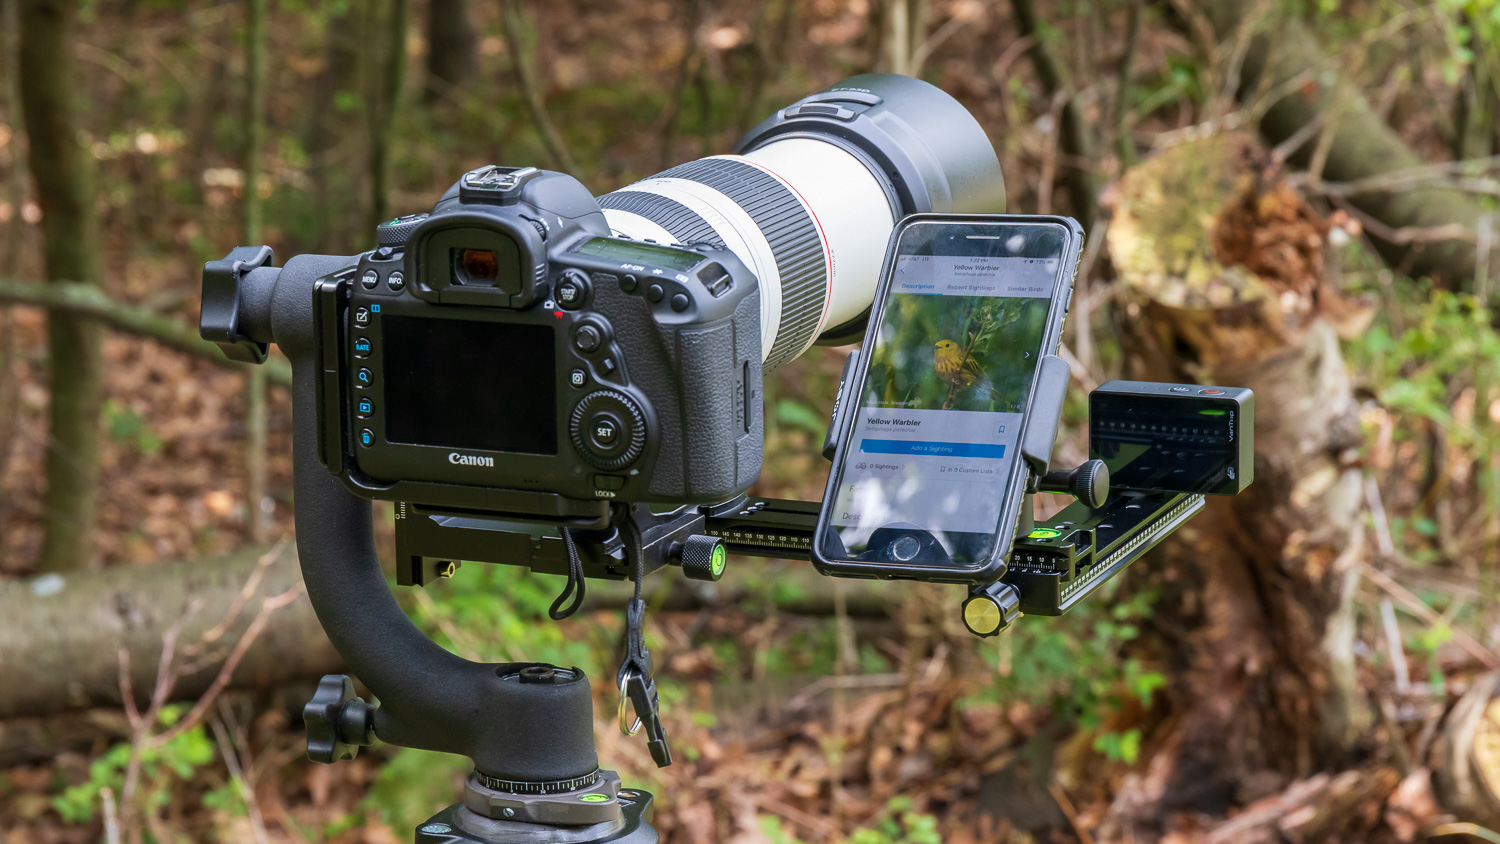
This isn't something everyone will do, but it may come in handy for some people. I have two 200mm nodal rails and each has twelve 1/4”-20 threaded holes in it. Each nodal rail has a clamp that is the same size as the rail itself, allowing you to attach one to the other. This has come in useful on more than one occasion for mounting other cameras such as my Canon M100 and various action cameras.
When photographing birds, I can mount my phone next to the camera making it easy to play bird calls from the phone or take video from the phone. I can have one camera pointed at me, and one aimed in the direction that the main camera is pointing.
I use a 5” replacement foot on my Canon EF 100-400mm f/4.5-5.6L IS II USM, which also allows me to mount a nodal rail off of that, to which I can mount the other cameras, lights, phone, microphones, etc.
Granted, you could also use this configuration with a ball-head, although the added bulk and weight would make it a little trickier to use and adjust especially if you want to switch between landscape and portrait orientations.
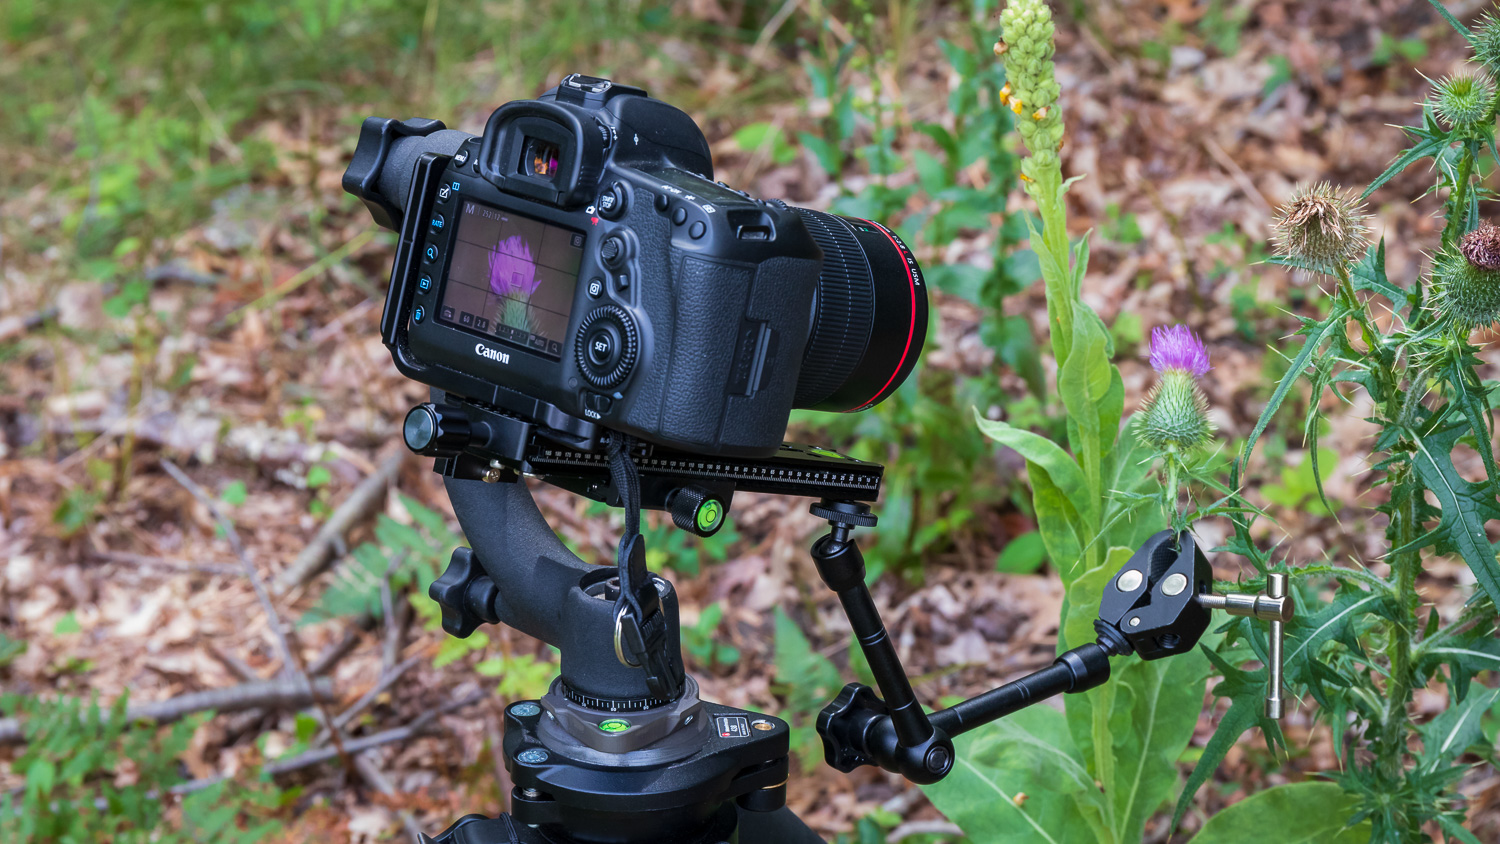
I've also used a super arm to hold plants when there's a little bit of a breeze. This could also be used to hold reflectors, lights, flashes, etc.
Conclusion
Gimbal tripod heads may not be for everyone, but if you have been avoiding one because of your non-footed lenses, maybe these techniques will work for you. The different configurations that you could come up with are almost endless.
Do you have a non-standard gimbal tripod head configuration? Let us know in the comments!
6 Comments
This would be similar to the phone configuration seen in the article, but instead of a phone mount you could use something like the iKlip 3 tablet mount. https://www.bhphotovideo.com/c/product/1434800-REG/ik_multimedia_ip_ikl…
Thanks for that, a nice overview. One disadvantage would be they are a fair bit more bulky.
I'm currently mulling how to attach a tablet tethered to my camera so I can better monitor video. Probably straps of some sort, but your setup might work too.
That 'robotic' arm looks so cool and for sure it helps with macro photography and holding other props. I plan to get a gimbal head for my Nikon D7100 with Tamron 150-600mm when shooting birds.
Thanks for a great article with many clever ideas. Who makes the super arm?
Looks like the "super arm" I have isn't around anymore, just search Amazon for "magic arm" and you'll find tons of them.