
It's been a month or so since I started printing in the darkroom, and what a ride it has been! After going through tons of paper and chemicals, making a mountain of bad prints, and generally messing up in every way possible, I've managed to be able to make some decent prints. Here are a few of most important lessons I've learned so far in my darkroom adventure.
Proof Sheets are Amazing (and necessary)
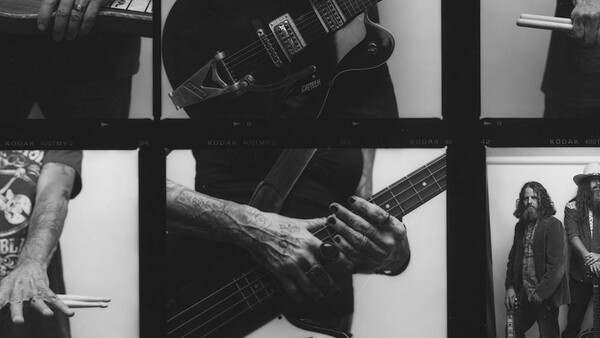
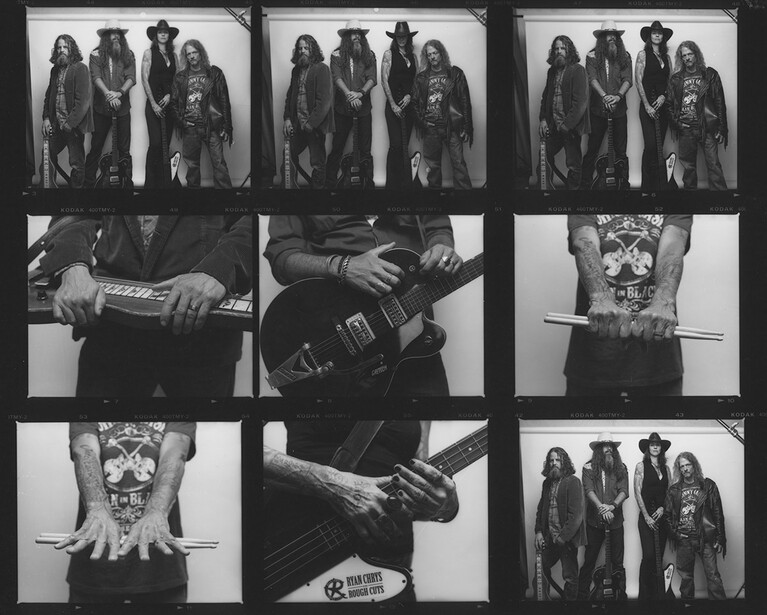
Every time you attempt to make a print, it costs money. How much money depends on how many attempts it takes to get it right, but for the average print you can count on using a few test strips (more on those later), a full sheet or two to get to a working print, and maybe another sheet or three to perfect your dodging and burning. To that end, before you start the process of working on a print, you'd better be damn sure it's worth it! Enter the proof sheet. When you make a proof sheet, you get an idea of the quality of every photo on your roll. And don't just look at the proofs with the naked eye. Use a loupe. If you don't use a loupe, it's very difficult to get an idea of critical focus. Don't go cheap here, as a crappy loupe makes it that much more difficult to discern details in the proof. I'd recommend something along these lines at a minimum. I also use this contact print holder as well. Make lining everything up a breeze.
Get It Right In Camera
Seriously. Do it. Although I haven't learned how to retouch in a traditional darkroom yet, from what I gather you're pretty limited in what you can do compared to Photoshop. I definitely made the mistake of shooting like I could "fix it in post" a few times, and you pay for it later. Take the shot of the group on the above proof sheet. Notice how the top of the backdrop was too low? Yeah, I'm an idiot and ordered the wrong size backdrop stand and forgot to return it. Eventually, I had to scan this image and fix it in photoshop because I couldn't make it work in the darkroom. The crop would have been too severe. I didn't mind the close crop on the individuals because they were character studies, but it didn't work for the group. Lesson learned.
Learn To Use Filters
When printing in black and white, controlling your contrast is everything. This is done through the use of filters. On a traditional black and white enlarger, you use a set of filters that go above or below the lens that can enhance or reduce contrast over the whole image. Learning how and when to use them is essential. You should be using them for pretty much every image. On a color enlarger like mine, you dial in the amount of magenta or yellow to add to the image to affect the amount of contrast you require. Learning to dial in the correct filtration was huge in helping me create usable prints.
Saving Money On Paper
Make 5"x7" prints first
Naturally, the temptation is to make bigger prints right away. Try to resist the temptation to jump to 8"x10" or larger. It's expensive. And you're going to making a lot of crappy prints. You will go through a 25-pack of paper ridiculously fast! Even cheap 8x10 paper is pretty pricey, so getting a 100-pack of 5"x7" paper for the same price makes a lot more sense. It's a bit tougher to dodge in a smaller print, but not so much as to negate your cost savings. I made the mistake of trying 8"x10" paper first. Now I'm happily making 5"x7" prints while saving money.
Use Test Strips
In order to figure out how long you need to expose your paper under your enlarger, you'll need to make test exposures. You could use an entire sheet of paper for this, but to be more economical, cut a few pieces of paper up into strips and use those instead. Cutting up strips in the darkroom is a bit tedious, but it's worth it.
Use Cheaper Paper to Start
There are some wonderful brands of high quality paper out there. But, you don't need that yet. Yes, higher quality paper will yield truer blacks and better tones, but you're going to be going through so much paper, initially, it just makes more sense to use the cheap stuff. I've been using Arista paper and it's been just fine. I'm sure I'm too new to be able to tell the difference.
Learn To Use an Easel
The easel is the base of your image. It's the surface you place the paper on, and by using the blades of the easel you can easily manipulate your crop. You'll notice there are some funky borders on some of my photos. That's because I was in a rush and wasn't making sure my easel blades were down completely, or I hadn't pressed my paper into the corner of the easel tight enough. Take your time. Once the exposure is made and the chemicals have hit the paper, there's no going back. You have to start over.
Dust, Dust, and More Dust
Dust is the enemy. When you're in the darkroom, every piece of dust will show up on the print, especially if you're shooting in smaller formats where every detail is enlarged. Invest in an anti-static brush to brush off your negatives before they go in the enlarger. I can't stress enough how much these help. They're also great for prepping negatives for scanning as well. I use this one.
Buy A Grain Focuser
In the darkroom it's sometimes difficult to see if your enlarger is in perfect focus with your paper. Is your photo out of focus or is your enlarger? Enter the Grain Focuser. This little bad boy makes it easy to focus in on the actual grain of the negative, ensuring that your enlarger is in focus. If you try to focus on something in the photo that you assume to be sharp, you could be wrong. Grain doesn't lie. Get one. It will save you frustration later.
I still have a ton to learn, but I'm having blast playing around in the darkroom. Hours fly by in a blink. You really feel connected to the work and if it's within your means, I definitely recommend trying it out. If you'd like to take a stab at making your own darkroom, check out my article on how I did it here. Much more to come!
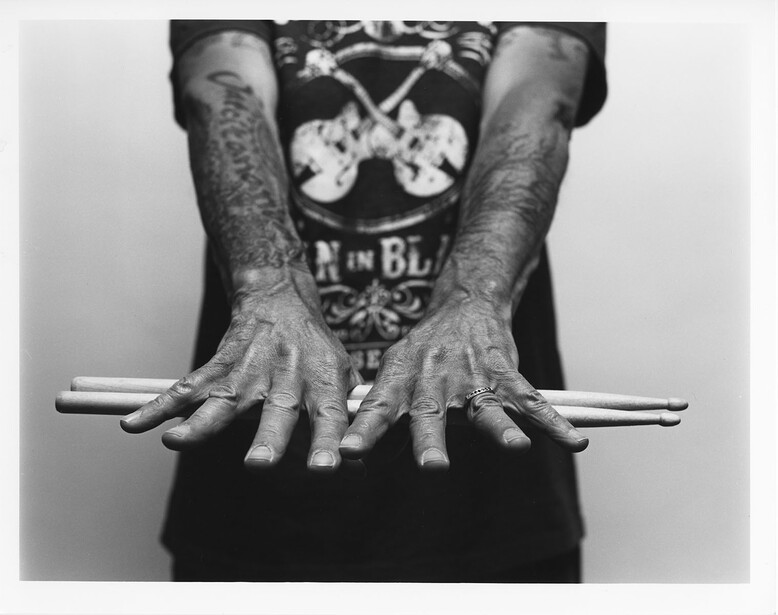
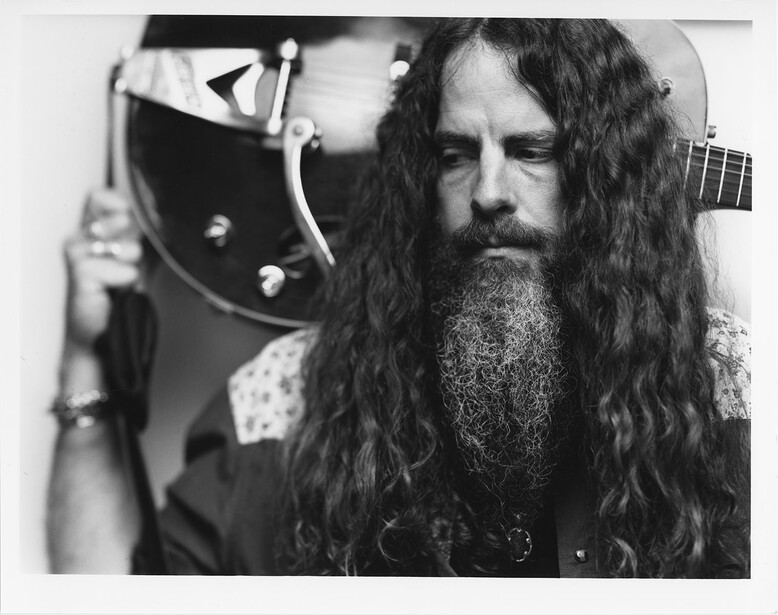
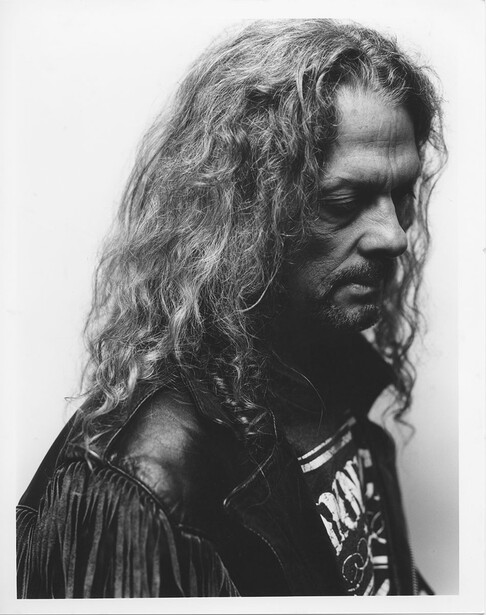
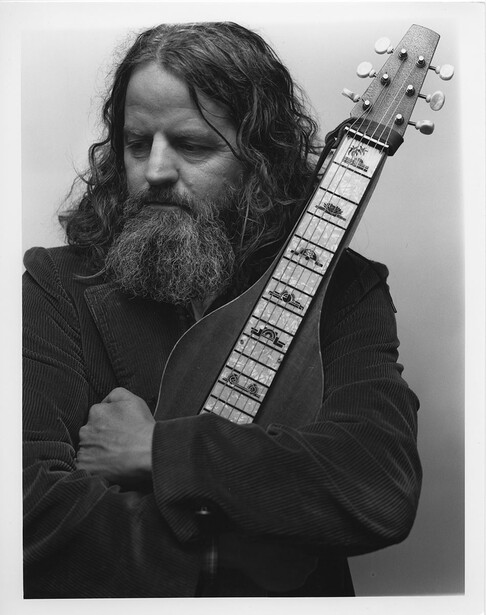
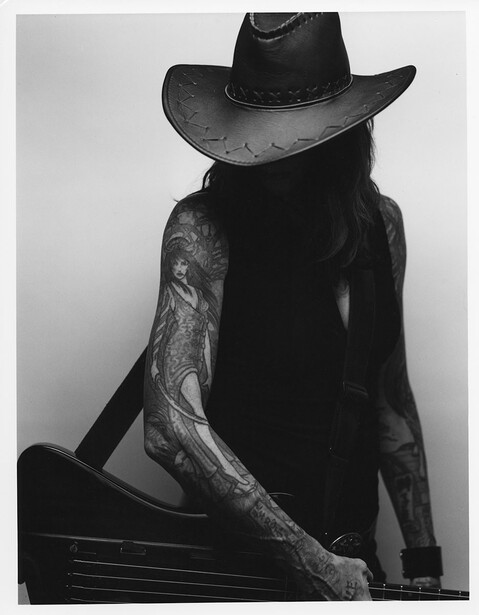
Special thanks to Ryan Chrys and the Rough Cuts for being my guinea pigs while I learn.


Join the Fstoppers community for free
-
Post comments and join in the discussions
-
Browse the site ad-free
-
Share your work and get featured in the community
-
Compete in the photo contests for fun and prizes
8 Comments
Reading your article, I realize how much "time fades away". As someone who worked in darkrooms for 17 years, 11 of them professionally, I find it strange you had to go through trial by fire.
What I would suggest anyone considering setting up a darkroom, besides the good information you've given here, is to find old books on the subject from the 80s, and even 90s, that were wriitten "in the day", that will detail not only overall requirements, but delve into the minutiae involved in printing that have apparently been lost in "the sands of time".
It's rather bitterseet reading your article, it makes me wonder how long before the darkroom becomes a completely lost art form. Enjoy it now that your burn marks have healed. :-)
I had the exact same reaction. It seems a lifetime ago now, but I learned everything about printing in the darkroom from books, particularly Henry Horenstein's Black & White Photography: A Basic Manual and Ansel Adams' master instruction books; The Camera, The Negative, The Print.
As a side note, the Adams books are where I learned the most valuable technical tip for art prints— get rid of the enlarger timer, stop down the aperture and use a metronome to count beats. It completely changed the way I worked and the stress I felt at the enlarger!
Hans, I enjoy reading your articles because it reminds me of my Navy days as a photographer. Shooting, processing and printing film can be fun and frustrating at the same time but the images you get are like nothing else.
What kind of paper are you using to print with? The reason why I ask is that contrast filters only work with Polycontrast (Kodak) and similar lightweight rapid process papers. They do not work on graded paper.
Enjoy!!!!
It's a long learning curve to go from making prints to making excellent prints. I made it to fair -good prints. My studio mate could bring out details and tones that I never could....thanks Adobe for Photoshop!!
I don't miss my darkroom days at all— the long hours, the waiting for results, the guess work. the chemical smell, the sore back! Thank Adobe for the ability to sit in a sunlit room to do and undo everything in a matter of seconds.
A follow up to my long post in your original article with a few more advanced tips.
For processing a water filter and if the budget can stretch a temperature controlled water mixer. A drying cabinet is pretty much a must as well, a metal locker is a cheap standin. If you can't fit one, run a shower for 5 minutes or so and dry there.
Good to see you got a colour enlarger, this makes contrast control much easier and reduces the effect of dust on prints. Once you get the hang of dodging and burning this will allow you to alter the contrast in separate areas which is virtually impossible if you are using a B&W enlarger using filters.
Upgrade the Bogen easel asap, while ok for beginners are not a patch on a proper Professional easel. I only ever came across 2. My favourite was made by Peeling and Cross, English so don't know if they were available in the US. 2 bladed spring loaded solid as a rock. Also very good was the Saunders 4 bladed design, not as solid as the Peeling and Cross but more adjustable. Neither are made new anymore. The solidity of these easels gives a sense of confidence that is not easy to explain but is worth every penny.
And don't forget the ion generator.
Good luck
I remember going though that in the 60's with great grandmother teaching me. Boy you story brings back some major learning curves. Some sad and many glads. Thanks for saving the craft.
I see this post is older but Google just now pushed it on me..
I had the same reaction as spy black, certainly. I guess I was lucky to have taken darkroom classes in 2012-13, and have learned how to operate a darkroom from many books prior to building my own darkroom for 4x5.
You'd think the internet would shorten the learning curve more, however... Especially a grain focuser, anyone from any source for 150 years would say that.