
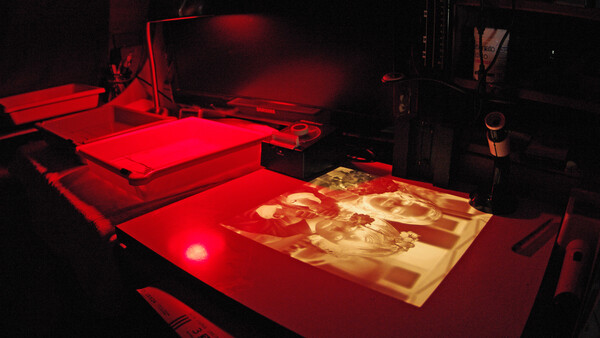
Making a single black-and-white print used to take a locked room, a red bulb, and roughly eight specialized tools that have almost no equivalent on a modern desk. If you started shooting after the smartphone, there is a good chance you have never touched any of them, or seen them work.
None of these were quaint accessories. Each one solved a real problem in the gap between the negative and the finished photograph, and together they formed a workflow that was slow, physical, and unforgiving. A print was something you built by hand, in the dark, one timed exposure at a time.
Here are eight of the machines and instruments that did the work, what each one was for, and why it mattered.
The Enlarger
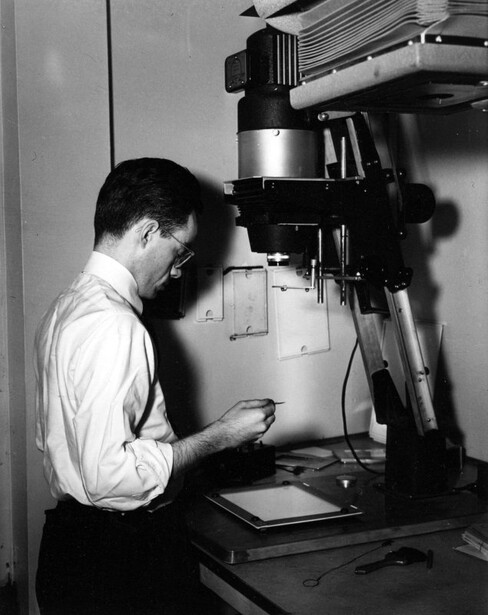
The enlarger was the heart of the room, and it is easiest to understand as a camera running in reverse. Instead of focusing the world down onto a small negative, it projects a small negative onto a sheet of paper on the baseboard below, blowing a 35mm frame out to eight, eleven, or sixteen inches on a side. The idea is old. Achille Quinet built a vertical enlarging camera in 1852, but it demanded punishingly long exposures. The first practical answer came in 1857, when David A. Woodward, a fine-arts professor at the Maryland Institute in Baltimore, patented the solar camera, which used an angled mirror and a condensing lens to drive sunlight through a negative and cast a life-size image onto paper. A portrait enlargement took roughly 45 minutes of direct sun. In 1864 the Belgian photochemist Désiré van Monckhoven refined the optics for sharper, more even illumination, and van Monckhoven's work helped push the design toward the machines that followed.
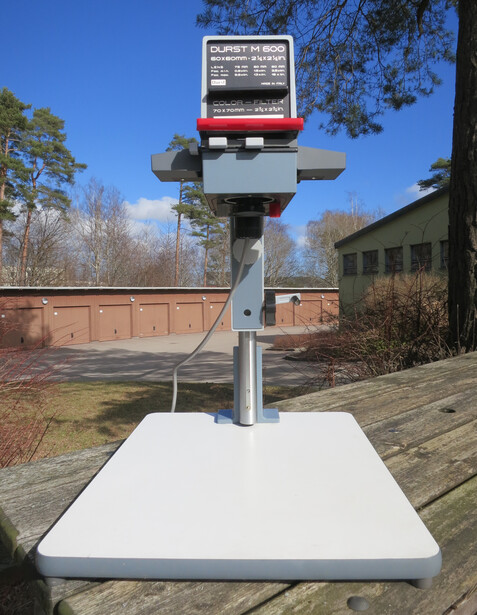
Electric vertical enlargers, the kind that defined the 20th-century darkroom, did not become common until the 1890s and early 1900s. By the film era the enlarger had split into two camps. Condenser enlargers focus the light through a pair of lenses for a crisp, high-contrast projection that also renders every scratch and dust speck. Diffusion enlargers scatter the light for smoother tone and more forgiving highlights. Classic machines from Beseler, Omega, Durst, and Meopta anchored school labs and home darkrooms for decades, and a well-kept one still prints beautifully today.
The Grain Focuser
Getting a projected image sharp by eye is nearly impossible, because your eye keeps drifting to focus on the paper's surface instead of the image floating on it. The grain focuser, also called a grain magnifier or focus finder, solved that. You set it on the easel, looked through the eyepiece, and a small mirror bounced the projected image up into a magnified view. Rather than focus on the picture, you focused on the film grain itself, the tiny silver clumps that make up the negative. When the grain snapped into crisp specks, the print was as sharp as the enlarger could make it. A Paterson grain focuser, along with models from Peak and Micromega, offered around 8x magnification, plenty for most enlargements. The tool was indispensable for thin or low-detail negatives that gave the naked eye nothing to grab onto.
The Safelight
A darkroom is not actually dark. It glows a dim red or amber, and that is possible thanks to a quirk of chemistry: black-and-white printing paper is sensitive mostly to blue and green light and effectively blind to red. A safelight exploits that gap, giving you enough light to work by while leaving the paper unexposed. The specifics mattered. A Kodak OC filter, a light amber, was the standard for variable-contrast papers; a deep red suited orthochromatic and some graded materials; and panchromatic camera film, sensitive across the whole spectrum, tolerated no safelight at all and had to be handled in total darkness. Orthochromatic film is the exception, since it carries no red sensitivity: Ilford specifies a dark red safelight for Ortho Plus and warns against using an amber one. For bright, even working light, some darkrooms ran low-pressure sodium-vapor safelights glowing at a narrow 589 nanometers. A modern red or amber darkroom safelight works on the same principle. The word "safe" was always relative, though. Leave paper out under any safelight long enough and it will eventually fog.
Dodging and Burning Tools
Every retoucher who has ever tapped the dodge tool in Photoshop is borrowing a name from this room. In the darkroom, dodging meant holding light back from part of the paper during the exposure so that area printed lighter; burning meant giving a chosen area extra light so it printed darker. The instruments were charmingly low-tech. A small cardboard disc taped to a stiff wire handled dodging, while a card with a hole cut in it, or just your cupped hands, handled burning, all kept moving gently under the enlarger's beam so their edges would not print as hard lines. Ansel Adams and Fred Archer folded these moves into the Zone System they developed around 1940 at the Art Center School in Los Angeles, and Adams relied on them so heavily that, by one account, an assistant who worked with him for years never saw him make a fully straight, unmanipulated print. If you want the modern digital version of the same craft, Fstoppers offers a Master Dodge and Burn course built on exactly this logic.
The Easel
Those clean white borders on an old photograph were not an accident. They came from the easel, a hinged metal frame that held the paper dead flat on the enlarger's baseboard and masked its edges. Flatness matters more than it sounds, because paper that bows even slightly throws part of the print out of focus. An adjustable four-blade enlarging easel, like the classic Saunders models, let you set borders from a hairline to a wide margin and center the image precisely, all without shifting the base. It was the humble jig that turned a floppy sheet of paper into a registered, repeatable print.
Print Tongs
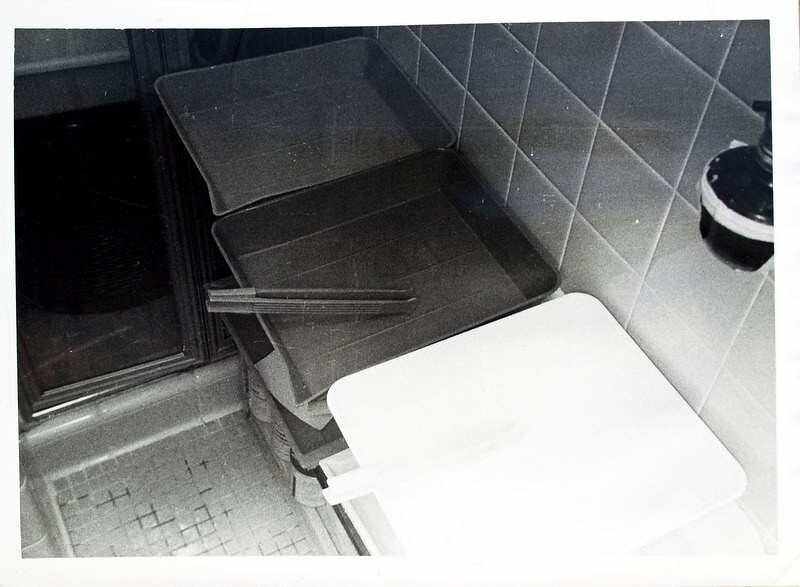
Once exposed, the paper went on a journey through three trays of chemistry: developer, then a stop bath, then fixer. You did not use your fingers. Print tongs, usually bamboo or plastic, carried the sheet from tray to tray while keeping caustic chemicals off your skin and fingerprints off the emulsion. The cardinal rule was one pair of tongs per tray, never shared, because a few drops of fixer dragged back into the developer would contaminate it and spoil the next print. It sounds fussy. It was, and it had to be.
The Contact Printing Frame
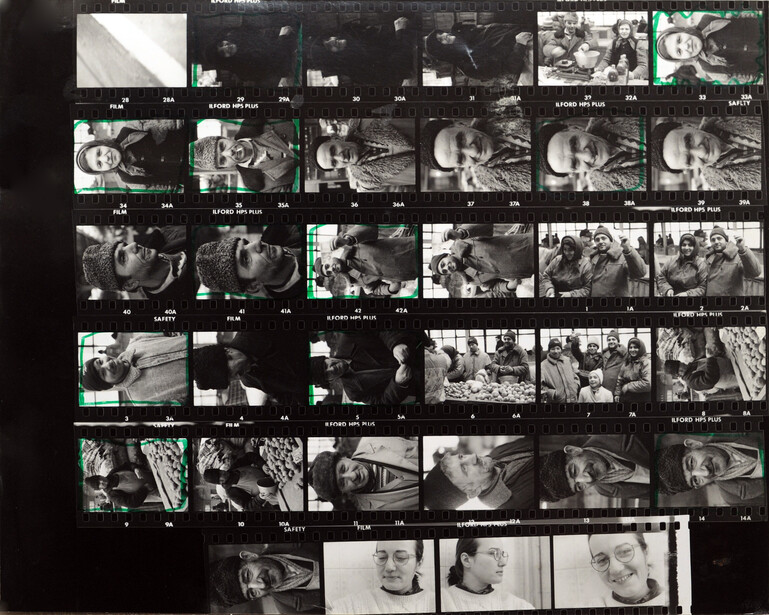
Before you enlarged anything, you needed to see what was actually on the roll, and the contact printing frame was how you did it. You laid your negatives directly on a sheet of paper, pressed them flat under a hinged glass frame, and gave the whole stack one exposure. The result was a contact sheet, also called a proof sheet: every frame on the roll printed at its true negative size in one tidy grid. Photographers marked those sheets up with a grease pencil to choose keepers and crops, and the proof sheet became the working document of a career. The contact print is also as old as negative photography itself. Before enlargers were common, nearly all prints were contact prints, and masters like Edward Weston contact-printed their 8x10 negatives as finished art rather than enlarging them at all.
The Timer and the Test Strip
Exposure in the darkroom was measured in seconds, and the instrument that ruled it was the timer. The GraLab Model 300, an electromechanical timer with a big glow-in-the-dark dial, is the icon of the type. It counted down in total darkness, switched the enlarger and the safelight through its own two outlets, and has been a fixture in labs and classrooms for generations. The timer only mattered once you knew the number, though, and finding that number was the job of the test strip. You would lay a strip of paper under the negative and expose it in steps, covering more of it with an opaque card at each interval, so that a single developed strip showed a ladder of exposures running from too light to too dark. Somewhere on that ladder sat the correct exposure time, read off at whatever contrast grade you had already dialed in. Ilford still publishes the same exposure-testing method today. It was trial and error, formalized, and for most darkrooms it was the everyday substitute for a dedicated enlarging meter.
None of these tools truly vanished. Enlargers, grain focusers, safelights, tongs, easels, and GraLab timers are all still manufactured and sold, and darkrooms full of them are quietly busy right now. What changed is that the room used to be mandatory. So the next time you drag a slider labeled Dodge, remember that it began as a scrap of cardboard on a bent wire, waved by hand over a sheet of paper in the dark.
Lead image by Inkaroad, CC BY-SA 3.0. Source.



Join the Fstoppers community for free
-
Post comments and join in the discussions
-
Browse the site ad-free
-
Share your work and get featured in the community
-
Compete in the photo contests for fun and prizes
11 Comments
I used to teach film photography and darkroom practices at secondary school level from the late 90's up to 2009 and loved watching student's reactions when they saw their first print come to life in the trays. They all got a giggle out of making dodging tools with wire and black cardboard...I think they expected something more hi tech. Some would have half a dozen or more of different shapes and sizes!
And let’s not forget the smell of fixer!
I've moved on. Nevertheless that "fragrance" has never left my brain.
As Mr Cliff states "watching student's reaction" was priceless I'm sure. I'll never forget my friend's face showing up in a developer tray. I wish there was some way to give digital only photographers that experience. If I wasn't hooked on photography before, seeing that latent image appear certainly addicted me to photography. Great article. Keep them coming. Thanks!
no mention of nose grease? the ultimate scratch remover?
You forgot the yellow paper print holders that came in fixed sizes like 4x5, 8x10, 16x20, and 20x24. Those made life easy in the darkroom. Next to the developer tray sat a container of straight developer (hot soup) for a bit more developing in the weak spots. If you did a lot of prints like where I worked, we got a Kodak print processor that did repeatable developing of your prints, assuming you had good negatives to start with.
Dear God, I have *all* of these somewhere in my basement! But I've not touched them in something like 30 years. Also have a Jobo processor which I used for developing Ektachrome slide film and producing gorgeous Cibachrome prints.
What about the print dryer. Nothing more frustrating than having a print that you're proud of dry in the shape of a toilet paper roll.
Nothing worse than having your print emulsion stick to the drying drum because you didn't polish the metal first. Where would you find a bottle of that paste now?
Anybody else have a paper safe? Mine was a rolltop with multiple shelves
I have a plastic paper safe where I keep prints. It was a simple affair with a latch to keep the lid closed.