
If long exposures are preferred, there are limits to how far you can go unless you wait for darkness. The best alternative is a neutral density filter, which allows the desired long exposure at any time of day. Whatever you do, don’t use a variable neutral density filter for photography.
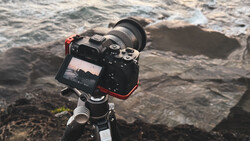
Capturing landscapes with long exposures is popular. It can lead to great results when performed correctly. The right exposure time depends on the situation and the desired result.
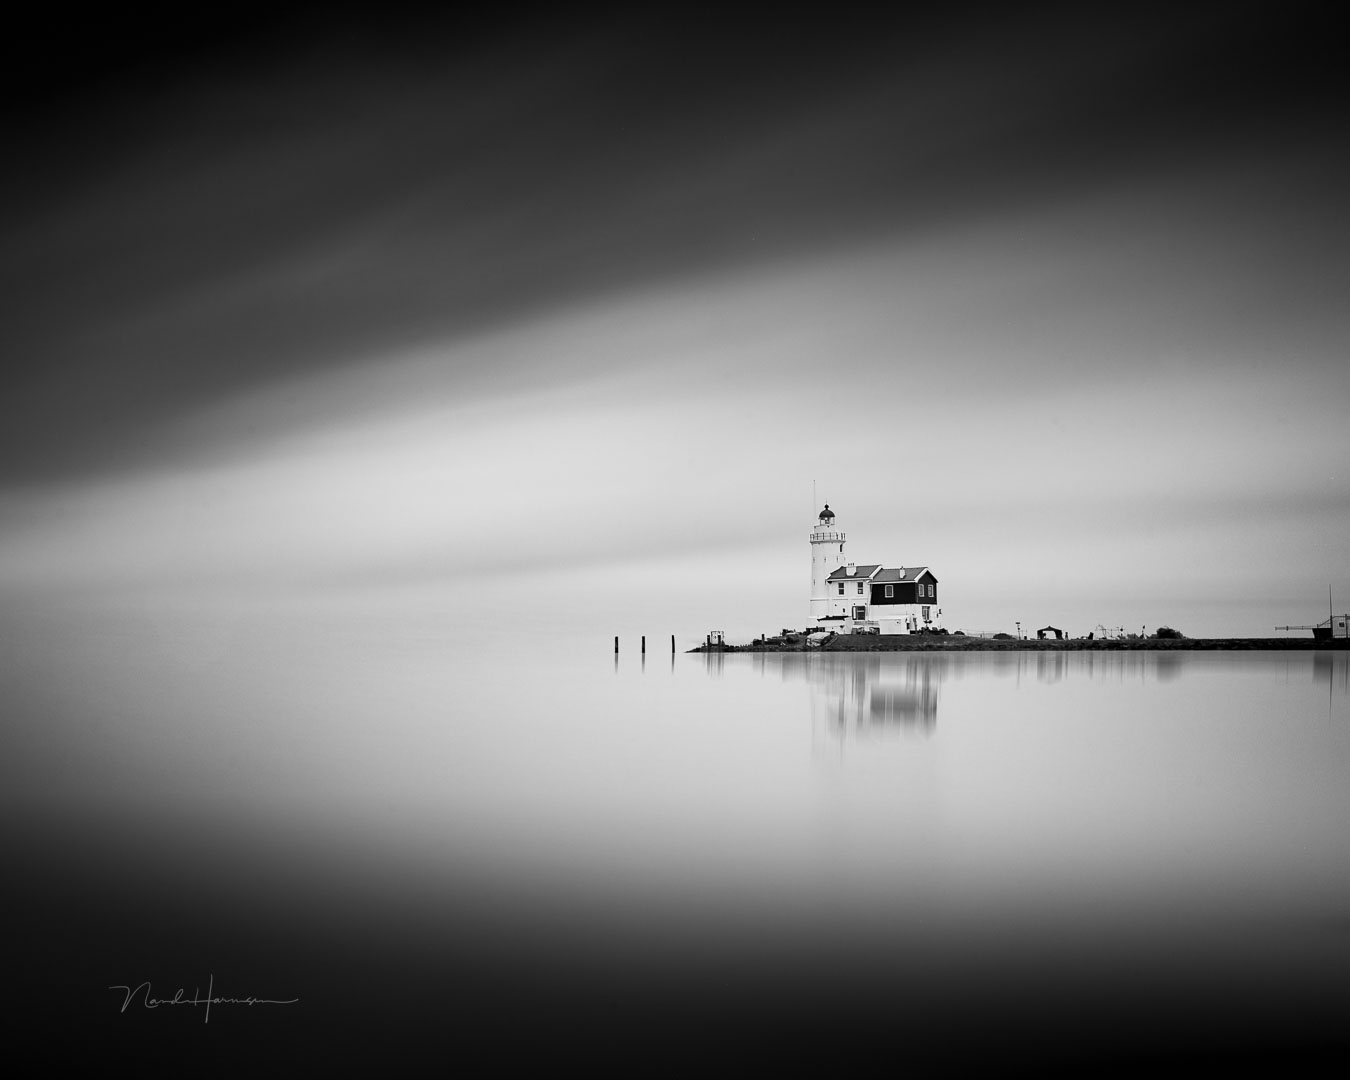
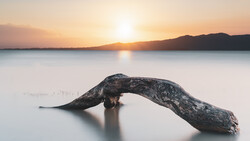
Sometimes an extremely long exposure is needed to remove every trace of movement from the water. It’s often used for fine art or something similar. Exposures of minutes are not uncommon.
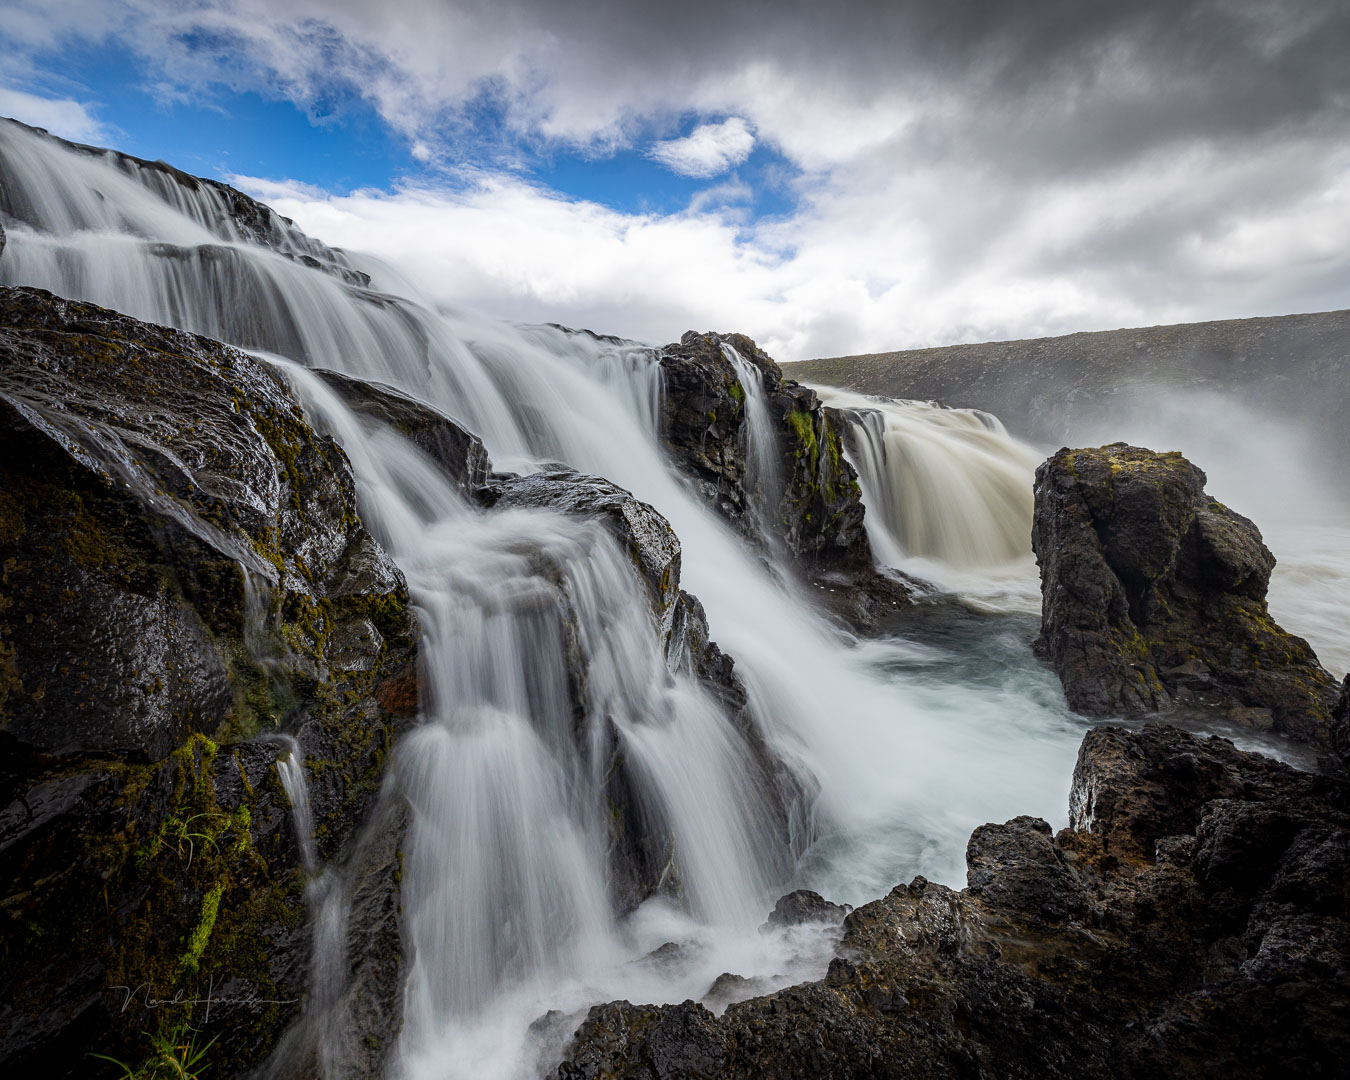
However, if the strength of the water has to be visible, often an exposure between a fourth of a second and two seconds is preferable. For mountain streams and waterfalls, the exposure has to be different as well. Again, it depends on the speed of the water, the focal length, and the desired effect.
One Filter Is Not Enough
For long exposure photography, it’s not about the filter you’re using but about the exposure you need for the desired effect. You can’t simply buy a 10-stop neutral density filter and be done with it. There will be situations where that filter isn’t strong enough. In other situations, the filter is much too strong.
It’s not only the desired exposure that dictates which neutral density filter is necessary. The weather situation and time of day also influence. That’s why it’s important to have a selection of neutral density filters at hand.
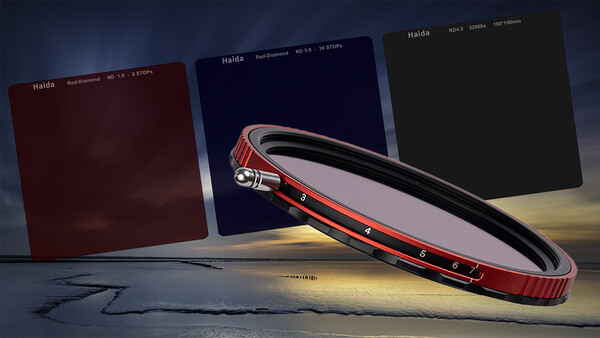
If long exposure photography is your thing, you are best off carrying three or even four neutral density filters with you. You need a 3-stop, a 6-stop, a 10-stop, and a 15-stop to be prepared for every situation and desired effect. It also allows you to combine multiple neutral density filters, extending the number of possible densities.
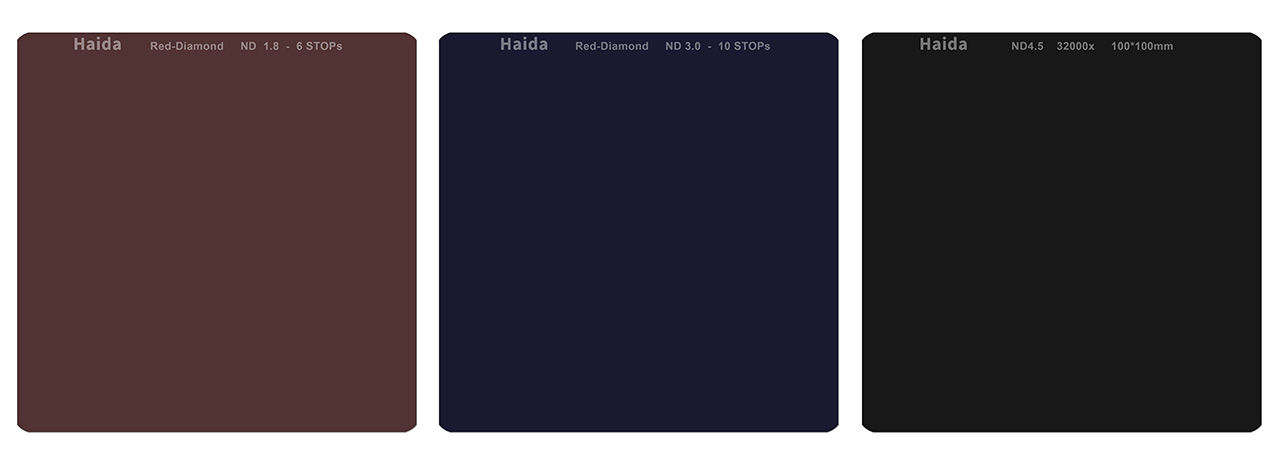
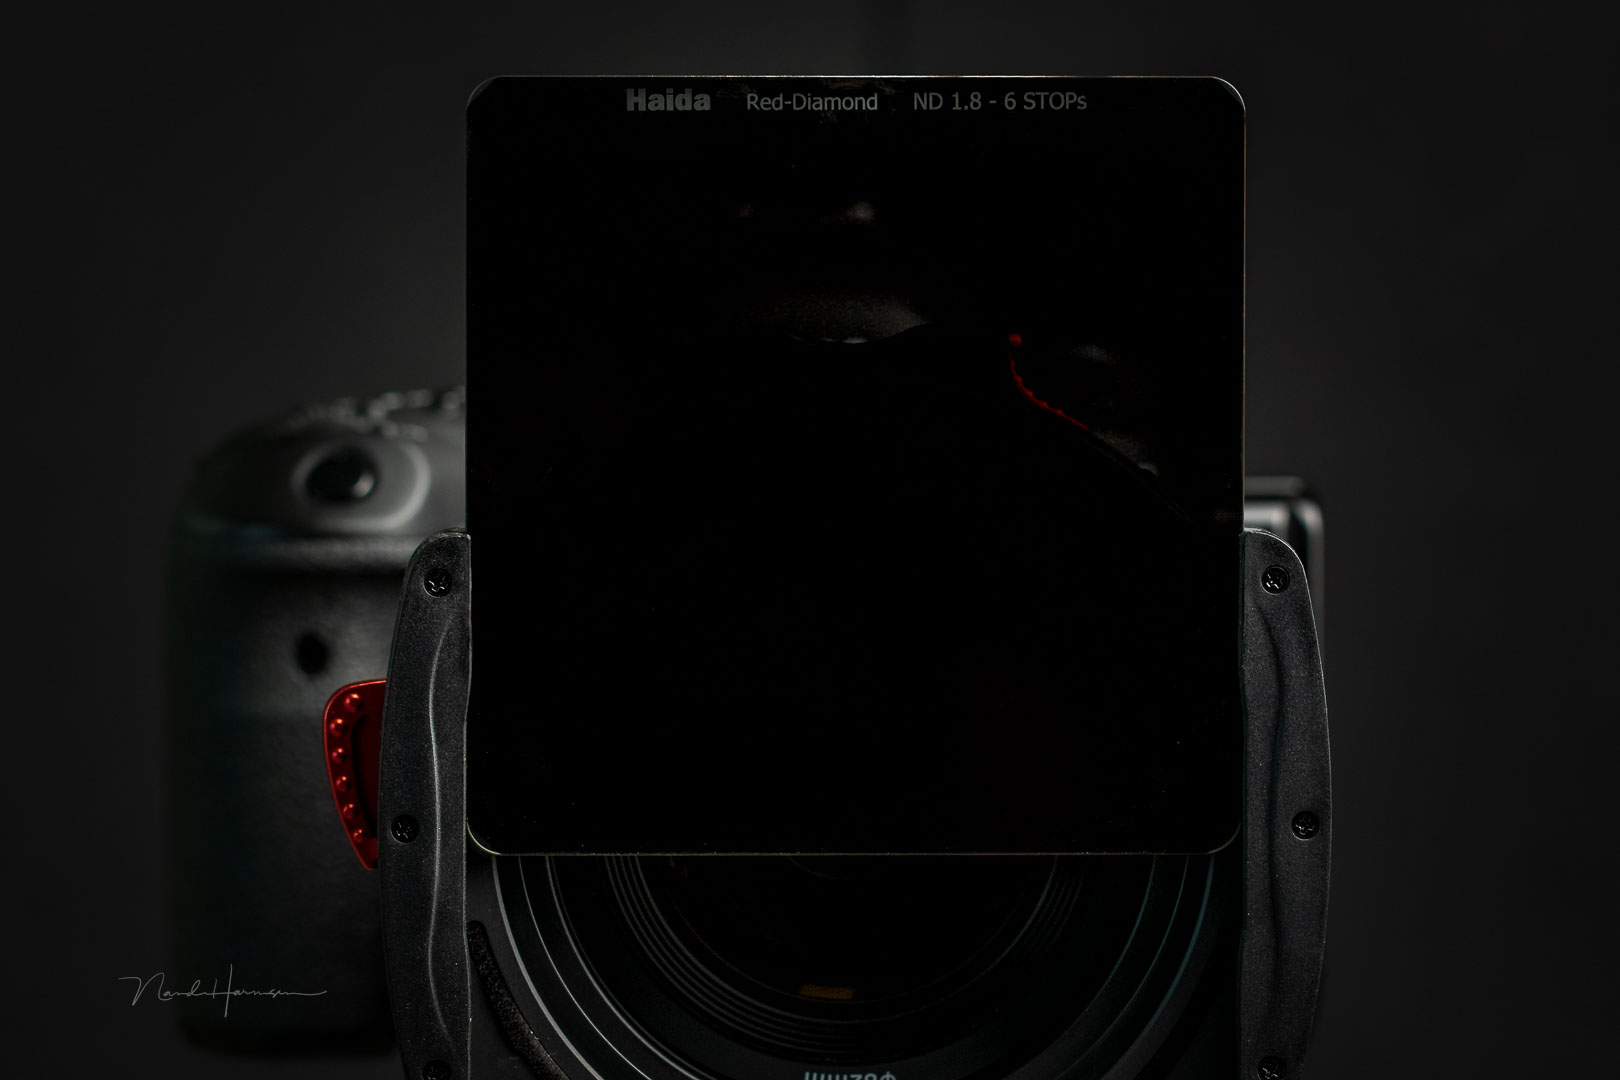
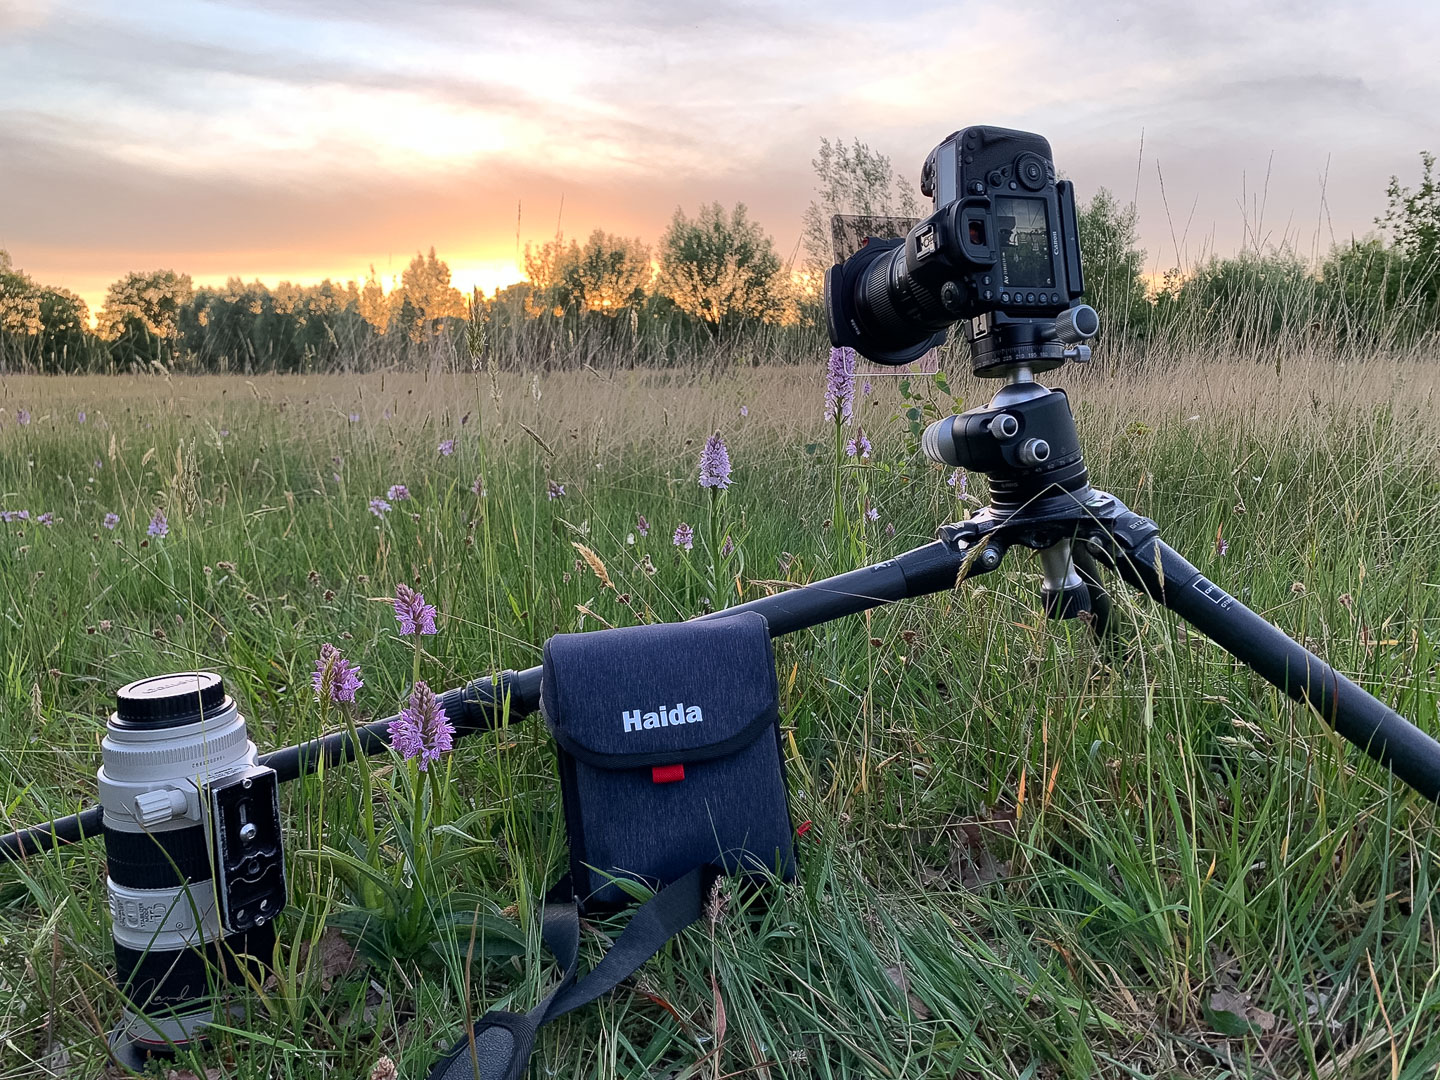
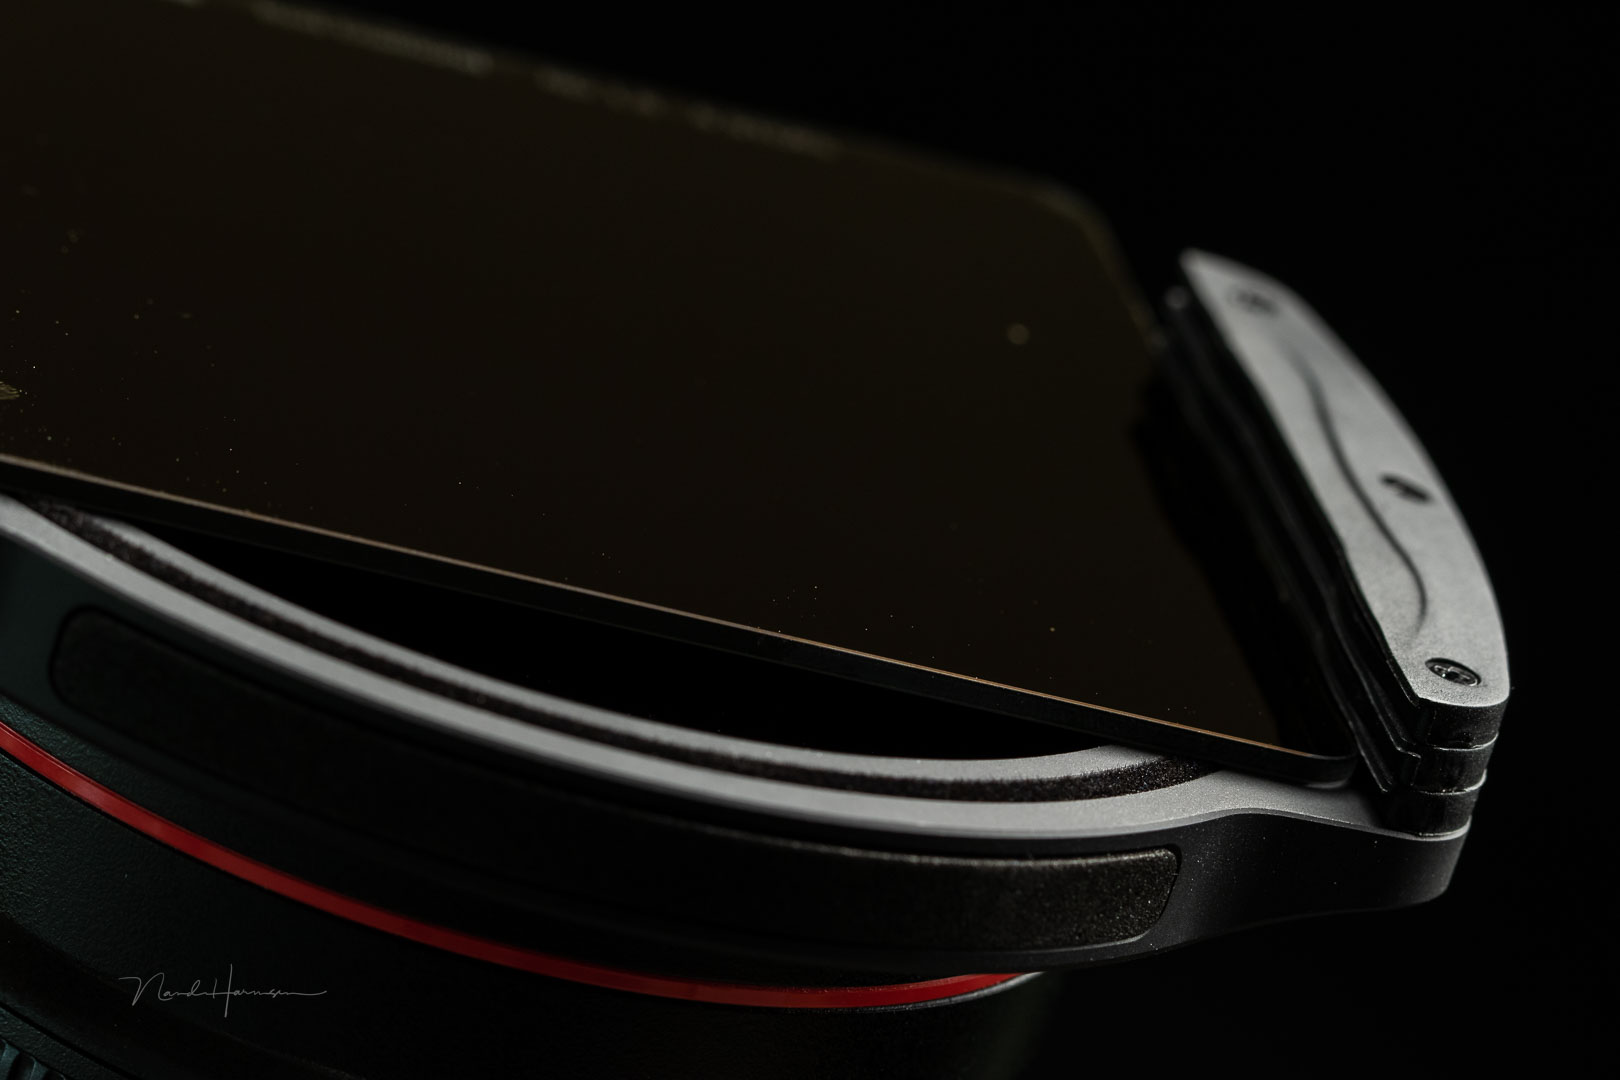
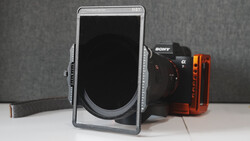
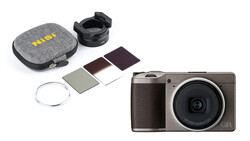
This amount of filters can be expensive, especially if you choose good quality. To prevent the need for filters for every lens diameter you have, a filter holder and square filters are preferable. I use the Haida Red Diamond 100mm filters with excellent results, even if two filters are combined. But this is not about the brand; it’s about the costs and the need for a relatively large filter holder and filters. You also need extra space inside the bag to carry this around.
One Filter to Rule Them All
Wouldn’t it be wonderful if you could buy just one filter and be done with it? It saves a lot of money, and it’s much easier to carry around with you. Just buy one large filter, like 82mm or 86mm. Use step-up rings to fit the filter onto lenses with a smaller diameter.
This is the variable neutral density filter. A filter that allows you to change the neutral density just by dialing in the amount. There are a lot of different variants available. Some allow a neutral density that ranges up to 10 stops or even more.
A lot of these filters produce terrible results, especially the cheaper ones. If a filter promises a huge range, you can be sure it doesn’t live up to its expectations. But even the expensive ones, with a limited neutral density range, are best to be avoided, at least for photography.
The Limited Neutral Density Range
The first problem you encounter is the limited range of neutral density. Although there are unbelievably large ranges available, most variable filters are not dark enough for really long exposures. If you want more than 30 seconds during daylight, you are lucky to achieve that exposure with a variable neutral density filter.
A lot of filters are limited to 6-stop or 7-stop. Some offer a 10-stop, which extends a normal exposure 1,000 times. But there is a bigger issue with these filters.
Crosshair Effects
The variable neutral density filters use two polarization filters to increase the density of the filter. By rotating a polarization filter in front of another, less and less light will be allowed to pass through the filters.
Since the light that passes through a polarization filter is directional, two will form a darkened cross in the frame. The more you rotate the filters relative to each other, the stronger the effect will occur.

This effect slowly creeps into the frame. It will be easily visible in a bright sky or flat surfaces, but if there is a lot of contrast, it will go unnoticed while photographing. But it will be visible during post-processing. In the worst-case scenario, a variable neutral density filter will make the photo unusable.

A Variable Neutral Density Filter Has Its Uses
Looking at the effects a variable neutral density filter can have, it seems these filters are unusable for photography. However, a variable neutral density filter is perfect for video.
If you’re familiar with video, you know how important shutter speed or shutter angle is. If you also want to have control of the depth of field, there is only one way to get the proper exposure: the ISO value. But the ISO value also has limitations if you’re shooting in the log format.
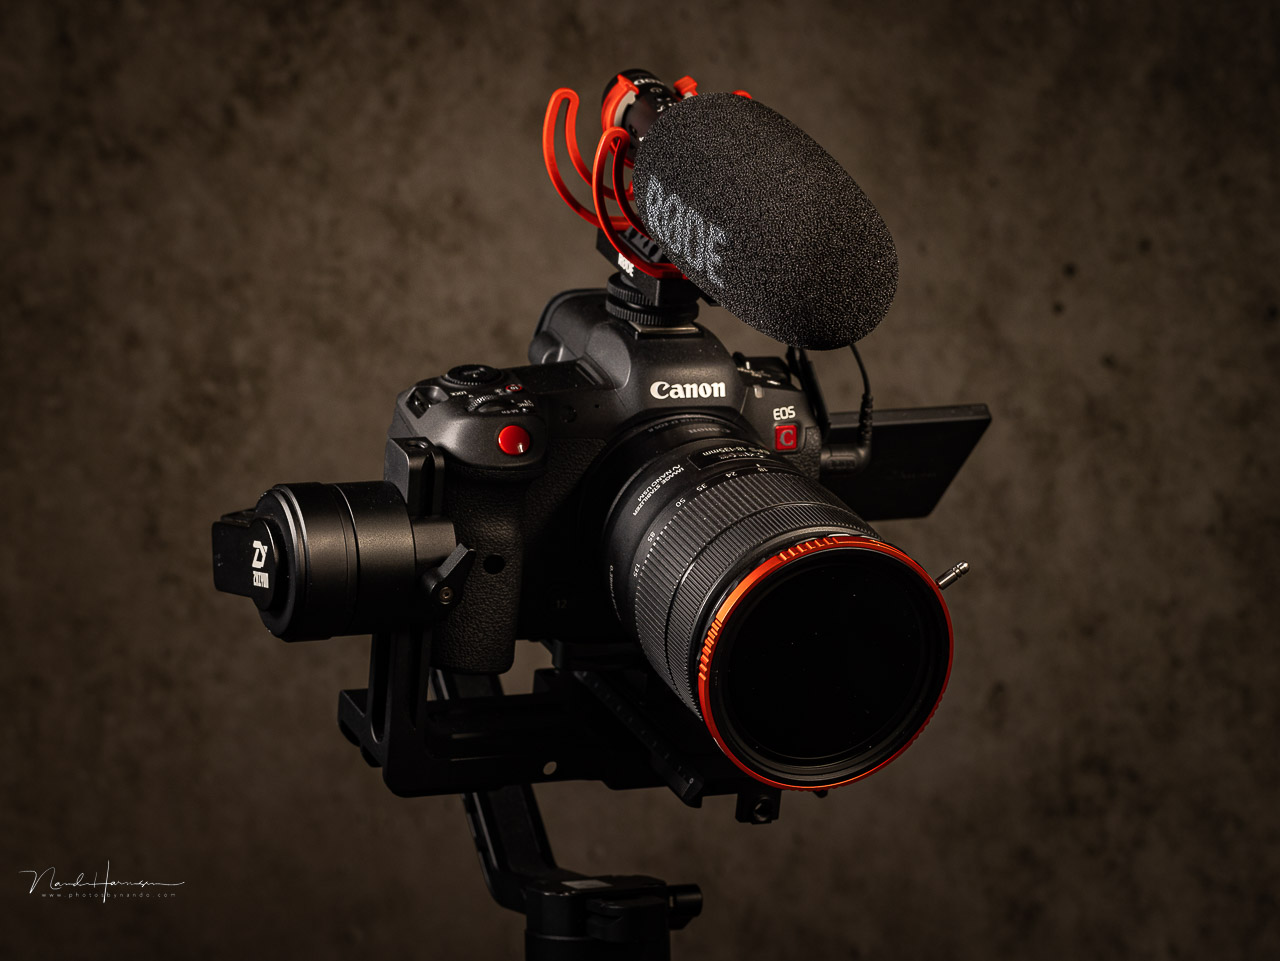
This results in limitations while filming under bright situations. That’s when a variable neutral density filter comes in. It offers a way of controlling the exposure without losing control of the shutter speed and depth of field.
The crosshair effect that can be seen in photography is less of a problem for video. In most cases, a 16:9 or 16:10 aspect ratio is used. Since the darkening of the frame due to the crosshair effect starts in the corners of the frame, it won’t show up unless the neutral density is turned to the extremes.
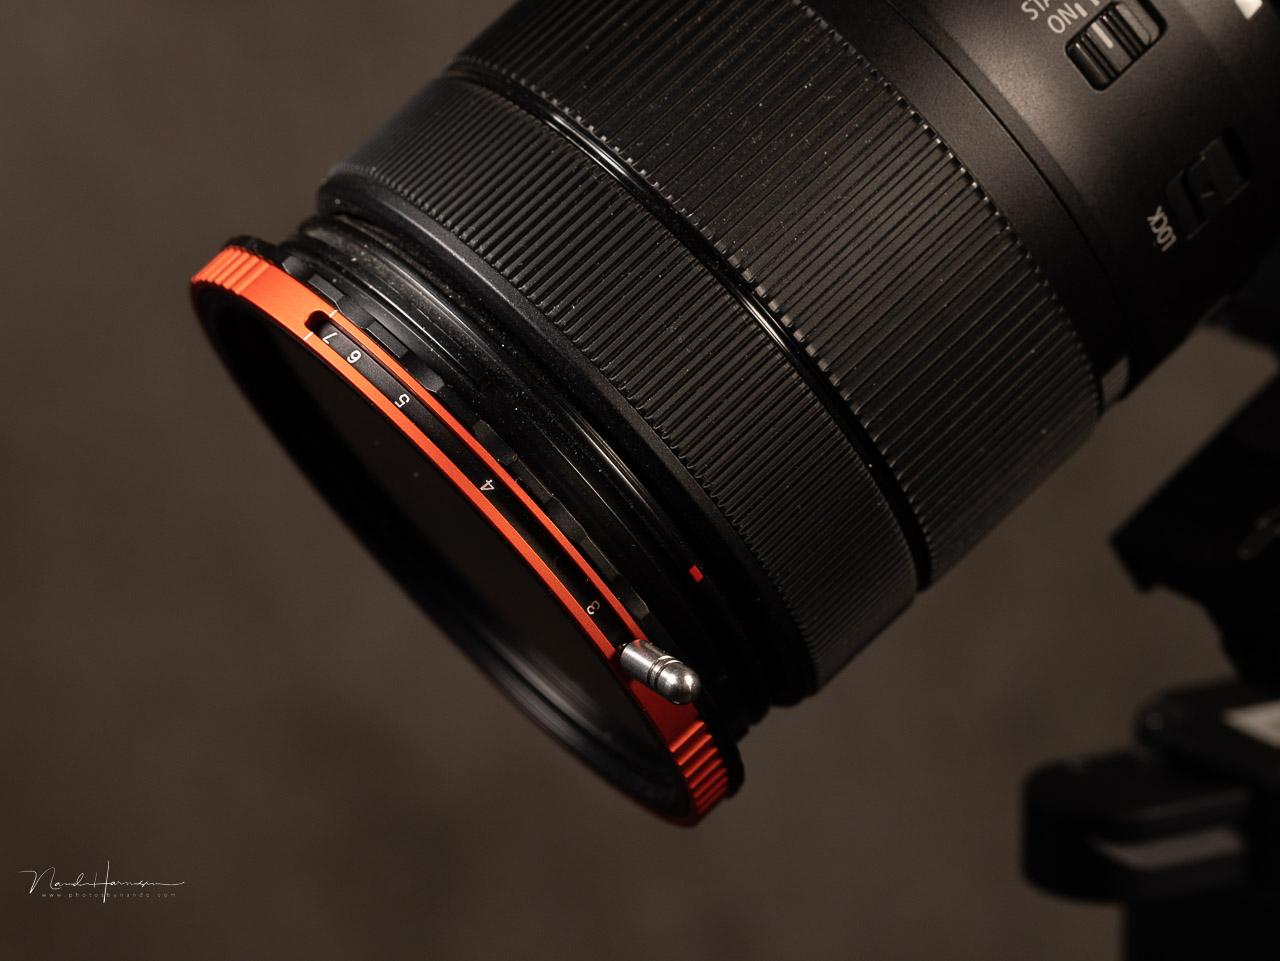
I use the Haida NanoPro CPL-VND filter with a neutral density range of 3 stops up to 7 stops. It’s perfect for most situations. The benefit of this filter is the built-in polarization effect as well. Although the beginning of a darkening crosshair effect is visible in photography when dialed to 7 stops, it’s nearly imperceptible for video.
Don’t Use a Variable Neutral Density Filter for Photography
Although no rule prohibits you from using a variable neutral density filter for photography, I advise being cautious. Always keep an eye out for the darkened crosshair effect. It’s difficult to spot in the viewfinder or on the LCD screen, but it will be noticeable in the end.
The best way is to invest in a set of real neutral density filters. Start with a 3-stop and a 10-stop. Depending on your needs, you can expand to a 6-stop or even a 15-stop.
Do you make use of a variable neutral density filter? If so, please share your experience in the comments below.

Join the Fstoppers community for free
-
Post comments and join in the discussions
-
Browse the site ad-free
-
Share your work and get featured in the community
-
Compete in the photo contests for fun and prizes
23 Comments
Yeah ... I discovered the crosshair thing the hard way. Wish I had read this first!
I don't get the crosshair effect with my PolarPro ND's
The visibility of the effect is also influenced by focal length, and the amount of density (of course)
Absolutely agree. I use mine solely for video work. The crosshair issue I only see when using very wide-angle lenses, and it depends on the brand.
I forgot to mention the focal length in the article. Thanks for reminding me of it.
"A variable ND filter is intended for videography. It offers a way of controlling the exposure. Due to the aspect ratio (16:9 and 16:10), any crosshair effect will be outside the frame."
Could it be argued that if you choose 16:9 for images instead of video then the crosshair effect would be eliminated. Not saying I'd do this but just wondering.
Yes, indeed. Cropping will definately influence the visibility in stills. But there is a tendency to keep the aspect ratio of the camera sensor while cropping, although there is no need for it.
I just started using variable ND Filter, I didn't notice yet any problem, but maybe I wasn't aware so I missed it.
My filter can make a total darkness. Thanks for the tip I will carefully be looking for the phenomena.
Well... Canon EF-EOS R adapter with variable nd filter slot doesn't have any crosshair effect, yet it sits between the lens and body. 1-7 stop is covering quite a lot because when combined with 3 or 4 stop GND in most situations when shooting sunrise or sunset that's all you need. And it works with all our 14 lenses!
Attached photo was shot on Laowa 12/2.8 zero D on FF camera.
The position of the filter should not have an effect on the appearance of the cross hair effect. I'm happy to hear it doesn't appear.
It has and alway will have effect because light at especially wide angle lenses will come from an angle when hitting the filter ... VND is like polariser ( have you ever turn polariser too far on wide angle lens to see one side of photo darker than the other side?) and therefor having filter between lens and body where light is going straight and not in and angle will affect multiple properties such as crosshair, contrast, flare, etc...
The VND problem can be serious on wide angle lenses, so it does rule out their use for those sweeping views of lakes, mountains and deserts. Vloggers can also see the effect if they use wide lenses equivalent to 20mm and wider on full frame. I made the mistake of buying a pricey 82mm VND and passed it on to a video shooter. I much prefer circular magnetic filters for stills because I can change nd values in seconds and there’s no chance of light leakage on very long exposures.
I have abandoned rectangular filters and the clumsy holders, which you need for graduated nds. This is because the gradient effect is always linear, unlike most of the high contrast subjects out there. I can usually do a better job in processing and can always take a couple of different exposures as insurance in extreme situations, for example with the sun over the sea, which is about the only situation where a square grad is nearly as good!
Thank you for adding the focal length. I forgot to mentioned it (didn't think if it, to be honest :))
Magnetic ND filters is a perfect alternative for the large square filters.
ProMaster makes some VND filters that address these problems very well. They have an X mark on the filter ring that easily identifies where the crosshair effect will begin with a wide lens. By doing that they don't have to severely limit their range like companies such as Polar Pro do. They also have an Extreme VND with a range of 5 to 12 stops.
I'm a still photographer only, and I always carry single density NDs unless I'm backpacking or traveling light. During those times I carry two ProMaster VNDs, their standard range and the extreme range. They work amazingly well, especially when every ounce counts.
I wish more manufacturers would place a mark on their filters.
The cross hair effect is for incompetent variable ND filter users.
Competent users know how to use the variable ND without the cross hair issue.
Yes, it isn't as dark as some, but for a lot of situations it works like a charm and saves buying all the densities it covers including the infinite amount between.
Need more? Get a more powerful one as well.
Could it be that the crosshair effect is worsened by being stopped down like to 11, the way a landscape photographer might? A videographer, conversely, uses an ND to shoot wide open or close to it.
It's like sensor dust. You really catch it stopped down but seldom wide open.
Indeed, if you're aware of the effect you can try to avoid it. But it comes at a cost of less dark filters. If you need to buy more VND filters of different strengths, you might as well buy three regular ND filters. This way you avoid the effect completely.
Regarding the infinite amount of densities, it rarely needed - speaking from years of experience.
[headline]: YOU SHOULDN’T BE USING VND FILTERS
[after jumping to recipe and scrolling past all the ads on the page]: …but also here are the reasons why it’s fine if you do
We were recommending against variable density ND filters in our stores all the way back into the mid 2000's. Yes, we still sold them, but the customer left the stores knowing what to watch for when using them. Some higher end VNDs have added physical stops that prevent over-rotation which helps reduce if not eliminate the cross filtration issue. But the "not dark enough" problem remains for many applications.
VNDs use paired circular polarization filters to do their job, and I have seen images where half of the view has the polarization effect gradually tapering off to the other half with reduced polarization (clouds on a bright day). Again, just be aware of your tools and what their limitations are.
I recently purchased an Urth vario neutral density filter, but I'm extremely disappointed with its performance. The cross hair effect makes it completely unusable, and I'm unable to fit my lens hood back on with the filter attached. When I requested a refund from Urth, they simply blamed me and suggested that I use the filter on a different lens with the same filter size. Additionally, they mentioned that it can't be used on wide angle or telephoto lenses, so does that mean it's only compatible with 50mm lenses?
You can't expect miracles from such a cheap product and learn about pros and cons before buy. Loads of videos out there
VND filters are marked so if used properly there will be NO dark cross etc.
Only people who fail to use the filters as designed get the dark cross.
They are wonderful, no they don’t get real dark but for most general use are awesome.