
Receiving a new camera during the holidays is a thrilling experience for any photography enthusiast. To ensure you make the most out of your new gadget, here’s a comprehensive, step-by-step guide of every important action you should take after you unbox that shiny new gadget.
1. Understand Your Camera's Manual
While 400-page camera manuals aren't incredibly exciting reads, it pays to spend at least an hour skimming through the key sections. This will illuminate you to some advanced features and customization options you may not have otherwise realized your new camera is capable of. As an added bonus, you're likely to uncover quirks and fine details of how the camera operates. For instance, this can be where an option is buried in the menus, how button combos work, what certain cryptic error messages mean, and how the camera behaves in very specific scenarios. Knowing these things in advance saves headaches down the road and precious time during a shoot.
Of course, concentrate your manual-reading efforts on sections related to the types of shooting you do most often. If you mainly shoot fast-paced portrait sessions, for example, focus on sophisticated autofocus capabilities so you can optimize tracking sensitivity and parameters for your subjects and conditions. The goal isn't to memorize the entire manual, but familiarize yourself with features that are truly relevant.
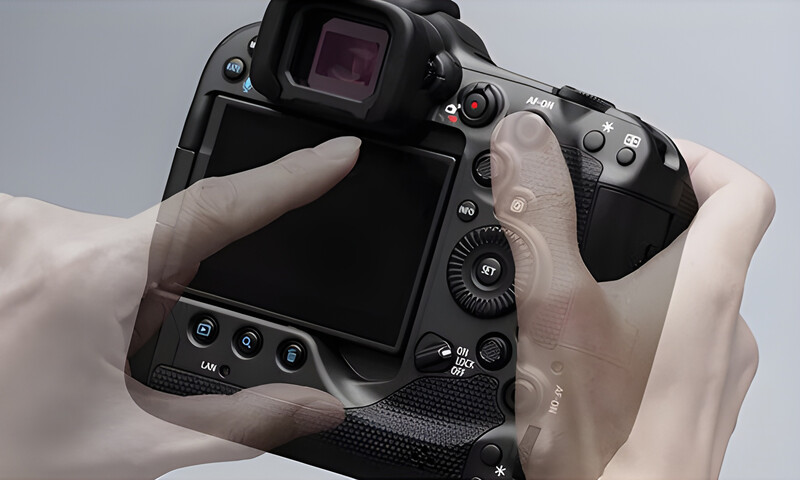
2. Personalize the Settings
Modern cameras have tons of customizability options. Take some time to go through every menu and customize buttons, dials, and controls to fit your personal shooting needs and style. For example, if you frequently need to engage silent shooting mode, consider mapping this to a custom button for quick access. Or if you constantly change metering modes, set this to a control dial. Set up custom shooting banks or modes tailored to situations you shoot in often, like action sports or concerts. The key is to optimize efficiency and minimize time spent digging in menus during actual shoots when time if often of the essence.
Be sure to take note of important custom function settings from any old cameras you are upgrading from and replicate those settings on the new camera body. Small things like specific autofocus parameter behaviors can throw you off greatly if the new camera doesn't handle them the same way you are accustomed to. Sit the old and new cameras side-by-side, go through every menu, and duplicate key settings.
3. Check Default Settings
When unboxing a shiny new camera, it’s tempting to immediately start firing away without checking any settings. Resist temptation! Manufacturers often configure cameras with strange default parameters likely meant to maximize battery life and storage space in a past era of power-hungry processing and limited, expensive media card capacities. But nowadays, such measures are often unnecessary. Double check that key settings like image quality and file format are not still sitting on odd defaults like small JPEG. Raw capture should be the standard unless you have specific workflow needs otherwise.
4. Register Warranty and Insure Gear
You likely invested good money in your shiny new camera gear. So, take measures up front to protect that investment should anything go wrong down the line. For starters, be sure to register the warranty with the manufacturer using the included card or online registration form. Should warranty service be needed, having the gear properly registered from day one streamlines the process.
Additionally, add your new camera equipment to any existing gear coverage you may carry and remove any old gear if necessary. Accidents happen, and camera repair bills can easily exceed a thousand dollars if delicate internal components become damaged. For relatively little yearly cost, having robust insurance that covers drops, spills, theft, and replacements eases worries about carrying and traveling expensive photography investments. Spending five minutes registering warranties and insurance prevents massive headaches later on.
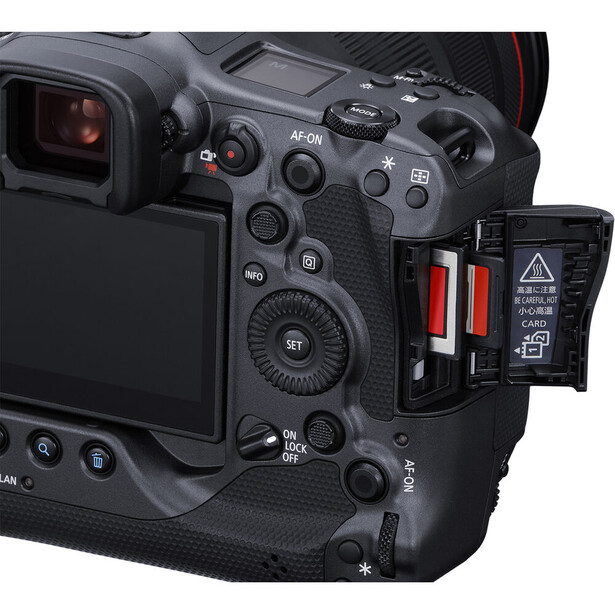
5. Get Additional Batteries and Memory Cards
Camera technology improves so rapidly that accessories like batteries and memory cards often lag behind current specifications and demands. If upgrading from an old camera, double-check write speeds on memory cards to ensure they can sustain capabilities like video bit rates or rapid burst shooting speeds. Similarly, make sure batteries are both cross-compatible and of a sufficient capacity.
6. Set Up Image Review Options
When firing off shots in rapid succession, having images held on screen reviewing themselves can severely hamper workflow by essentially buffering the camera functions temporarily after bursts. Most new cameras offer customizable image review duration as well as toggles for auto image review. Spend a few minutes configuring these options to best suit your needs.
For quick-paced shooting, turn off auto image review entirely. This will keep the camera highly responsive to immediately capture the next shot versus getting bogged down showing you images you already know you captured successfully. For slower, more calculated shooting, longer review times let you inspect images more closely while still on scene. Find the optimal balance for how you specifically shoot to maximize efficiency.
7. Customize Your Strap
Brightly colored, branded straps advertise loudly what expensive kit is hanging around your neck, and they don't do much for functionality or comfort, typically. Chances are good that great improvements exist over the free logo strap. Higher-end third-party straps often build in useful features like quick disconnect points to allow cameras to seamlessly switch between handheld shooting and being worn across your body securely.
8. Get a Quality Bag
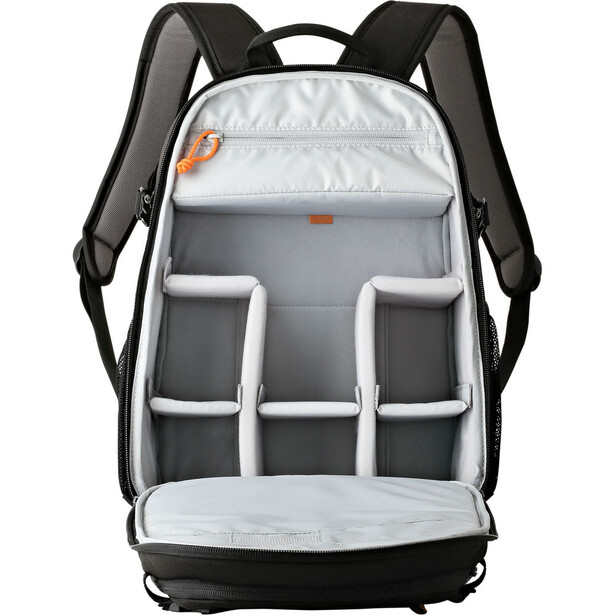
While weather-sealing and magnesium alloy construction toughen exteriors against elements, interiors still house sensitive electronics and precision optics vulnerable to jostling. Don't equate rugged claims with invincibility justifying neglect. Get a proper bag with ample structural padding to protect from routine bumps and jumbles inevitable during usage.
9. Get Cleaning Supplies
Every new piece of gear gets dirty eventually. A blower, brush, microfiber cloths, cleaning solution, and wipes make a nice and affordable kit.
10. Practice Using the Camera
When receiving tech as advanced as a new high-end camera loaded with features, it’s tempting to feel overwhelmed. Manuals, menus, customization, accessories. How does one even begin tapping into the potential? By simply picking up the camera and using it. Don’t obsess over every function before shooting a frame. Instead, get out and actively photograph things. This builds familiarity much quicker than studying theory in isolation.
That’s not to say you shouldn't take the time to read manuals or watch technique tutorials on areas you want to improve. Absorb new knowledge voraciously. But also balance it with practical application. All the conceptual comprehension in the world can’t compete with accumulated years strictly handling camera equipment, mastering muscle memory, and honing photographic instincts shooting in real-world conditions. And besides, making photographs is where the fun is!

Join the Fstoppers community for free
-
Post comments and join in the discussions
-
Browse the site ad-free
-
Share your work and get featured in the community
-
Compete in the photo contests for fun and prizes
4 Comments
I guess I found this article before others but I hope many will follow. All are good steps to follow even for a pro of any genre. Number 1: The very most starting point, all my cameras from the 70's of film to today's greater and great cameras all you get in the box is a very big folding piece of paper in many languages, this is a key to buy a book yes some are 600+ (when you add video there is more to cover). If they have a book in your local library look before you press the buy button, but if it already in your hands just charge the batteries and read the book no matter your genre. Just 13 year ago we had paper books (some even today) and magazines to do research of models and types.
Let's go back a bit, I went from point and shoot to digital in '10 with a Canon T2i even found a book on the selves of a bookstore but soon the camera was removed from the site and any info on editing images with canon software but looking in some magazines found the new Sony A7 series a lot of info like Capture one for only $30, looked that up. Then found an ad for lens adapters for old Canon FD (film) and FE (t2i) for just $20. Then found a book on the Sony A7 series with things I never thought of. Then I headed to a Sony store to hold and learn more. The no mirror thing was so new and yes cost some but you could download apps to the camera, hey some fun also. Then walked out with the A7s why it had bracketing 5 @ +/- 3EV (HDR days ok) and a couple lens. The thing is I researched and read a book on this little thing. No other maker had it till a year or two ago. I have a big thick book on all my camera BUT the A7SM2 a camera everyone was using for video, all well.
Just saying, but today online reviewers to not cover everything either like the A7 series mod 2's have bright monitoring for framing in dark places or that Mod 1 and 2 have apps you can download not even reps knew when asked!
Pardon?
I can't agree more. I got 2 books about digital photography after reading book about photoshop and practising. It was so much more fun, and I knew what camera to get because I knew the brands and differences. It was 2007 I decided to go with CANON 30D, which was aps-c, but except for Canon there was no other brand releasing full frame cameras and I wanted room to grow. I've got cheaper 17-85 lens and ex430 flash, but after one year exchange the aps-c 17-85 lens for full frame 24-105/4. It was great to know enough and not to depend on other people ( wasn't even that easy, because there was no social media and very few websites like Flickr, but my english anyway wasn't good enough to run long conversations with other photographers). Today is lot easier, but cutting through the amount of information on Internet (sometimes quiet missleading) it really still is better to buy a book and learn from Scott Kelby, Tony Northrup, and other great authors who are education gurus when it comes to photography for decades.
I'd add one thing as a subset of #2 - make a spreadsheet detailing all the custom settings, and even down to the menu level detailing where to find that specific option, plus any changes to default control settings. Keep a printed copy in the camera bag/pack, just in case. Back up your custom settings to a spare SD card, just in case you ever need to do a full reset to regain functionalities. (Don't ask how I know this...)