
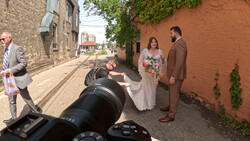
Running your first paid photoshoot can be a daunting process, with organization, planning other people and products, and timing to get right, there's a lot more to juggle than just camera settings. Fortunately, there are a few things you can do to prepare for your first paid gig.
So, you've taken the step from hobbyist to a paid photographer, congratulations! But it can be a scary place running a shoot for money, especially your first time. That's why I've put together some simple steps you can take to ensure that all goes swimmingly on your first shoot with, or for, a client. Failing to prepare is preparing to fail, so let's take a dive into the first step, making sure you've got enough space to take those photos.
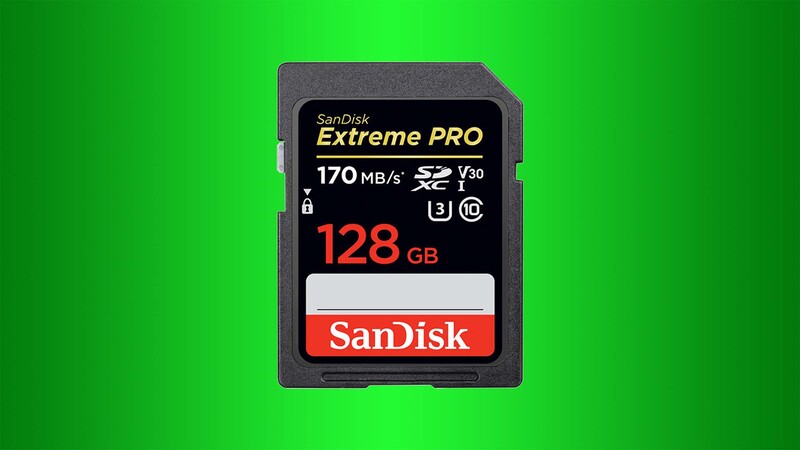
More Memory Cards
One thing you can't have enough of is space. Memory card space to be precise. If this is your first paid photoshoot you may underestimate just how many shots you're likely to take if you're nervous. As soon as you're with a client you can get a bit trigger happy with the shutter release button, and for good reason.
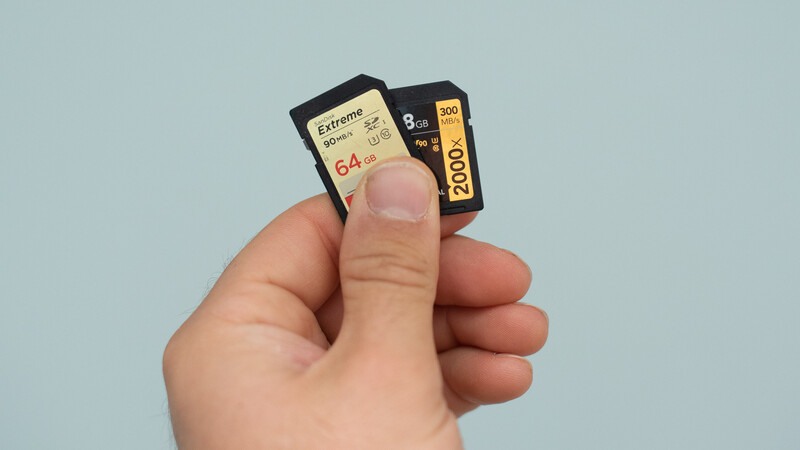
For example, if you're taking portraits of more than one person it's important to take multiple photos in one pose because inevitably someone will blink and spoil the shot. However, if you've got multiple versions you can simply head (or eye) swap later in post-processing software. But that does mean you'll fill up memory cards toot suite. The capacity memory cards you need depends on the compatibility of your camera and the resolution and bit depth of the stills it takes. Check your camera's manual for more information.
Save To Two Cards
If you're lucky enough to be shooting with a camera with two memory card slots then there's a high likelihood that the camera will be able to save the photograph you take to both memory cards simultaneously. This is a brilliant way of ensuring you head home with all the images, because if there's a memory card failure, you'll have a backup.
Some cameras allow the saving of two different image formats simultaneously, such as raw and JPEG. I tend to save just raw files because I know I'm going to edit shots later, but JPEGs can be useful if you need to create a contact sheet quickly for the client or if you're uploading to a server immediately during or after the shoot.
Spare Batteries
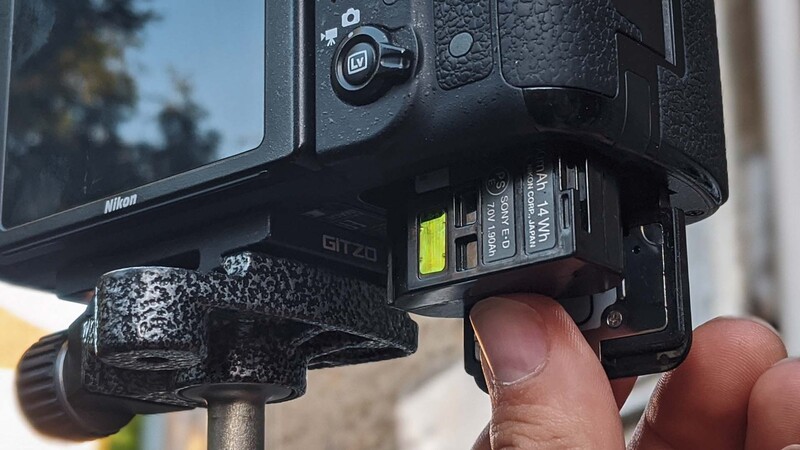
One camera, one battery. Makes sense, right? But you'd be surprised just how quickly that battery runs out when you're shooting on location all day. The worst thing you could possibly do is turn up with only one battery. For the cost of an extra battery or two, you'll be feeling pretty confident when you rock up to the shoot because there'll be power, wherever you are. It's also worth packing a battery charger if you know you'll be shooting for more than one day. That way, while one battery's charging you can shoot with the other ad infinitum.
Clean Kit
Imagine this scenario: you spend a whole day shooting, getting the most incredible images you've ever taken, this is it! These award-winning photos you've been waiting for. After importing them to your computer for processing you notice there are sensor spots all over the photos, or even strands of fine hairs you didn't notice while shooting. Of course, your images aren't ruined, just take a look at my other article on removing sensor spots in Lightroom, but it means a lot more time spent processing.
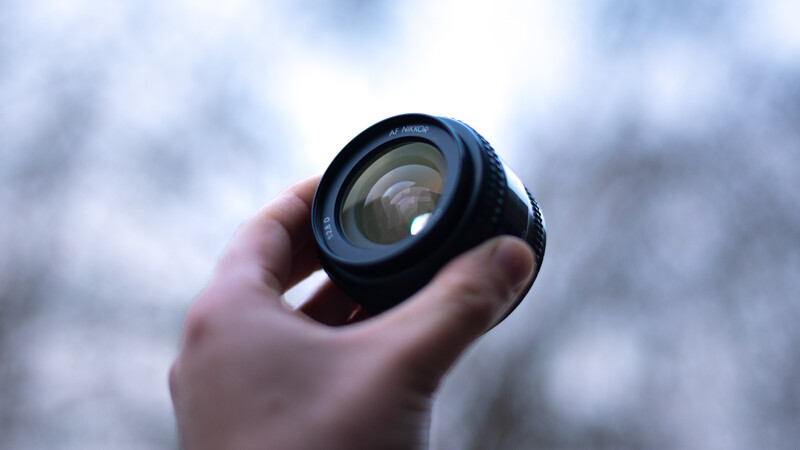
Fortunately, this is easily avoidable. All you have to do is clean the image sensor and lenses before you head out. There are plenty of cleaning kits out there for purchase, or you can send your gear away for cleaning by professionals which is much more thorough. Either way, it means less time editing out silly mistakes and more time perfecting that potentially award-winning photo.
Appropriate Attire
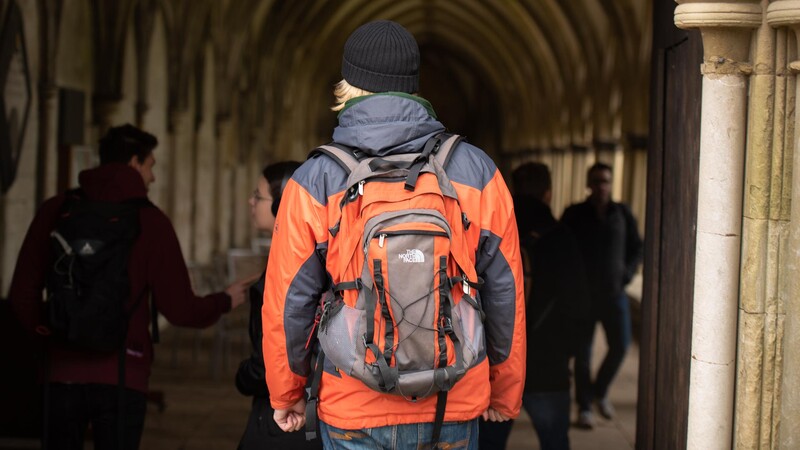
One thing I can't overstate is to wear appropriate clothing for your job. If it's a high-end client who expects a professional job then turning up in dirty jeans and a holey shirt might not cut it. But it's not just about your image, it's also about comfort. Climbing up a mountain to get a sunrise shot over the valley isn't much fun in flip-flops, let me tell you. Prepare for inclement weather if it's on the forecast and pack a raincoat, or gloves and a hat for cold, wintry photoshoots.
Don't Pack Everything
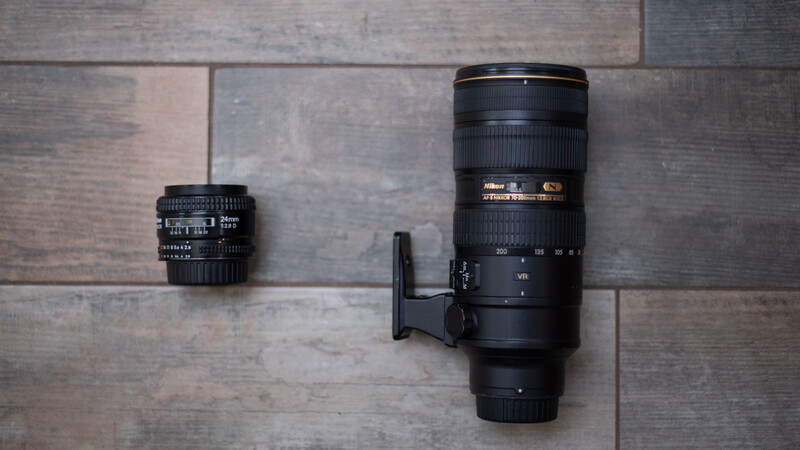
The old adage says "it's better to have it and not need it than need it and not have it" and while I'm inclined to agree with that for the most part I'd say it depends on the situation. If you've landed a big commercial client and tons of gear is required then you'll have to ensure you've got plenty of gear, but if you're doing a simple headshot for a friend down the local park you probably don't need to be carrying suitcase upon suitcase. Take a note of what kit you need before the photo shoot and take only what you'll really need. If you're driving to the shoot it might pay to pack a bit of extra kit in the car, just in case you need to pop back for it. Overall, use your common sense and pack appropriately.
Time-Keeping
Your first paid photo shoot shouldn't see the client waiting around for you while you turn up late. Being on time is important. In fact, you should be far earlier than the client because it gives you time to scope out the location, set up equipment, and get some test shots to check for framing and meter the light. Often, I'll go to the shooting location (if possible) at least the day before to spot potential problems before and plan around it.
Check the Weather
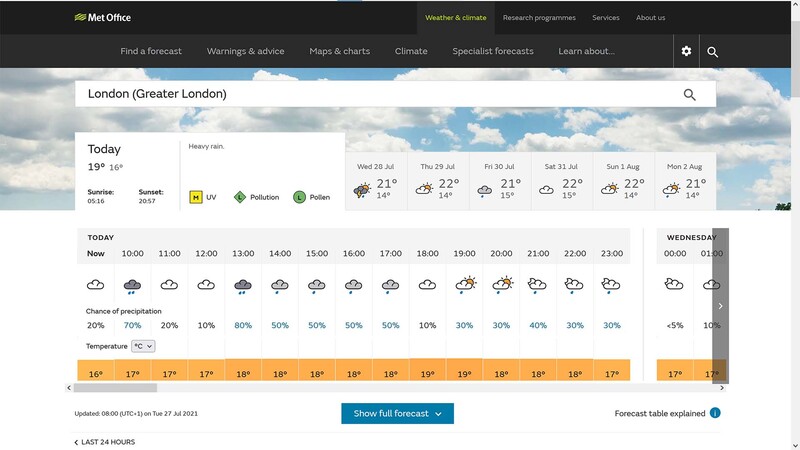
It may sound obvious but when shooting outdoors but looking up the weather before-hand will make or break your shoot. Whether using local weather tv shows or heading online, finding out the forecast for the day of your shoot informs you of many things: clothing, waterproofing for cameras and kit, whether you need to set up a gazebo or find an out-house to accommodate people or products, and it can even inform you of the best time of day to shoot to catch drier or wetter periods, depending on what you need. Bear in mind that long forecasts up to 10 days are still relatively unreliable, whereas there's now sufficient technology and data crunching to forecast accurately up to four days away, depending on where you are in the world.


Join the Fstoppers community for free
-
Post comments and join in the discussions
-
Browse the site ad-free
-
Share your work and get featured in the community
-
Compete in the photo contests for fun and prizes
No comments yet