
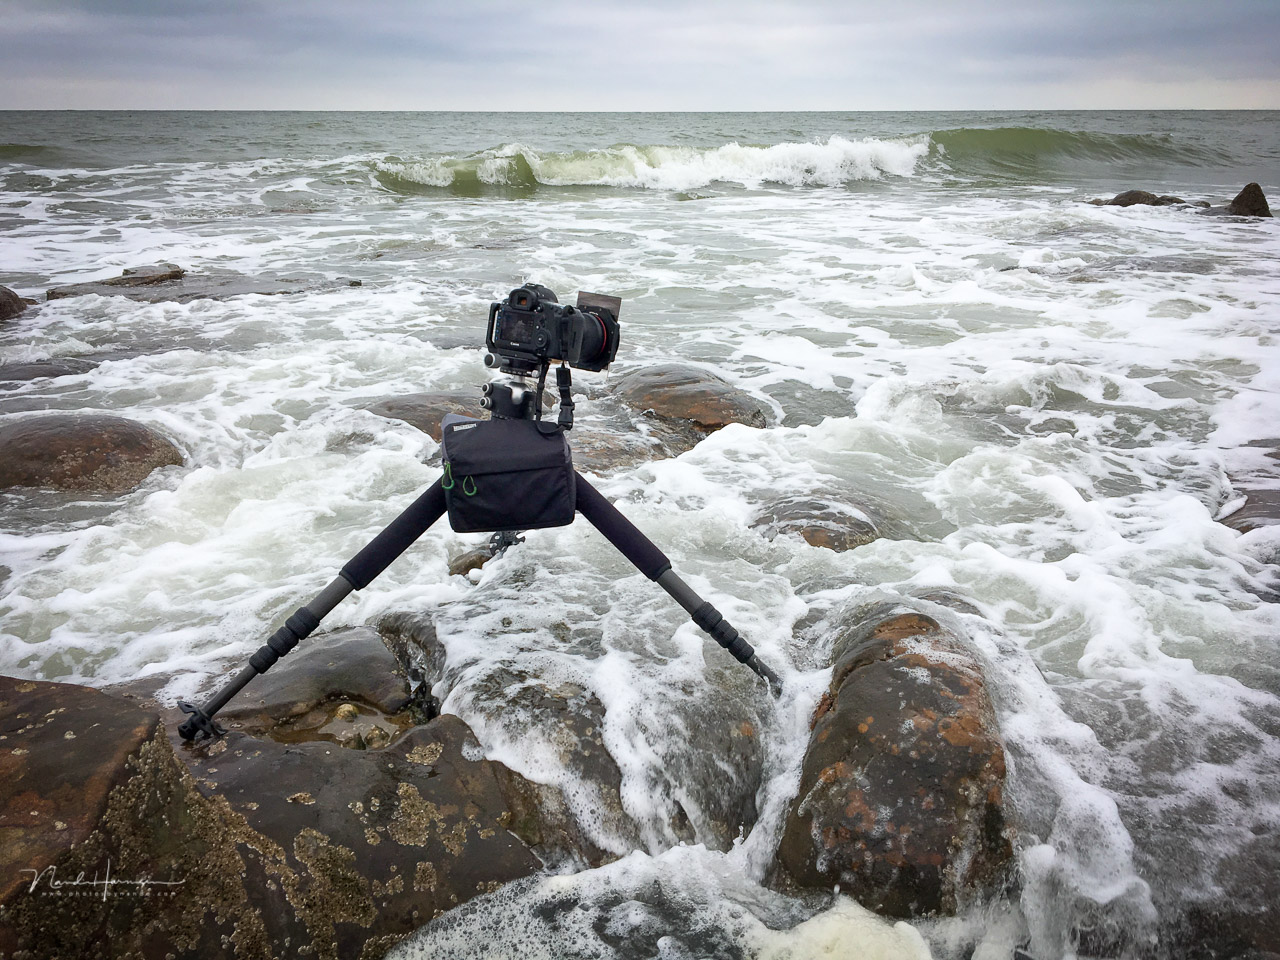
A tripod can get dirty over time, especially if used in water, sea water, sand, and mud. A regular cleaning will extend its lifetime. I have cleaned my Gitzo tripod after heavy use at sea, and I will show how it can be done in five easy steps.
You probably own a tripod. Most photographers do, and if used, it will get dirty over time. But when used at sea and in sand, it needs to be cleaned on a regular basis.
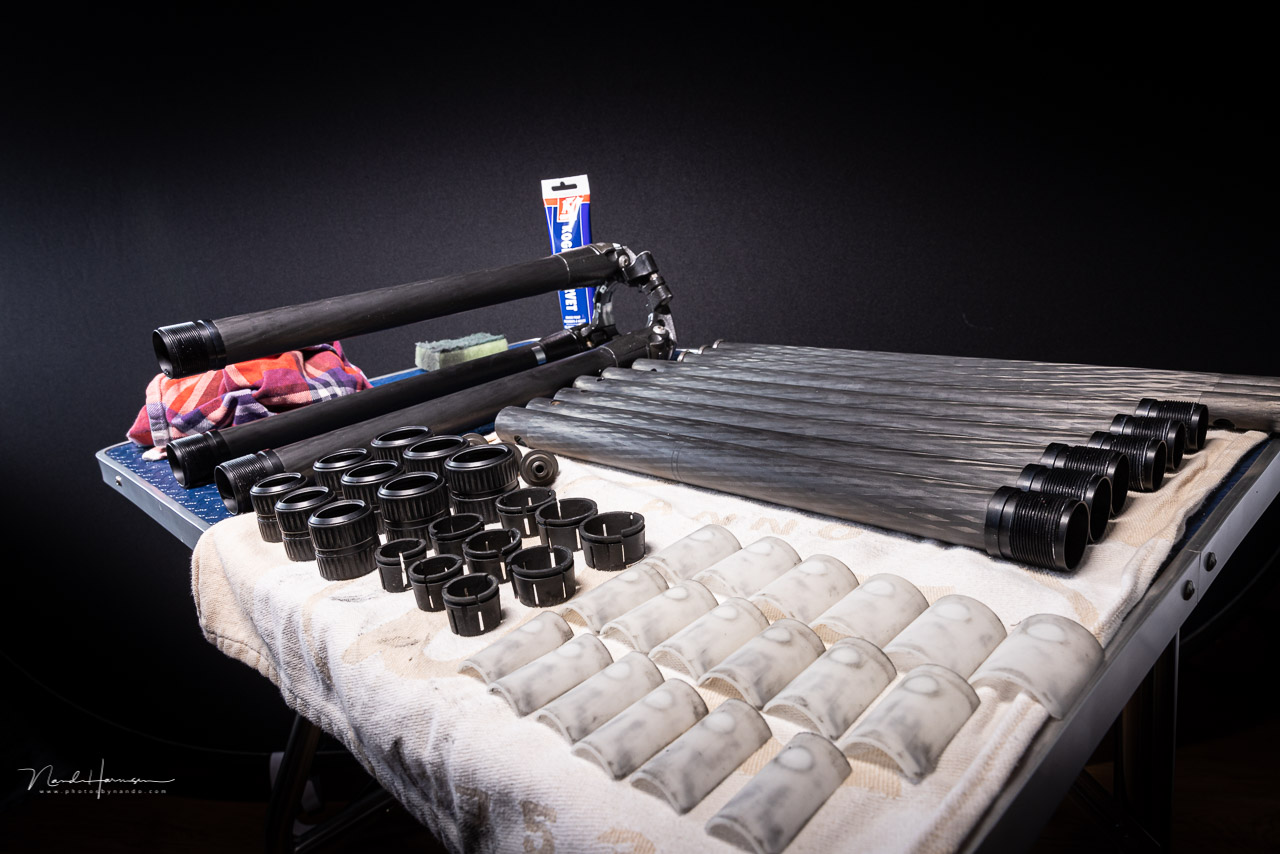
Some tripods use twist-locks, others a clipping mechanism. For the latter, you need tools to disassemble the tripod legs. The twist-locks don’t require any tools. You just unscrew the twist-locks and take it apart. You need some soap, water, a sponge, a toothbrush, and a bit of grease.
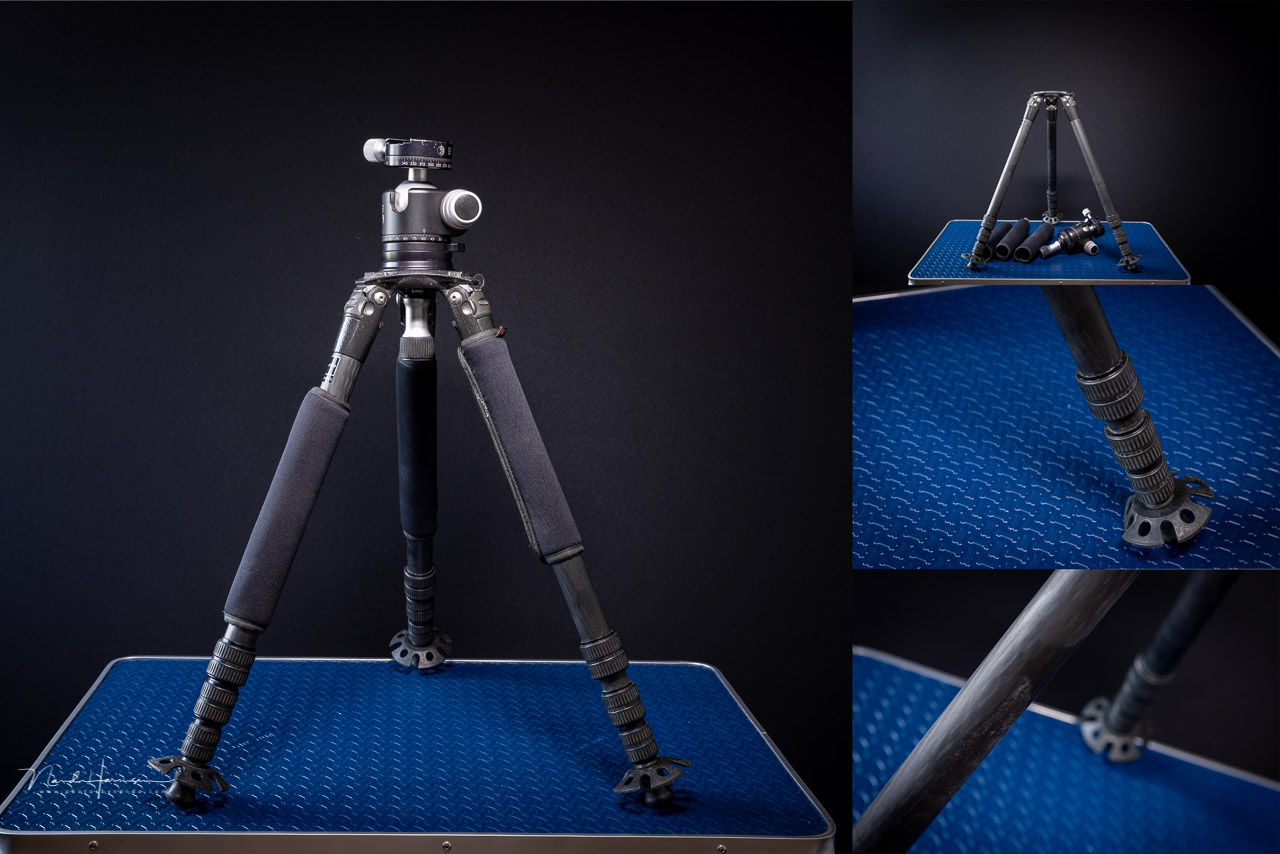
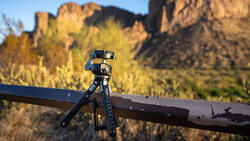
The tripod in this example is the Gitzo GT3542LS 3-series carbon tripod. Although the parts may not match the ones you find in your tripod, it is all based on the same principle. It only differs in detail.
Step One: Disassemble the Tripod
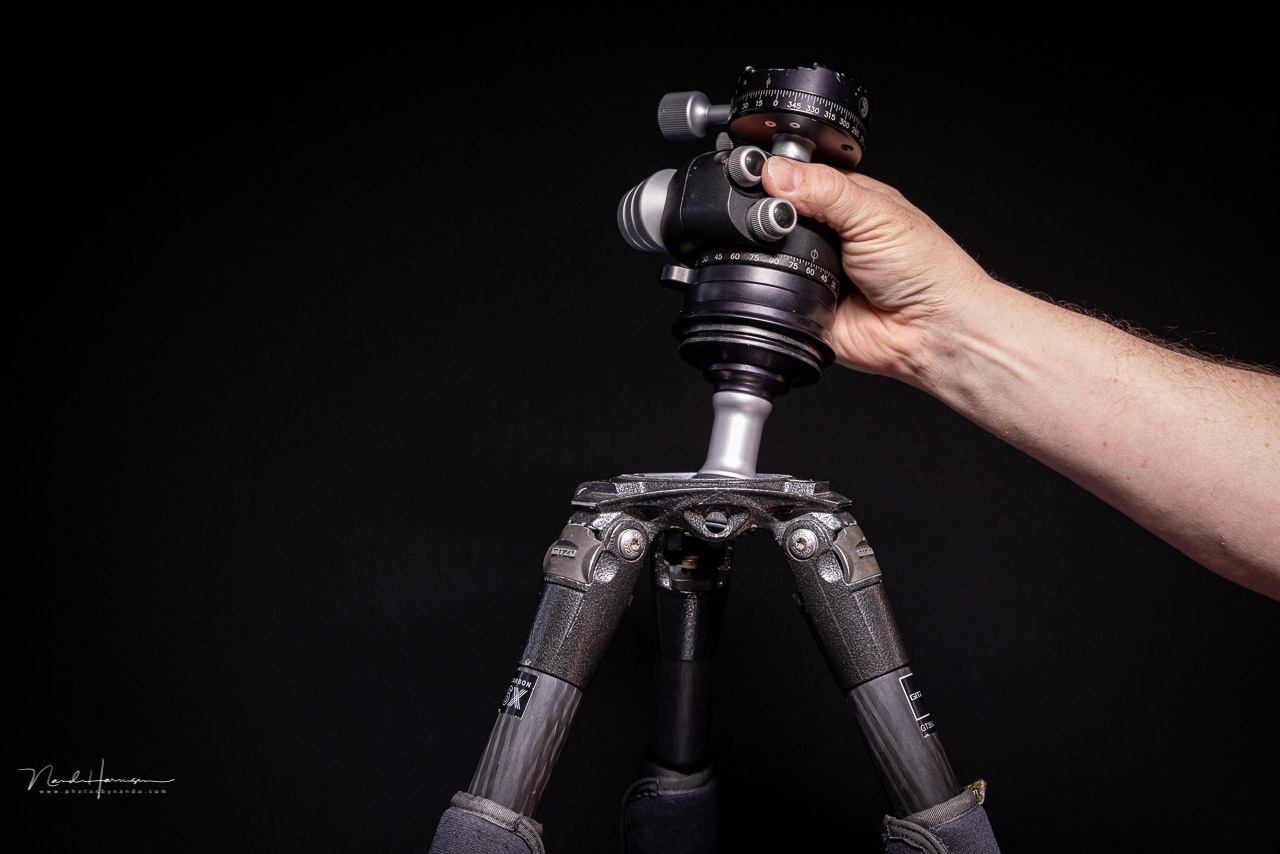
I remove all removable parts before disassembling the tripod. Neoprene leg warmers, the ball head, and the spikes with plastic rings, it all comes off. I use an Allen key to remove the spikes, but this can be somewhat different with your tripod.
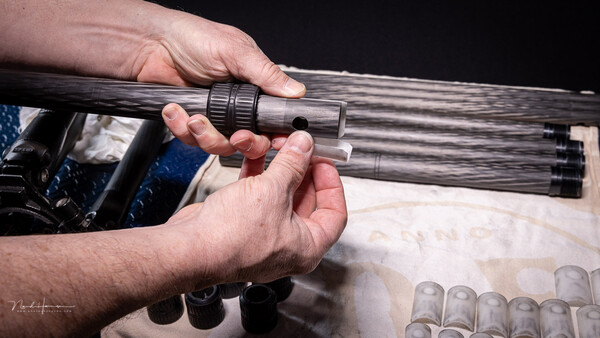
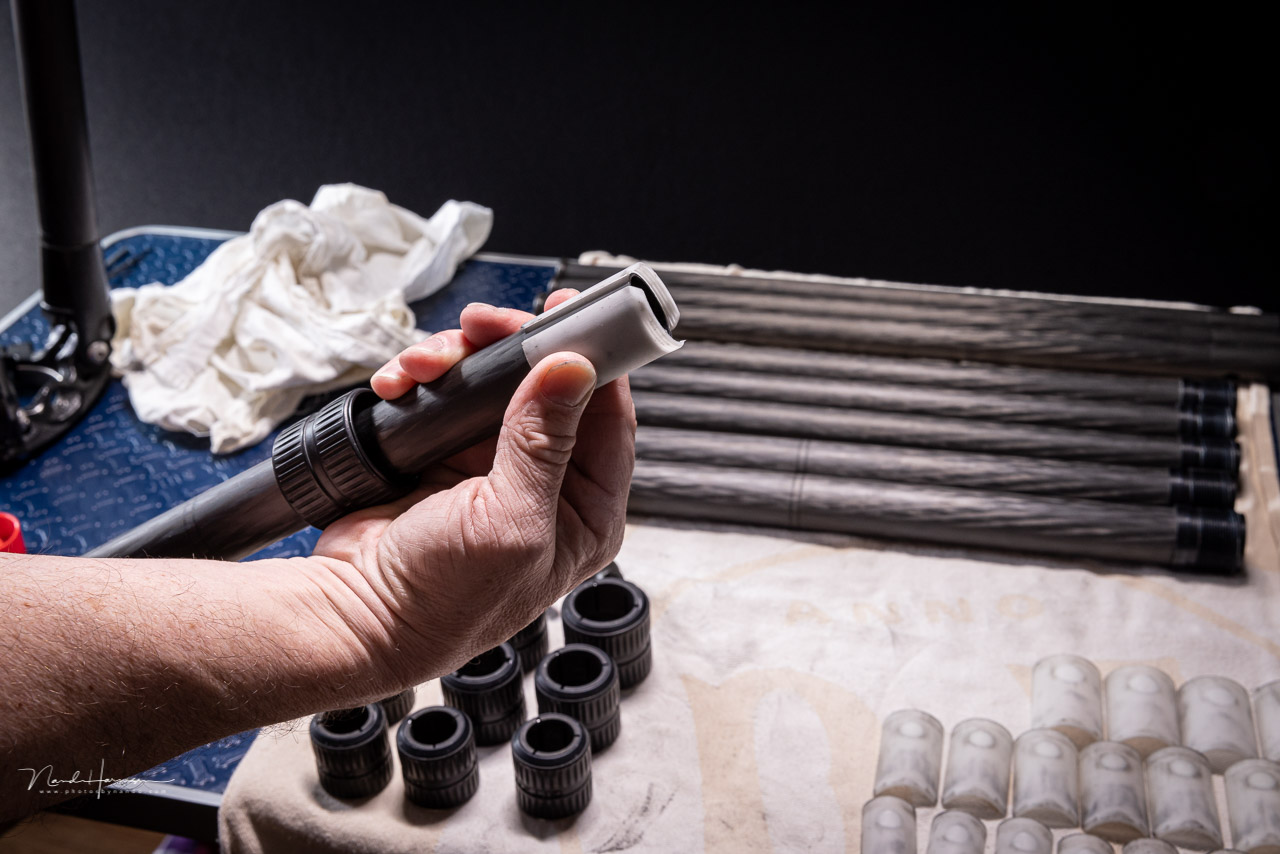
Next, I remove the twist-locks of the smallest tripod leg part and pull the section out. You will see two white plastic retainers or something similar. I noticed how it is somewhat different with a more recent Gitzo Mountaineer tripod.
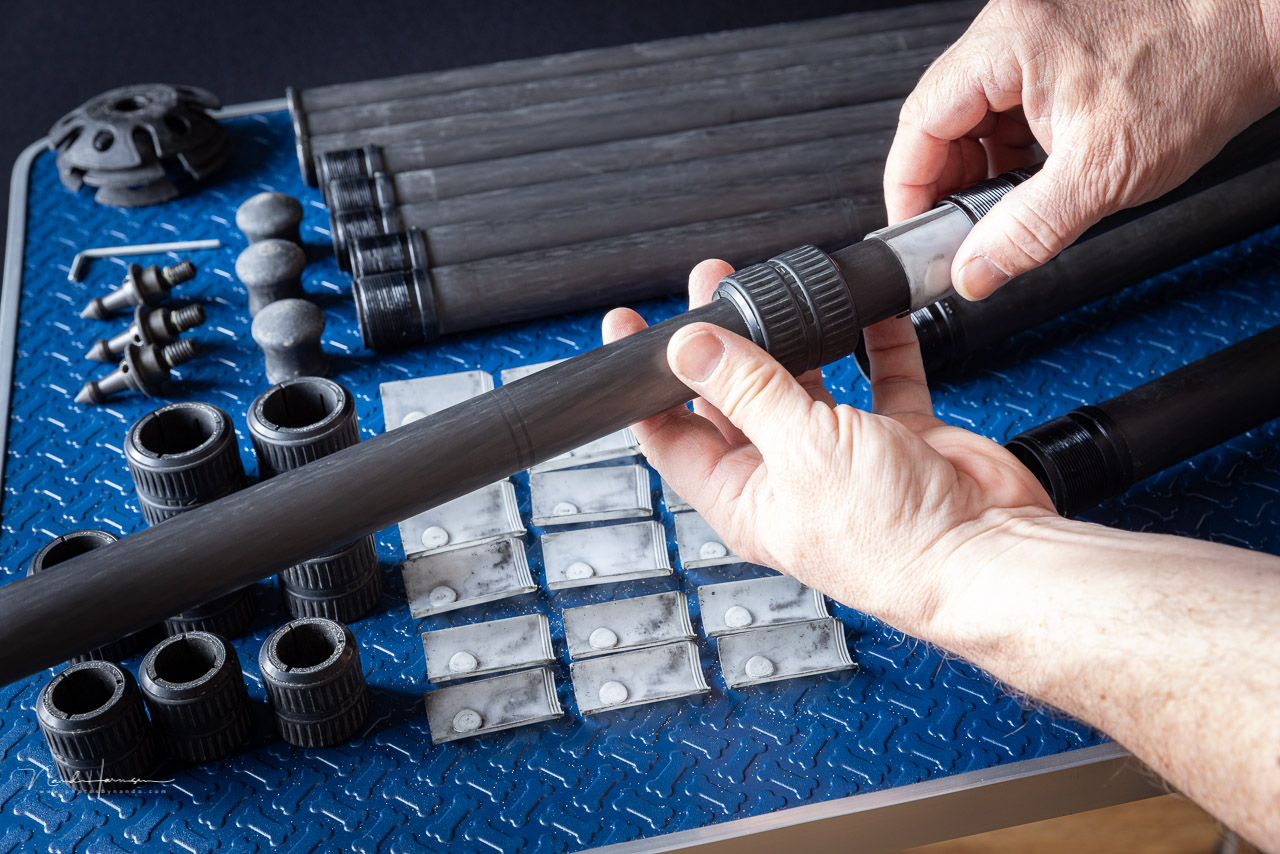

Disassemble from the smallest tripod leg up to the thickest. Work systematically to prevent misplacing parts. I always place everything on a towel to keep a good overview.
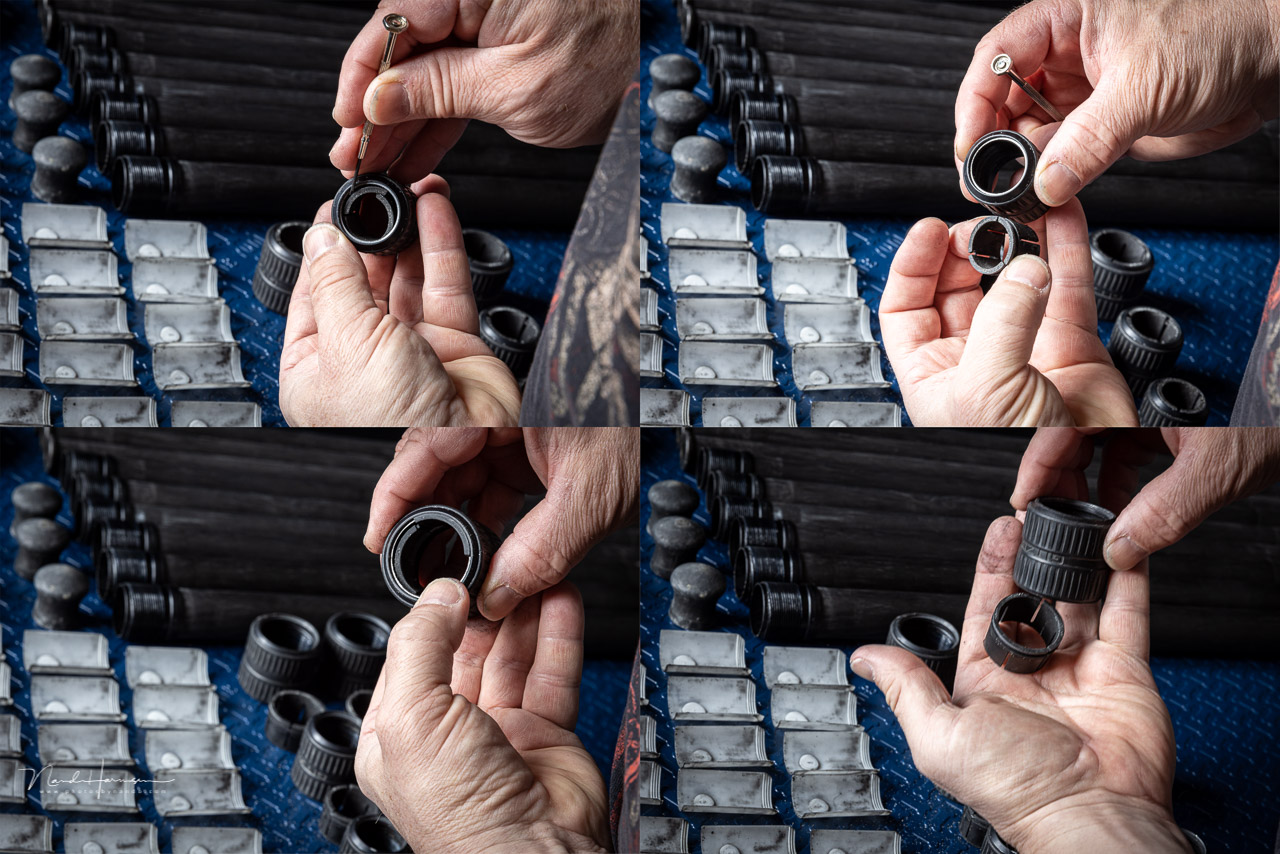
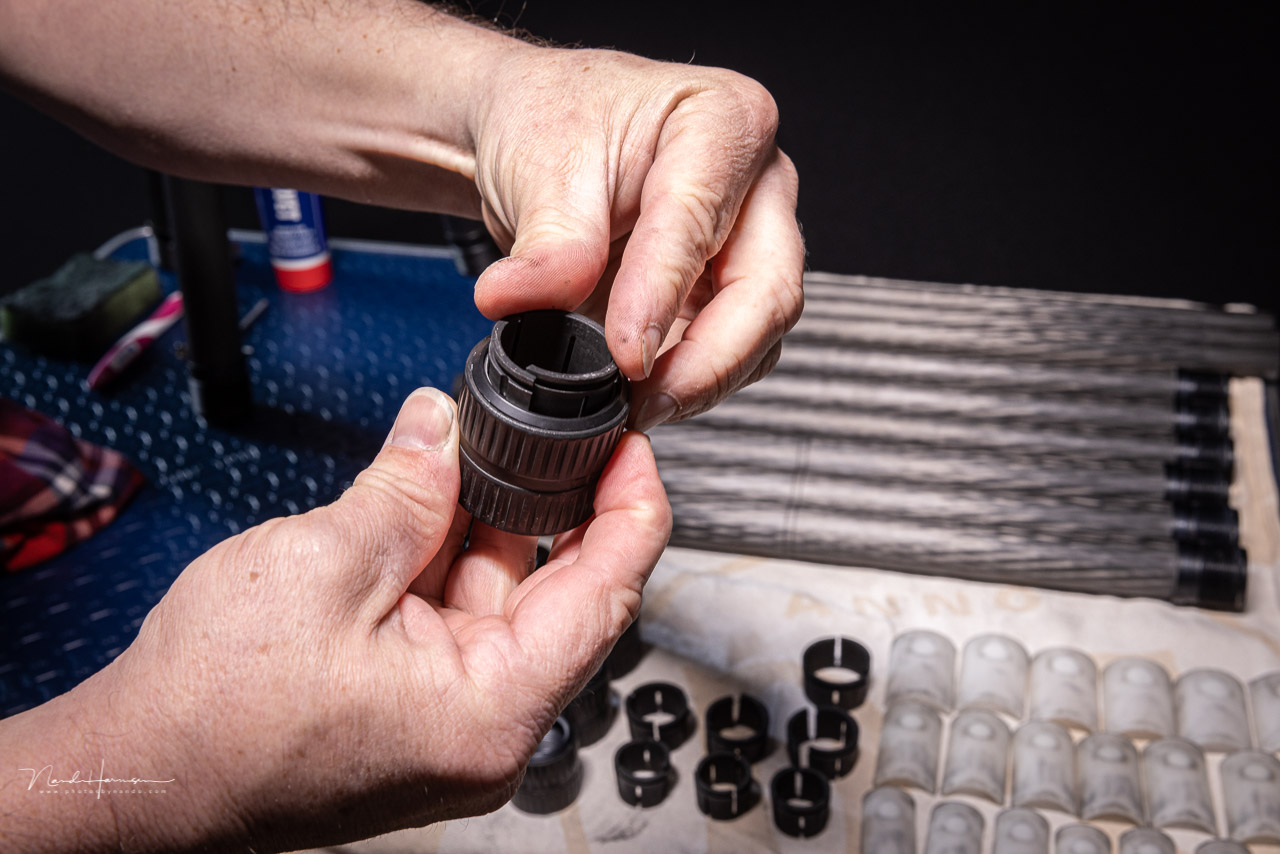
The twist-locks will have a ring inside. You can remove this ring by using a small Philips screwdriver. After releasing it, you can push it out. The largest twist-locks will be easy, but removing this guidance ring from the smallest twist-locks may be a challenge. Just look carefully, and take it easy. These guidance rings can break easily.
Most of the time, I leave the thickest tripod legs attached to the base-plate. Often, it’s not necessary to remove these legs.
Step Two: Clean Every Part
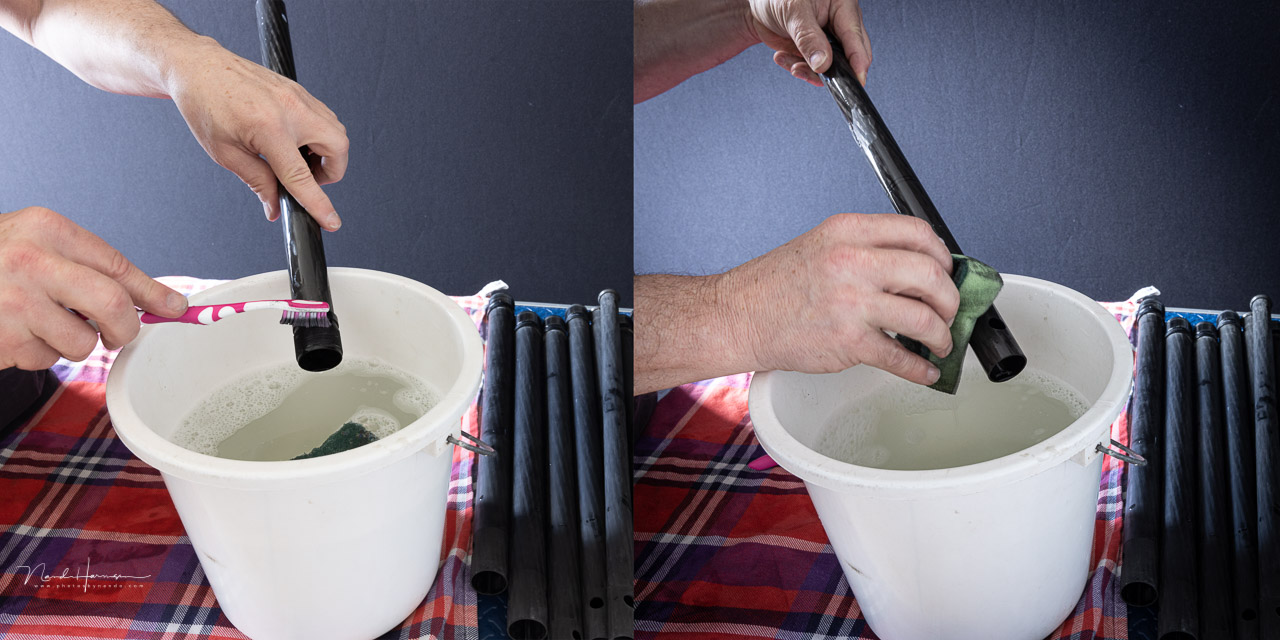
After you’ve taken everything apart, you can start cleaning. I use warm water with a mild detergent to clean every part and degrease the screw threads on the legs and twist-locks. You can use a sponge for the larger surfaces and a toothbrush for the screw threads.
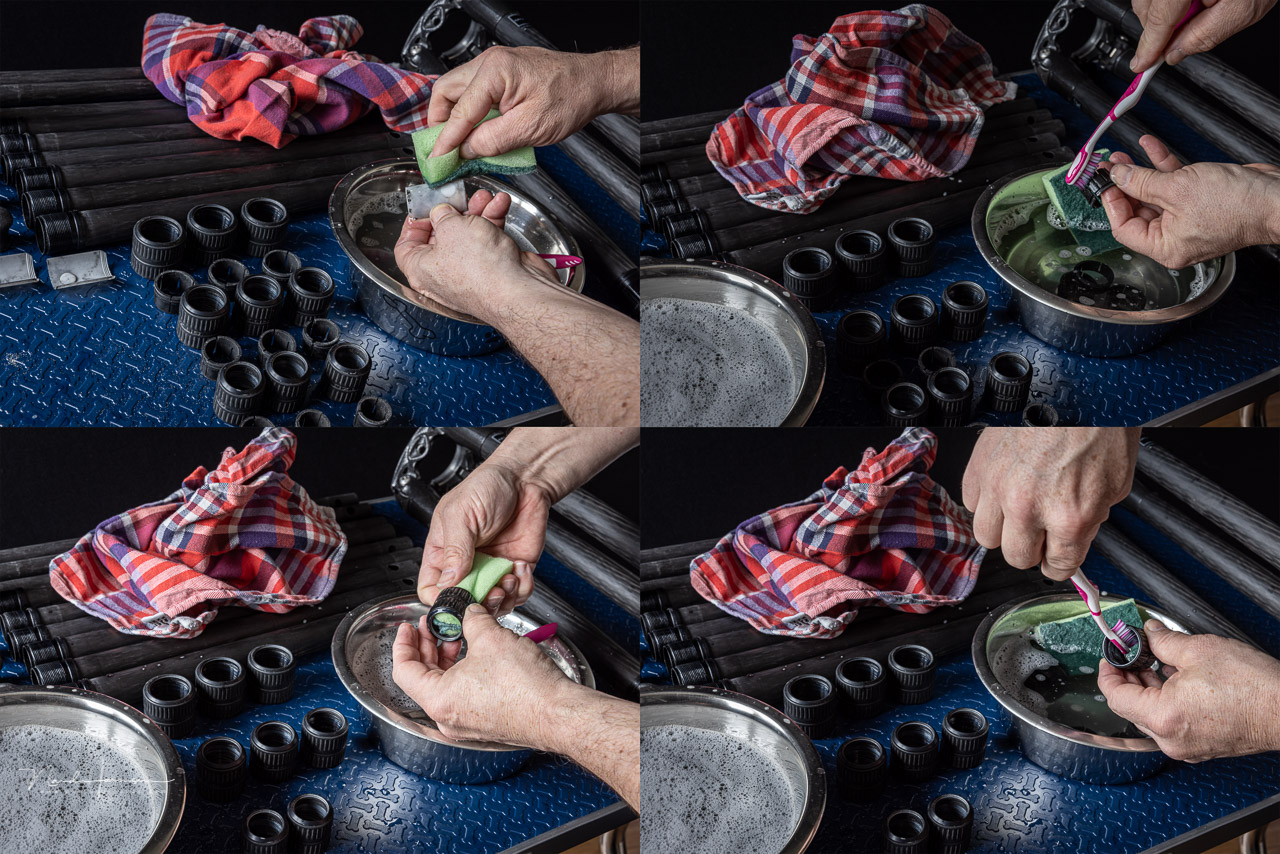
Make sure you remove any dust and sand. If you’ve used the tripod in salt water, rinse it with a lot of water to remove any salt residue. Especially inside the hollow legs, salt residue can be hard to remove. Keep it in fresh water overnight if necessary.
Try to work systematically. It will help you to keep a good overview and to clean every part. It can be quite frustrating to discover you forgot one or two things when you reassemble the tripod again.
Step Three: Rinse and Dry
After you have cleaned every part, rinse them thoroughly. Use warm water or keep them inside a bath overnight, as mentioned before. Use lots of water to get rid of all the soap.

After rinsing, wipe the tripod parts dry. Most of the time, I leave it to dry overnight also, with every part on a large towel. It helps me to check again if every part is there and cleaned. It is also handy when I finally reassemble the tripod.
Step Four: Reassemble the Twist-Locks and Grease the Threads
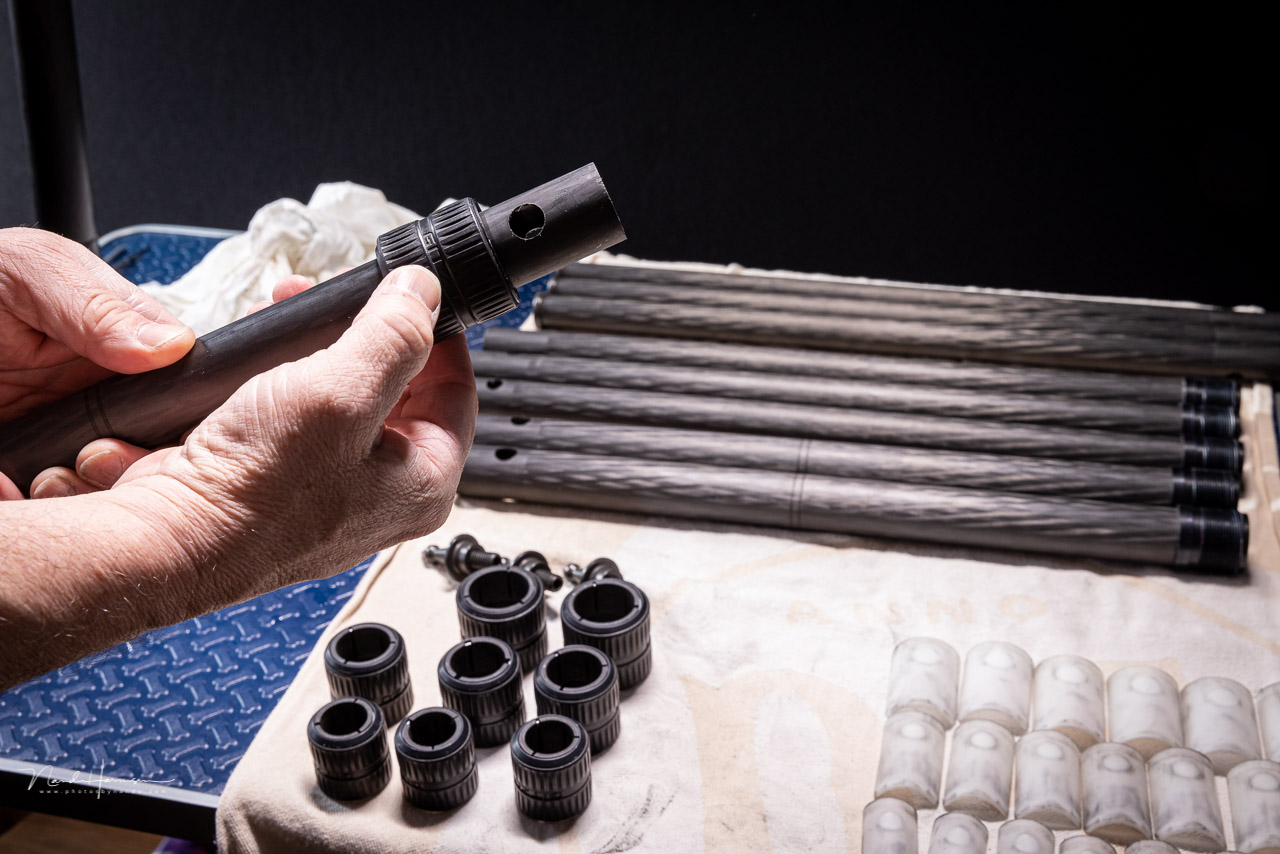
After every part is clean and dry again, you can reassemble the tripod. The first thing to do is the place the twist-lock inserts. Again, this is often quite easy with the larger twist-locks, but it becomes more difficult with the smaller ones. Just take your time and make sure it all fits nicely.

Next, you can grease the screw threads. Some tripod manufacturers will provide a small tube of grease, or you can buy it if you don't have any. But it’s often quite expensive. An alternative is grease that is used for ball bearings. You can pick it up at almost any hardware store, and it lasts a lifetime since you only need a small amount for every thread.
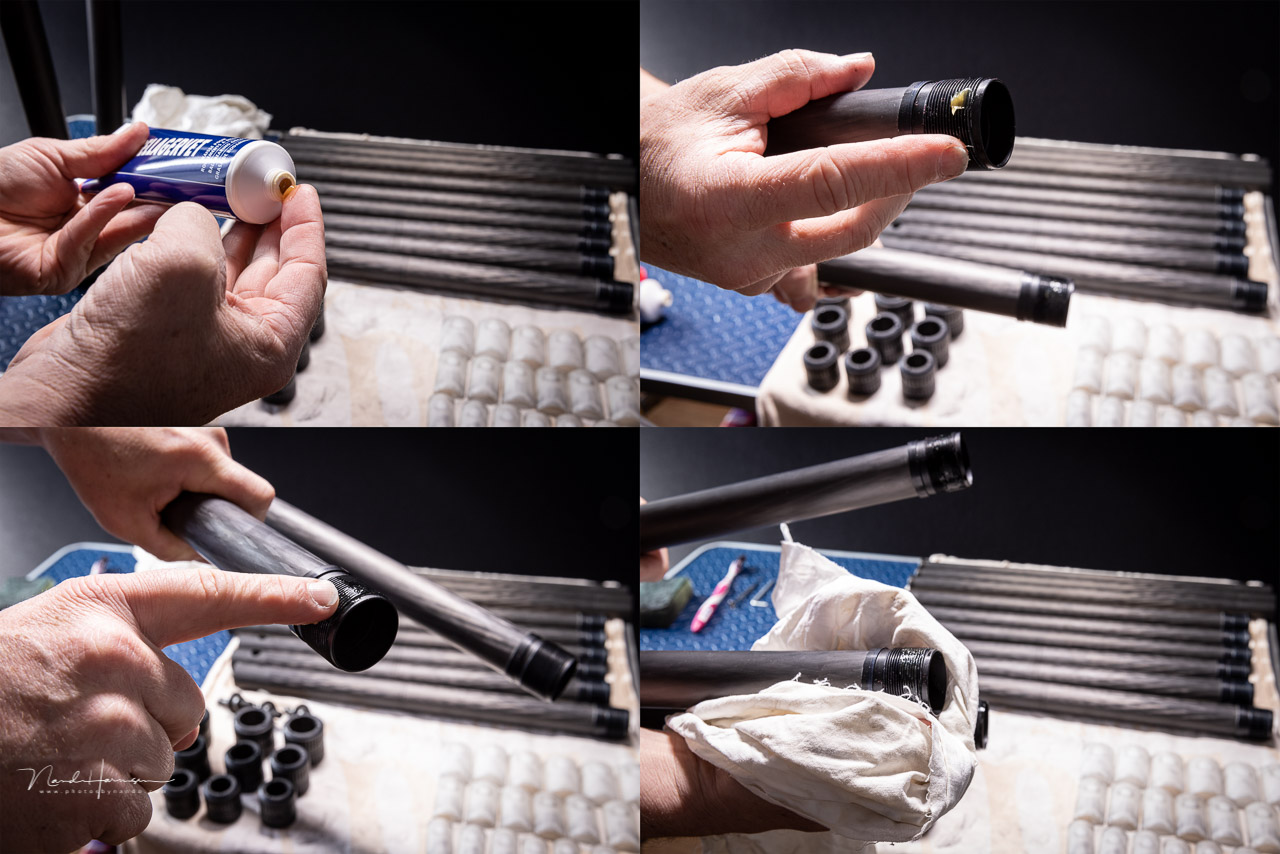
The grease is used to lubricate the screw thread. Use only a little bit. If you have added too much, wipe the excess with a clean towel. Use grease for every screw thread, also the spikes. It will not only lubricate the screw thread, it will also prevent dirt, sand, and water from entering.
Step Five: Reassemble Every Tripod Leg
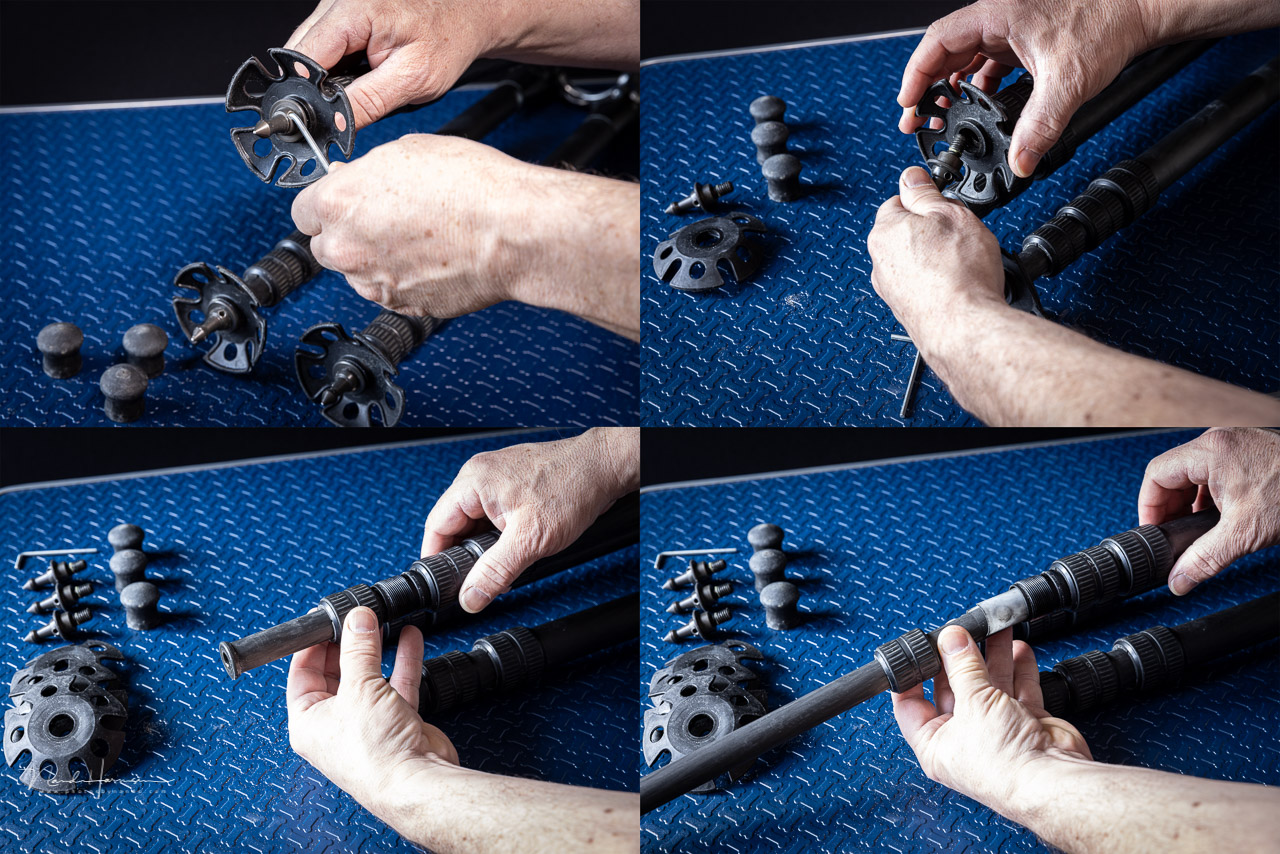
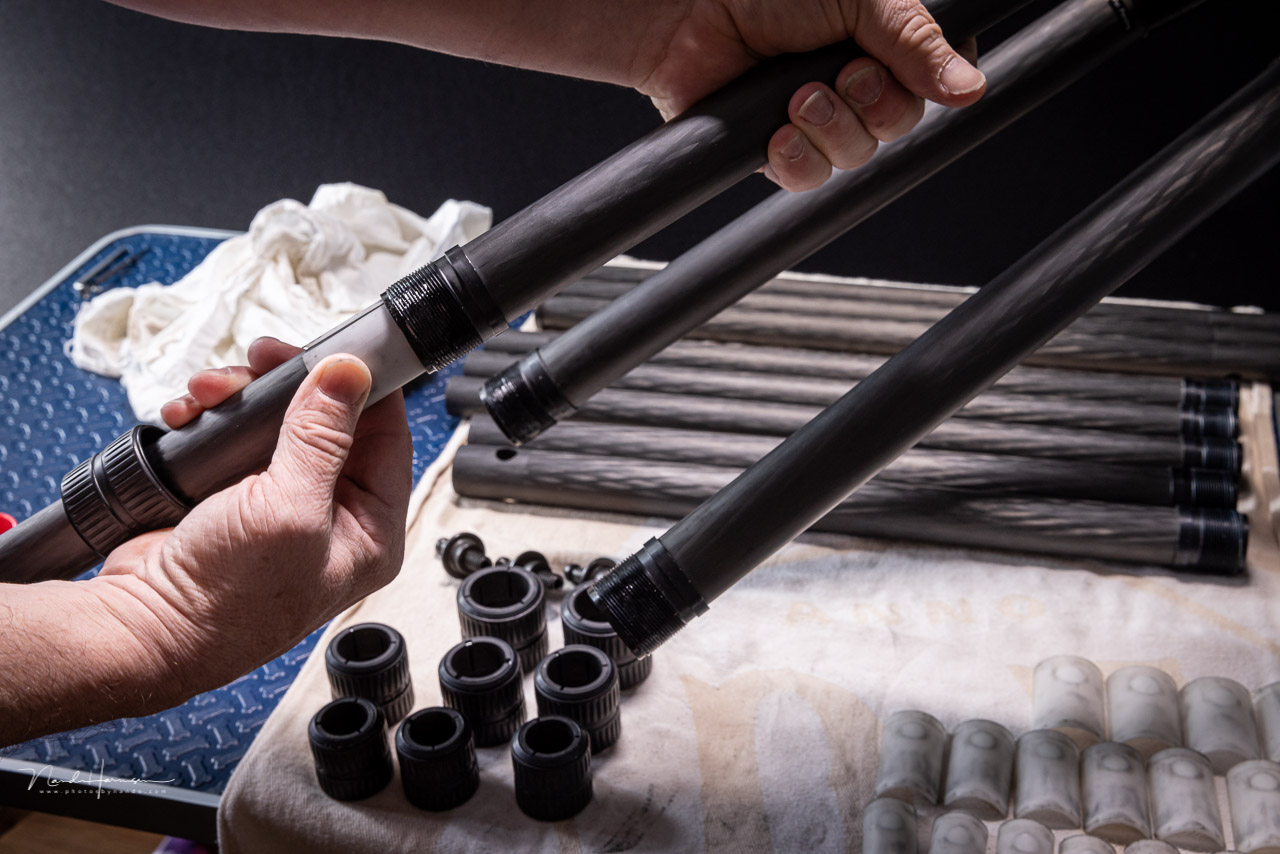
After you’ve greased every screw thread, you may reassemble the tripod legs. Start with the thickest leg parts by sliding the twist-lock over the tripod leg. Next, place the plastic retainers. These will fit perfectly into the holes in the tripod leg.
Hold the retainers in place, and slide the tripod leg into the biggest tripod leg. The legs only fit in one position. Don’t force them. If it doesn’t fit, you need to rotate the leg until it slides in. Next, screw the twist-lock in place. Screw and unscrew a few times to allow the grease to distribute across the screw thread.
If grease is pushed outside the twist-lock, you’ve used too much. Disassemble the tripod leg again, and wipe off the excess grease with a clean towel. If it’s really greasy, you might need to clean it again.
Repeat the assembly for every leg part. Finally, the tripod is assembled again. You should have used every part, so nothing is left. If you still have parts, something went wrong. Just disassemble the tripod again and start over. But I’m sure that won’t be necessary.
You’re Done
After assembly, the tripod is ready for use again. Still, test every tripod leg, ball head, and other things to ensure it’s working in proper order. If something is not assembled correctly, you will notice. Just disassemble the part again, and reassemble it the correct way.
Cleaning a tripod on a regular basis will ensure many years of use. But there is another reason that can’t be ignored. A tripod that is well maintained will make it safe to use. There is less risk of failure and the inevitable damage when your tripod fails to carry your expensive camera in a safe way.
Perhaps you have some additions to these five easy steps to clean a tripod. If so, please tell us in a comment down below.


Join the Fstoppers community for free
-
Post comments and join in the discussions
-
Browse the site ad-free
-
Share your work and get featured in the community
-
Compete in the photo contests for fun and prizes
11 Comments
Very good guide. I recorded a video a few years ago with some additional tips about what you can do during travels to maintain the tripod. Hope you dont mind me sharing it - https://youtu.be/BDhR1eDkqME
I've seen your video some time ago. Since most guides are on video, I've decided to write an article for those who don't like video.
It is a good idea to make a readable version. One important part is missing though, which is to clean the spider/leg joints as well. Over time that part will corrode as well and stuck together, so opening the legs would be initially harder and harder, and suddenly loose.
I haven't noticed any problems with the spider-part-leg-joints of my Gitzos. Perhaps I will look into that some other time
Gitzo might do something clever around that part as well. I never owned one, so I don't have long term experience with them. I had manfrotto and induro tripod basically died due to this problem. Now I take care of my current FLM, but whenever I skip the 3 month regular cleaning, I can feel soon the effect.
I must say though that I am not really careful. I go out to shoot in heavy weather, so that might be another reason...
I need to get the sand out of my Gitzo, might spur me on 😀
Don't use bearing grease! Stay away from any and all petroleum-based greases and oils for your camera and gear. It goes everywhere, gets on everything and is tough to clean off.
I recommend a quality synthetic gun oil. It's not very expensive, very little is needed and cleanup is quick and easy.
Thank you for the addition. I never had any problem using it, as long as you use it sparse. But I agree, if you have to get it off, it takes a good cleaning (again)
In your free time, LOL, could you do an article about cleaning the other style of leg locks?
Good idea. First I have to get my hands on a tripod with those type of leg locks.
In terms of grease I would add that any PTFE/ Teflon grease will do the trick.