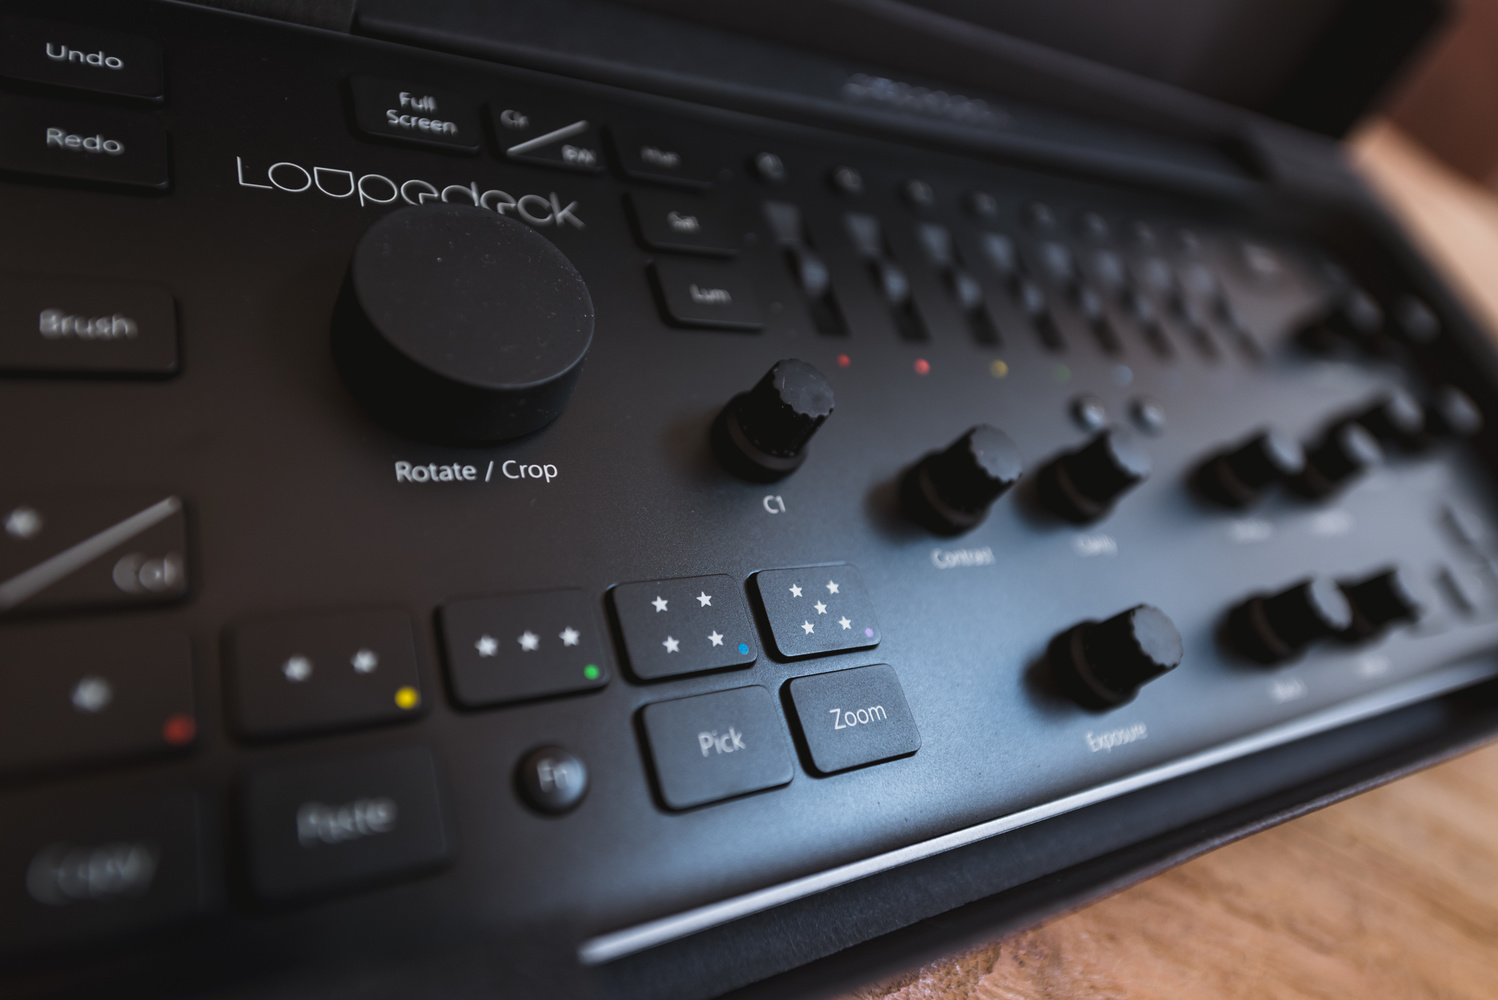
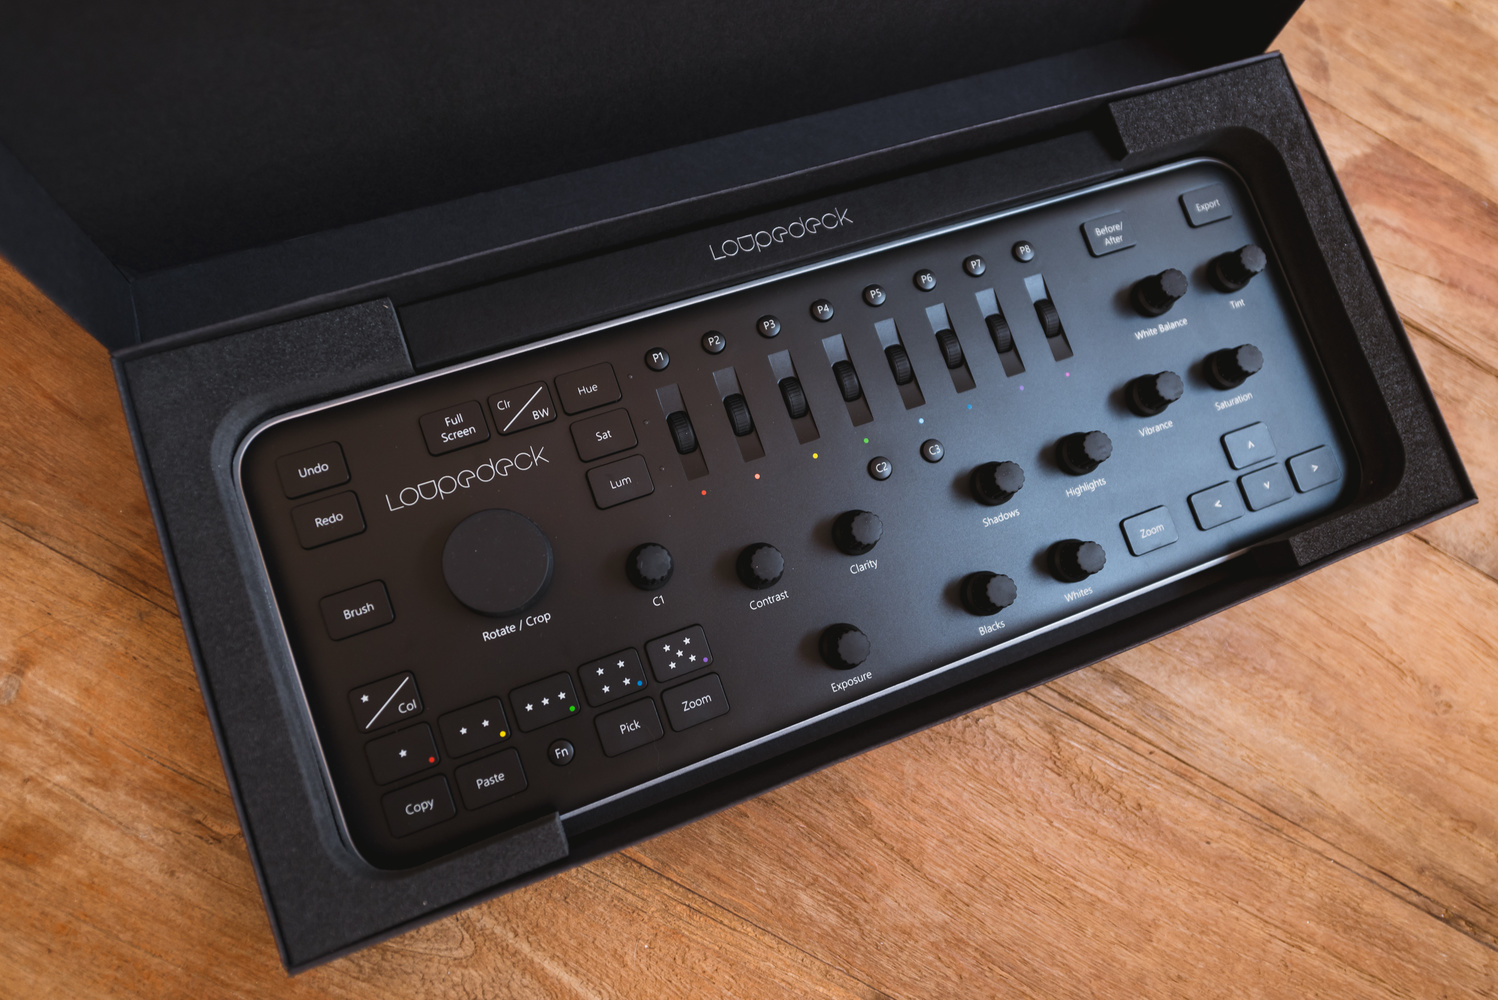
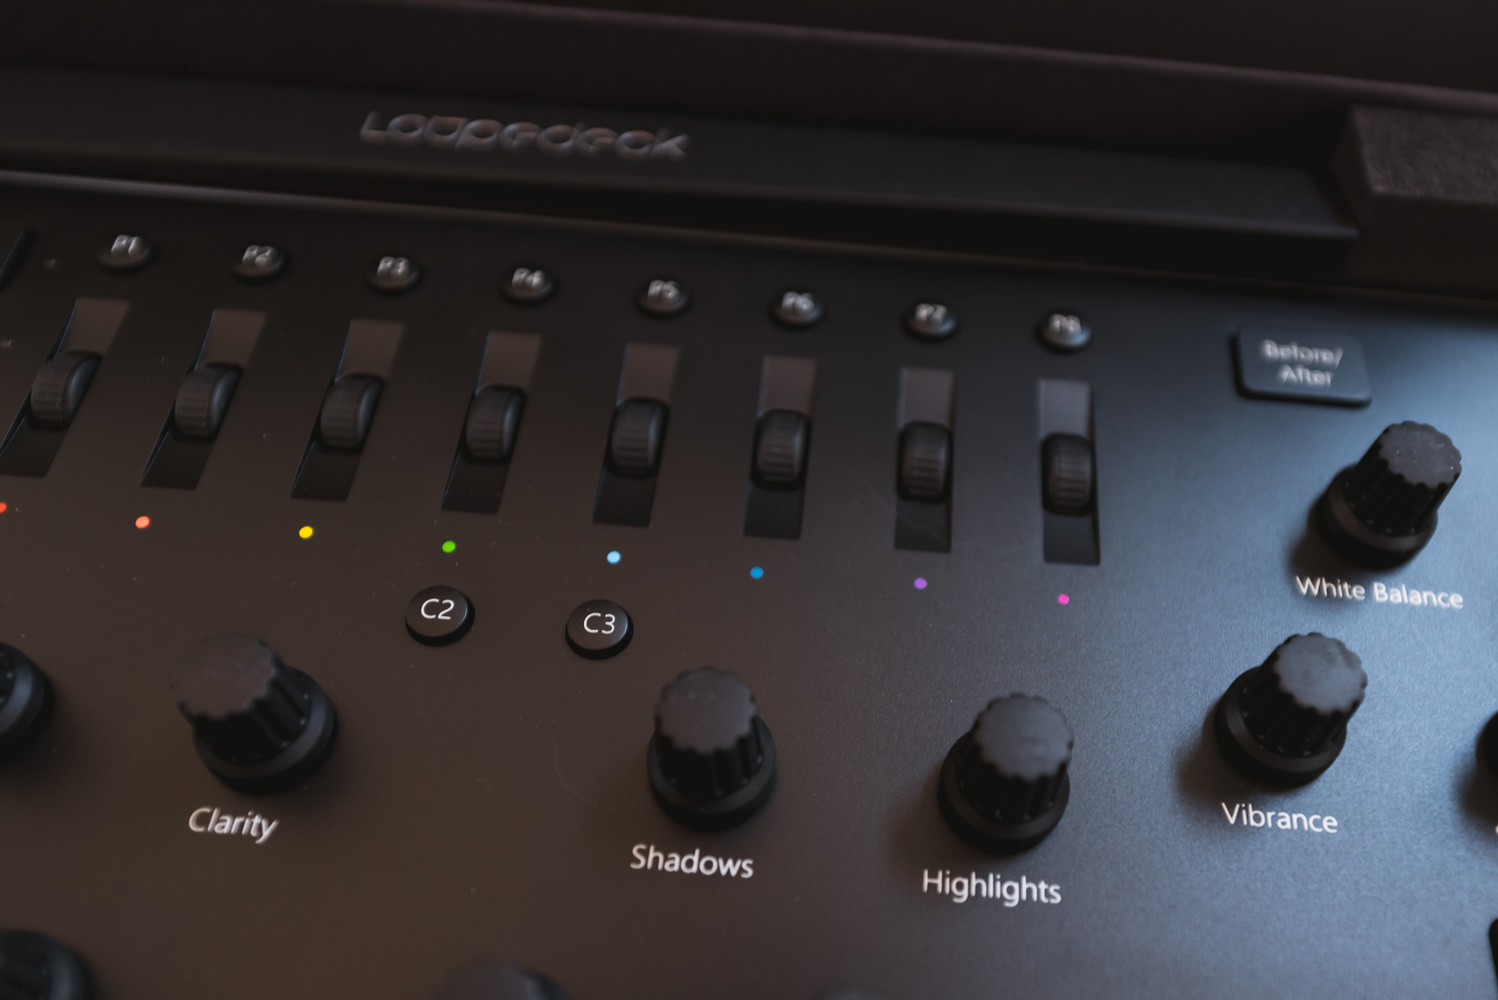
How could you make photo editing more intuitive? Both working professional photographers and beginners would really benefit from a more intuitive, time-saving way of interacting with Adobe Lightroom. Dragging sliders and rating images can be, well, a drag sometimes. I’m actually surprised it took this long for a creative company to dream up a dedicated photo editing console for Adobe Lightroom. But the day has finally arrived. Loupedeck promises to change the way you work with Lightroom and shorten the amount of time you spend sitting at your computer. Loupedeck is here and we’re reviewing it.
In this review, I will describe three real-world scenarios that put the Loupedeck Photo Editing Console to the test. Imagine you’ve just come back from a shoot with over 1,000 images on your card. You load up Lightroom, import the images, and feel a bit overwhelmed with the amount of rating you have to do.
Library Module: Rating 1,000 Photos in Under 30 Minutes
Managing and archiving a large set of images is all about metadata. Just about everyone uses a slightly different system or thought process behind supplying your images with relevant metadata. I almost never keyword my raw files. Instead, I rely on a star rating and color coding system which I’ll describe here quickly:
- Leave these pictures on the drive; never pay attention to them (these are the only ones that do need keywords in order to find them in the future).
- Process these images.
- Great shots: process these first.
- This raw has been processed.
- Only the final images that have been processed get five stars. Most of them are PSDs that have been re-imported in Lightroom after processing Photoshop. Think of them as portfolio images.
- Red: Part of a series that make up one photo. It’s either a panorama piece, focus stack slice, focal blend, or a combination of those.
- Yellow: Same as red, but a different set that was shot right after or before another set. Different colors helps to keep them apart.
- Green: People. If there’s a person in the image, it gets a green label. This has to do with model releases or finding a specific photo of anyone I’ve ever photographed.
- Blue and Violet: Reserved for export purposes.
- Reject: Confirm and delete this.
 Loupedeck features a set of dedicated star rating buttons. There’s also a toggle that lets it switch to a color rating. Now, if you’re using a keyboard, working your way through a thousand photos to give each of them a star rating is as straightforward as it comes. Hit “1” to give the image one star or “5” to crown the image with five stars for the true winners, if that’s your thing.
The flags “Pick” and “Reject” are also represented. The function button on the board transforms the “Pick” button into a “Reject” button. Next to it we find a pair of copy and paste buttons which can come handy if you come across an image that you really like and want to copy its develop settings to another.
The zoom button that completes the lower left of Loupedeck is rudimentary to me. It just zooms to the center of the image and you need a mouse to pan around the zoomed photo anyway. And pressing the left mouse button on the photo already zooms in. It’s also redundant, because there is an additional zoom button on the right side of the board.
Loupedeck shines in the Library Module by making the process of quickly rating a whole bunch of images more intuitive. Color coded buttons are easily recognizable as opposed to the 6-9 keys for labeling your photos. And there’s no default keyboard shortcut for the purple label.
Develop Module: When Speed Is of the Essence
Let’s look at another scenario to test if Loupedeck really changes the way you interact with Lightroom. I can imagine being a wedding photographer and having to work through hundreds of selected shots of a single wedding. I’ve tested this on a shoot where I returned with a couple of hundred images. Honestly, this is where Loupedeck is the most powerful.
Here is where Loupedeck would also be valuable to beginners starting out with Lightroom. I remember the time when I shot 4,000 photos during one week on holiday. If only you’ll save just a minute on each photo by knowing which button controls what function in Lightroom, Loupedeck can keep you interested in editing for longer periods.
First apply your preset to your image with either of the eight dedicated preset buttons, and then tweak the settings to suit the image. In a second post-processing pass, you could then apply any local adjustments. I really think that this is the best use for the Photo Editing Console, because you will be spending less time processing your photos with the same amount of quality.

Develop Module: Spending Time With a Photo
When you actually do want to spend time in processing, Loupedeck also has its use. But it’s a surprising one. As a landscape photographer, this is more my field: I have one image that got selected from a shoot that contains dozens of images. Usually, I literally spend hours (or days) fine-tuning that one special photograph. This process often starts out with either of two choices: Do I have a clear vision for this image, or do I have to find it in processing? If the answer is the latter, Loupedeck becomes an awesome tool for the job.
Among all the dials to twist, there is one missing that really complements my normal workflow, and that's Dehaze. Although the creators of Loupedeck have thought about individual wants and needs by introducing a custom dial and two custom buttons. In the Loupedeck software though, there isn’t a whole lot of options to assign either of those. C1 (the twist dial) for example, can be assigned to either Dehaze, Noise Reduction, Vignette, or Sharpening.
 While I personally haven’t been a fan of the HSL sliders in Lightroom because of how the selective colors are feathered, I do want to give those wheels a go. The Hue, Saturation, and Lightness wheels are my favorite control on Loupedeck, because when you have worked a couple of hours with it, you can really fine tune an image without looking away from it.
As I twist the various knobs on the board, I realize that I haven’t touched my mouse in a while. It starts to become clear that Loupedeck relieves some of the strain in my arm from dragging around the sliders in the Develop panel.
Clicking, twisting, and pressing all of those tactile controls is a joy and as I try to find the best direction to take my image in, I wonder why we even have a keyboard that controls every piece of software. Loupedeck reminds me of the Ableton Push, a dedicated console for music production software Ableton Live that makes creating tunes much more intuitive and creative.
Loupedeck simply taps into the creative process by making you want to explore different approaches to your image processing. To give you an example, I’ve never started a session with the Blacks slider before. But now I just pick a dial and twist it and see my image transform without having to look at the Develop panel in Lightroom. I can keep my eyes on my work instead of the tool; the layout of Loupedeck is that good.
Packaging Impressions and Build Quality
One thing that I have to add is the attention to detail on the packaging and design. Opening the box is an experience itself. It’s minimal, it’s recycled paper, and it’s high end. It seems that in designing a box in a world that’s littered with plastic and paper, you can have your cake and eat it too.
 After I get over the whole packaging thing, the console is presented to me. And I have to say that Loupedeck is so very tactile, especially the Rotate/Crop dial and the HSL wheels. Both of which can also be pressed down. Pressing Rotate/Crop confirms the Crop tool adjustments, while clicking either of the HSL wheels resets that adjustment to zero.
Summary
Loupedeck doesn’t replace, nor does it try to replace, your mouse or keyboard. It works in conjunction with the two and fits nicely in between them. You will still be needing letters to type keywords anyway, while the shift, caps lock, and tab buttons are not represented on Loupedeck.
As for the redundant zoom button on the console, I would have loved to see an additional custom dial. One that controls the Camera Calibration tab for instance. And should that work in the same, beautiful manner as the HSL wheels on Loupedeck, this great looking device would get the five star Lightroom rating. But, especially considering the hefty price point of Loupedeck, I’ll only be recommending the device to those professionals who want spend less time at their computer.
The $299 Photo Editing Console for Adobe Lightroom is available for preorder. The first boards are estimated to ship on July 31.


I first started out a few years ago with that bcr2000 paired with pfixer, but the unit takes up more desk space than i have. Look at much smaller Behringer X-Touch Mini (which works with pfixer as well as Midi2LR).
I don't like sliders either, I prefer knobs since i can adjust multiple knobs at one time
Sooooo.... let me get this straight. This is a $300 device that turns sliders into knobs and number keys into color coded buttons. I fail to see how this simplifies workflow. This may not be the dumbest idea I've ever seen but it's right up there!!! smh...
While it's a nice enough unit, you can buy a Behringer X-Touch Mini for right under $60 bucks on Amazon and use the free Midi2LR software to map Lightroom to it. Every single Lightroom function, plus user custom functions, including presets, can be mapped to the X-Touch's knobs or faders (or any midi capable device, for that matter, not just the Behringer). I saw a 30min video from Brian Lovelace posted on one of the photog blogs where he shows how he uses his Mini and how he configured it (https://www.youtube.com/watch?v=oRGO7-dL7Pk). Bought the unit after watching and it's been a pretty solid and very compact that i can throw in my laptop bag. I like how everything is laid out in rows, has both lit knobs and buttons, plus all the knobs are push enabled, so they can also be assigned functions as a rotary and as a button. And it has a second memory bank, which doubles the amount of functions you can map to the unit.
Korg makes the NanoKontrol2 for under $60, Midi Fighter makes the Twister, and there are a few similar ones that will also work with the software (I used a Playstation PS2 usb controller for a while before this, which worked surprisingly well). I use the X-Touch for culling and for editing- it's really nice being able to edit multiple parameters at the same time, like shadows and highlights to really nail down toning, then go to the next photo without having to take your eye off the screen. I can't see someone being able to edit by touch alone on this Loupedeck because of how all the buttons and dials are thrown out all over that board, which will make you stop to look down to figure out what button is where... which will totally slow down your workflow. Ergonomic, this device is not. Plus the $300 price tag hurts a lot.
Check out Midi2Lightroom website (http://midi2lightroom.com/index.php/en/), where you can find the software and how to configure it for different midi controllers. Looks like they have a massive review and breakdown of the Loupedeck, as well as settings for Midi2LR for the unit. Took me a just few min to figure out how to configure my controller, so pretty handy software. If they only made their software work with Photoshop, i'd be really stoked.
I use Midi2Lr and the X-touch too ;) I programmed both banks the way I wanted and labeled it accordingly. I don't use it all the time which is why I chose to do it for $60. I use the Intuos tablet more, but when I really want to use dials I'll start breaking it out for a wedding shoot where I may not have been consistent the whole wedding and it allows me to move manually through the whole set of photos faster. That $300 price tag is way too much to spend on something to give you this functionality. I am totally with you on that.
I've gone through so many midi controllers in the past, including Pfixer with with Behringer BCr2000, but the X-Touch is by far the best controller i've tried for Lightroom. I have a small square piece of gaffer tape until key knobs like highlight/shadow and highlight parametric/shadow, so i can run my thumb across the board and know exactly which knob i am using by proximity of the tape.
I've been using Lightroom since it was introduced, but that Brian Lovelace video convinced me to pick up a Behringer X-Touch Mini. I use the Mastin Labs presets a lot, too, so I guess I'll eventually end up with two. :-)
Thanks for the tip, Jay Jay!
I havent had enough time to map the presets to my unit (I bought a second controller too for that reason after seeing how he used his), but having that Mini makes editing in lightroom a breeze, instead of the pain it used to be. :)
I am SO looking forward to receiving and testing my X-Touch Mini and plan to buy a second one if it works well for me. I described it as "fiddle-friendly" to my wife, who likes to play with knobs & buttons and is averse to actually reading instructions. :)
You're going to really like it- it's pretty well built and in a very small low profile unit. Sometimes i'll use it vertically when i have it on my sliding keyboard drawer, or use it horizontally on my table when i'm doing heavy editing. Haven't found a better midi unit perfectly paired for Lightroom besides this. :)
Totslly agree. MIDI2LR is brilliant softeare, and it's alot of controllers which can be highly customized with this app, under any budgets and for any needs. Behringer X-Touchbis very well, I prefer my BFC2000 with motorized sliders. It speeding up the workflow alot. And it can be very sensitive with ZNRPM. But anything with not-motorized sliders, like this device, is just wasting of money.
I used a BCR2000 with Pfixer years ago but it was too bulky for my desk and worse, the sensitivity of using knobs to map to LR's sliders was really bad, though maybe now Pfixer has updated that since they're dedicated to their software. If i had the real estate, i'd def use the 2000 with MIDI2LR, since i prefer using knobs to sliders.
Thanks for that info - really useful. £300 (probably) is way too expensive for what it does.
So disappointed with my Loupedeck. It feels like a Beta product.
The buttons are hard to push and I frequently have to push them 2 or even 3 times for them to register. The knobs take far too long to turn to adjust the settings quickly and there is no way to adjust this. Not to mention the copy/paste function doesn't work properly or the same way it does natively within lightroom.
This has done nothing but slow me down and frustrated me. Hoping a Version 2 can redeem this product some day