

As professional photographers, we spend a great deal of time in post-production making our images look their best. Sometimes, we spend too much time there. So, let’s look at five quick tips to keep your Lightroom workflow efficient and effective.
Lightroom is a complex program and as such will be used differently by every person for their specific uses. Today I’d like to cover five things that have helped me to spend less time in Lightroom and still achieve the same results. My goal is to spend as little time in the digital darkroom and as much time with a camera in my hand as possible. So, these tips will be geared towards that end.
Work by Heart
This is the first tip I have for you I believe is the most important. Don’t spend more time than necessary when culling your images. When I first started culling, I would generate full resolution previews and zoom in to check focus on every image. I would also spend time with multiple images on the screen going back and forth between them. I would give ratings like 3 stars or 4 stars to images, saving 5 stars for my very best. All this did was waste time. Let’s look at a more efficient way to achieve this.
When making your initial selection, forget stars or colors. Make this selection a binary one. The photograph is in or out. If an image doesn’t speak to you, don’t select it. On your first pass, simply pick everything that speaks to you and leave everything else behind for now. Don’t spend time comparing it with the photographs around it or checking the technical competence of the image. At this stage, you want to find images that you have an emotional connection with. You can always check focus later on.
I use flags in Lightroom for this stage, but you can use whatever tool suits you best. Just make the selection binary to keep things efficient. You want to end up working as quickly as the songtaew above!
Don’t Generate Previews You Don’t Need
Lightroom requires previews to operate in each module of the program. However, since the addition of reading the in-built previews from the raw files (Lightroom calls these Embedded Previews), the Library module no longer requires additional previews to be built for it to operate. This gives us one more place where we can improve our workflow.
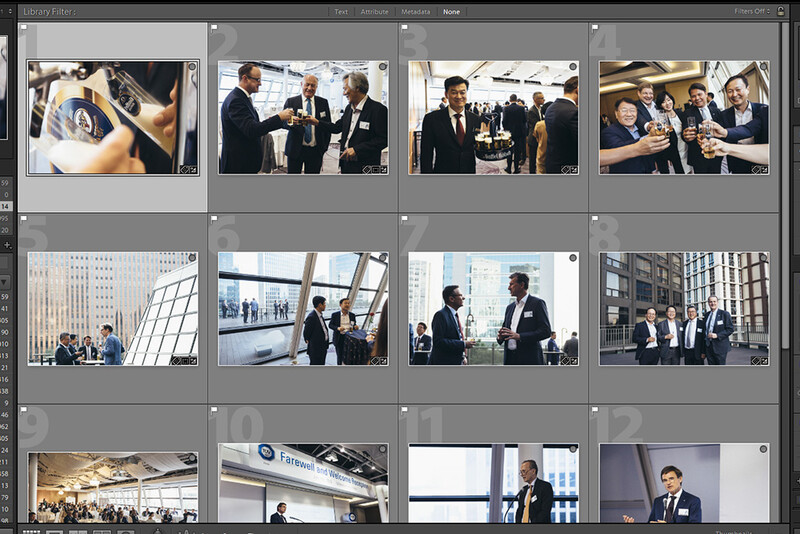
When importing new raw files into Lightroom, ask the program to only generate Embedded and Sidecar previews. These are all you need for culling done within the Library Module. Thus, you can import and cull in mere minutes without having to generate additional previews until you move into the Develop module.
On a typical day-long event job, I might make 1200-1500 images. However, many of those will be of speakers on podiums or people talking. In situations like that, I will make anywhere up to 10 or 20 images to make sure I have the people looking their best. However, I’ll only use one or two in the end, so there are no need to generate all the previews. Once my initial cull is done, I may be down to 100-150 images, which is much faster to generate previews for.
From there, I can generate smart-previews for the develop module and 1:1 previews if I really need to check critical focus on the images. Otherwise, there is no need for previews to be rendered as they will never be used.
Learn Your Shortcuts
The next step is to learn your shortcuts. I say “your” shortcuts because you don’t need to learn them all. There won’t be any need for shortcuts in the Print Module if you never print.
For me, my most commonly used parts of Lightroom are the Loupe View (E), the Grid View (G), Survey View (N), the Develop Module (D), the Crop Tool (R), and the Brush Tool (K). With those keys, I can perform almost all of my tasks without ever taking my eyes off the screen. As a dual monitor user, I often combine the E, N, or G key with the shift key, which places the selected module on my second monitor.
If you haven’t started, learn the shortcuts for your most used functions. It may take some time to train your muscle memory, but the time saved down the road will be well and truly worth it.
Use Reference Mode
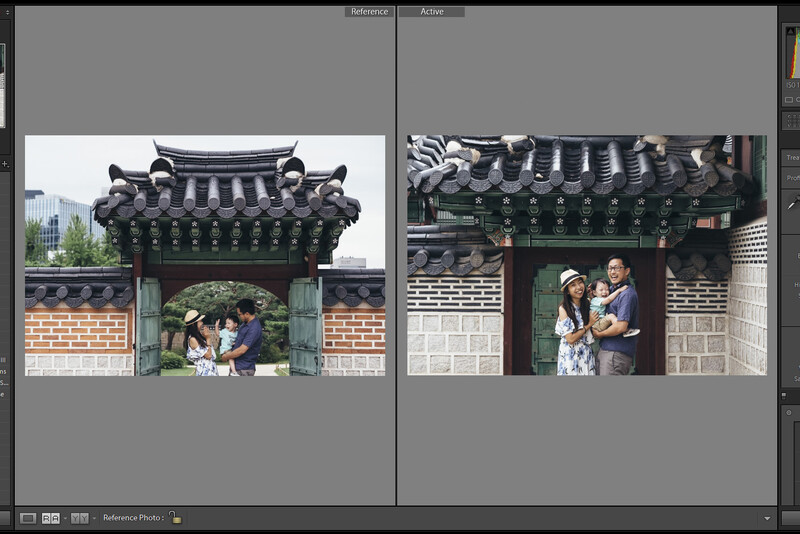
The previous three tips were all about efficiency, so let’s jump into effectiveness. Lightroom has many powerful tools for mass editing images. This makes it a great program for anyone who delivers large numbers of files and needs them to fit together visually. Matching color across multiple images can be a difficult task, but Lightroom’s Reference View makes this much easier.
To access Reference View, hit SHIFT+R on your keyboard. Then, drag and drop the image you wish to use as a reference into the left box that has appeared in your Develop window. This image will stay there until you replace it. From here, any image you select in the filmstrip will be displayed in the right-hand-side box and you can make changes to that without affecting the image on the left. This is great for matching color and contrast between images where the light has changed.
Dim the Lights
Once you’ve finished your image processing, you might like to review them all on one screen to get an overall picture of the consistency of your set. You can use Survey View (N) to bring up just the selected images, or Grid View (G) to show all images in the filmstrip on one screen. To remove all distractions and just see the images, hit SHIFT+TAB and then tap L twice. This will remove all panels from around your images and “turn off the lights” so you can view your images on black.
This is my preferred way to get an overall look at a session to ensure that the images have a consistent feel to them. If changes need to be made, I can select the images that require work and use my keystrokes to get me directly to the module or tool that will allow me to work on it.
Bonus: Give Lightroom Plenty of Cache on a Fast Drive
Lightroom uses cache on disk to speed up operations within the program. One of the best things you can do for it is to head into the program preferences and give it lots of cache to work with. Seeing as it needs quick access to this cache, placing its cache storage on a fast drive like an SSD can really benefit Lightroom's overall performance and speed up everything we talked about above.

In Conclusion
I hope that at least one of my tips today has been useful to you. I’d love to hear the tips and tricks our readers have for speeding up your own workflows. Please do leave those in the comments below!


Join the Fstoppers community for free
-
Post comments and join in the discussions
-
Browse the site ad-free
-
Share your work and get featured in the community
-
Compete in the photo contests for fun and prizes
1 Comment
Chimping the photos initially so that only the good pictures remain in the catalog. This is one of my ways to get the job done well as it avoid confusions in selection while processing