
Wildlife photography can be incredibly rewarding when things go right, but it's incredibly difficult to master. That's why when you have a good photo that's let down by a few of the camera settings, you should use Lightroom to transform that drab shot into something much more beautiful.
When you have a nice, sharp wildlife image it's worth spending some time in post-production to perfect things further. A good (perhaps read: sharp) wildlife shot is really quite tricky as there's a careful interplay between camera settings, subject position, and luck. So I prefer not to bin a shot if it has all the bones of a great photograph without the finishing touches that make it a stand-out.
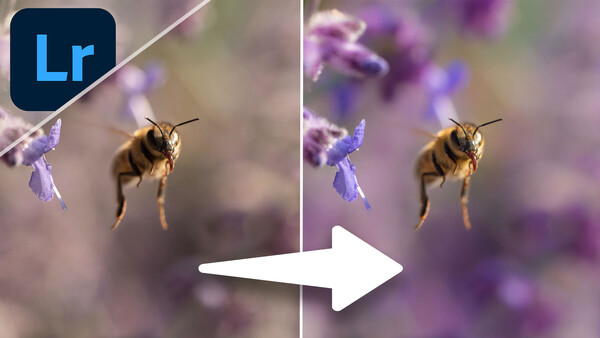
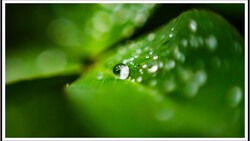
In this example, I'm going to show you how to enhance a wildlife shot using both global and selective adjustments in Lightroom Classic. My photo is of a honeybee in flight, you can even see it's sticking its tongue out right towards the camera (because it was taking nectar from the Russian blue sage also pictured, not because it's being cheeky). But the same techniques will work well with any wildlife shot, especially if it's been captured outside in daylight. So have a look at the before and after below to see the kind of results you're likely to achieve, and let's get started.
Start With Lens Corrections
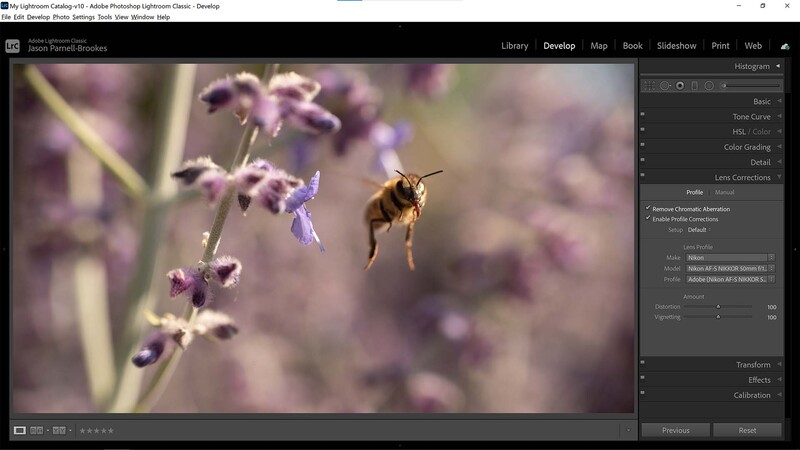
Nearly all modern cameras and lenses have their own EXIF data that Lightroom can pull from its library. The EXIF data can make adjustments to visual characteristics in photos based on which lens you're using. Each lens differs and can affect things like sharpness, vignetting, chromatic aberration, and distortion. We can use this to remove unwanted visuals from our photos.
Lightroom intelligently applies the appropriate lens profile correction when you tick the Enable Profile Corrections box in the Lens Corrections panel. If it cannot detect the right lens then you can also choose it manually from the Make, Model, and Profile drop-down menus. There are also sliders for controlling distortion and vignetting amount but I have left those as default in this example.
Correct the White Balance
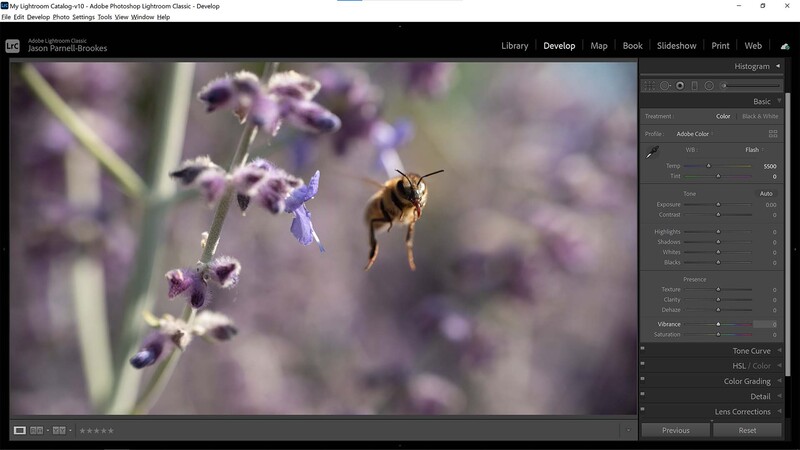
Once the lens corrections have been made we can clearly see what the image looks like before we edit further. I like to move onto white balance next because this will inform the rest of the edit decisions I make when it comes to color. In the white balance section of the Basic panel you can choose from white balance presets from the drop-down menu or customize your own white balance with the sliders.
In this image I've opted for the preset Flash, despite being shot outside in full sun without the use of flash. My reason for this is that I actually prefer the neutral tones of the Flash preset over the slightly warmer Daylight option which adds +10 on the green/magenta slider. I find that keeping things as neutral as possible, although seemingly clinical initially, actually helps me shape color more accurately down the line.
Lift the Shadows
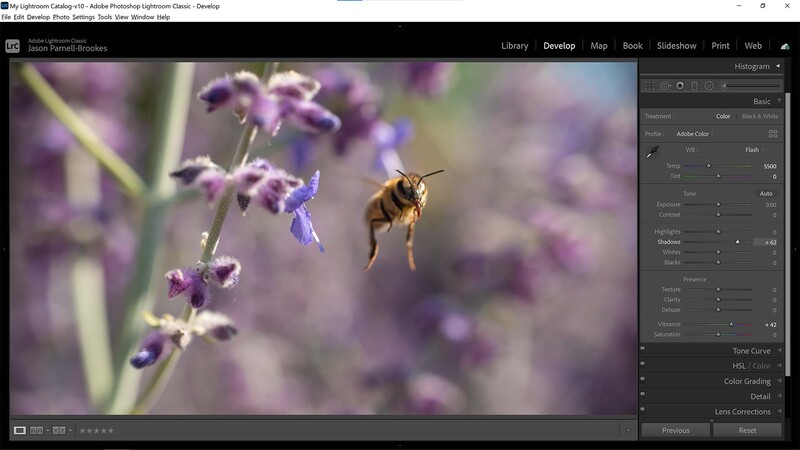
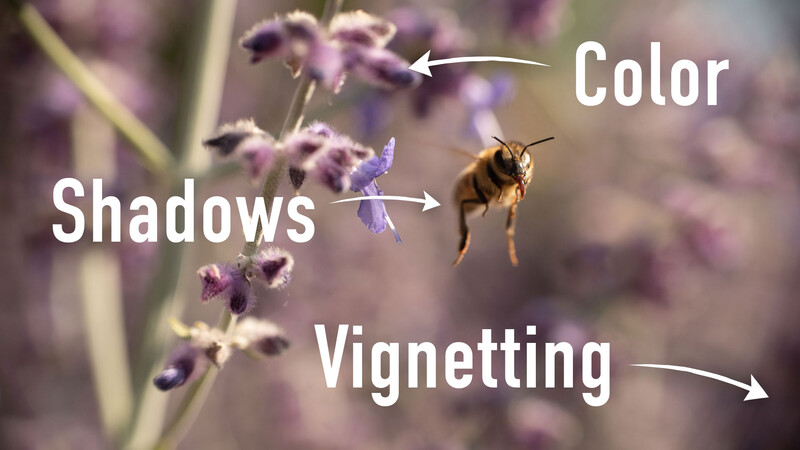
In this image, shot in full sun, we have a flying honey being sidelit from camera-right. That means there are a lot of harsh shadows camera-left on anything in the frame, including the bee. In an attempt to tease out some more detail on this side of the honey bee (and the flowers behind) I decided to push the Shadows slider to +62. This wasn't quite enough to make the bee really stand out from the flowers though, so I'll make some local adjustments in a moment.
I also wanted to enhance some of the subtler tones in the frame so I used the Vibrance slider to do that. I pushed it up to +42 so that the gentler blues and purples, as well as some of the muddier, shaded oranges in the honeybee, were enhanced.
Make Local Adjustments to the Subject

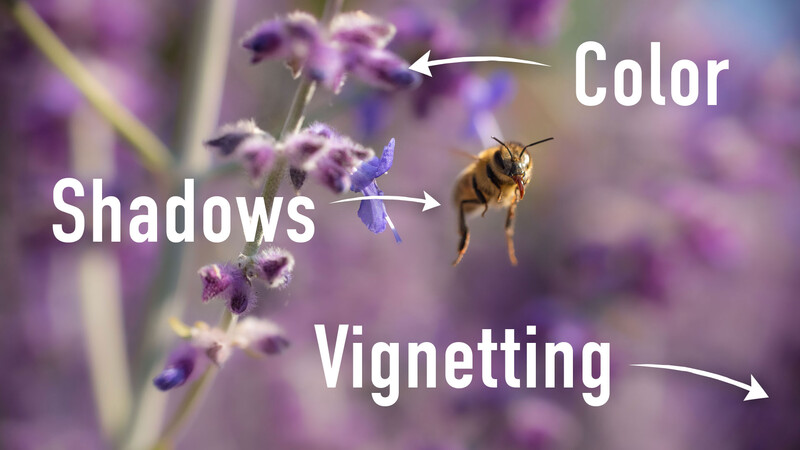
I felt like the honeybee was the real show of this wildlife shot and I wanted it to stand out. So I selected the Adjustment Brush (K) and brushed over the bee before upping the Saturation slider to 23. This provided a much more lustrous golden orange color to the bee's fur and helped isolate it from the cooler purple backdrop.
Reveal Close-up Detail
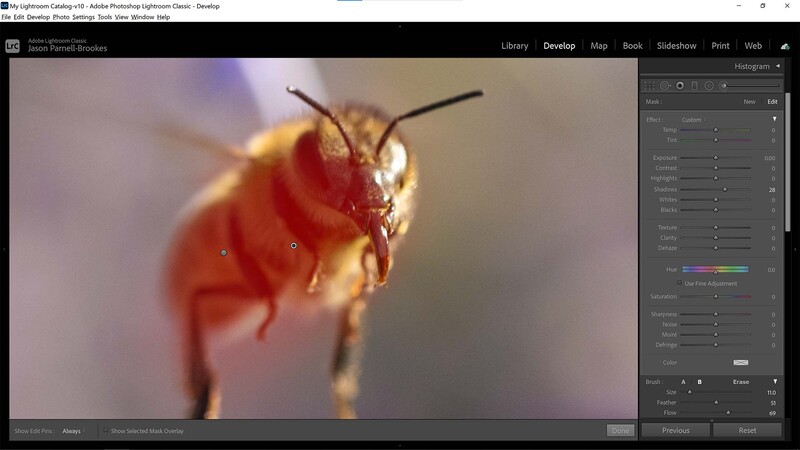
With another Adjustment Brush added (click New in the top-right corner of the Adjustment Brush panel) I painted over only the shaded areas of the bee and its face. I then lifted the shadows further by boosting it to 28 so that I could show yet more details specifically in the bee, without brightening the shadows of anything else in the frame.
Simplify the Backdrop
Though the aperture of my Nikkor 50mm f/1.4G was set relatively wide at f/6.3, it was still narrow enough to produce sharper tones in the flowers at the back of the frame. I ideally would have liked to shoot this wider at say, f/2.8 or f/1.4 but due to the complexities of chasing a bee around the garden armed with nothing more than a nifty fifty, I opted for the narrower f/6.3 to maximize both the depth of field and my chances of getting a clear shot of a bee in flight.
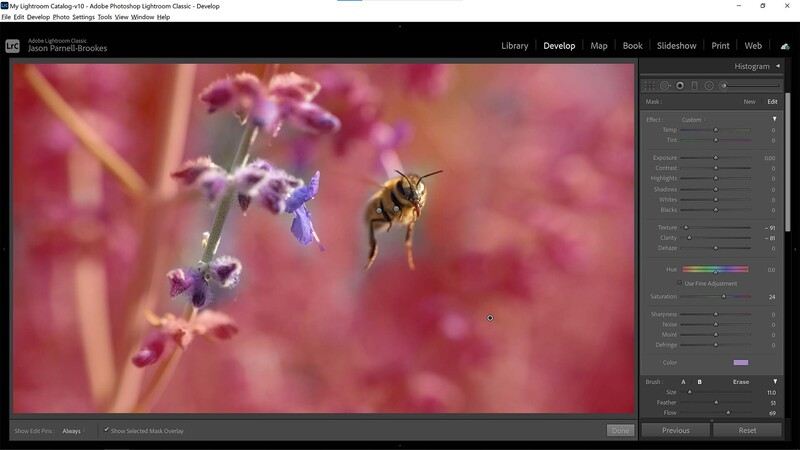
So in order to smooth out the backdrop I decided to use a combination of techniques. Using the Adjustment Brush again I now selected everything in the backdrop, being mindful not to overlap the bee or closest flowers that were rendered sharp. You can see the mask overlay here in red where I've painted the backdrop. I then set about turning down the Texture slider (-91) and Clarity slider (-81) to reduce midtone contrast in the background and force a smoother effect. I also boosted the Saturation slider to 24 to give the flowers a little more zing to compensate for the lack of detail.


Join the Fstoppers community for free
-
Post comments and join in the discussions
-
Browse the site ad-free
-
Share your work and get featured in the community
-
Compete in the photo contests for fun and prizes
2 Comments
These are all good tips, and nice to see text and images rather than video.
Couldn't agree more about text rather than video. I can read much quicker than I can watch a video!