
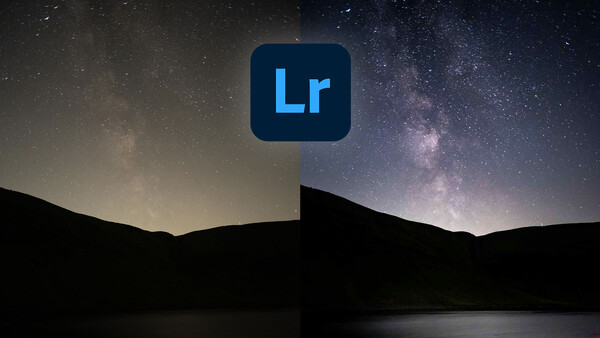
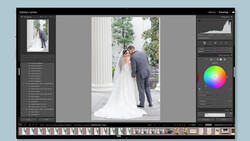
Editing astrophotographs can be tricky as there's a lot to go wrong, especially when working with the Milky Way. Thankfully, Lightroom has some powerful features that can help transform drab snaps to galactic masterpieces.
The Milky Way galaxy, the galaxy we live in, can be seen from earth if the conditions are right. You can even see the Milky Way with the naked eye if the skies are dark and clear enough. Often though, due to light pollution, smog, and other atmospheric phenomena it's incredibly hard to capture it in-camera.
Lightroom has a bunch of incredibly powerful features and tools that can help us reveal the beauty of the Milky Way. By balancing color, enhancing tones, and reducing noise, we can produce other-worldly results in a matter of minutes. So follow along as I show you how to transform your Milky Way shots into something incredible.
1. Correct the White Balance
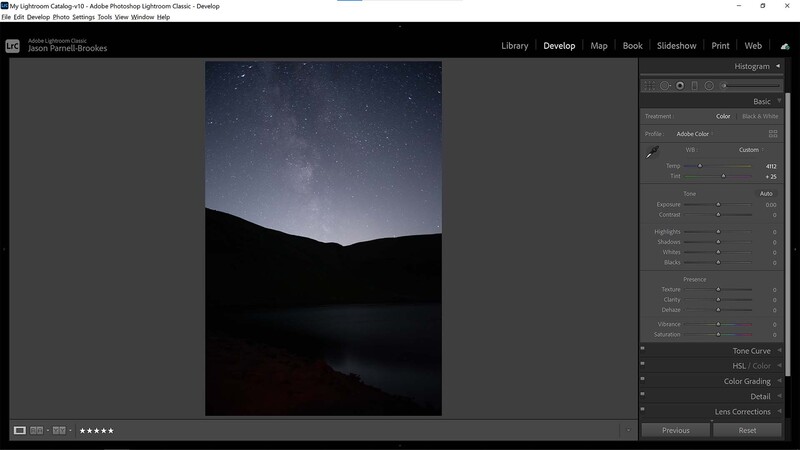
The best way to set up an astrophotograph of the Milky Way is to create a neutral base on which to work. Automatic White Balance usually does a good job of teeing up accurate color balance during daylight hours or with off-camera flash, but it doesn't do any favors for nighttime photography.
In the Develop module change the White Balance sliders to temper any orange tints or light pollution in the image. Here, I've changed it to Temp 4112 and Tint +25. That's because I wanted to introduce bluer tones with the Temp slider and warm up the image slightly with magenta from the Tint slider.
2. Enhance Subtle Colors
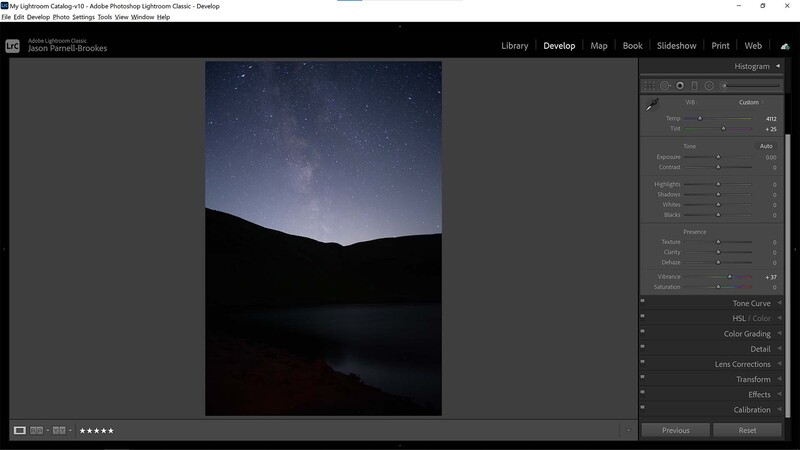
In order to tease out nuanced colors in the shot, it's a good idea to use the Vibrance slider. The Vibrance slider works by accentuating or reducing the weaker colors in a photograph and cannot distort colors. Since there is a limited color range in this night sky photo consisting of mainly purples, blues, and pinks I boosted the Vibrance slider to +37 which helped bring through a bit more orange in the galactic core.
3. Fix Lens Issues
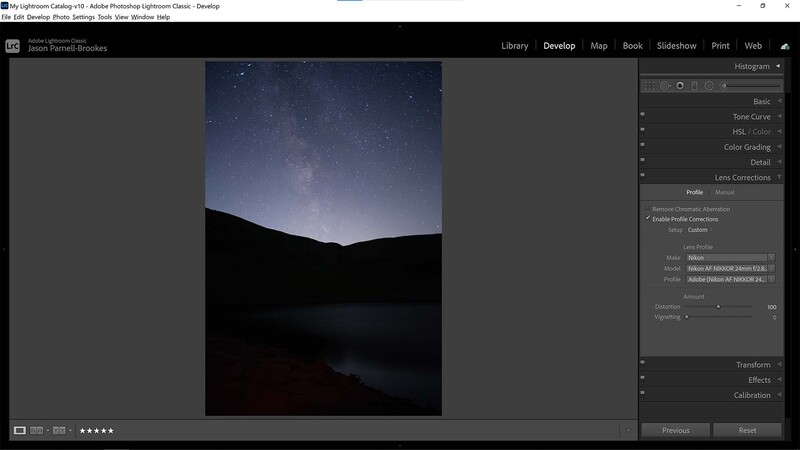
Every lens has its own set of optical characteristics that distorts the view to the image sensor. Fortunately, Lightroom Classic has the ability to remove these distortions using the Enable Profile Corrections feature in the Lens Corrections pane. If you like the vignetting that the lens gives to the image, as I did in this shot, then lower the Vignetting slider to 0 as it is set to 100 by default. The same can be done with the Distortion slider but I preferred the change so left it at default. I decided not to tick the Remove Chromatic Aberration box in this instance because I felt it would remove valuable and subtle shifts in star color.
4. Tweak the White Balance
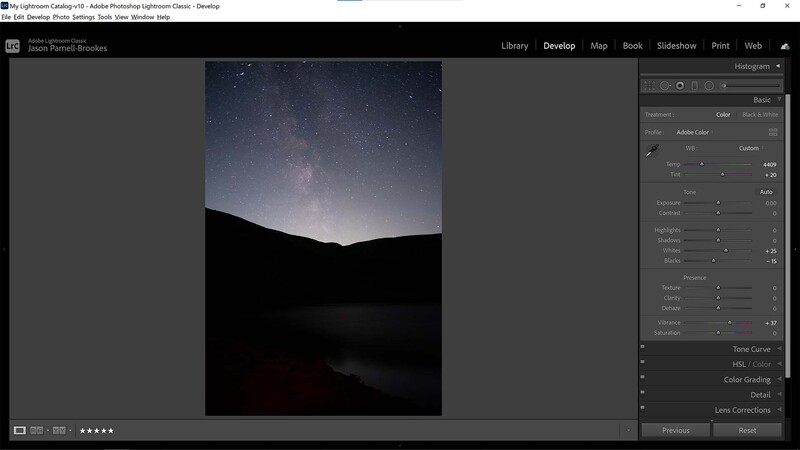
Once a few edits have been made it might be worth popping back to the White Balance sliders to make any further changes before starting to fine-tune the edit. I felt that the image was slightly too cool so boosted the Temp slider to 4409 to bring about more yellow in the scene. This added warmth also created an image that was a little too red for my liking so I reduced the Tint slider slightly down from +25 to +20.
It's at this point the image's dynamic range may need to be improved. In my image, I wanted brighter whites and darker shadows so I boosted the Whites slider to +25 and reduced the Blacks slider to -15. This helped the stars stand out against the dark night sky and kept the silhouetted mountain in the middle of the frame nice and dark.
5. Brush in Some Brightness
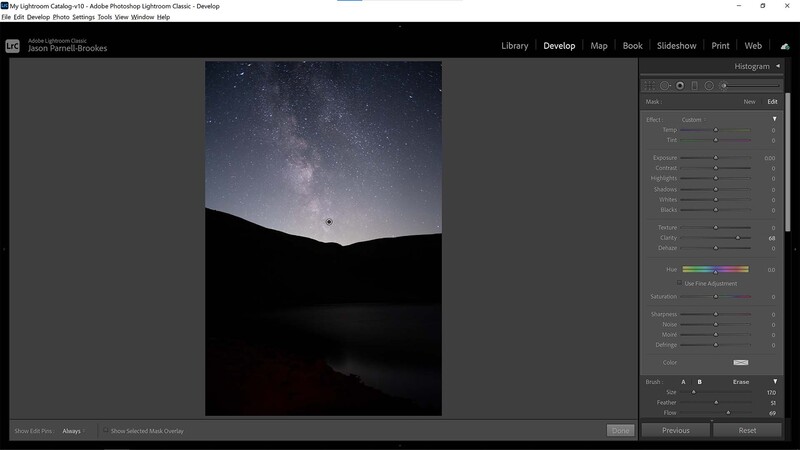
The Milky Way galaxy is elusive from view at the best of times, so when you manage to capture it with your camera it's worth enhancing the visibility with any tool you can get your hands on. Lightroom's Adjustment Brush (K) allows selective editing within the image. With the Adjustment Brush selected I turned up the Clarity slider to +68 to increase midtone contrast. I then brushed over the galaxy with a large, soft brush (Size 70, Feather 51) to make it pop.
6. Remove the Haze

One of the issues when shooting the Milky Way is cloud cover. Even when cloud isn't visible in the photo, as it isn't in this example image, there still may be a thin layer of stratus cloud misting the scene. Even if there isn't, it's worth boosting contrast so that the stars appear vibrant. I used the Dehaze slider in the Basic pane to reduce this glare and deepen shadowy textures whilst eliminating gray misting in the sky.
7. Improve the Foreground
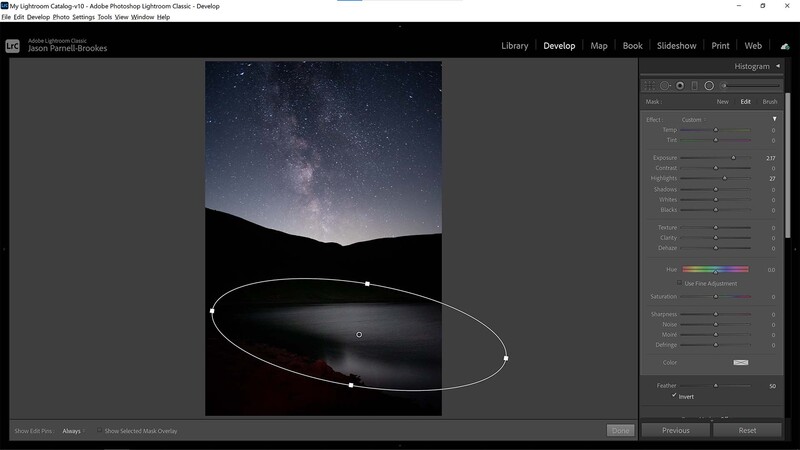
Foreground elements are a key part of a good astro shot because they provide environmental context for the viewer. Here, I shot the Milky Way towering above the mountains from the shore of a small lake. I could see a small amount of reflection in the water but I wanted to make it more obvious in the final shot so I used the Radial filter to draw out a squashed oval to cover the lake reflections. With the Radial filter still active, I increased the Exposure slider to 2.17 and Highlights to 27. This made the reflections much brighter and the lake was much more apparent in the edited photo.
8. Remove Light Spill
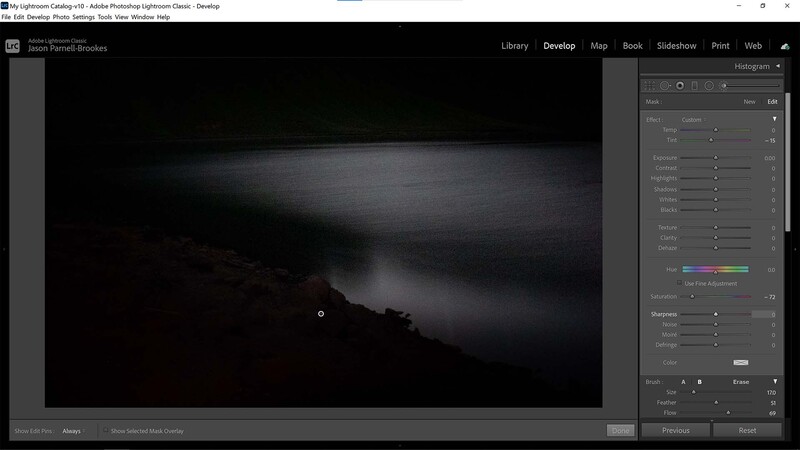
The Radial filter isn't perfectly accurate though as it's bound by the shape to which you drag the tool. Unfortunately, the filter lit up a small portion of the shoreline and revealed rocks that appeared red. This red color was due to a nearby photographer's red headlight slightly spilling into the scene. So I used another Adjustment Brush to paint over this area and reduced the Saturation to -72. You can do this for any part of the shot that might be tainted from extraneous light.
9. Tweak the Sky in Unity
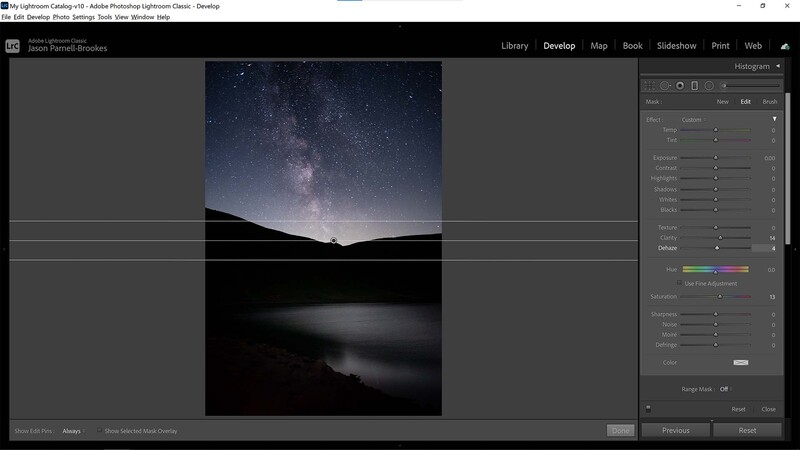
It's now time to make a final pass over the night sky to make sure it's as polish as can be. The level to which you finalize your Milky Way photograph may be different from this, but I like to give a final tweak to the midtone contrast by increasing the Clarity slider and add a touch of Dehaze if the photo isn't particularly punchy. I did this with the Graduated Filter but be careful not to overlap other parts of the scene or foreground elements as this may create a ghosting effect where dark edges are surrounded by white halos.
10. Reduce Noise in the Scene
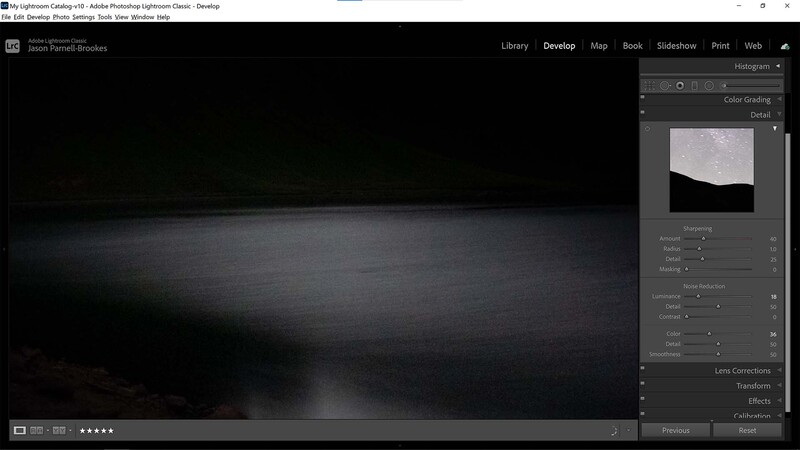
When photographing the stars at night a high ISO sensitivity is almost unavoidable. This obviously increases the noise in a photograph and you'll need to use Lightroom to remove it. Head down to the Detail pane and increase the Luminance slider under Noise Reduction. I've boosted this to +18 and zoomed into the lake to check that the noise has reduced. I noticed there was a little color noise in the lake, likely due to the Radial filter I added a few steps ago, so I increased the Color slider to +36 to counteract this.
Be sure to check the sky after using any noise reduction tools because it has a tendency to start removing stars as well. If you find some stars have disappeared either increase the Detail slider to regain some or lower the Luminance slider until they come back.
If you love travel and photography, consider checking out our Photographing the World Series with Elia Locardi where we go to some of the most beautiful locations in the world and teach the process of creating world class landscape images. Save 15% by using "ARTICLE" at checkout.


Join the Fstoppers community for free
-
Post comments and join in the discussions
-
Browse the site ad-free
-
Share your work and get featured in the community
-
Compete in the photo contests for fun and prizes
3 Comments
Great tutorial here. I appreciate that it is a simple step by step article, and not a dumb video.
Also, I hope you do more of these in the future focused on photo correction, subtle manipulation vs. the sky replacement stuff, photoshopping new elements into photographs, etc.
I second that.
It's ironic how the first step is "correct white balance" when the original image is far better in that regard.
The milky way ISN'T BLUE, you might choose a cold tone for your photo but it's merely a personal choice, definitely not one that can be called "correct".