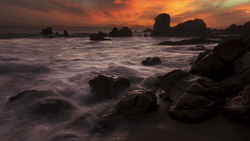
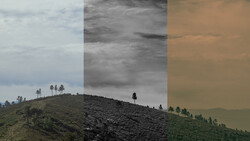
Luminar Neo offers a wide range of traditional editing tools in tandem with more innovative features meant to expand your creativity and make your post-processing workflow more efficient. One genre it excels in is landscape photography. This great video tutorial will show how to edit a landscape image in the program from start to finish.
Coming to you from Jim Nix, this helpful video tutorial will show you the process of editing a landscape image using Luminar Neo. Just like any other editing program, you will probably find yourself making a lot of the same edits in the program, so remember that you can save edits as presets, which will make the process more efficient and your results more consistent. To do this, when you're done with an edit, just head to the Actions dropdown menu and select "Save as Preset." You can also use the heart icon to favorite it and make it more accessible. Check out the video above for the full rundown from Nix.
And if you really want to dive into landscape photography, check out "Photographing The World 1: Landscape Photography and Post-Processing with Elia Locardi," which is currently on sale along with the rest of the Fstoppers store!




Join the Fstoppers community for free
-
Post comments and join in the discussions
-
Browse the site ad-free
-
Share your work and get featured in the community
-
Compete in the photo contests for fun and prizes
No comments yet