
Waterfalls have been a favorite subject in my landscape photography. They are often some of the most beautiful and iconic sceneries in many national parks and mountain regions around the world.
While both amateur and professional photographers are keen to take photographs of famous and elegant waterfalls, making an exceptional waterfall image can be very challenging—not only because of the waterfalls' dynamically changing forms but also because of limited composition options due to constrained surroundings in many situations.
In this tutorial article, I’ll share my experience of using a new approach for making an exceptional waterfall photograph: from the research about the area to the field shooting techniques, the post-processing, and the final image.
Getting Familiar With the Subject
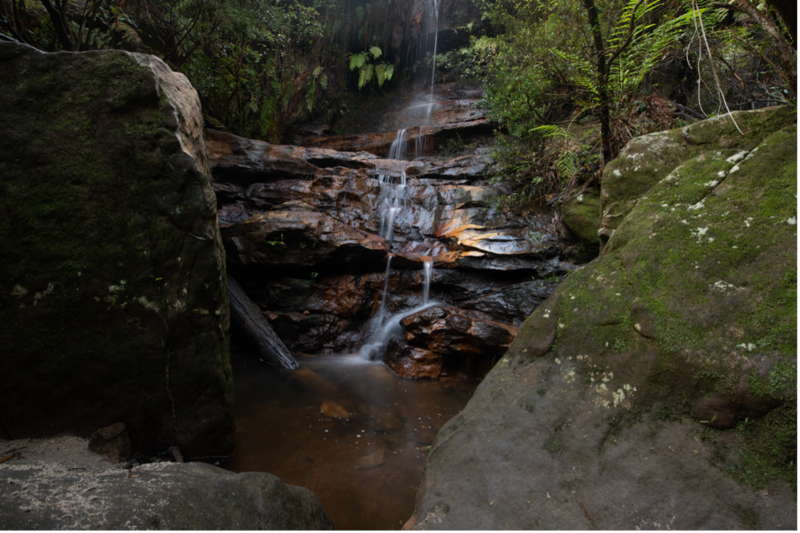
Along the 4.2 km loop trail known as Transit of Venus Walk is Edith Falls, one of the three waterfalls located in North Woodford in the Blue Mountains National Park, NSW, Australia. Compared with many other famous and big waterfalls in the Blue Mountains, Edith Falls is small and often ignored by photographers.
Indeed, at first glance, Edith Falls is not quite impressive: in a dry season, Edith Falls may appear insignificant and even negligible, and its surrounding areas are full of shrubs blocking views from a distance.
In the Field: Using Time-Lapse Approach
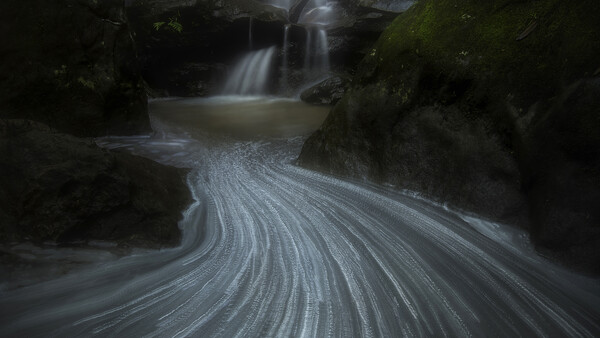
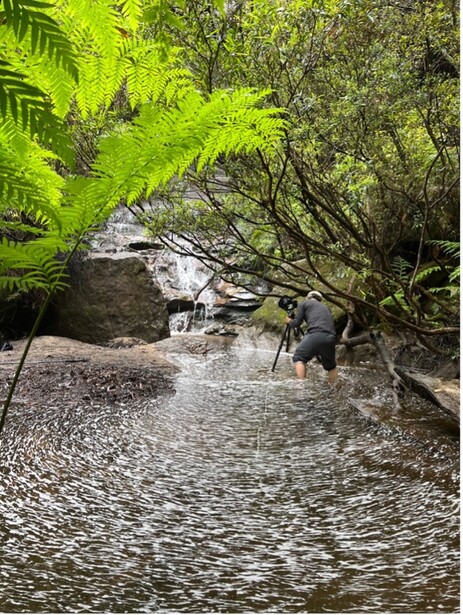
After many days of recent heavy rainfalls, I visited Edith Falls again. Then I noticed one major change there: there were many big foams in the creek produced from the little pond under the waterfall. I was not sure how they were formed, because I had never seen so many foams here before.

Observing such interesting elements in the creek, I decided to use these slowly moving foams as foreground for taking a photo of Edith Fall.
The complete shooting process consisted of two steps:
Step 1: Taking Multiple Individual Shots
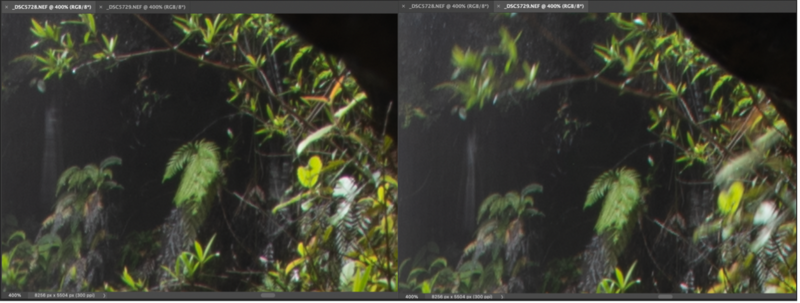
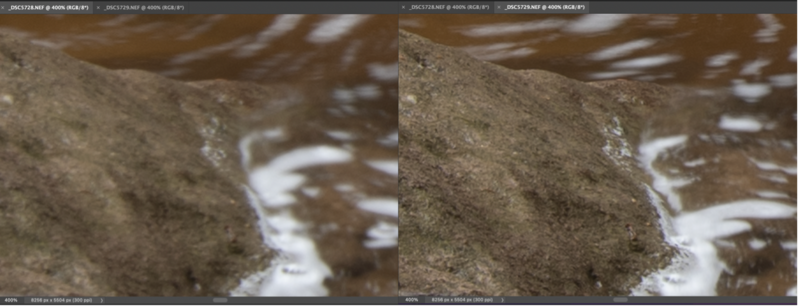
As I wanted my final image to be as sharp as possible from front to rear, I took ten individual shots with the same composition, but each of them was focused on different spots of the scene—focusing on the rocks on the right and left sides in the middle ground, tree branches on the right, the waterfall itself, and tree leaves in the background near and behind the waterfall.
These shots would be used in the post-processing stage for focus stacking purposes. As an example, let us examine two different shots: one focused on the background area and one focused on the foreground area in the scene.
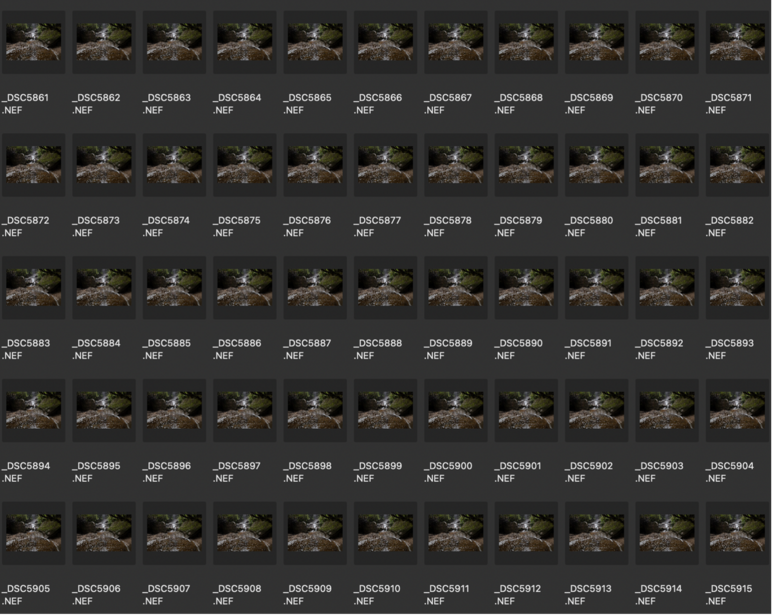
Step 2: Taking 300 Shots Using an Approach for Time-Lapse
I tried a few shots and quickly realized that these foams moved too slowly, and the daylight was too strong. Therefore, I hardly captured any noticeable movement of the stream by using a 3-stop ND filter, which was an additional one in front of the CLP on the lens, with the correct exposure time of 1 second at aperture f/11.
So, I simply switched my D850 to the interval shooting mode and set 300 successive shots continuously—the approach that I usually use for making a time-lapse. After about 5 minutes, the camera completed 300 multiple shots. In theory, this would achieve a 5-minute long exposure effect after stacking all these frames together.
Post-Processing: Creating the Visual Impact and Atmosphere
Step 1: Focus-Stacking To Create the Sharpest Image From Front To Rear
Recall that before I took 300 frames using the time-lapse approach, I had first taken 10 individual shots focusing on different areas in the scene with the same composition. The purpose of this was to obtain the sharpest image in the post-processing stage through a technique called focus stacking in Photoshop.
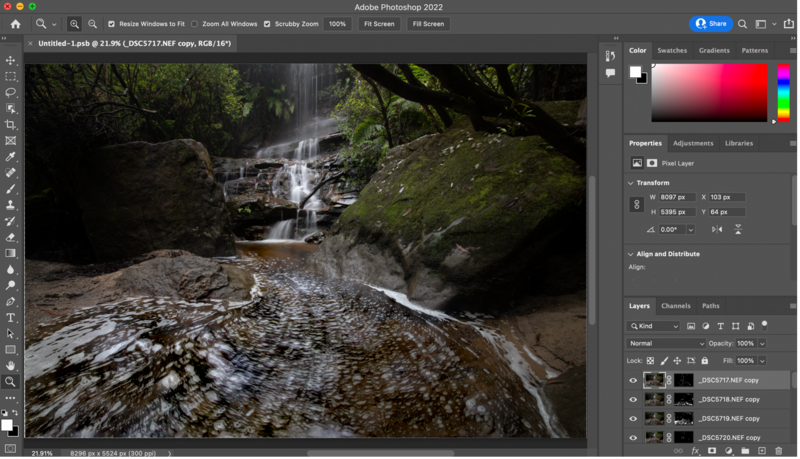
Step 2: Blend 300 Frames Together To Achieve a 5-Minute Long Exposure Effect
The next step is to load those 300 frames into Photoshop and blend all 300 frames together to form an image having a 5-minute long exposure effect. In particular, I simply did the following steps in Photoshop:
- File => Script => Load Files into Stack … (load 300 raw images)
- Highlight all 300 layers in the “Layer” panel
- Change the blend mode from “Normal” to “Lighten”
- Layer => Flatten Image
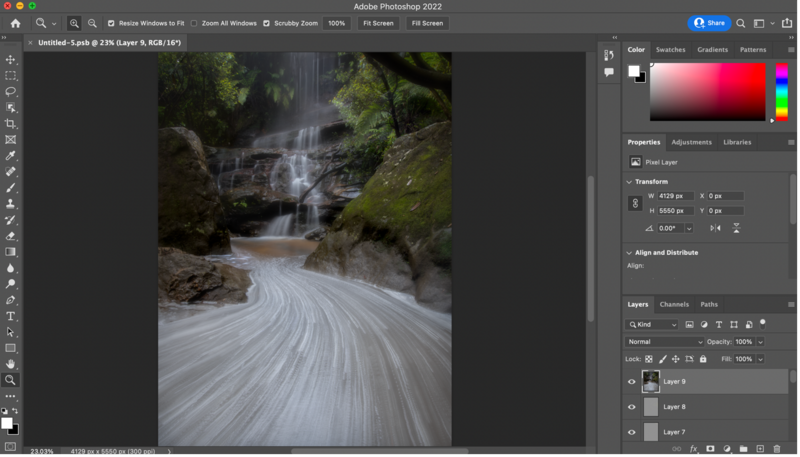
After completing these steps, I got the following image:
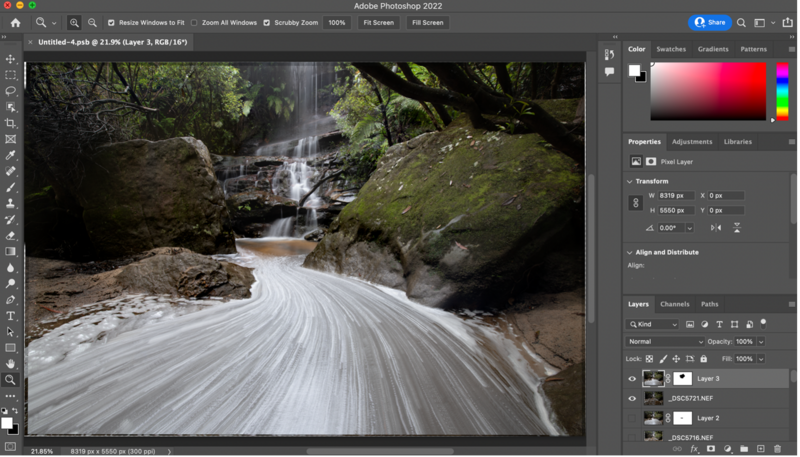
Step 3: Integrating Images From Step 1 and Step 2
It should be noted that the image obtained from Step 2 only achieves the long exposure effect; the foreground and background may not be properly focused. So in this step, I need to combine the sharp image produced from Step 1 with the long exposure image produced from Step 2.
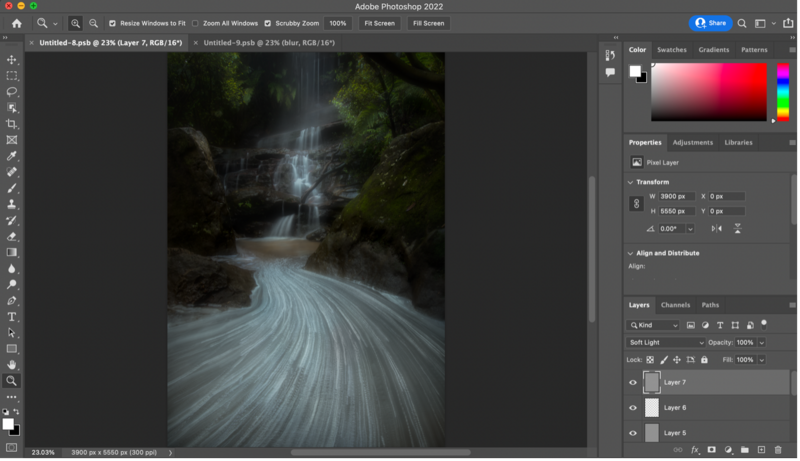
To do so, I simply did one more time of “Auto-Align Layers …” and “Auto-Blend Layers …” on these two images. In this way, I finally formed an integrated image as shown in the following screenshot:
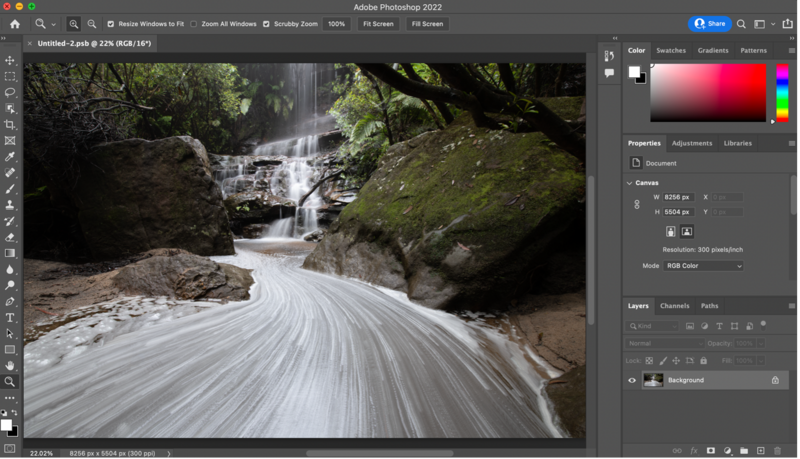
Step 4: Cropping – Changing the Image Orientation if Necessary
Most of the time, when I am in a shooting field, I can make a quick decision whether to use a landscape format or a portrait format to capture the scene. But the situation in this environment was a bit different. On one hand, I wanted the moving creek to be a dominant foreground, and hence a landscape format would be good for this purpose. On the other hand, as we can see, the left side of the foreground was quite messy and significantly distracted the view from the waterfall.
With this consideration in mind, I decided to shoot with a wide angle landscape format, which would provide me with more flexibility for post-processing. Indeed, after carefully examining all elements contained in the landscape frame, I believed that cropping the image into a portrait format led to a better composition capturing this scenery, as shown in the following screenshot of Photoshop.
Step 5: Creating the Mood – Color, Contrast, Light, and Details
After the previous steps, I obtained the image as shown, which has the long exposure effect for the foreground and also satisfies my preferred composition.
Now, what I wanted to achieve was to create a surreal mood to restore my feelings in the photography field. To fulfill this goal, I first did a general color adjustment towards a cooler tone and slightly enhanced the overall contrast through Camera Raw Filter in Photoshop. The result after such adjustment is shown in the following image:
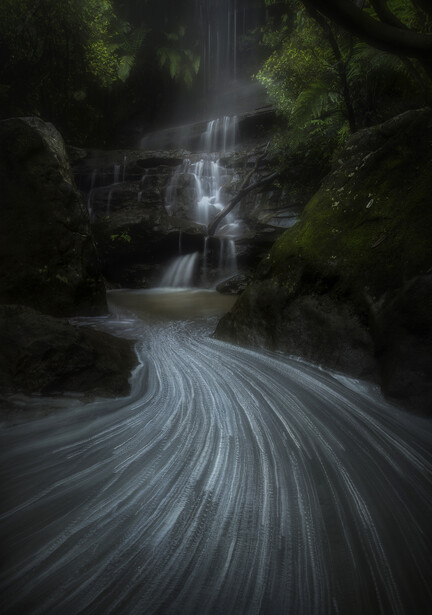
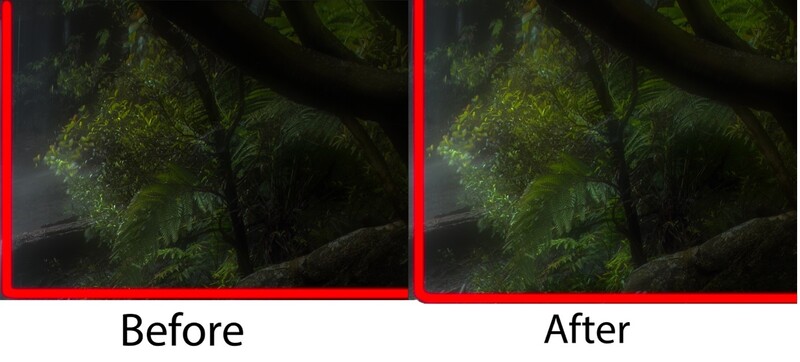
Based on the image shown above, I started to focus on the lighting, details, and color refinement in various local areas. Although the effect from each of these adjustments looks very subtle, by combining them altogether, it makes the final image stand out.
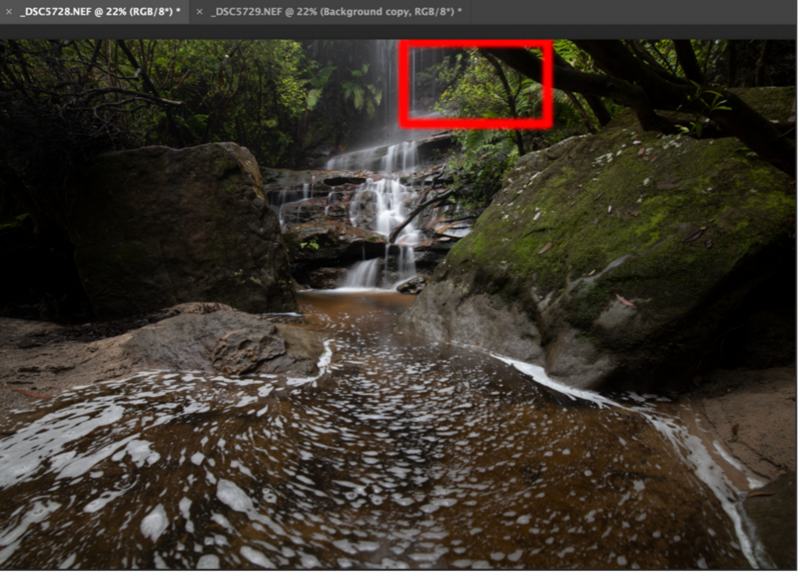
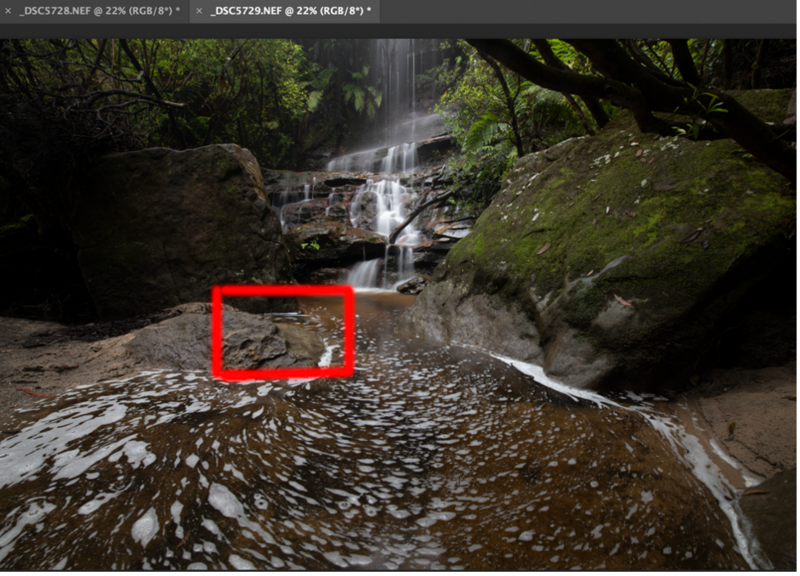
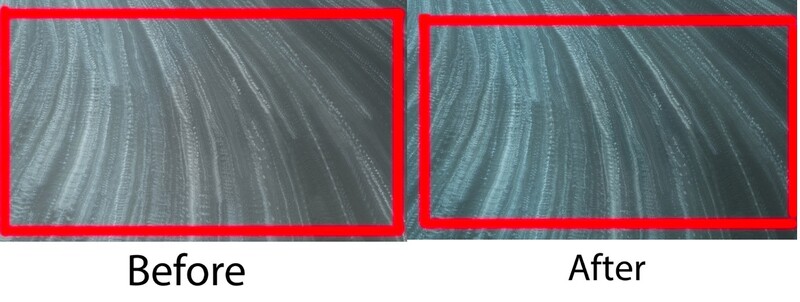
The processing is quite tedious and time-consuming. Here I just show how the processing was done in two specific local areas as shown in the red boxes in the following image.
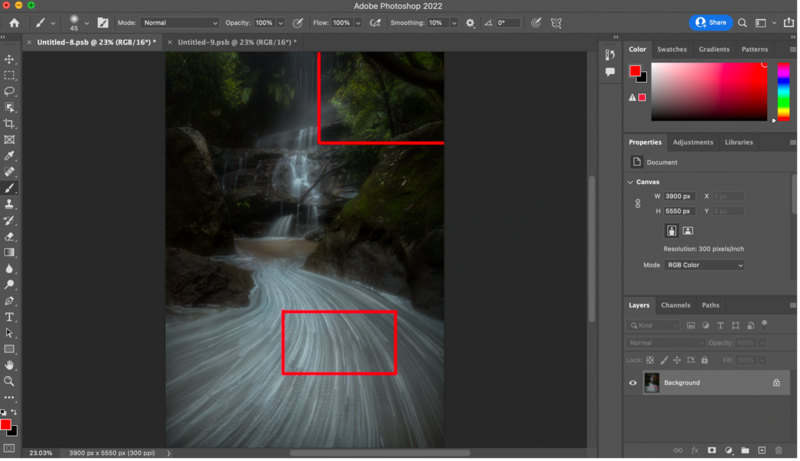
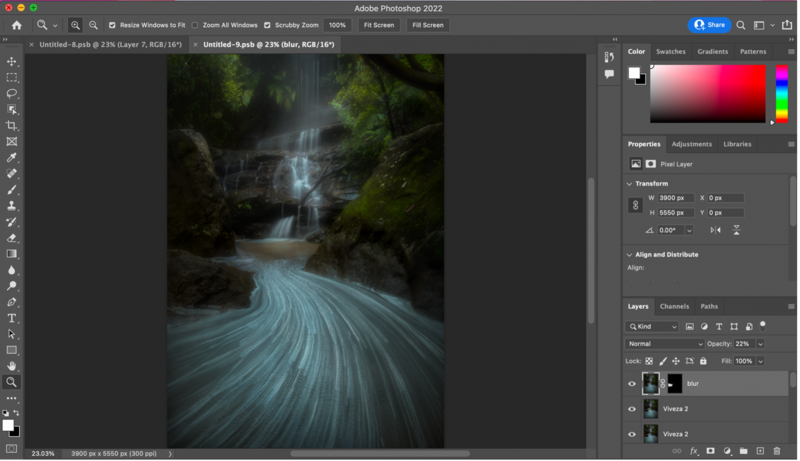
A similar approach and technique were applied to process the foreground waterflow as shown in the following image.
Final Words
- A successful landscape photograph always starts with a successful shooting in the field—not only technically sound but also being based on a well-thought idea and plan.
- Post-processing techniques are not as difficult to master as many people think. But the true challenge is to establish personal aesthetic concepts, which significantly influence a photographer’s work.


Join the Fstoppers community for free
-
Post comments and join in the discussions
-
Browse the site ad-free
-
Share your work and get featured in the community
-
Compete in the photo contests for fun and prizes
No comments yet